Sharing is caring!
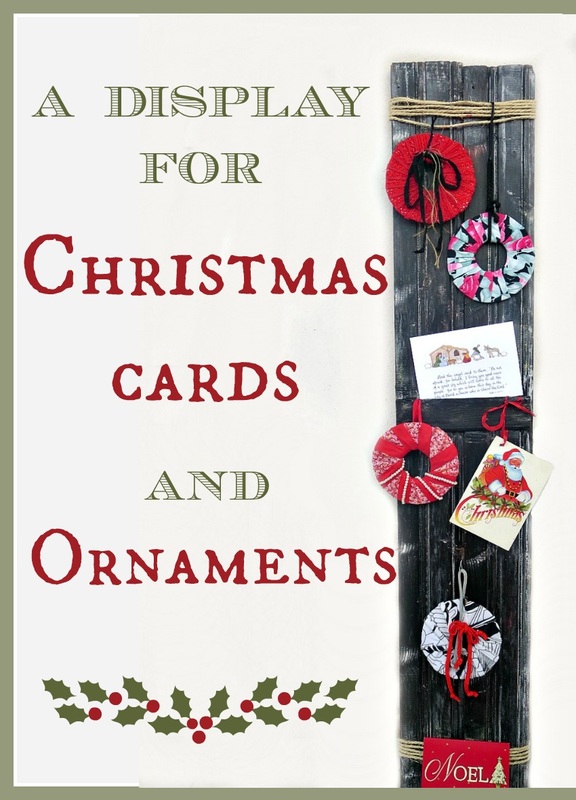
There is just something so special about Christmas cards. I know we don’t get very many anymore in the digital age. But when we do we need to have somewhere to display them. That’s why today I am going to show you a super easy Display for Christmas Cards and Ornaments.
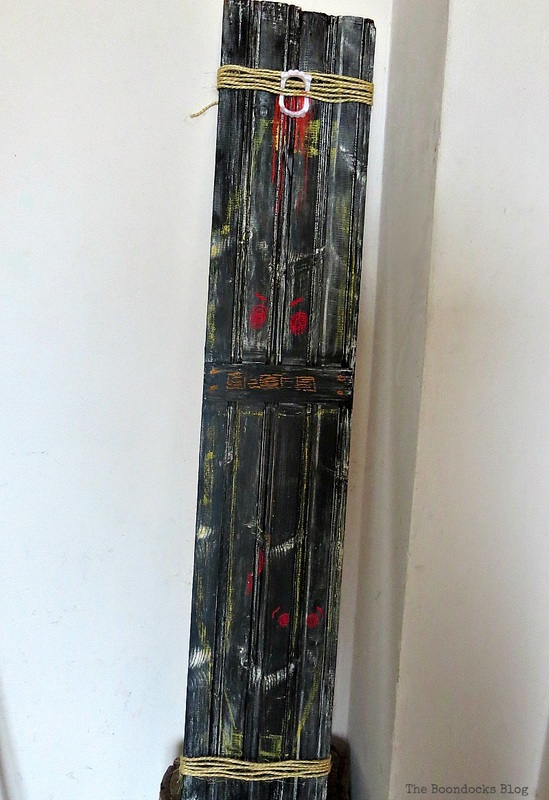
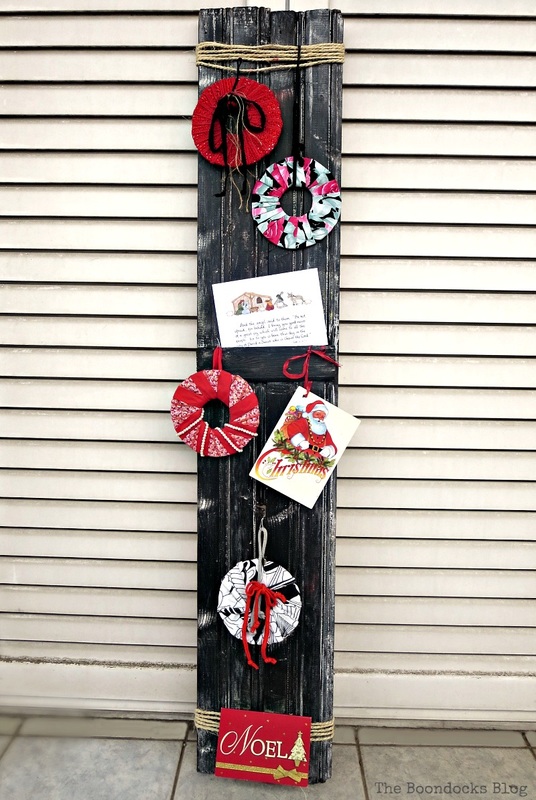
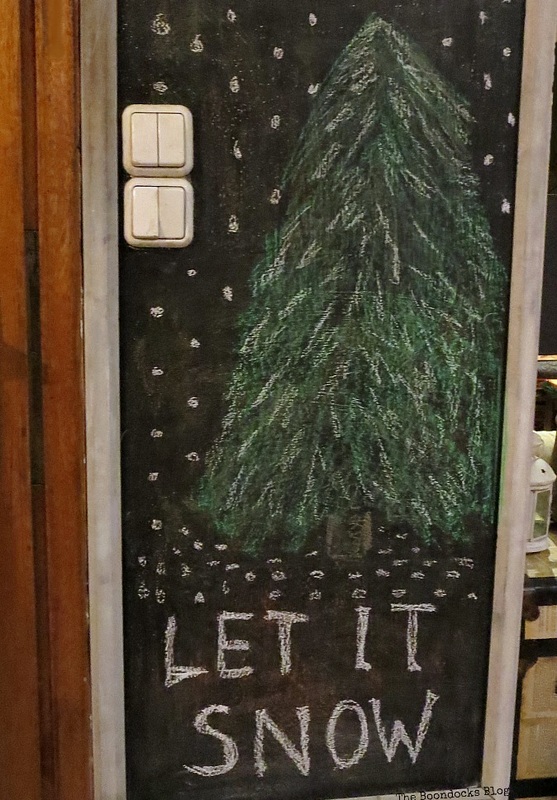
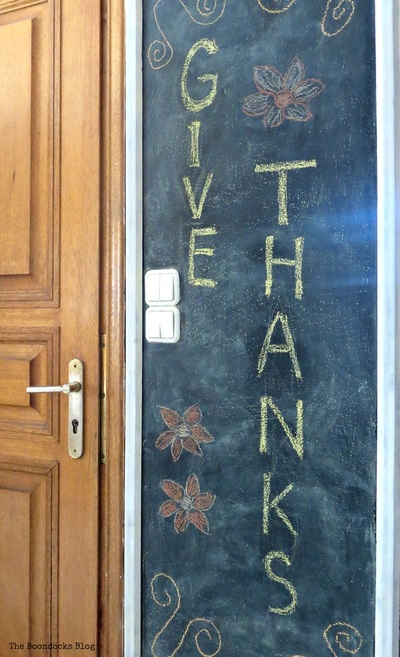
I had this piece of wood that I had previously used as a Halloween decoration but I also wanted to reuse it for Christmas. After all, for anything to survive in my home, it has to be multi-functional. I had painted this piece of wood using chalkboard paint and curated it by covering it with chalk. You can see a tutorial of that process here when I did my holiday signs.
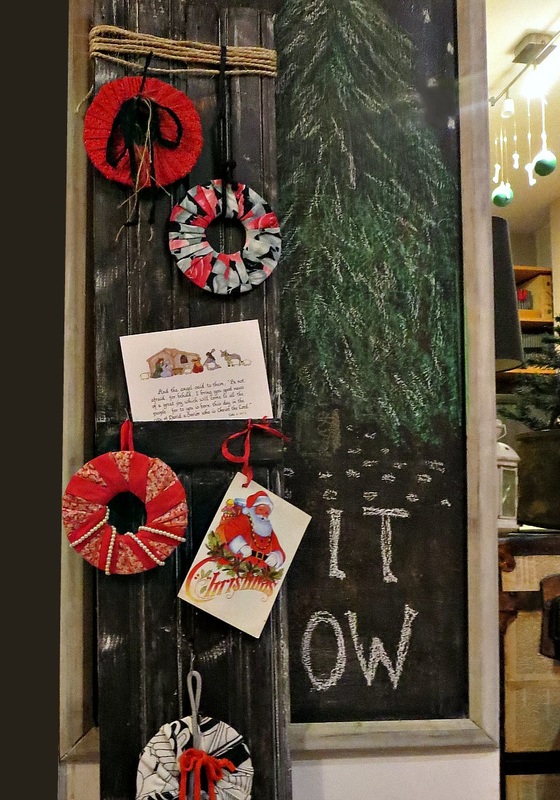
While cruising in blog land I spotted this idea from Shanty2Chic. It was a piece of wood with jute wrapped around and used as a Christmas Card Holder. As soon as I saw this I knew I could do it using my Halloween board. Of course the ladies of Shanty2Chic built theirs from scratch and did an amazing job at that. But you know me, I like to be lazy and reuse my stuff.
I had wrapped twine around the top and bottom of the board and just cleaned it up a bit to get rid of the fake blood and spookiness.
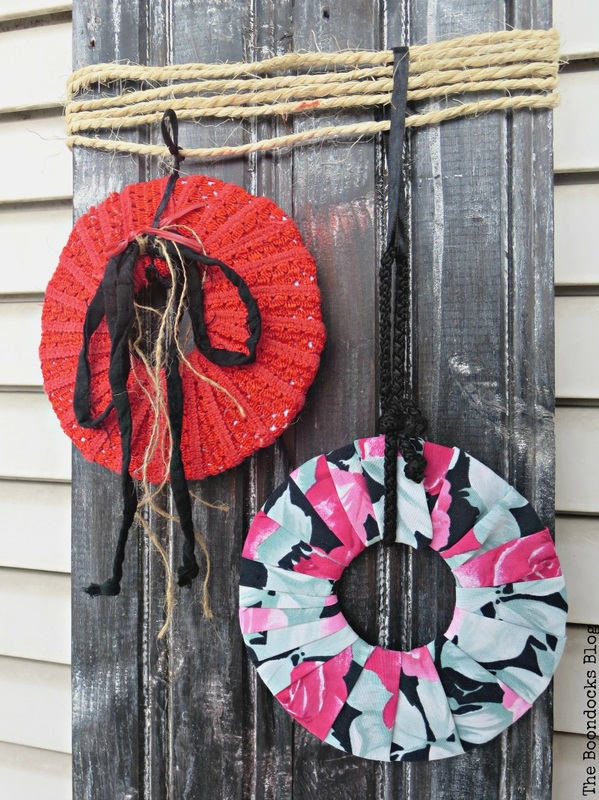
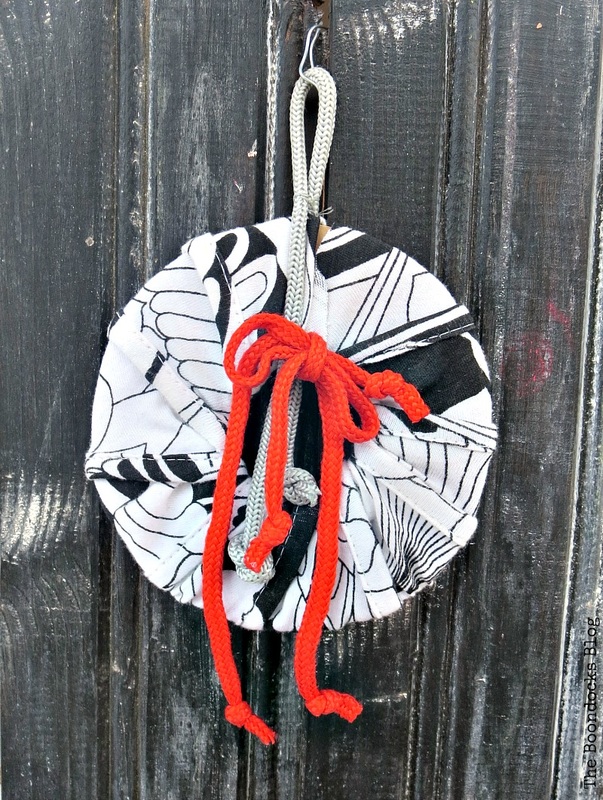
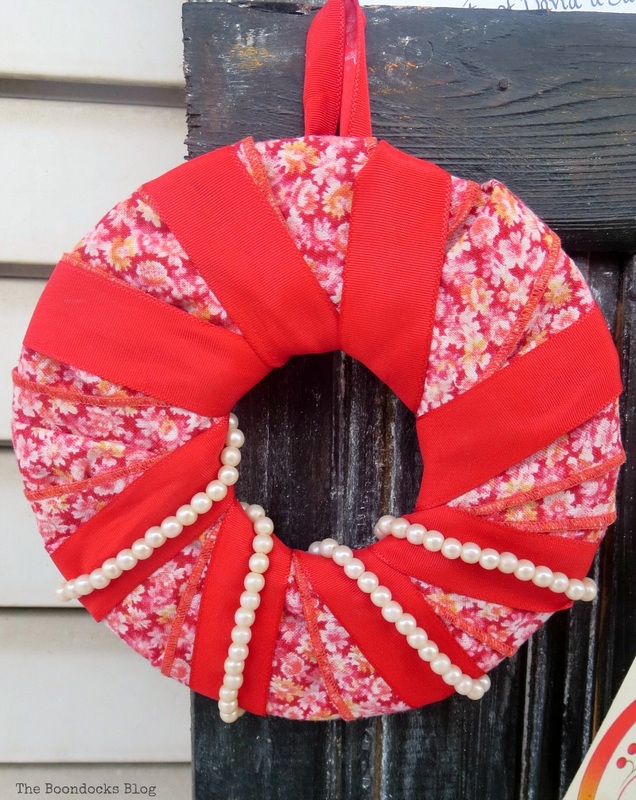
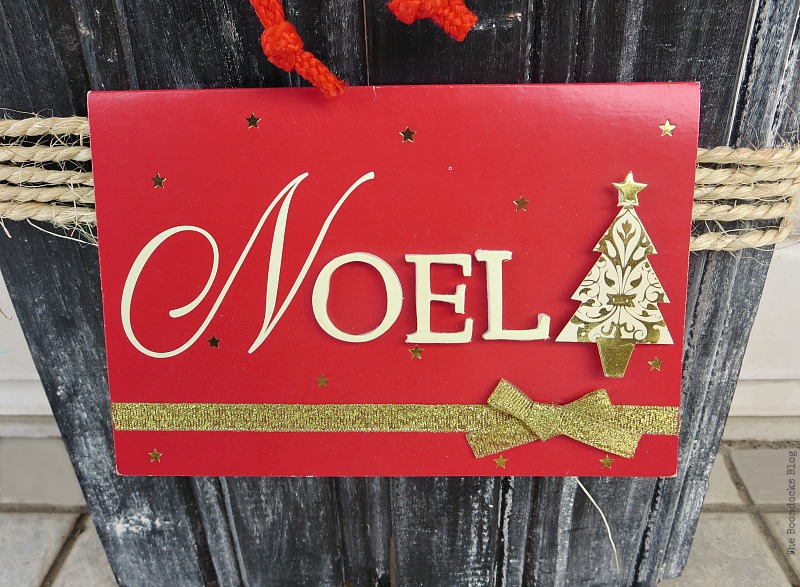
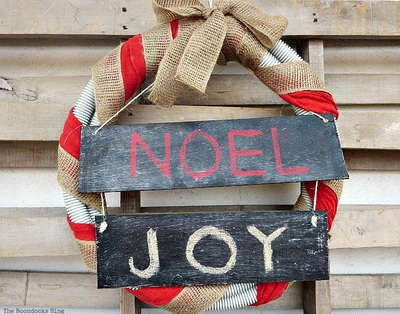
Boy I really exhausted myself. The next step was to attach my homemade ornaments. I used ribbon for that.
The possibilities are endless!
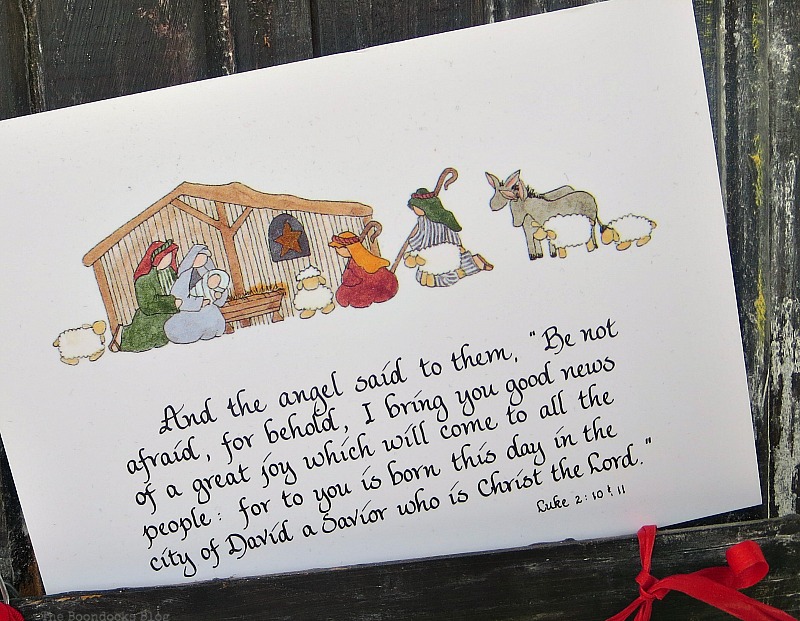
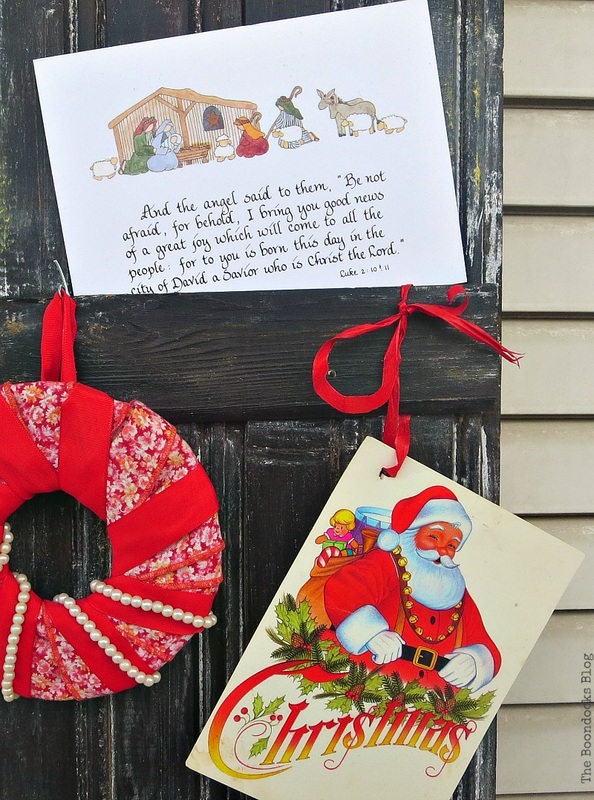
I then added a few Christmas cards.
I told you it was super easy. This board is about 4 feet tall but you can make it with any sort of wood you have lying around. And you can paint the wood any color at all or leave it natural. I chose to leave it this way because I like to reuse my chalkboard so that for the next Holiday I can change it up by writing on it.
I’m slowly getting there. It’s beginning to look a lot like Christmas!
I do believe that was the easiest project I’ve ever done. And it makes quite a statement. As I’ve said before, and it may be the motto of my blog by now, reuse and repurpose what you have at home. All you really need is a bit of creativity and some craft supplies which you can get below and you have yourself a project that can be used all year long.
I hope you enjoyed my display for Christmas cards and ornaments. Do you have a special place where you display your cards for the Holidays?
If you like what you see, share it with your friends, or save it on Pinterest. Above is a Pinterest worthy image!
If you really like what you see subscribe to my blog and get my adventures twice a week in your mailbox. The form is on the sidebar and your e-mail will never be shared with a third party.
Disclosure: The items below are affiliate links and link to Amazon.com. If you purchase any of these products through the links, I receive a small commission, that way I can continue to provide you with lovely content. There is no extra charge to you for purchasing through my affiliate links.
You may also like these related posts
<< Christmas Picture Frames with Wreaths HOME Sweet Inspiration #35 >> This blog is for entertainment purposes only; my DIY tutorials are not professional advice. Read my full disclaimer here.
I love it when I get your comments and I will try reply to them or visit you on your blog. Please do not add a hyperlink to your comment, otherwise we cannot publish it.


Bookcases upcycled with Paint and Wrapping Paper - The Boondocks Blog
Friday 22nd of May 2020
[…] The interesting thing about these inserts is that they are removable. Yes that’s right because just like with everything else in my life nothing should be permanent. If I get bored I simply remove the inserts. You know i do this all the time, as with my recent Framed Heart Craft and my Card Displayer. […]
Keri
Wednesday 30th of November 2016
Mary, this is a wondeful way to display Christmas cards and ornaments!! Not only functional but beautiful as well. The chalkboard behind the door looks lovely as well with the Christmas tree.
Katrin
Wednesday 30th of November 2016
Mary I love wooden boards because you can really do anything with them, over and over! Your board looked fun for Halloween, but you're right, it's time to give it some Holiday vibe and I love the idea of displaying Christmas cards and ornaments on it!! Your ornaments are so cute too!!
Debrashoppeno5
Wednesday 30th of November 2016
Very nice. What a good idea to display your cards like that. I also like how you put it next to the pretty Christmas tree you drew. It is beginning to look like Christmas. And the best part is you will be able to reuse the chalk board after Christmas.
Maria Brittis
Wednesday 30th of November 2016
I just love all your DIYs they have so much charm my charming lady, this is a great idea for cards, i have a bunch of wood I could do something like this. Maria