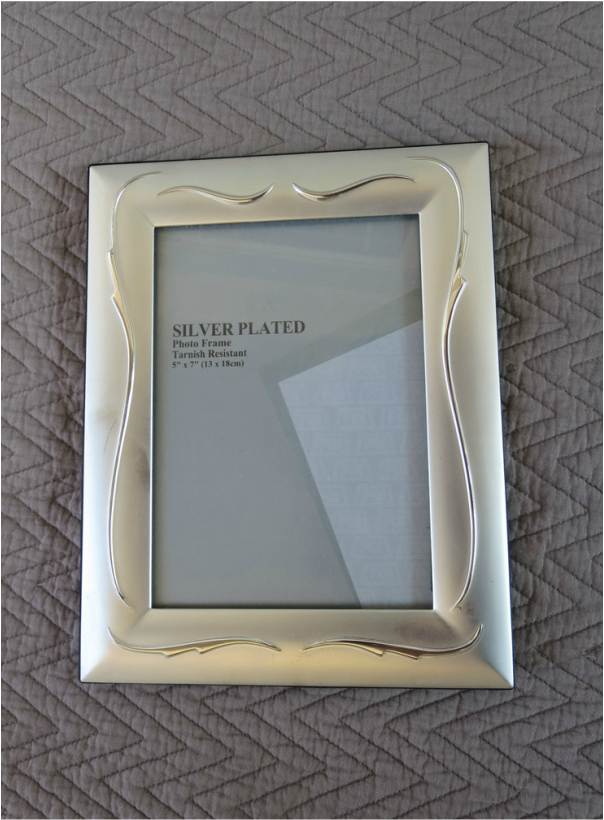
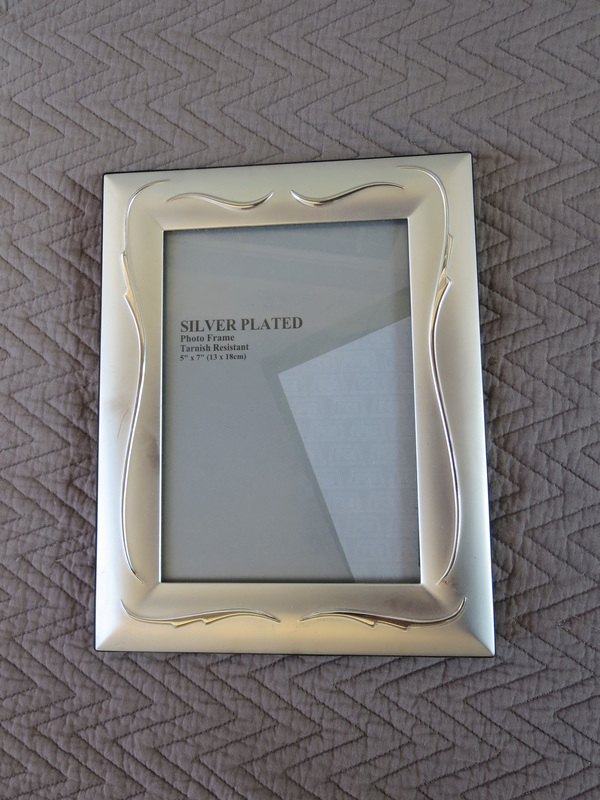
I have these two frames, they are nice frames, but not nice enough. Now that I have become a …ahem, ahem… blogger, I cannot leave anything alone. And so it is time to mess up the perfectly good frames – I mean upcycle them.
Έχω αυτές τις δύο κορνίζες, είναι ωραίες κορνίζες, αλλά όχι αρκετά καλές. Τώρα που έχω γίνει … γκούχ γκούχ
… blogger, δεν μπορώ να αφήσω τίποτα στην ησυχία του. Και έτσι ήρθε η ώρα να χαλάσω τις κορνίζες - εννοώ να τις ανανεώσω.
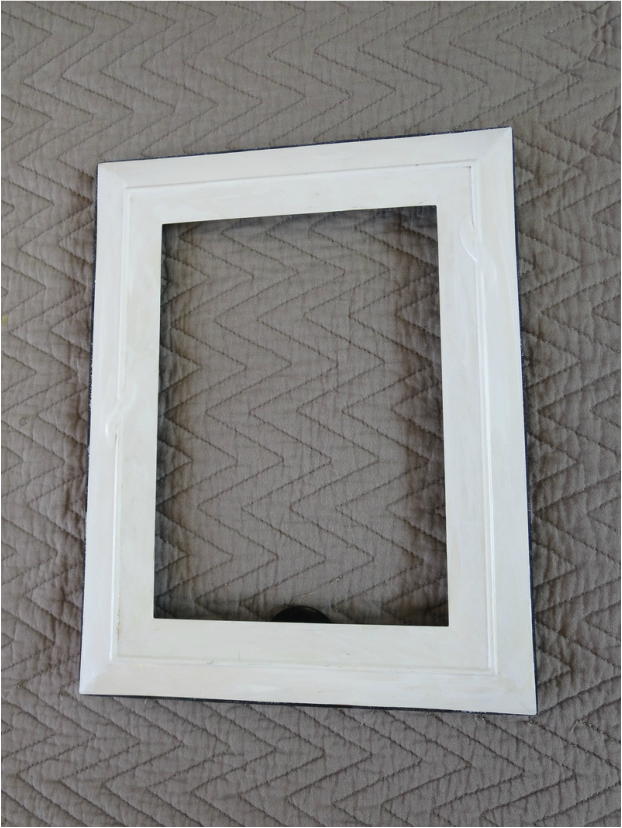
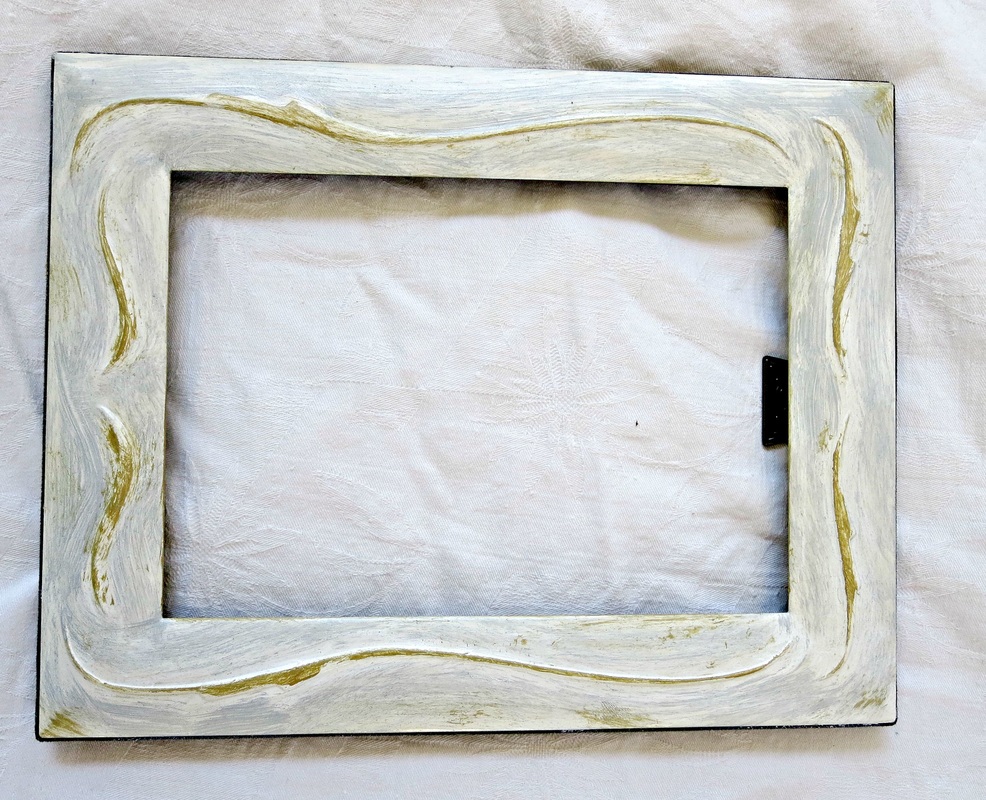
First step, I repaint them using white acrylic. This one is actually the other frame , they are not a matched pair but they had the same metallic finish on them.
Πρώτο βήμα, να τις ξαναβάψω χρησιμοποιώντας λευκό ακρυλικό χρώμα. Αυτή είναι η άλλη κορνίζα, δεν είναι ένα ζευγάρι αλλά έχουν το ίδιο μεταλλικό φινίρισμα.
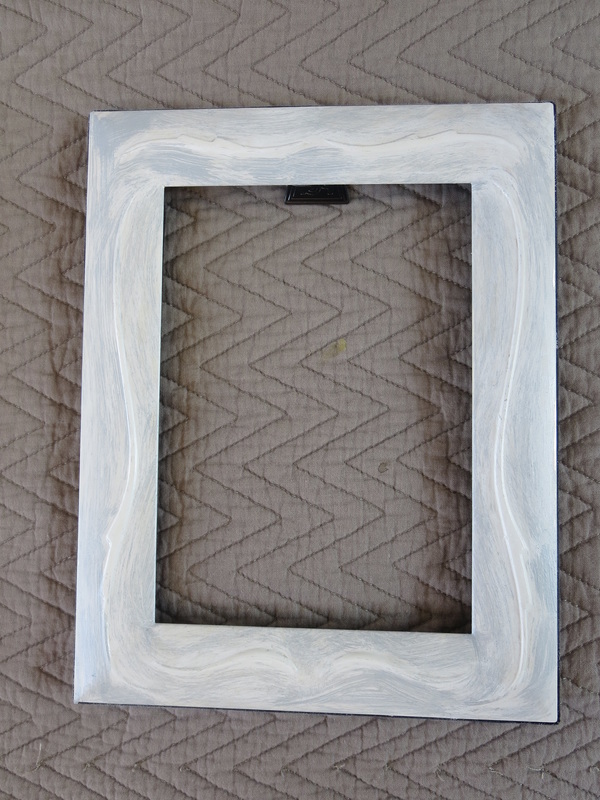
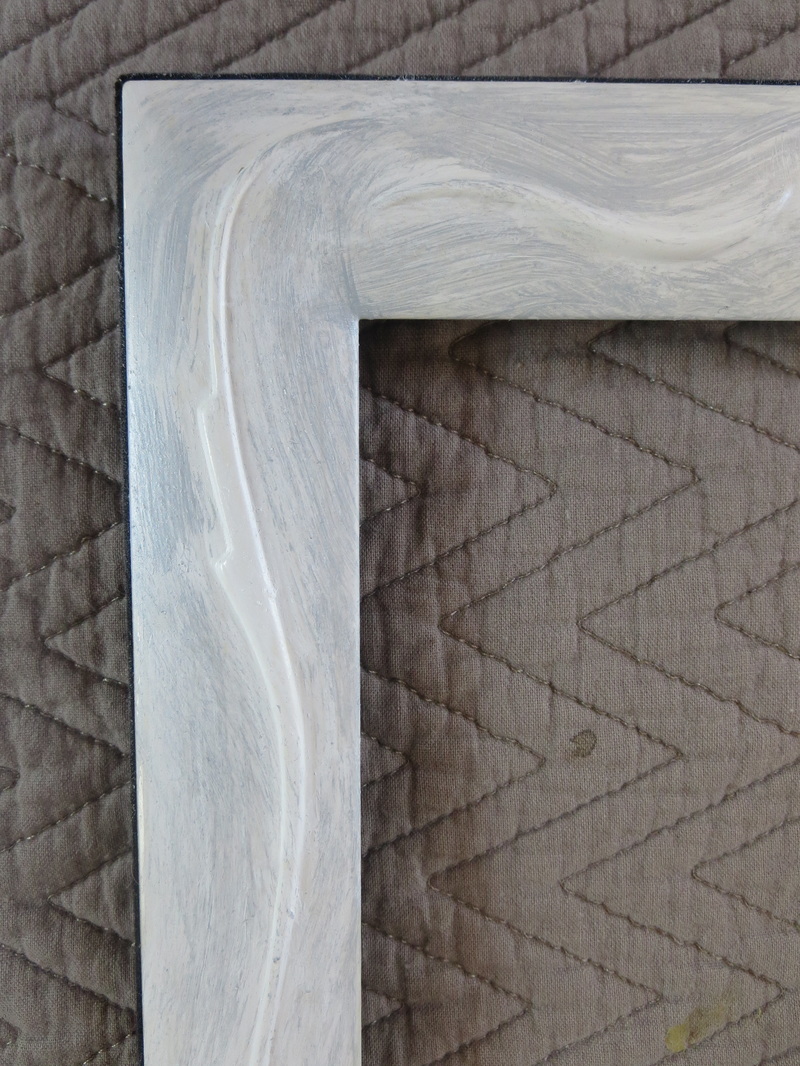
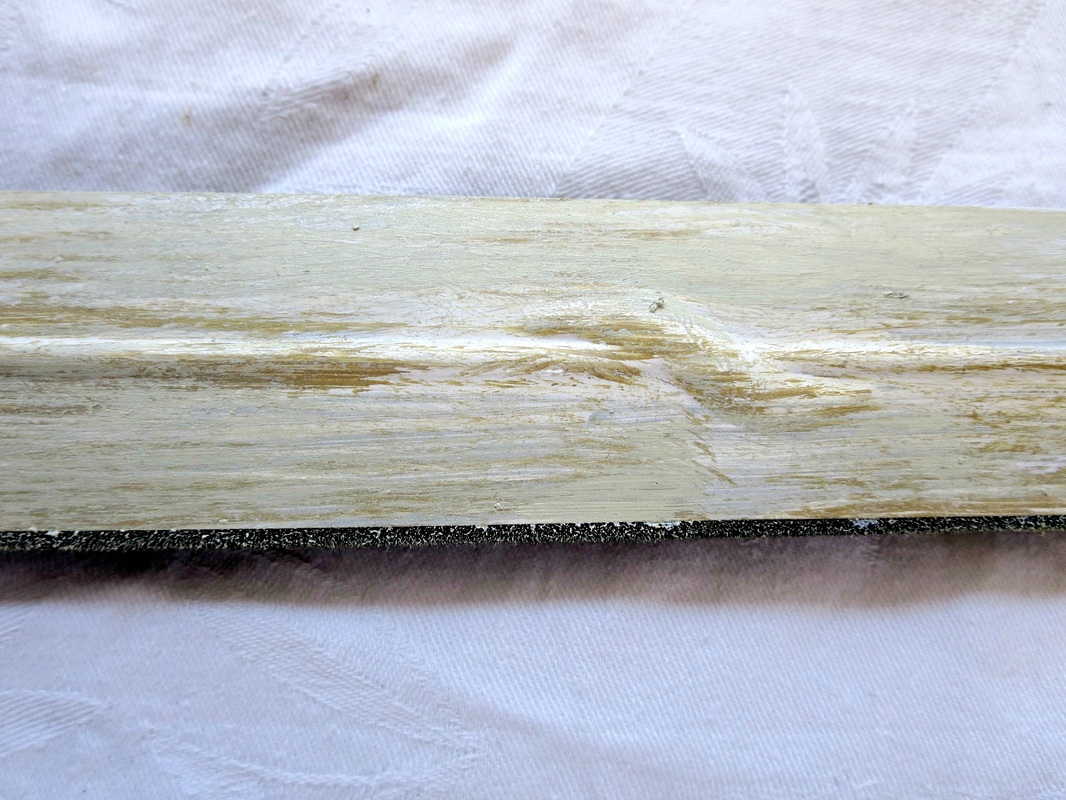
Then I create a new paint using metallic silver and white. I dry brushed this onto the frames in certain areas.
Μετά δημιουργήσω ένα νέο χρώμα χρησιμοποιώντας μεταλλικό ασημί και λευκό. Θα ξηρό βουρτσίσω αυτό επάνω στις κορνίζες σε ορισμένες περιοχές.
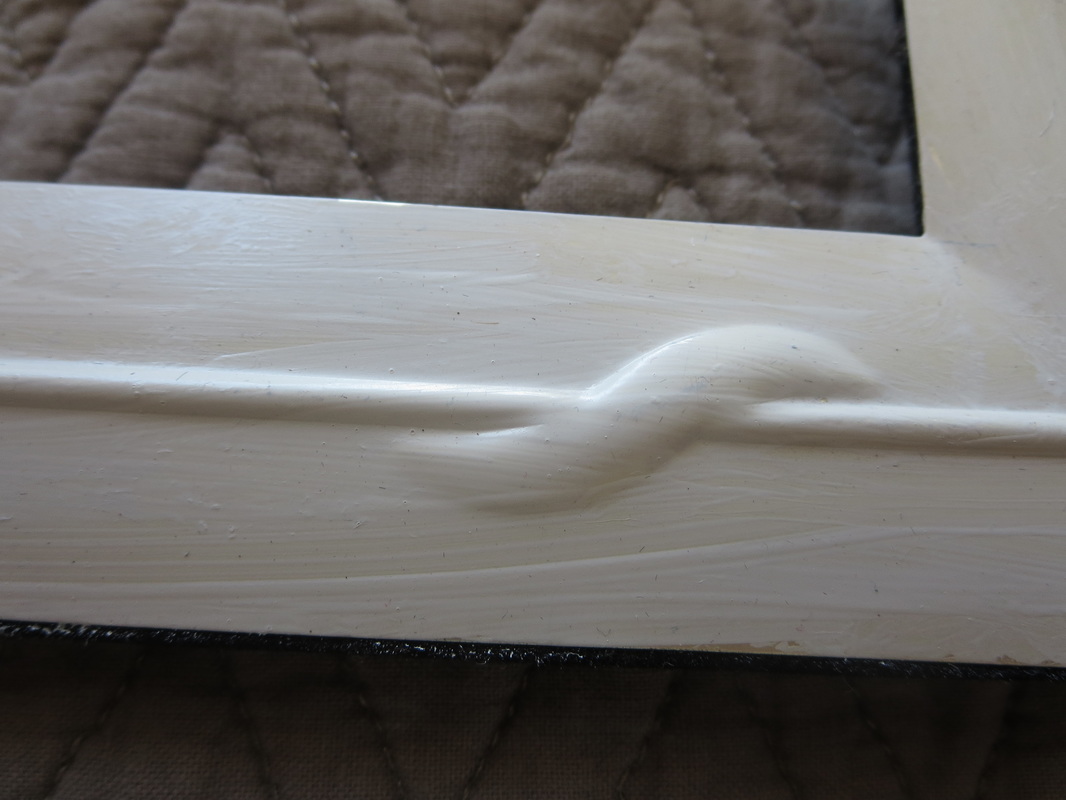
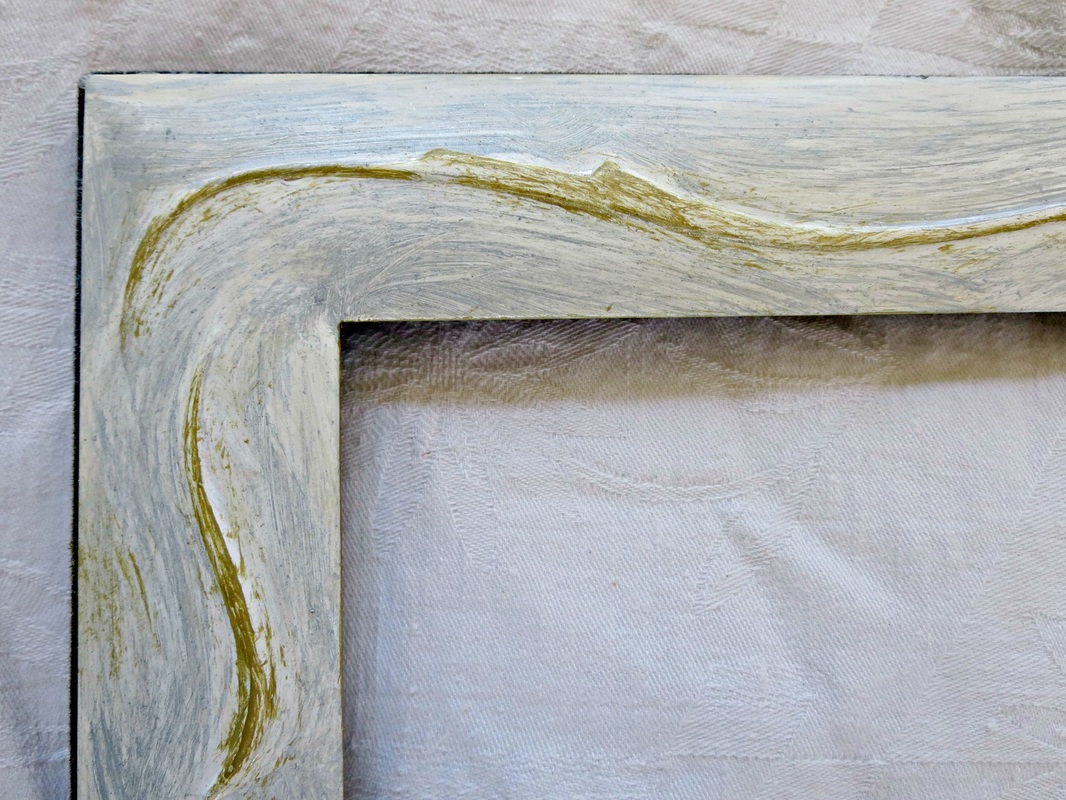
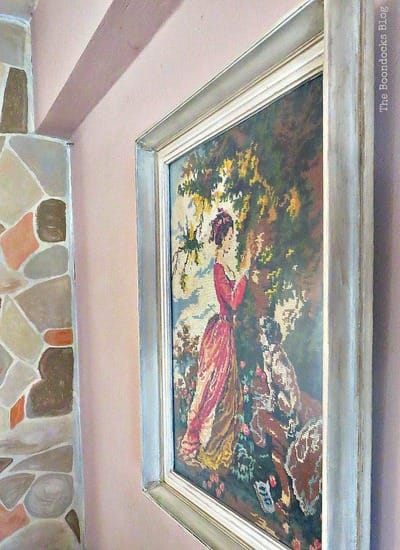
The last step was to create a beige using yellow, red and a tiny bit of blue. I then added white and came up with this warm color to offset the silvery tones of the previous dry paint.
Το τελευταίο βήμα ήταν η δημιουργία ενός μπεζ χρησιμοποιώντας κίτρινο, κόκκινο και λίγο μπλε. Στη συνέχεια πρόσθεσα λευκό και κατέληξα σε αυτό το ζεστό χρώμα για να αντισταθμίσει τις ασημένιες αποχρώσεις του προηγούμενου ξηρού χρώματος.
I used this color sparingly to highlight the design.
Χρησιμοποίησα αυτό το χρώμα με φειδώ για να τονίσω το σχεδιασμό.
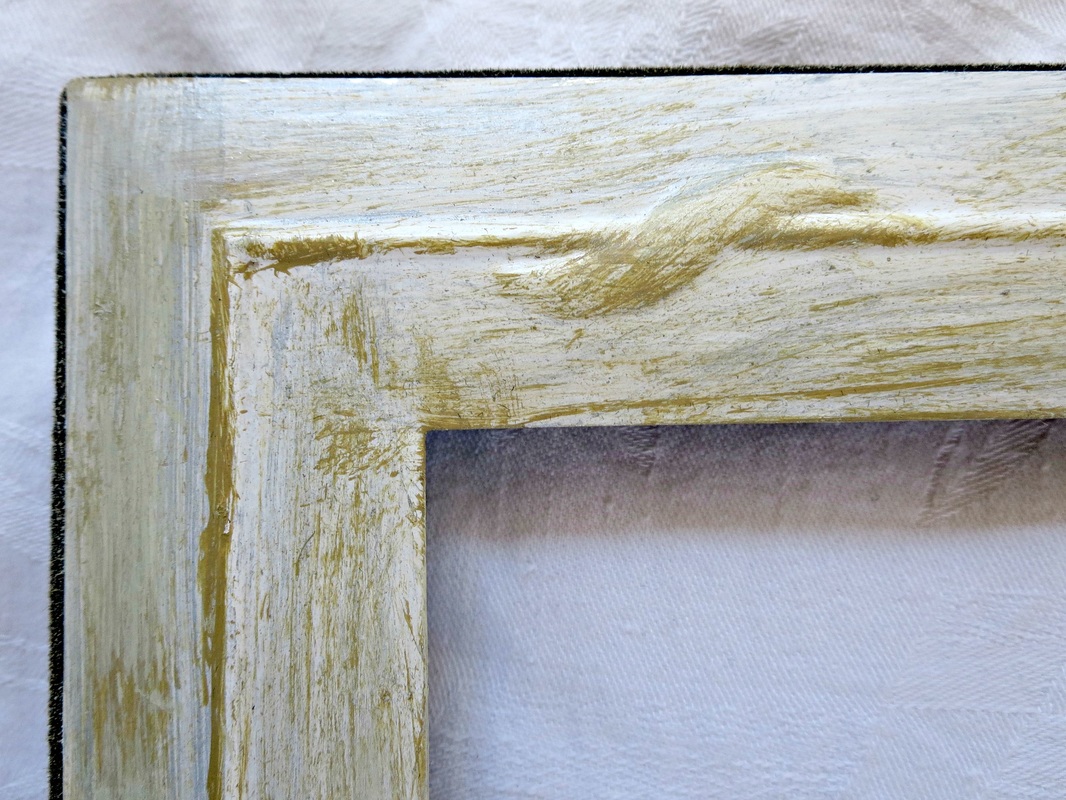
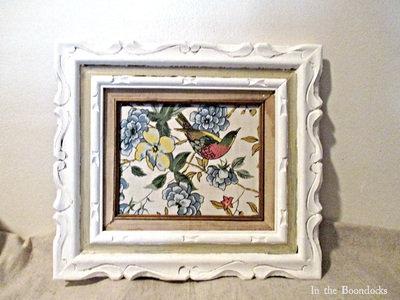
This is the second frame with the other design, same process.
Αυτή είναι η δεύτερη κορνίζα με το άλλο σχέδιο, ίδια διαδικασία.
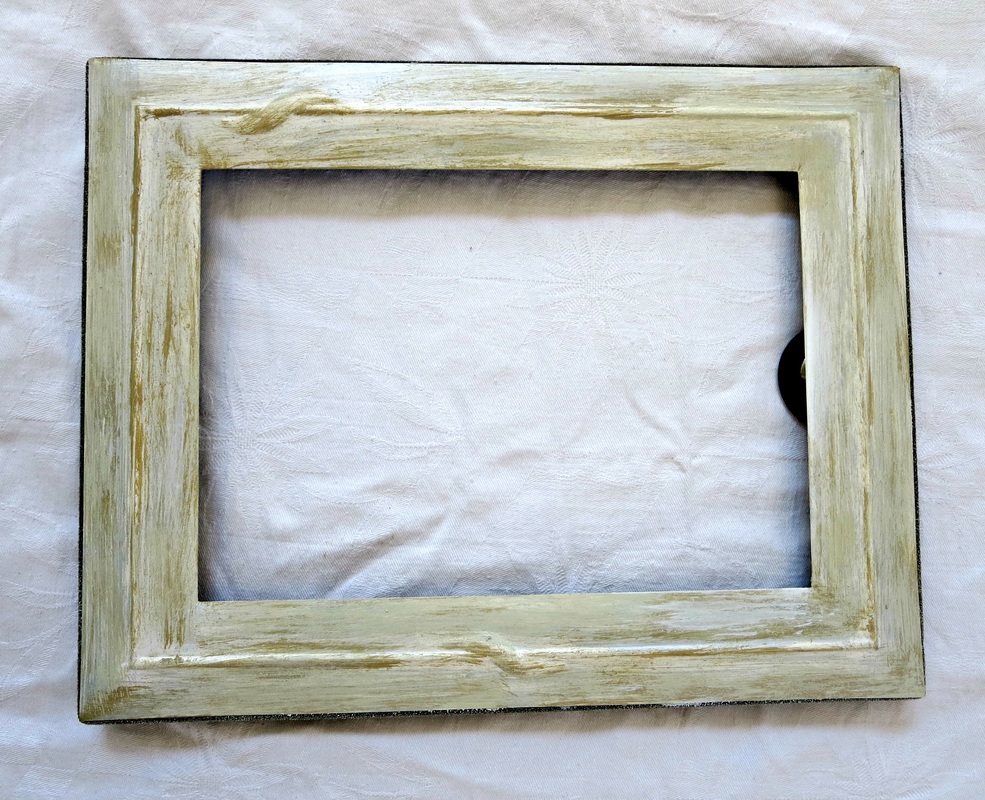
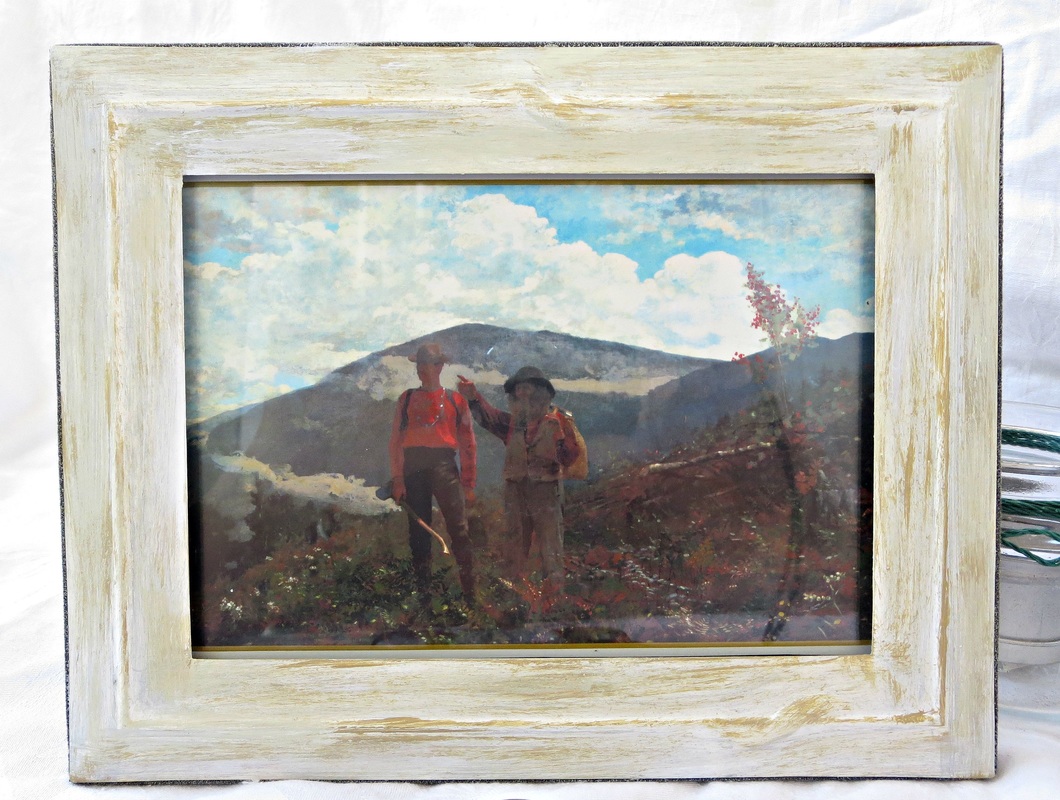
And the end result.
Και το τελικό αποτέλεσμα.


Disclosure: This blog contains affiliate links. If you purchase any of these products through the links, I receive a small commission, that way I can continue to provide you with lovely content. There is no extra charge to you for purchasing through my affiliate links.
From this: Από αυτό:
To this: Σε αυτό :
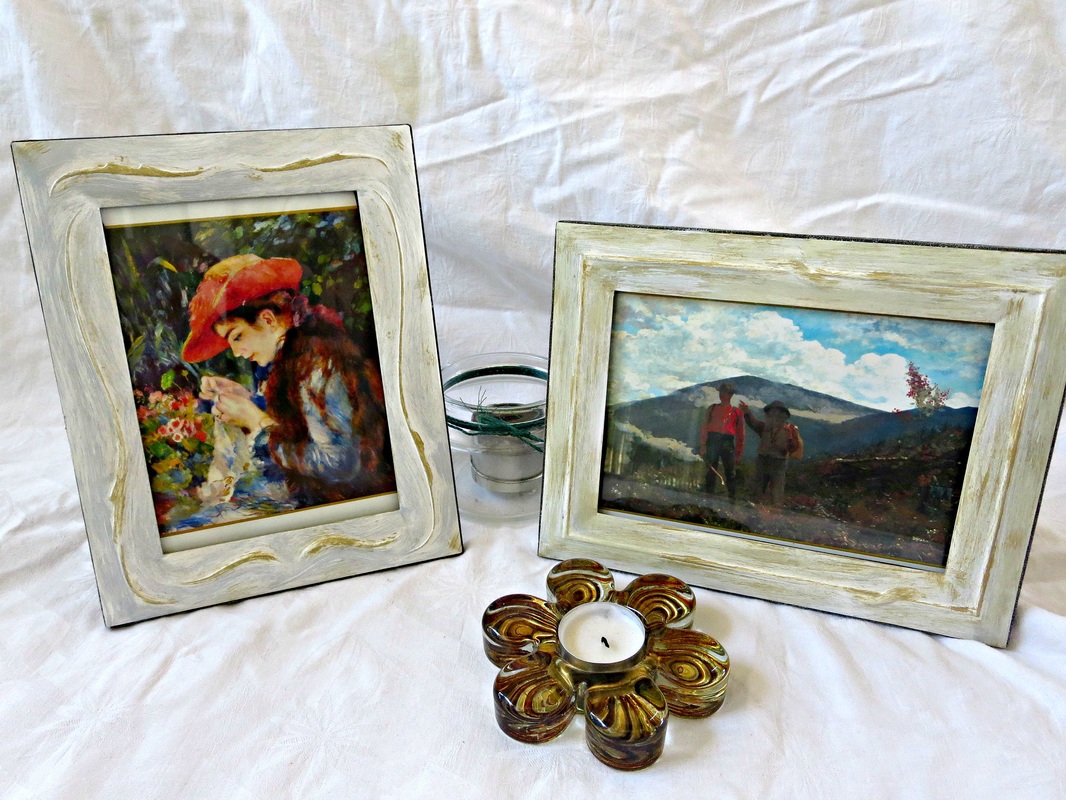
And so my destructive tendencies have been satisfied – I mean creative tendencies. They actually look like distressed wood . Who is to know that underneath is silver plated metal. I won’t tell, will you?
Και έτσι οι καταστροφικές τάσεις μου έχουν ικανοποιηθεί – εννοώ οι δημιουργικές τάσεις. Στην πραγματικότητα μοιάζουν με παλιό ξύλο. Ποιος θα γνώριζε ότι κάτω είναι ασήμι μέταλλο. Εγώ δεν θα το πω, εσείς;

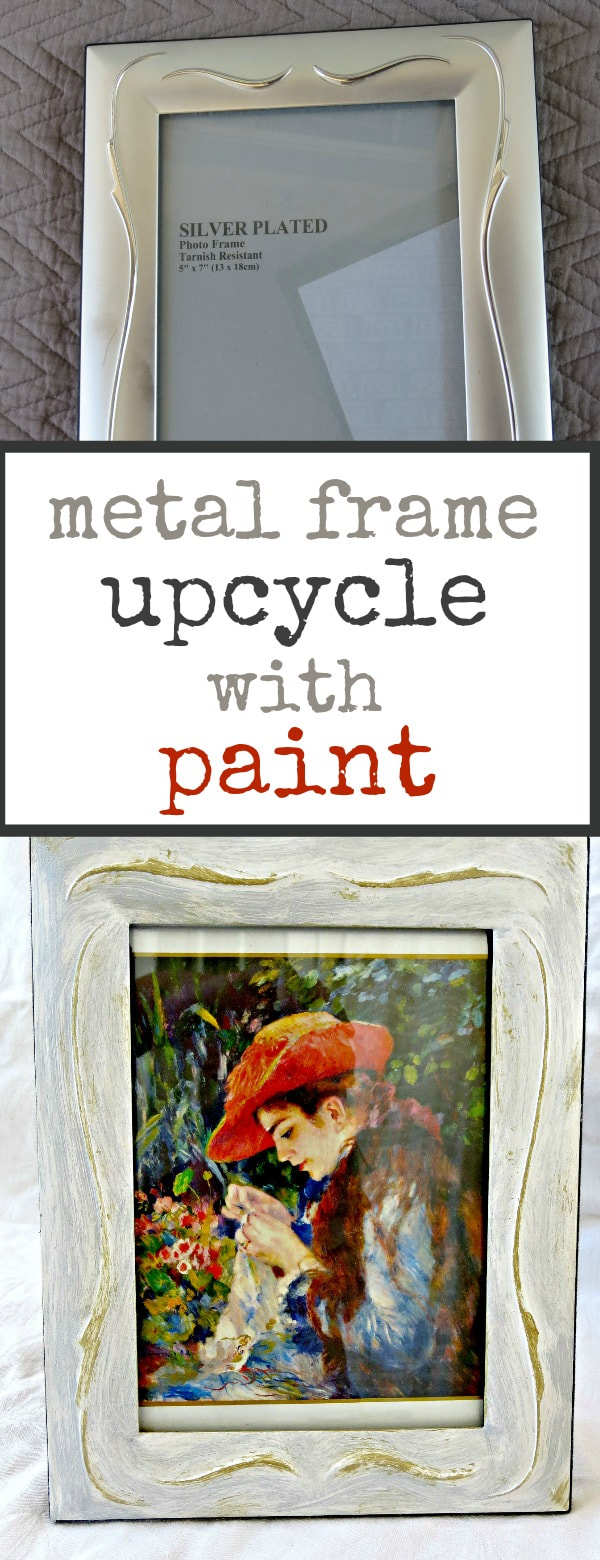
If you like what you see, share it with your friends, or save it on Pinterest. Above is a Pinterest worthy image!
If you really like what you see subscribe to my blog and get my adventures twice a week in your mailbox. The form is on the sidebar and your e-mail will never be shared with a third party.

Related posts:
Σχετικά:
Σχετικά:
Julie
Thursday 28th of March 2019
They really do look totally transformed, I don't think I would have dared but I guess 'who dares wins'!
Mary
Friday 29th of March 2019
Exactly Julie, and if you don't like something get rid of it or change it. That's how I think, no need to be surrounded with things we don't like especially since we have the ability to upcycle.
Donna Wilkes
Friday 28th of August 2015
Never leave shiny things alone - the motto of a blogger. The frames look great with that old distressed look. Much more interesting!
Mary
Friday 28th of August 2015
Donna, you get me! Never leave shiny things alone!! Pretty soon my husband will come home and not recognize the house! Thanks for visiting.
Pili
Sunday 30th of August 2015
Mary you made me laugh so hard! Don't let things alone and keep doing that great job! Hugs,
Mary
Sunday 30th of August 2015
Thanks Pili, I look at things now and my mind is racing... how can I change it. I'll transform the whole house!
Beverly
Sunday 30th of August 2015
I love the techniques you used to get this look. They do look like distressed wood. Very pretty! Pinned.Thanks for sharing on Snickerdoodle Sunday!
Mary
Sunday 30th of August 2015
Thank you Beverly, the funny part is when I started I did not know what I was trying to achieve only that I wanted a change. I'll see you next Sunday and have a great week.
Amanda
Tuesday 1st of September 2015
Great transformation! I never cared much for shiny finishes on frames. The distressed look is so much better. Thank you for sharing at Merry Monday!!
Mary
Wednesday 2nd of September 2015
Amanda, when I started this project I never imagined they would turnout so good. I was just going for a change, anything but the shine. I'll see you next Monday!