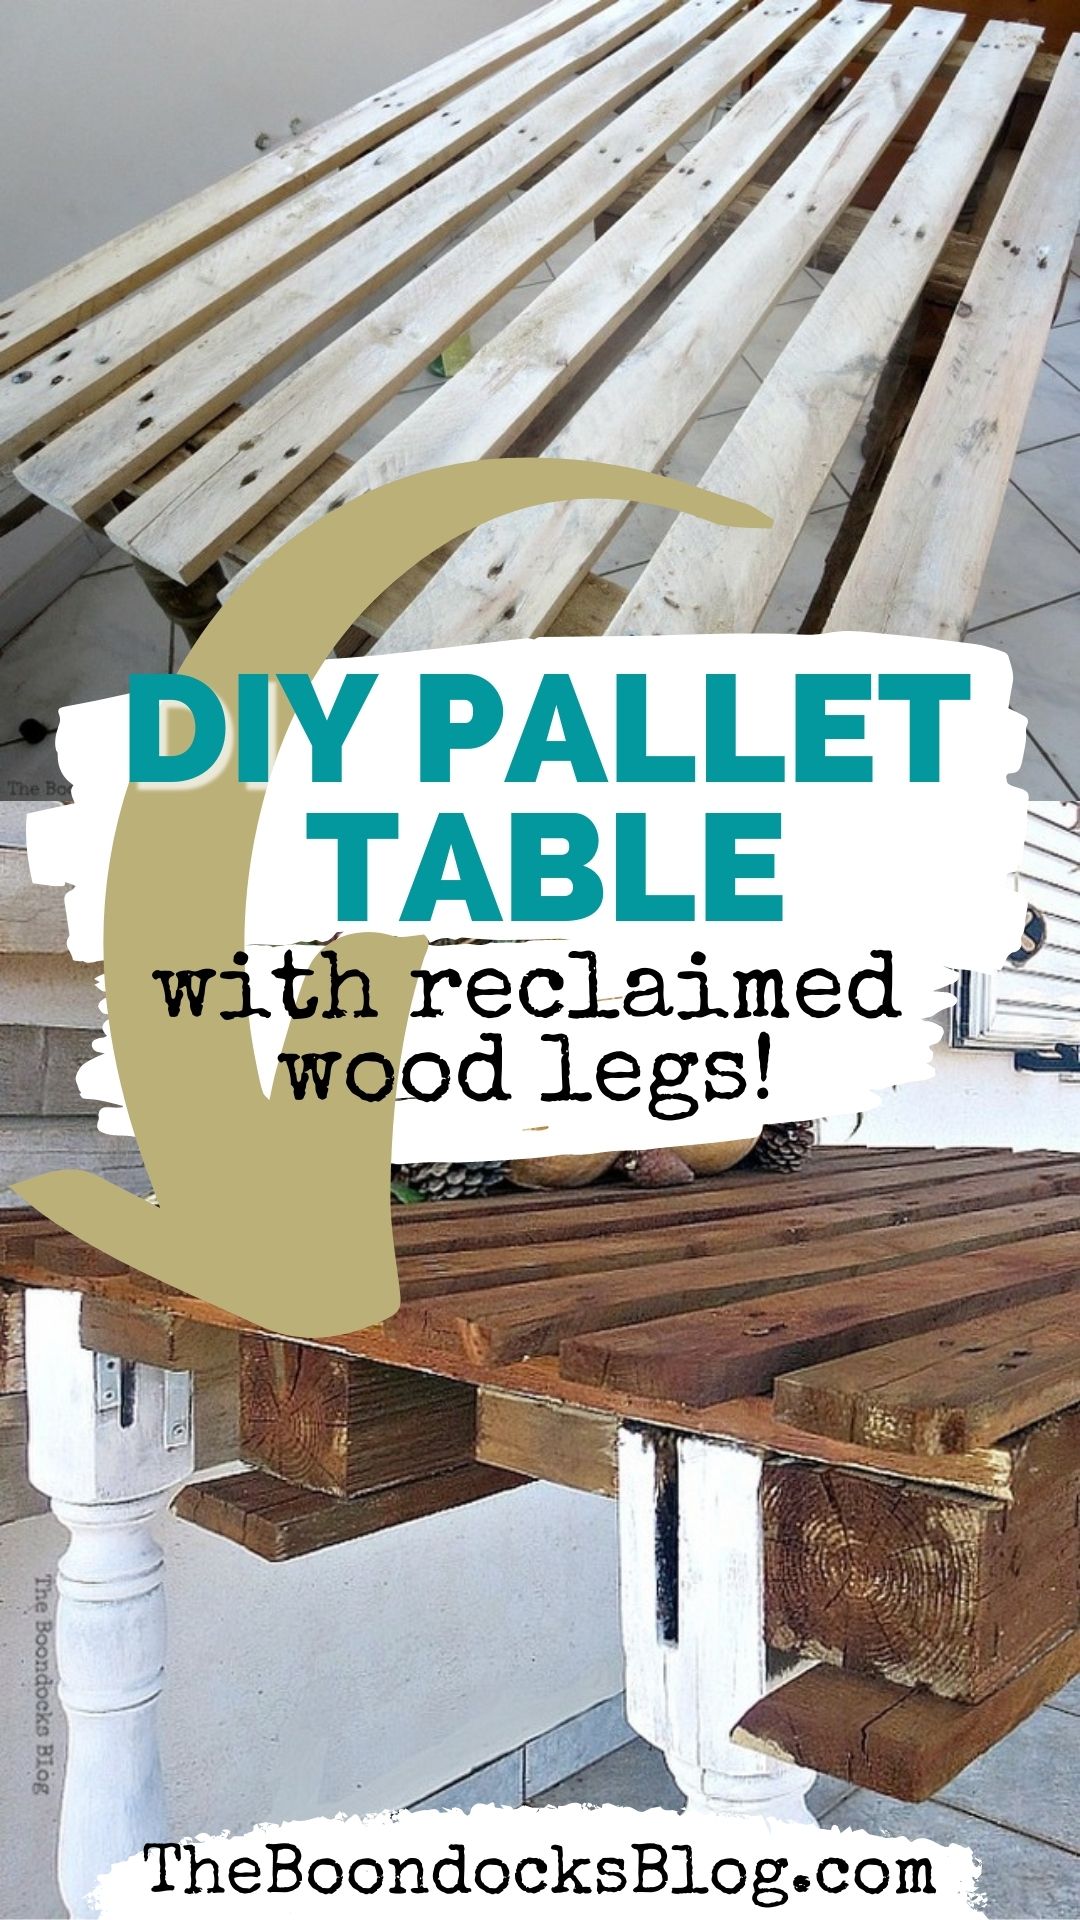
This is the story of four table legs that were found out in the road. These poor legs were filthy and covered in mud. But they were curvaceous and full of rugged personality and that is what my husband saw when he spotted them out there by themselves. Little did he know, the can of worms he’d be opening up by bringing them home and trying to transform them into a DIY pallet table!
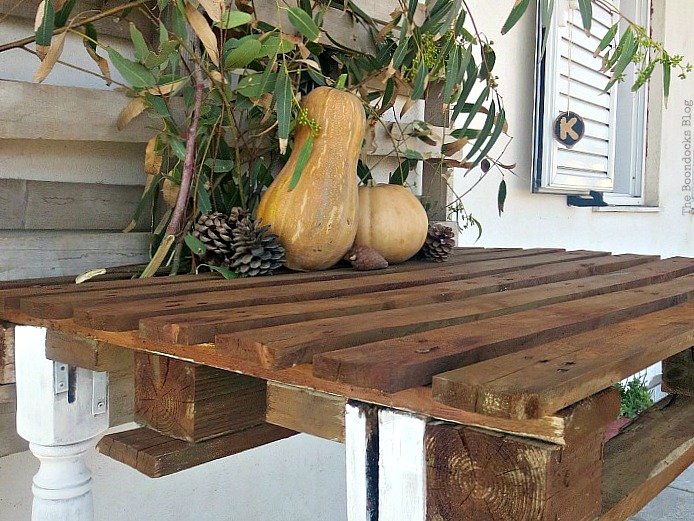
Making a DIY Pallet Table
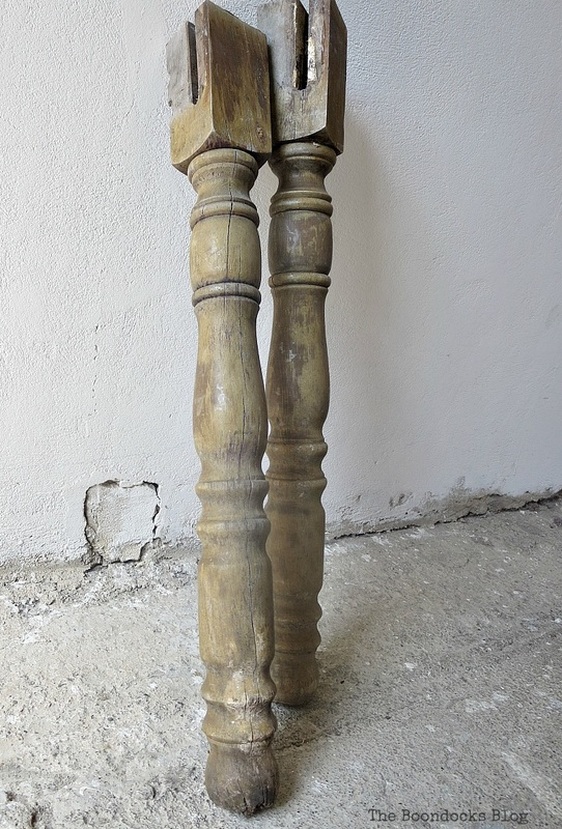
Here are the beauties my hubby brought home. They were cracked and in some places even rotting. But he could not resist their lovely imperfections. I guess I must be rubbing off on him.
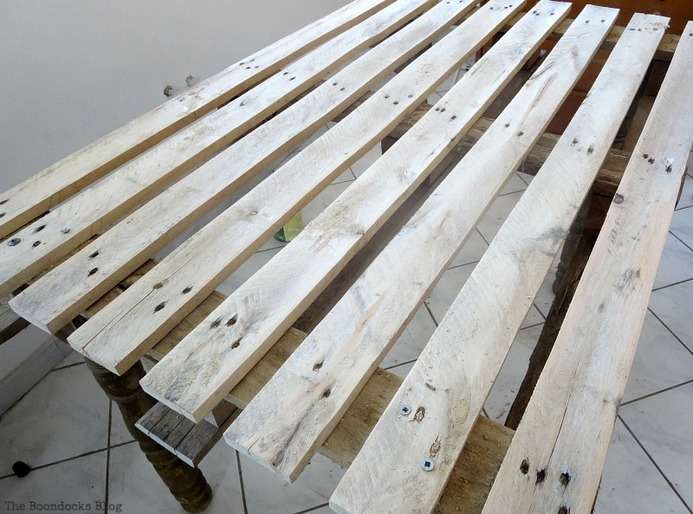
We sanded the pallet down to get it ready. (Have you seen our collection of 20+ pallet projects to make?)
Of course, for some reason when we nailed the legs on our DIY pallet table would not stand straight. So I took to calling it the drunken table.
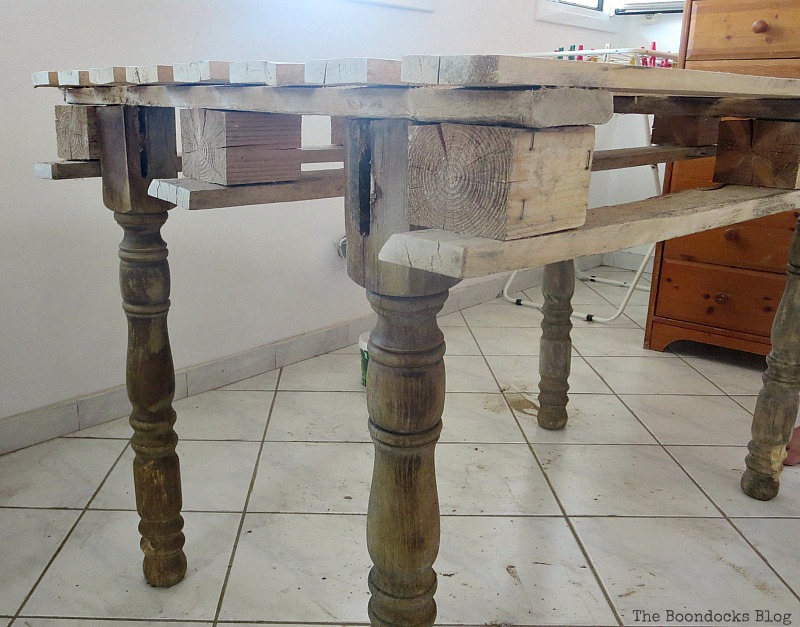
Now my husband was determined to make sure those legs were not wobbly. So he came up with this idea of adding a piece of wood and then using brackets to secure the legs onto the pallet. Here is where things went crazy. The bits we used with the drill were worn out, in fact they were useless. It took us days to find the right bits in order to put the screws through the brackets.
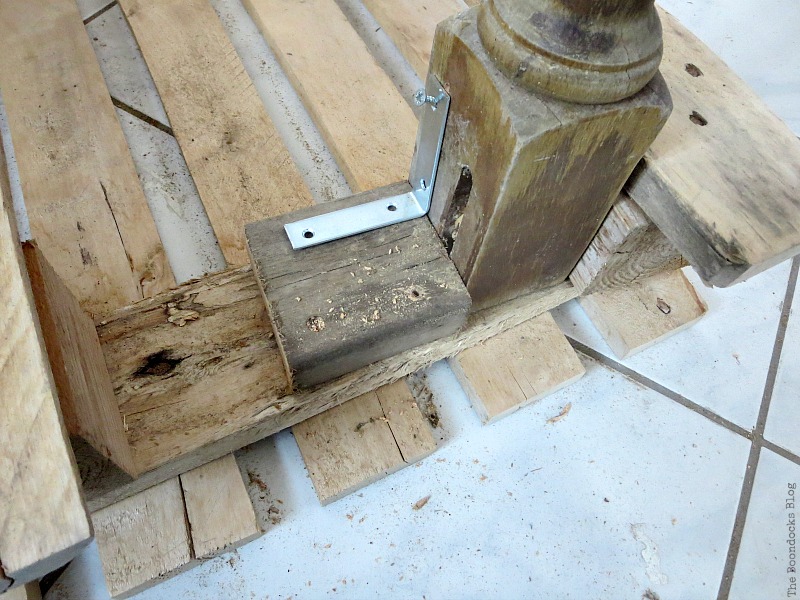
At this point you might think we were a little drunk to try it like this, being that we are amateur carpenters. But in fact, it worked and the table didn’t look as drunk on its feet any more.
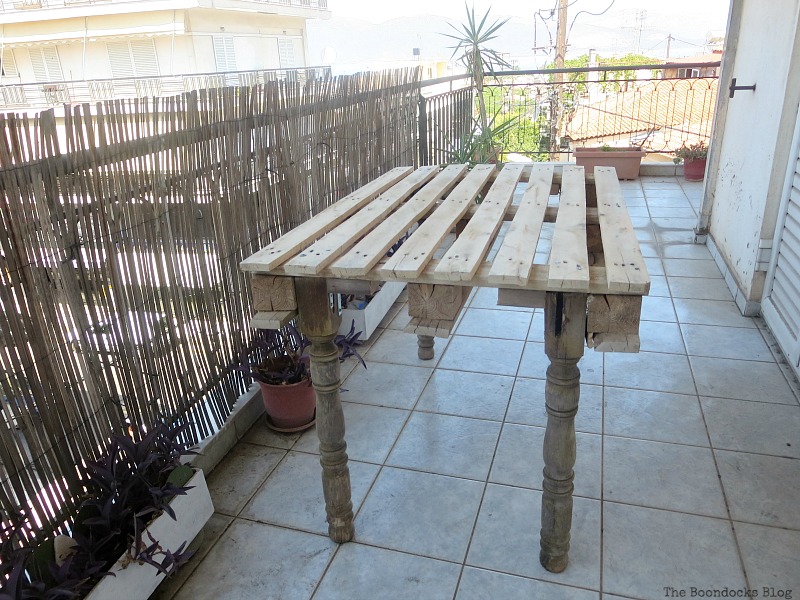
This whole pallet table looked a little blah to me. I wanted to add some color to it but not use stain. I had seen that Marie of The Interior Frugalista had made a natural wood stain using vinegar and steel wool and I really liked the idea. You can see it here. It gives a rich earthy color to the pallet.
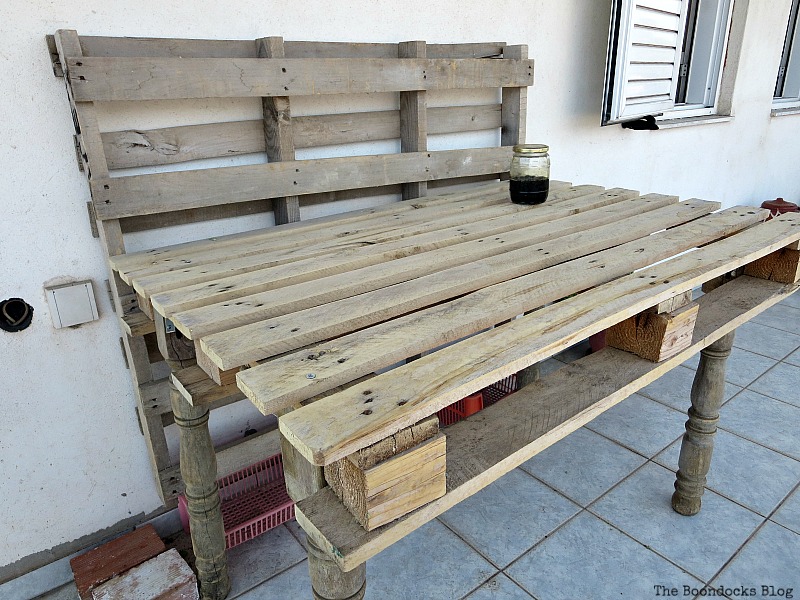
The only problem was I couldn’t get a hold of the #0000 steel wool. Living here in the boondocks has its disadvantages. I used the wool I had and improvised by adding a few rusty nails in the mixture instead. After a few days it was ready.
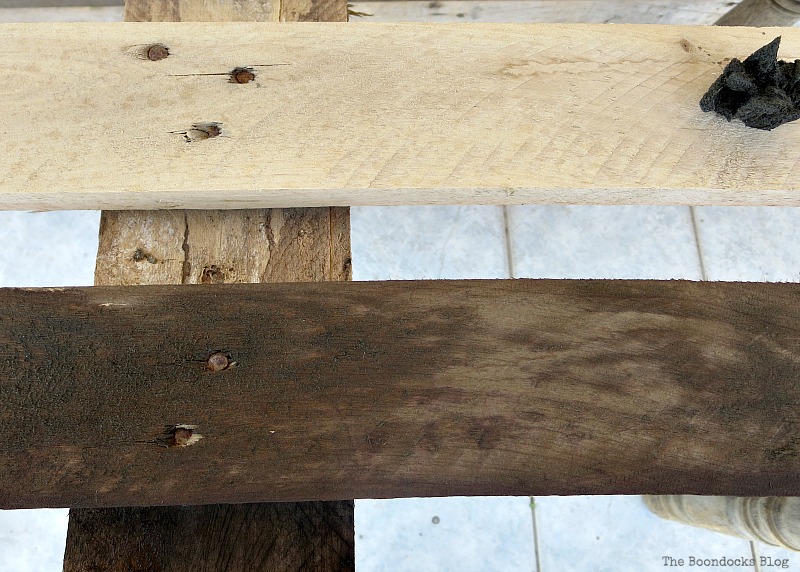
I applied it straight from the jar, using the steel wool I had. Be sure to wear gloves here as it can get a bit messy. Here it is all dry after one coat.
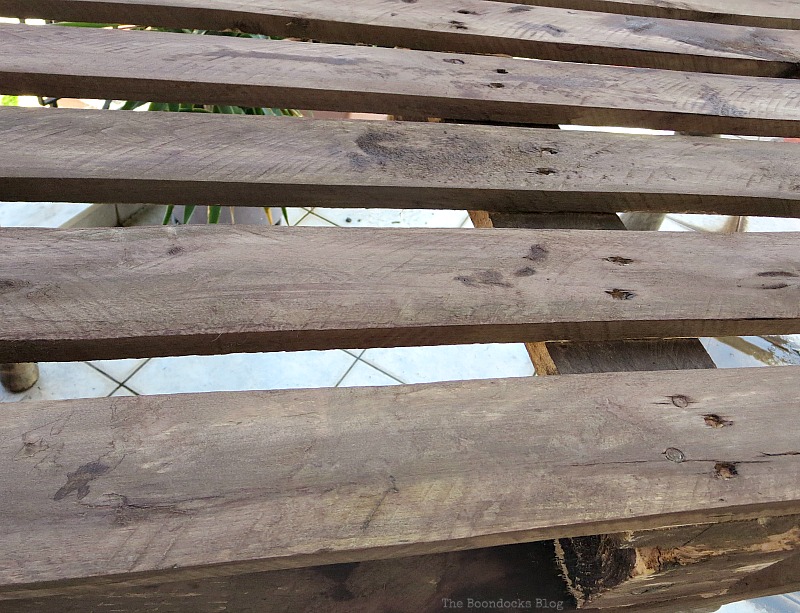
This is the pallet wood color after three coats of the vinegar cocktail, or as Marie calls it “Giggle Juice”. I love those rich earthy tones.
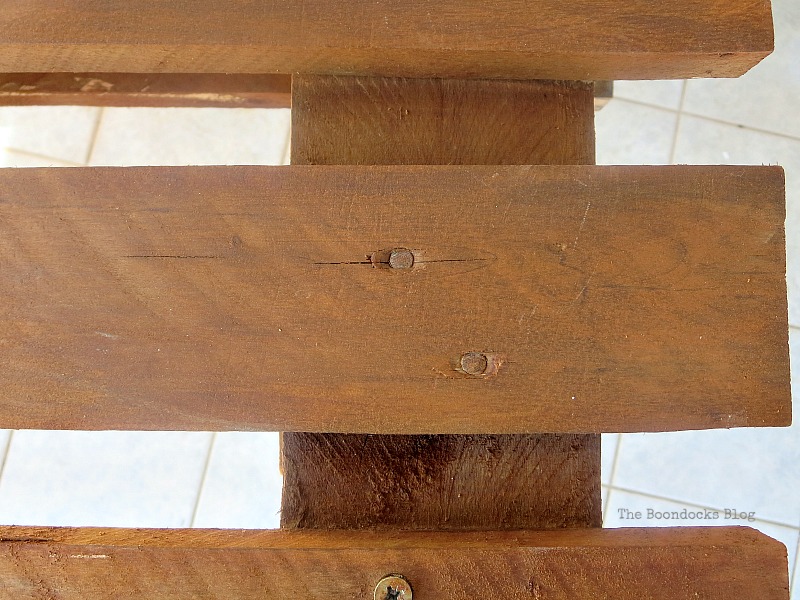
The next step was to take care of those legs. I had sanded them down earlier.
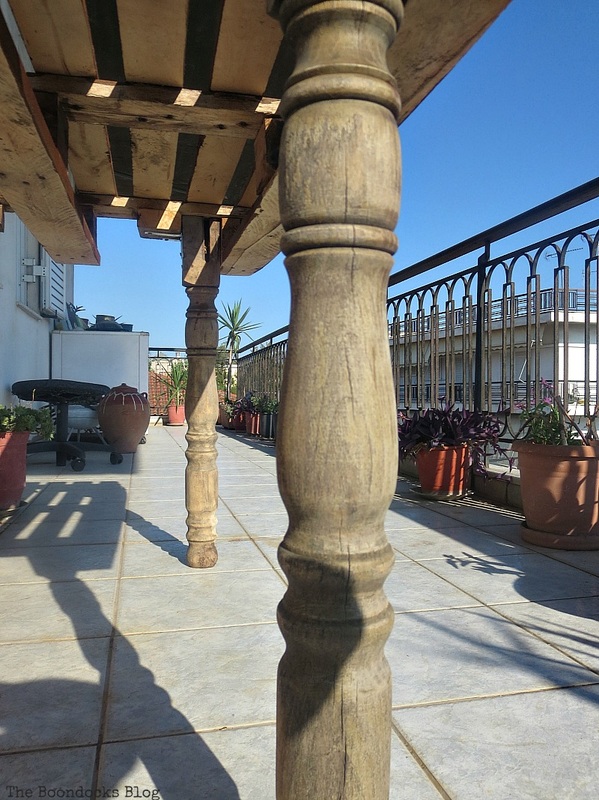
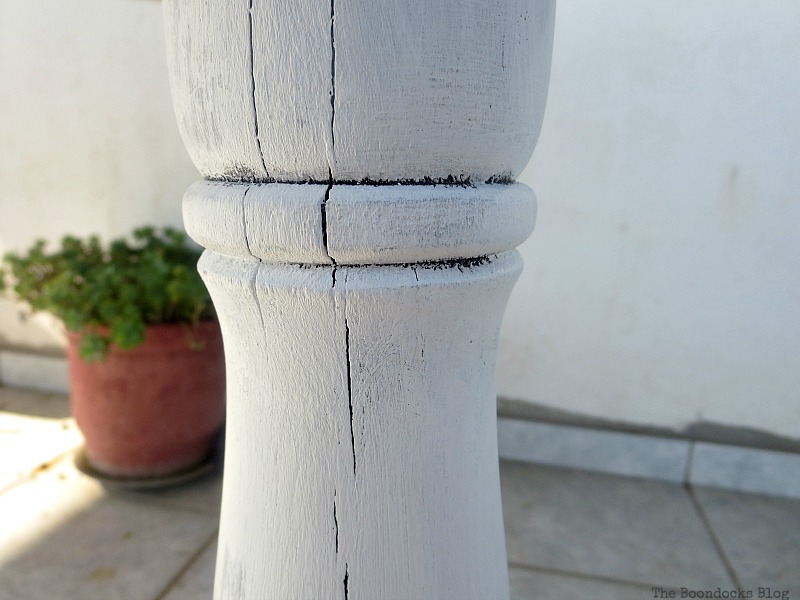
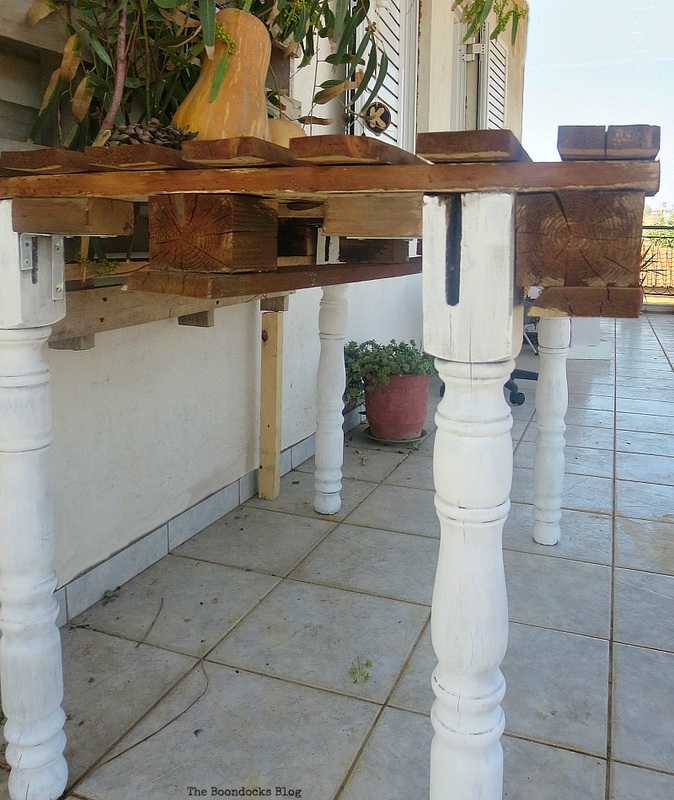
I chose to paint them white in contrast to the deep earthy tones of the pallet. Here you can see that the cracks are still present. And I let some of the darker color peek through.
You must be wondering what I’m going to be doing with my drunken table. I have placed it outside on the balcony and will be using it to photograph on. The light out here is so much better and I am quite the eyeful with my camera and my pajamas. I’ve added another pallet behind and lifted it up on two pieces of wood to give it height. That will be the backdrop.
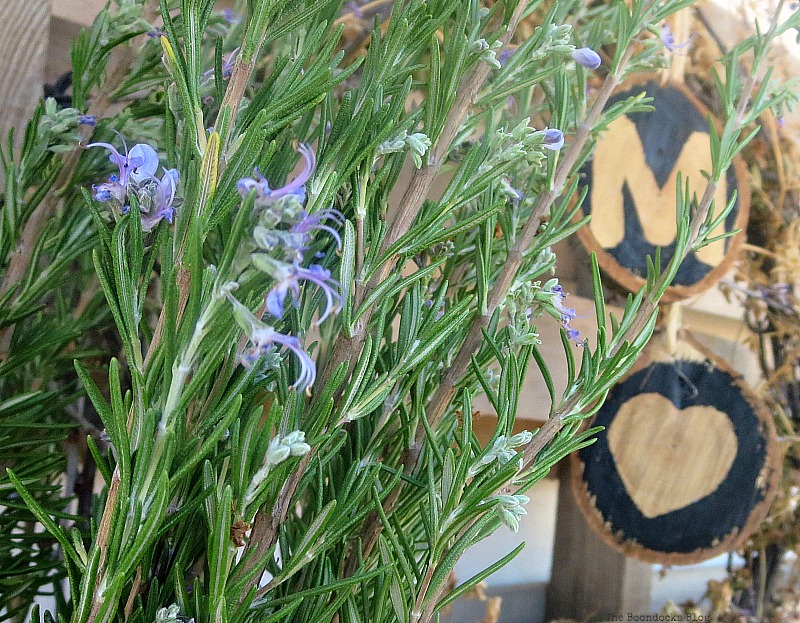
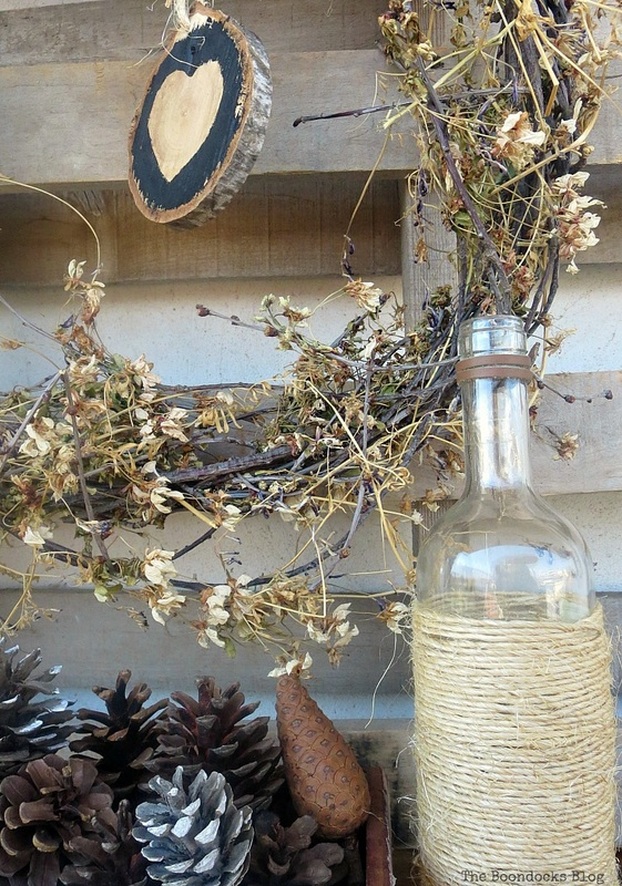
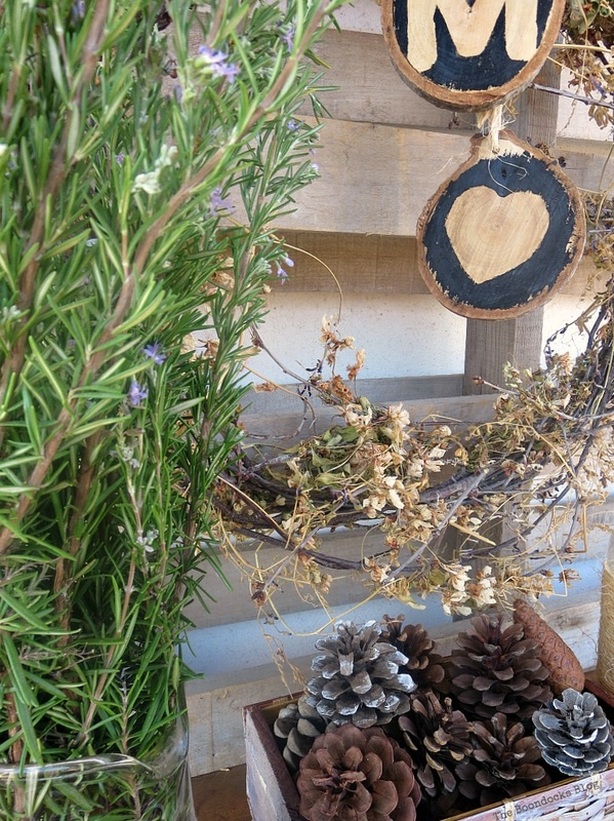
Here you can see it in action. This is a vignette I’ve photographed on the table with the lighter colored pallet as a backdrop.
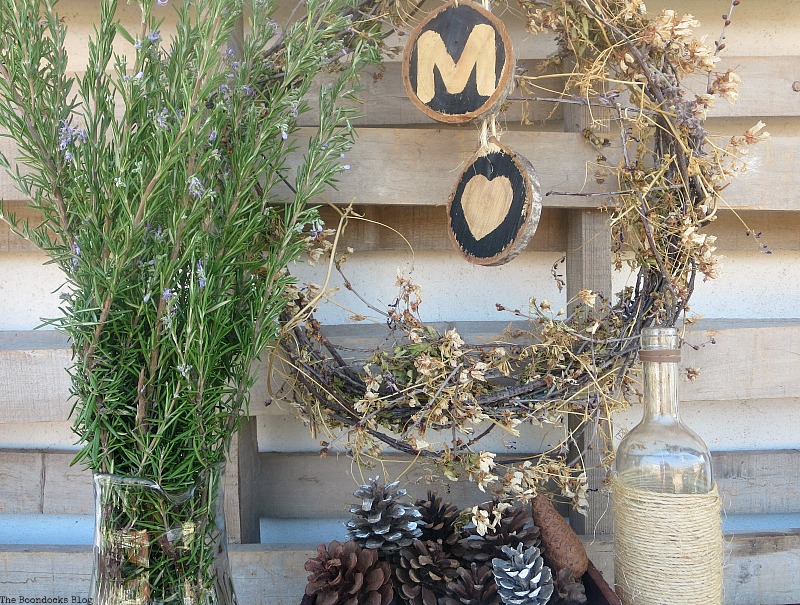
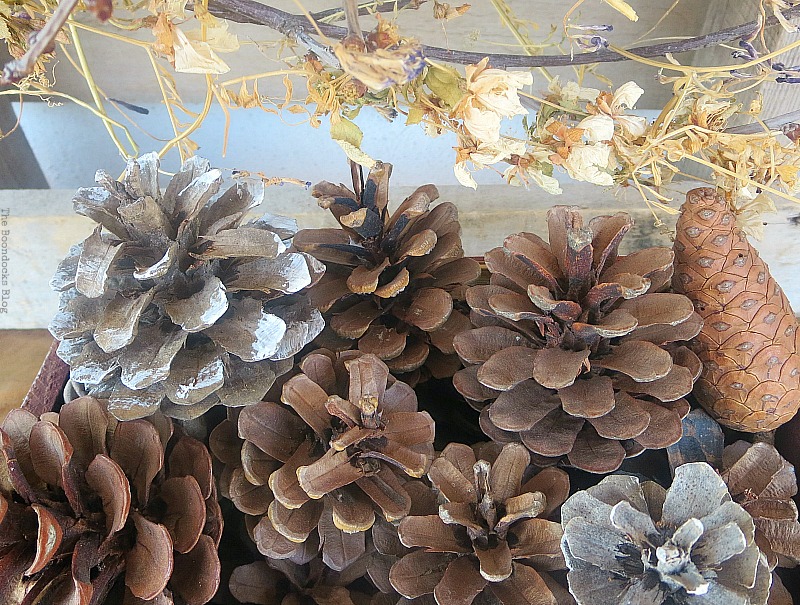
No matter how cold it may get, the light is still better out here so it’s important for me to have this space in order to take good photos.
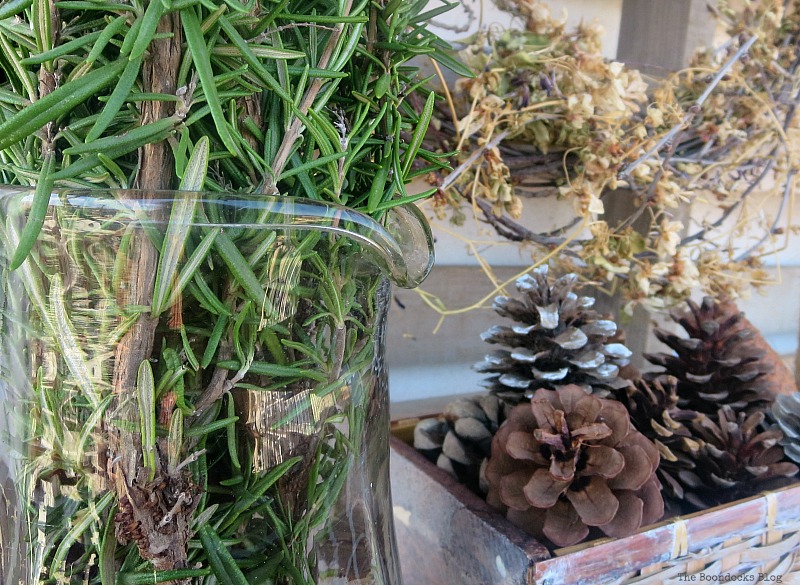
My repurposed rustic wood slices are so versatile. I use them all year long.
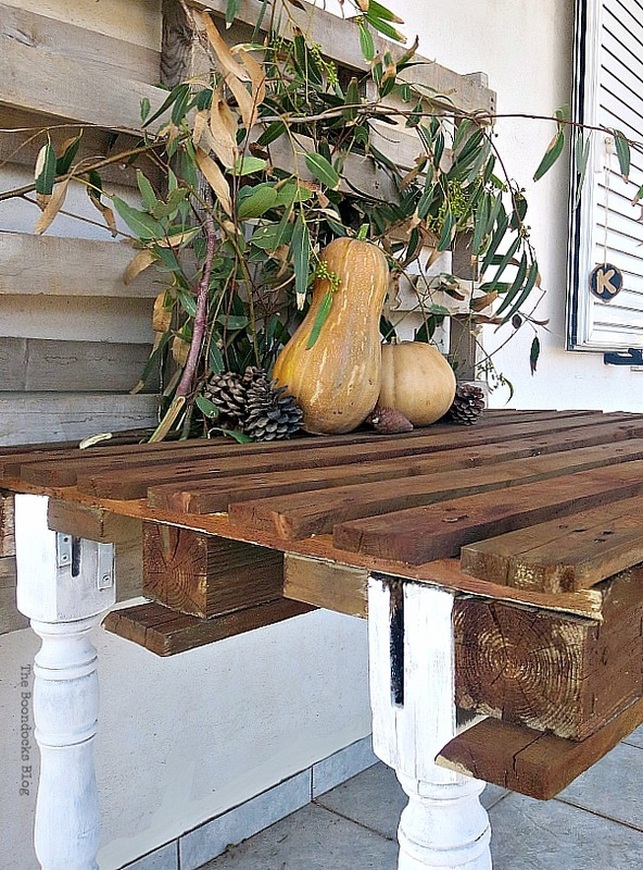
And that is the tale of the drunken DIY pallet table. It took a while to get those legs attached to the pallet. But in the end I think it was worth all the trouble. Thanks to my friend Marie of The Interior Frugalista and her “Giggle Juice”, I am loving my deep dark wood pallet table now.
Of course, you will be seeing a lot more of my drunken table now that it is finally standing tall. Have you ever made any furniture using pallets? Our DIY pallet couch was super easy to make and we enjoy it all season long.
What do you think, should I continue to call it the drunken table or should we come up with a better name for it?
Amazing
Friday 1st of July 2022
I like your idea and your table!! thanks for sharing.
Natural Thanksgiving Centerpieces - The Boondocks Blog
Saturday 7th of November 2020
[…] to it. I’ve been on a quest these past few months trying out natural wood stain methods, as you can see on my drunken table. […]
Nam
Thursday 5th of December 2019
Great post.
Linda at Mixed Kreations
Monday 19th of September 2016
Your table turned out great Mary. The legs are little beauties! I use the vinegar and steel wool solution all the time, but have never tried using rusty nails but I can see how that would work just as well. I love that you stained the top and painted the legs white leaving some of the aged wood showing through. Looks great and will be a great place to take your photos.
Mary
Monday 19th of September 2016
I had to use the rusty nails Linda. The steel wool I had was not #0000 and apparently that makes a difference because the vinegar was not changin color at all. Once I added the rusty nails the color changed within a matter of hours.
Julia - Vintage with Laces
Monday 19th of September 2016
What a clever idea to use a pallet as table top, Mary. Your project turned out great. It's nice to have a hubby who looks out for junk that can be turned into something wonderful, isn't it? Thank you so much for your kind comment! :) I'm sure I blushed when I read it. xo Julia
Mary
Monday 19th of September 2016
Julia you are one in a million. Your creativity is so unique and we need artists like you who can inspire us. Thank you for the sweet comment.