A Display for Christmas Cards and Ornaments

There is just something so special about Christmas cards. I know we don’t get very…

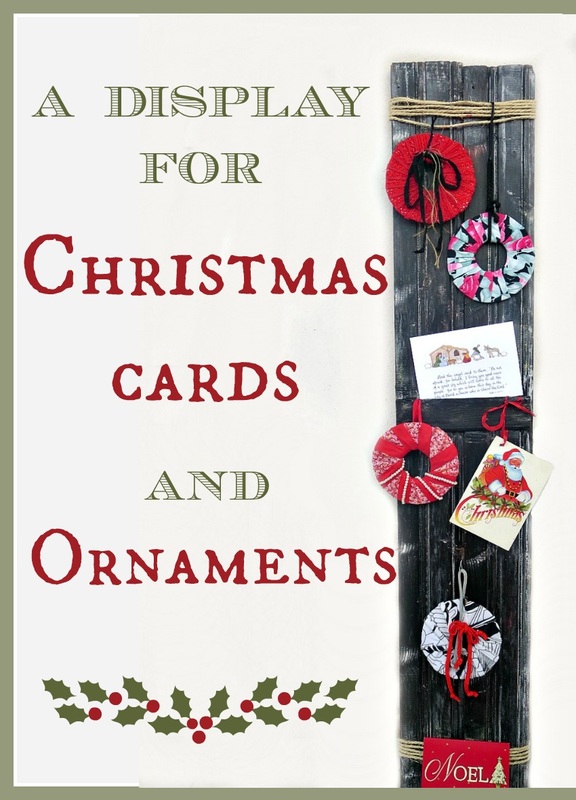
There is just something so special about Christmas cards. I know we don’t get very many anymore in the digital age. But when we do we need to have somewhere to display them.  That’s why today I am going to show you a super easy Display for Christmas Cards and Ornaments. 

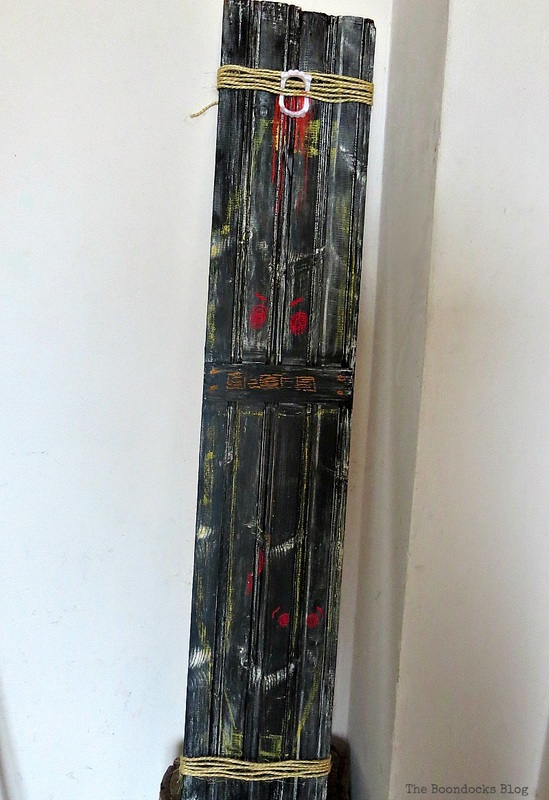
I had this piece of wood that I had previously used as a Halloween decoration but I also wanted to reuse it for Christmas.  After all, for anything to survive in my home, it has to be multi-functional. I had painted this piece of wood using chalkboard paint and curated it by covering it with chalk.  You can see a tutorial of that process here when I did my holiday signs.
​

The board as a Halloween display, A Display for Christmas Cards and Ornaments www.theboondocksblog.com
While cruising in blog land I spotted this idea from Shanty2Chic.  It was a piece of wood with jute wrapped around and used as a Christmas Card Holder.  As soon as I saw this I knew I could do it using my Halloween board. Of course the ladies of Shanty2Chic built theirs from scratch and did an amazing job at that.  But you know me, I like to be lazy and reuse my stuff. 

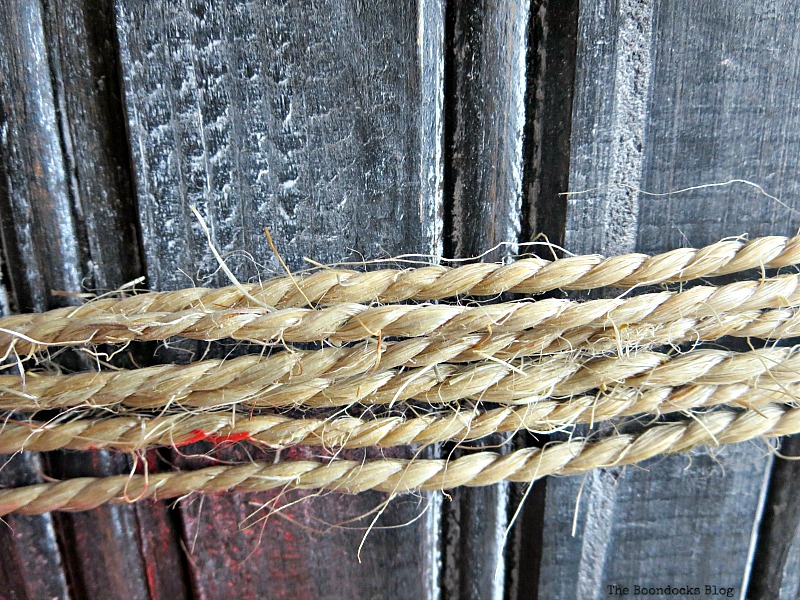
I had wrapped twine around the top and bottom of the board and just cleaned it up a bit to get rid of the fake blood and spookiness. 
​

The twine wrapped around, A Display for Christmas Cards and Ornaments www.theboondocksblog.com

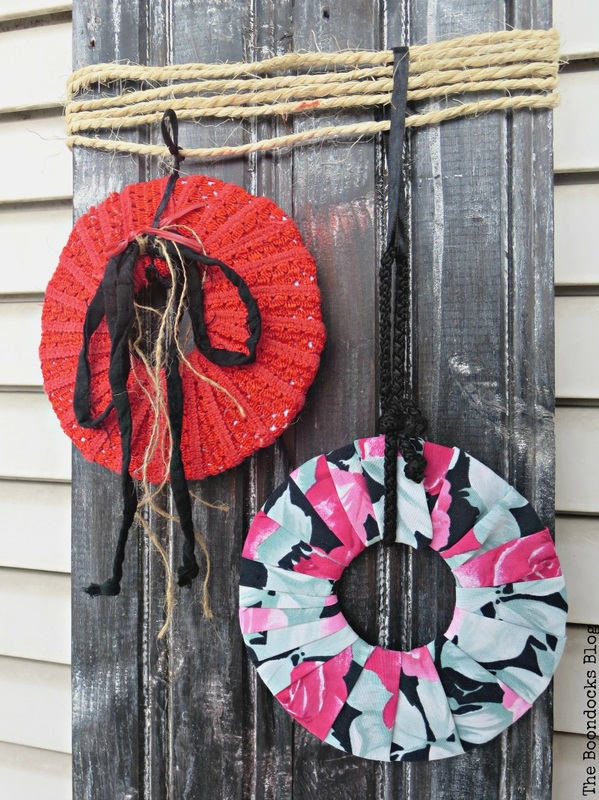
​Boy I really exhausted myself.  The next step was to attach my homemade ornaments.  I used ribbon for that. 
​
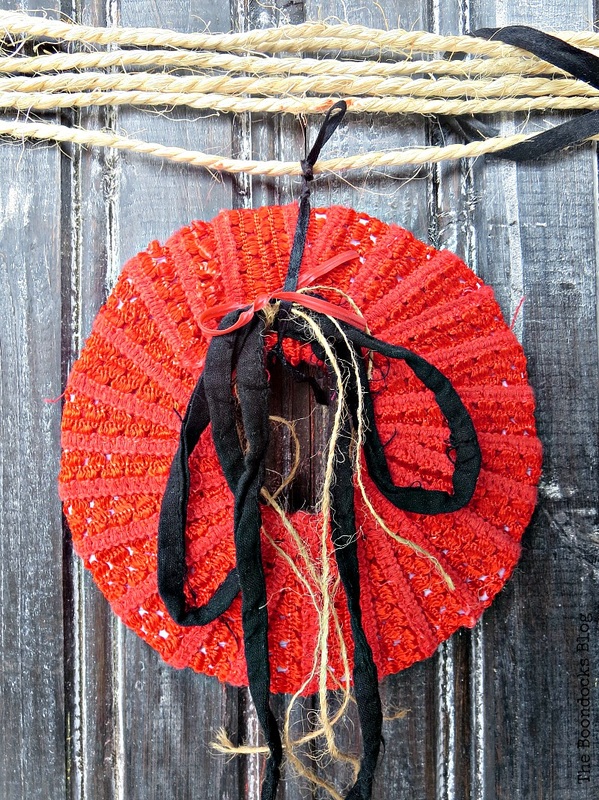
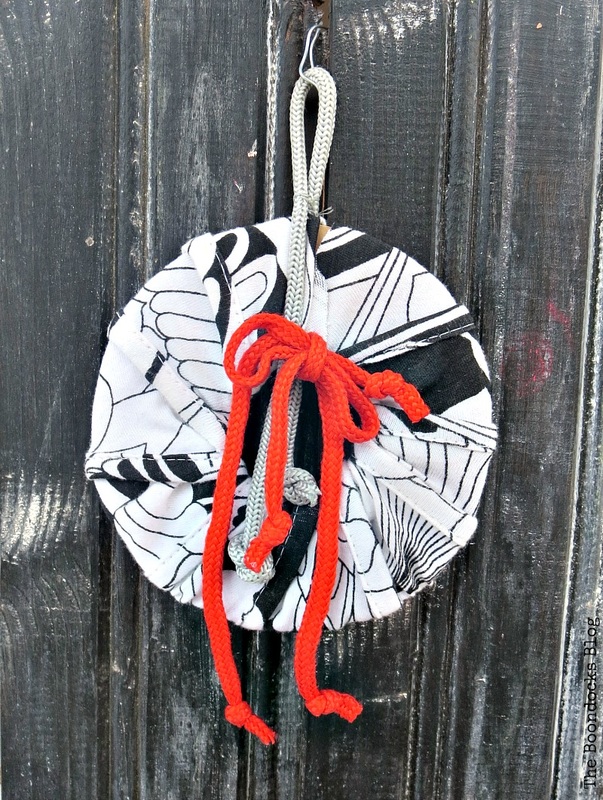
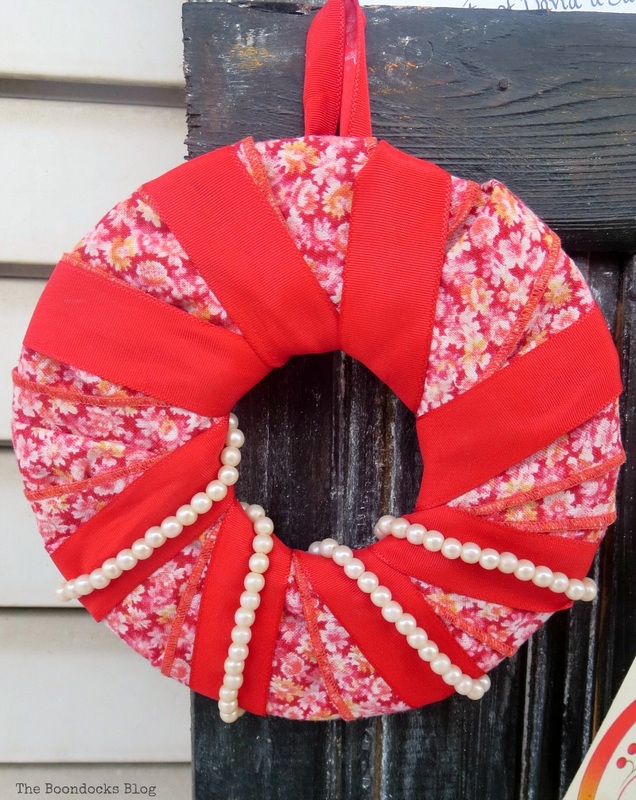
Homemade Ornaments, A Display for Christmas Cards and Ornaments www.theboondocksblog.com
These are also very easy to make and can be done with any fabric scraps you may have.
.
A red ornament, A Display for Christmas Cards and Ornaments www.theboondocksblog.com
Back and white with red ornament, A Display for Christmas Cards and Ornaments www.theboondocksblog.com
The possibilities are endless!
​
A red and floral handmade ornament, A Display for Christmas Cards and Ornaments www.theboondocksblog.com
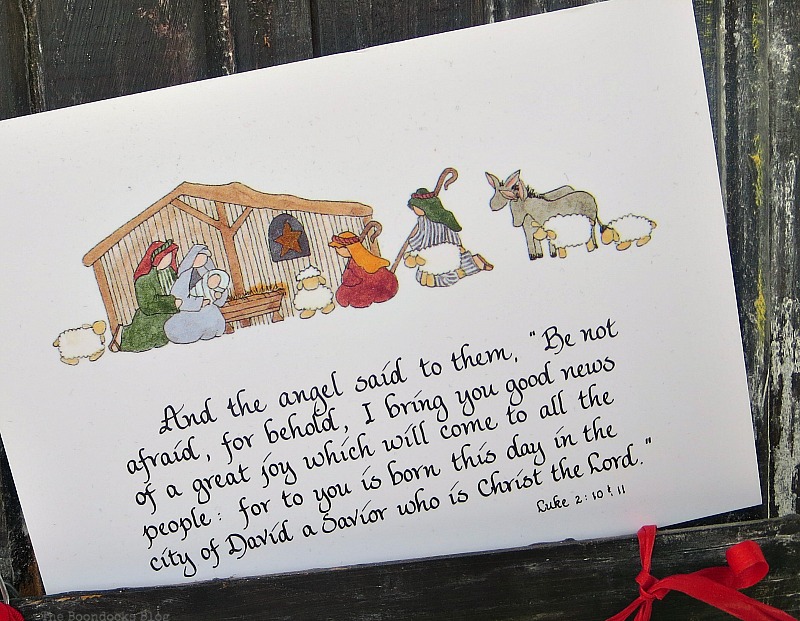
I then added a few Christmas cards. 
​
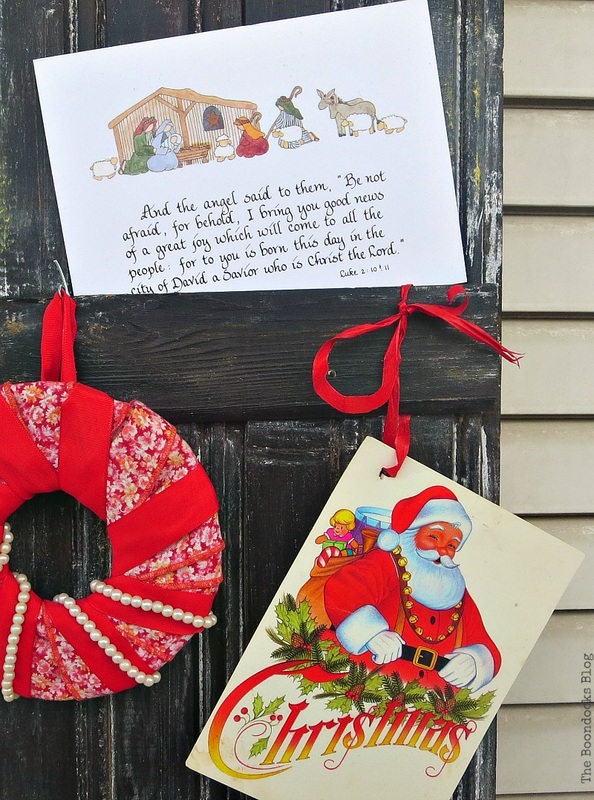
A Christmas card tucked in, A Display for Christmas Cards and Ornaments www.theboondocksblog.com
Christmas cards and ornament, A Display for Christmas Cards and Ornaments www.theboondocksblog.com
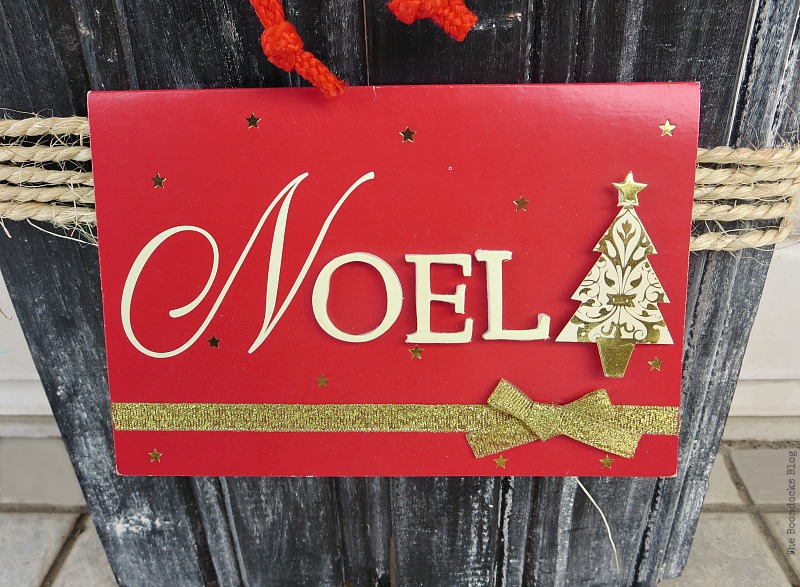
Noel Christmas Card, A Display for Christmas Cards and Ornaments www.theboondocksblog.com
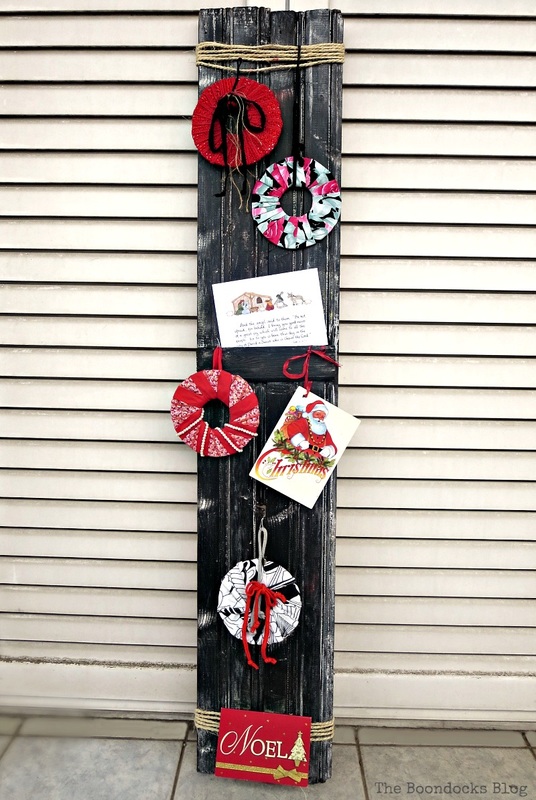
I told you it was super easy.  This board is about 4 feet tall but you can make it with any sort of wood you have lying around.  And you can paint the wood any color at all or leave it natural. I chose to leave it this way because I like to reuse my chalkboard so that for the next Holiday I can change it up by writing on it. 
​
A wooden board used as display. A Display for Christmas Cards and Ornaments www.theboondocksblog.com

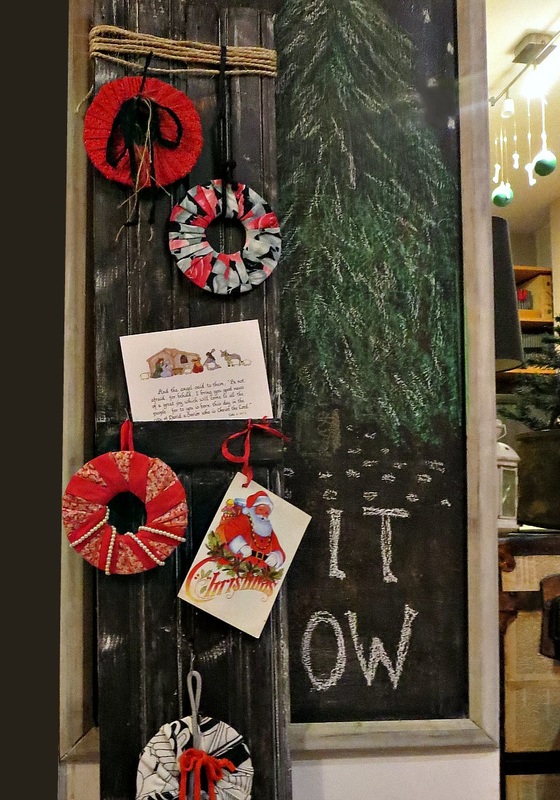
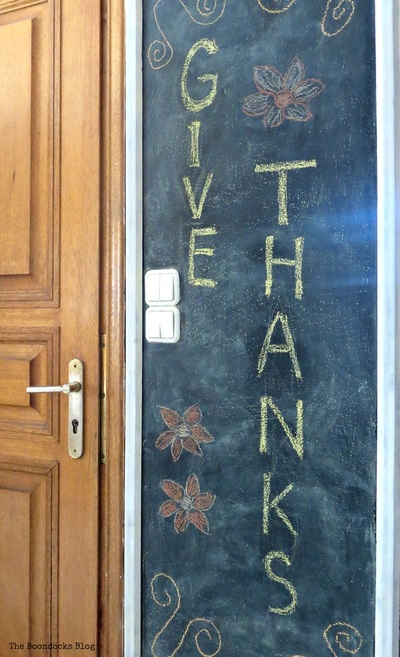
​And speaking of chalkboard, I have this wall next to the front entrance.  I dressed it up for Christmas. 
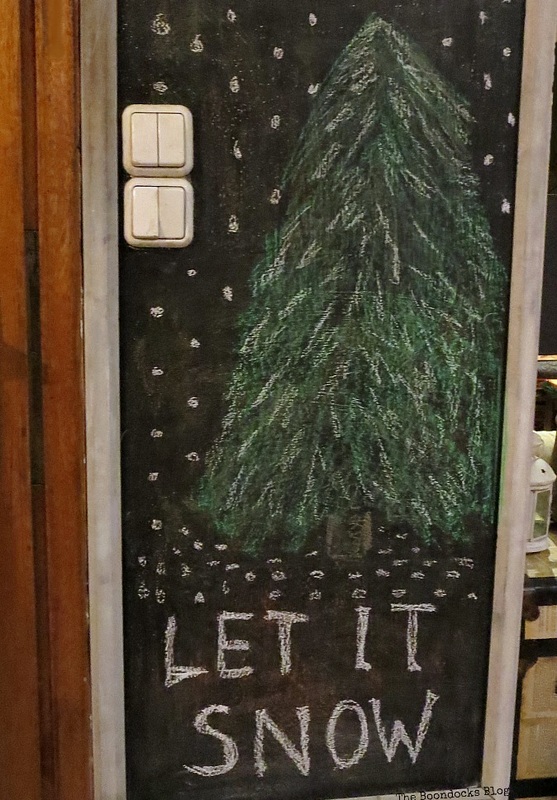
Chalkboard wall with tree drawing, A Display for Christmas Cards and Ornaments www.theboondocksblog.com
I’m slowly getting there. It’s beginning to look a lot like Christmas!
​
The board next to the wall, A Display for Christmas Cards and Ornaments www.theboondocksblog.com
I do believe that was the easiest project I’ve ever done. And it makes quite a statement. As I’ve said before, and it may be the motto of my blog by now, reuse and repurpose what you have at home.  All you really need is a bit of creativity and some craft supplies which you can get below and you have yourself a project that can be used all year long.  

I hope you enjoyed my display for Christmas cards and ornaments.  Do you have a special place where you display your cards for the Holidays?
​

Repurposing a wooden board to display Cards and Ornaments, A Display for Christmas Cards and Ornaments www.theboondocksblog.com

​If you like what you see, share it with your friends, or save it on Pinterest.  Above is a Pinterest worthy image!

​If you really like what you see subscribe to my blog and get my adventures twice a week in your mailbox. The form is on the sidebar and your e-mail will never be shared with a third party. 

Picture
Disclosure: The items below are affiliate links and link to Amazon.com. If you purchase any of these products through the links, I receive a small commission, that way I can continue to provide you with lovely content.  There is no extra charge to you for purchasing through my affiliate links.
You may also like these related posts
<< Christmas Picture Frames with Wreaths         HOME     Sweet Inspiration #35  >>                  
This blog is for entertainment purposes only; my DIY tutorials are not professional advice. Read my full disclaimer here.​
​

I love it when I get your comments and I will try reply to them or visit you on your blog. ​Please do not add a hyperlink to your comment, otherwise we cannot publish it.

We Think You'll Enjoy These Related Projects:

28 Comments

  1. I was just writing about the same thing. Since people don’t send out cards anymore. When I get one they have so much more meaning knowing that someone took the time to write a special note in their own writing. I think you have created a beautiful way to display them.

  2. Mary,
    Your chalkboard artwork is wonderful and perfect to go with your repurposed board for your cards.
    Judith

  3. I love chalkboard paint! You can use the decor over and over and change it up for the next holiday. I really like how the Christmas cards look displayed with your homemade ornaments, very festive. I need you to come over and decorate my chalkboard! I think it still displays February of last year! UG! Help!

  4. What a cute idea, Mary! Isn’t it a shame how folks don’t send Christmas cards anymore … I use to love receiving them … they put a warm touch to the holiday xo

Comments are closed.