
Christmas Picture frames with wreaths The Lazy Way
We are officially into Christmas season! And that means I get to share my decorating…
Today I’m going to show you just how sneaky I can be. I had this lovely set of Ikea picture frames over the sofa. For the past year they had housed Georgia O’ Keefe, but when I had the Halloween party I wanted to add something frightful in them and so I opened them up and that is when this happened. I broke the glass in one of them.
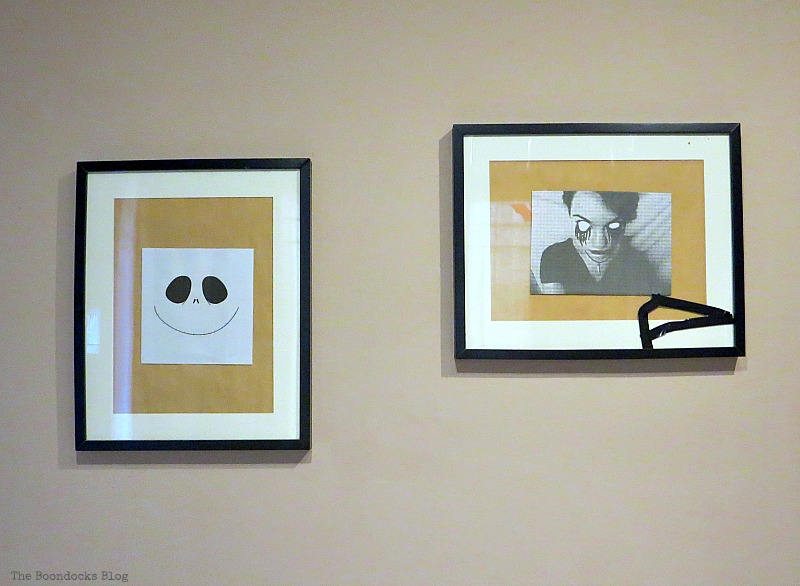
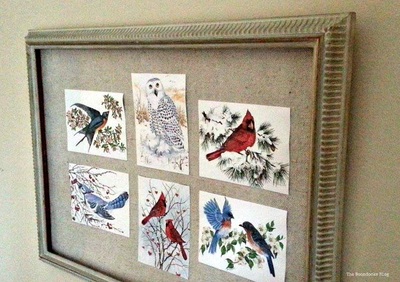
Well you know me, I wasn’t going to do anything about it. Too busy, too lazy, too cheap, you pick my excuse. The truth is I was in a rush to decorate and I wanted to stretch myself a bit and not do what I had done last year, which was add two vintagy looking Christmas cards in the frames.
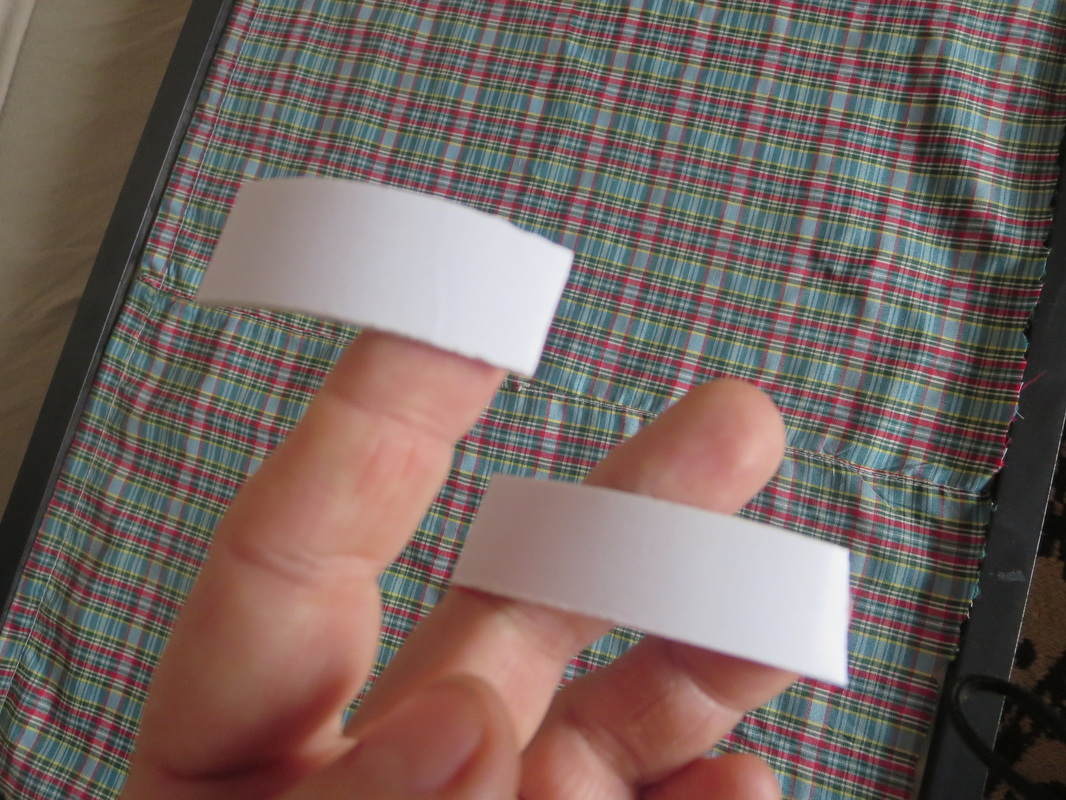
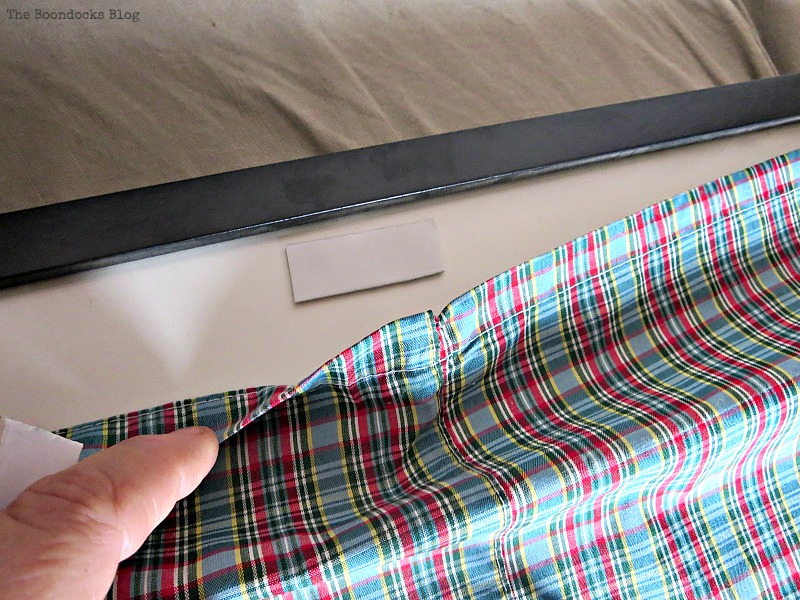
I am working on toning down the red for this year’s Christmas theme and I really liked this plaid fabric. It had once been a pair of shorts but no one ever wore them so…. I cut it into rectangles fitting over the frames, and using some sticky tape, taped the fabric over the glass. This was a new idea for me because usually I add paper or cards to frames but I had never added fabric in this way before. It is a simple and temporary solution. I promise to get the glass changed, but after the holidays!
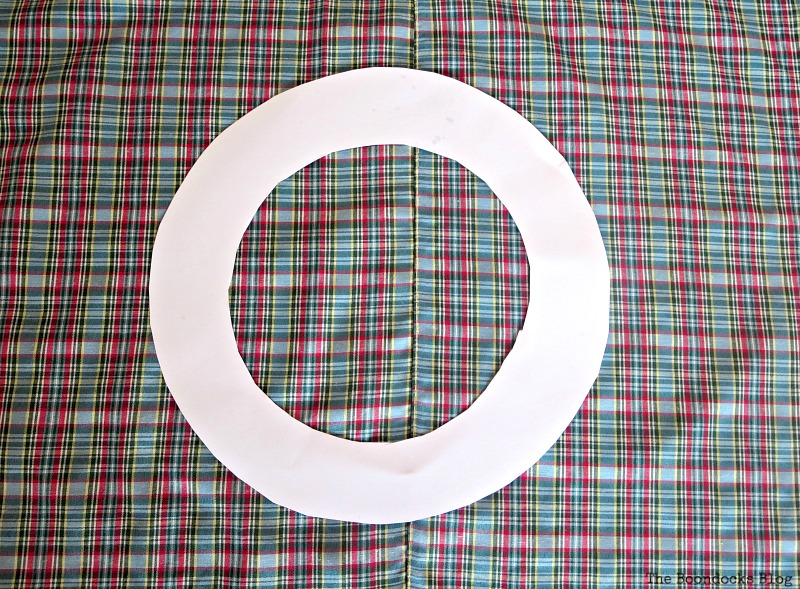
I also had this long piece of chiffon-like fabric. This was a piece left over from a curtain I had made years ago.
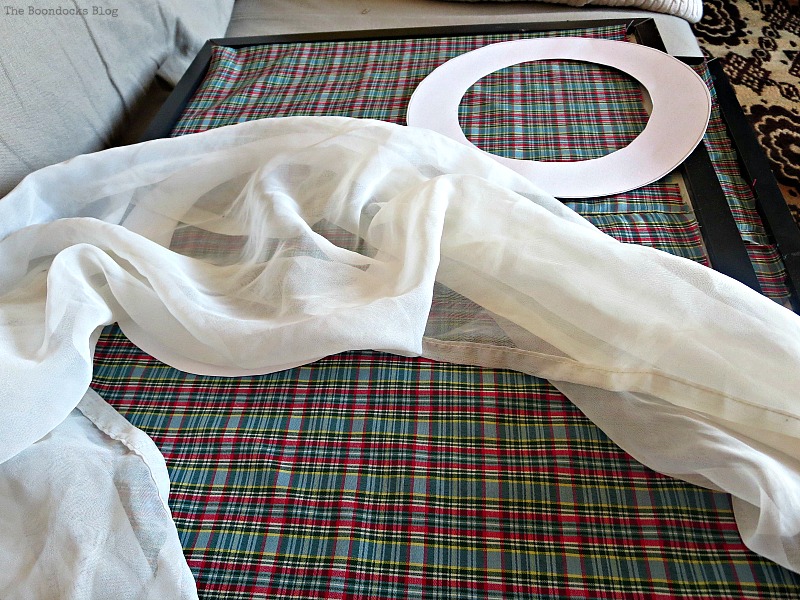
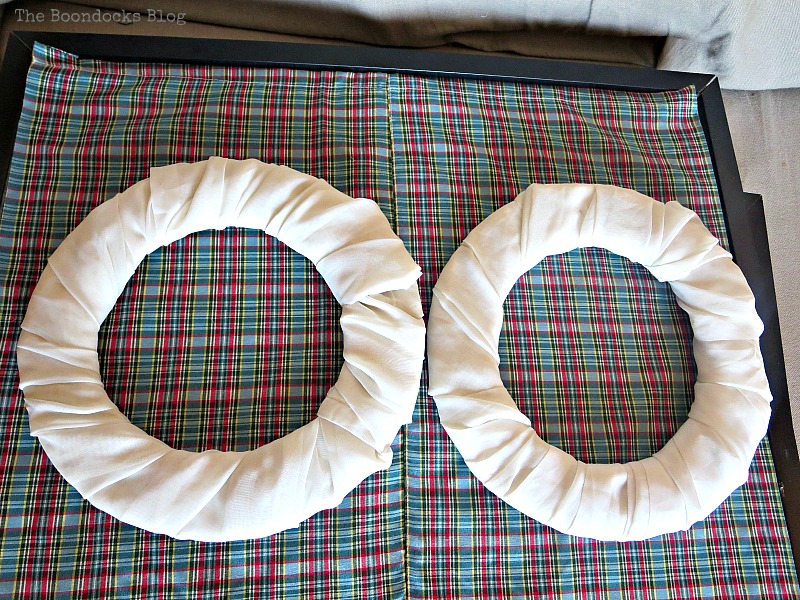
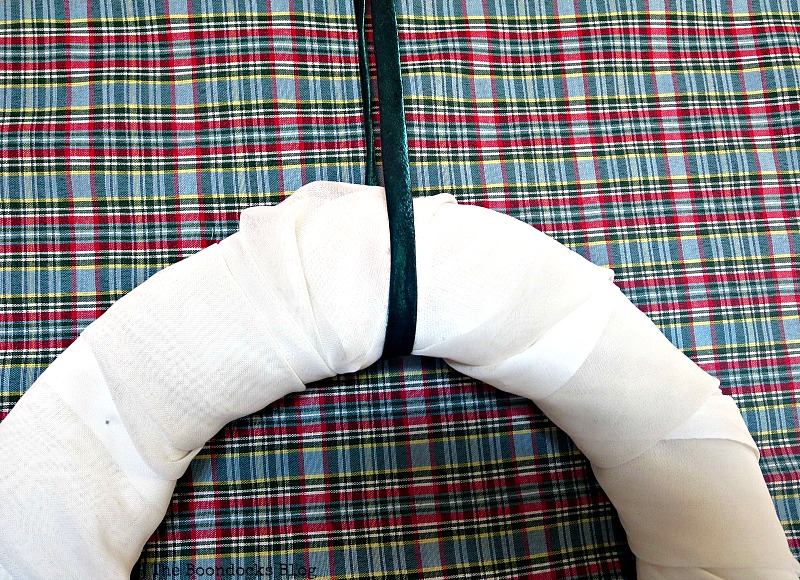
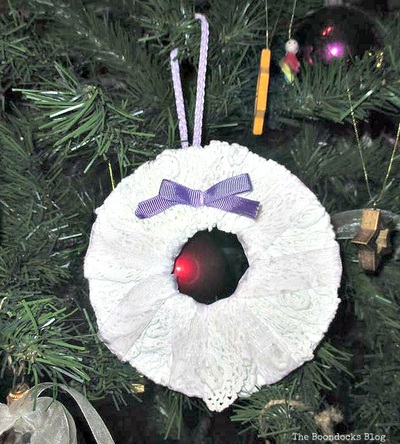
These are my Christmas picture frames with wreaths.
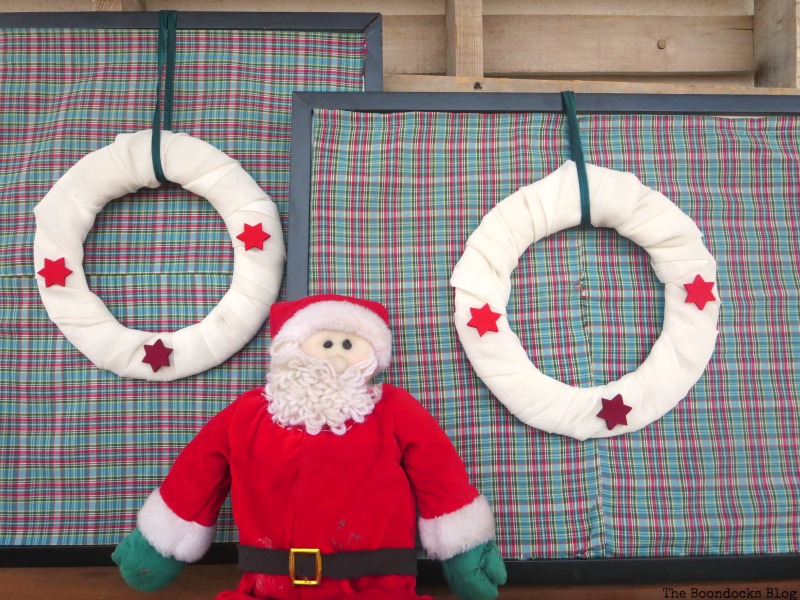
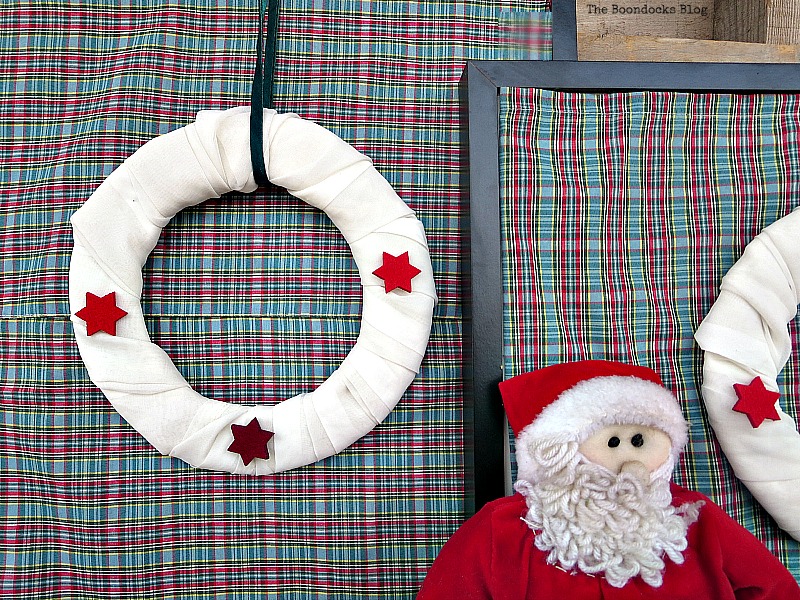

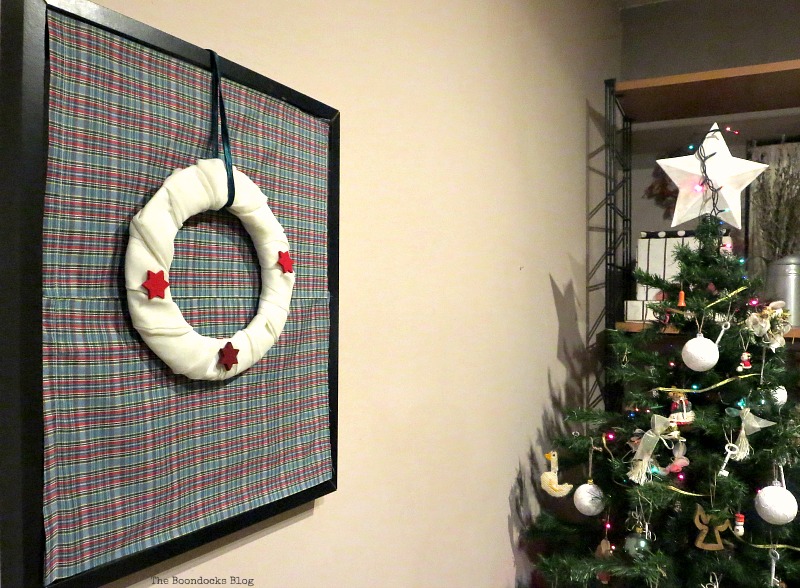
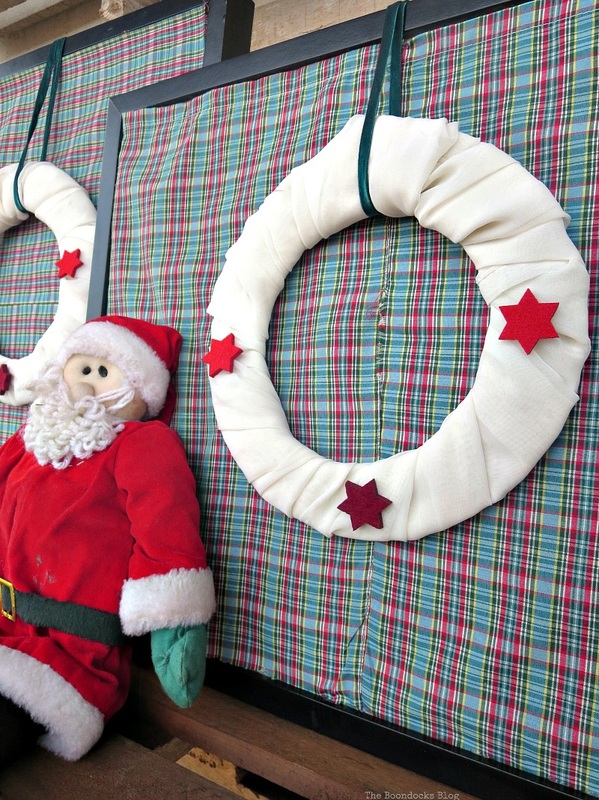

Do you ever stumble upon new ideas out of sheer laziness? I hope my Christmas picture frames with wreaths inspires you to think outside your comfort zone and try new things. And remember to try and reuse what you have at home.
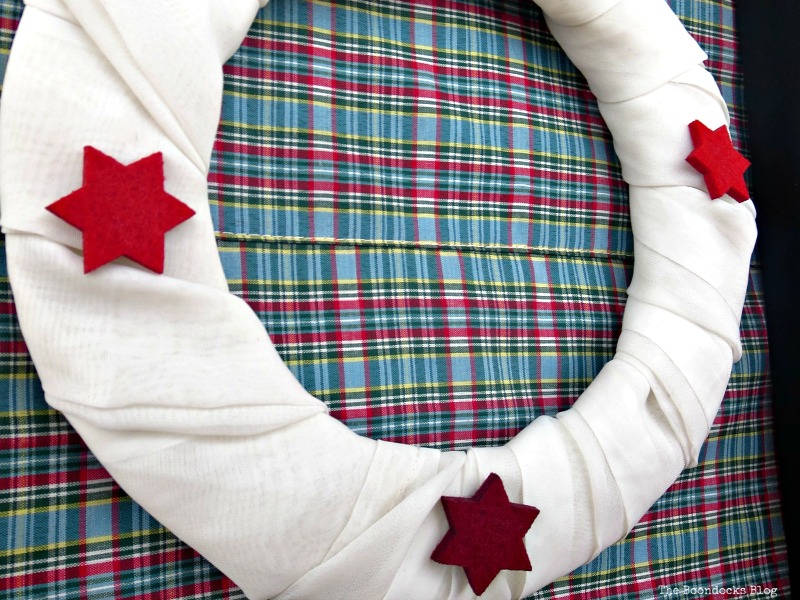
And now for the big question which I’ve been obsessing over. In my quest to eliminate the red I ended up adding 3 red stars to the wreaths. This was not the plan at all but they look pretty good. Should I remove them and just leave the wreaths all white or do you like the red stars?

If you really like what you see subscribe to my blog and get my adventures twice a week in your mailbox. The form is on the sidebar and your e-mail will never be shared with a third party.

This blog is for entertainment purposes only; my DIY tutorials are not professional advice. Read my full disclaimer here.
I love it when I get your comments and I will try reply to them or visit you on your blog. Please do not add a hyperlink to your comment, otherwise we cannot publish it.

Mary, these look so sweet 🙂 You’re not being lazy at all and even if you were … you deserve it xo
Mary,
Love your scientific way of creating the cardboard circles. Works for me, and I was a high school geometry teacher for too many years to remember.
Judith