Sharing is caring!
Well I finally finished that small space that I have been driving all of you crazy about. Today I’d like to share the living/kitchen area with you. And at a later date I’ll be able to share the bedroom of which I’ve still got a few projects to show you.
But before all of that business I have to show you a bit of the kitchen and how we installed it. Because Murphy’s Law will always prevail!
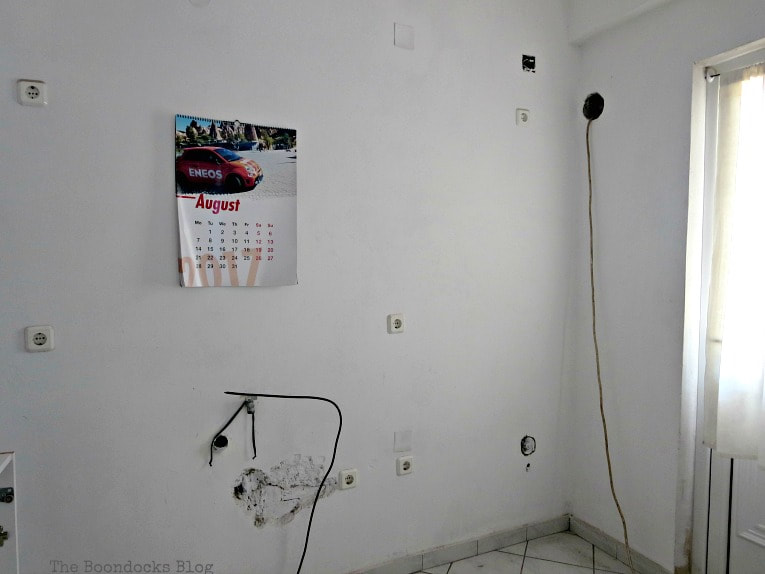
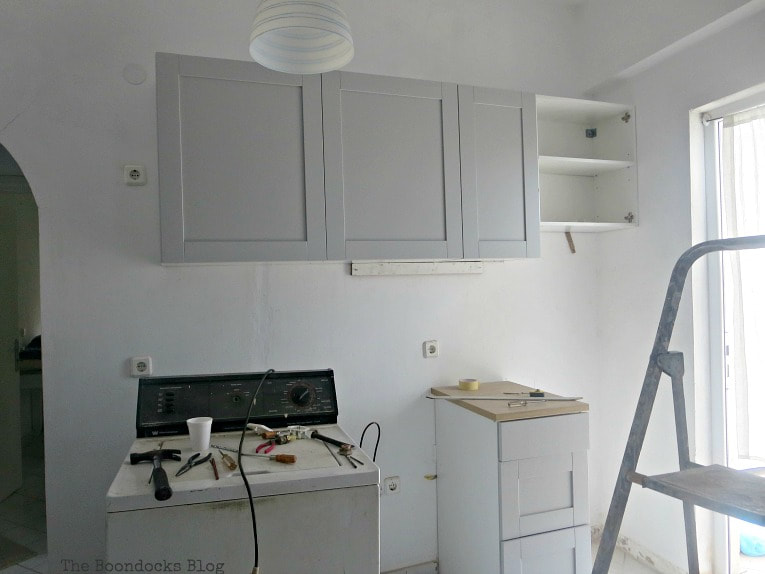
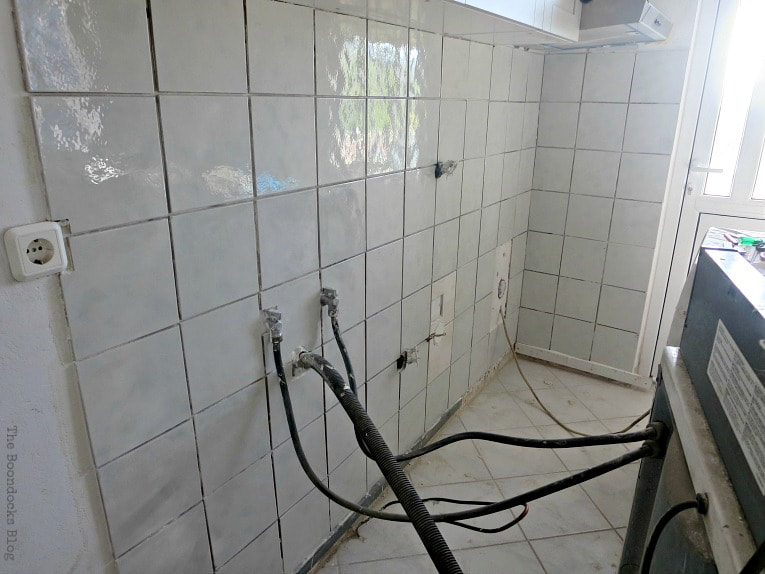
Here is what we started out with after we had removed all of the stuff.
We bought an Ikea kitchen and had it all planned out. It was a prepackaged deal where we would get certain pieces at a fixed price (the link is from another country I really have no idea where). We did have a choice within the package. I think this was a limited deal because the name of the series, Knoxhult doesn’t show up anywhere else. It would go against this wall and the washing machine would stay where it was! Easy peasy!
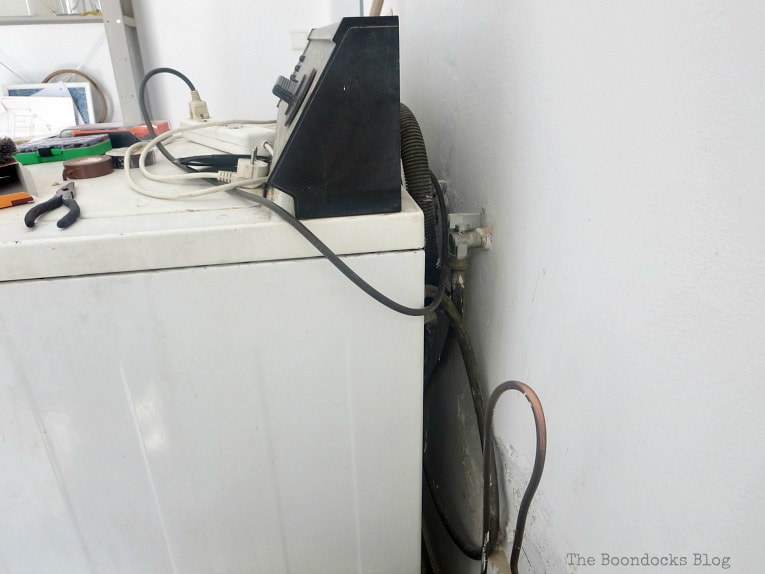
All except for one thing! The plumber who had originally installed the pipes had placed the washing machine pipes against the wall and the pipes for the kitchen sink in the spot that we had our washing machine!
So much for easy peasy!
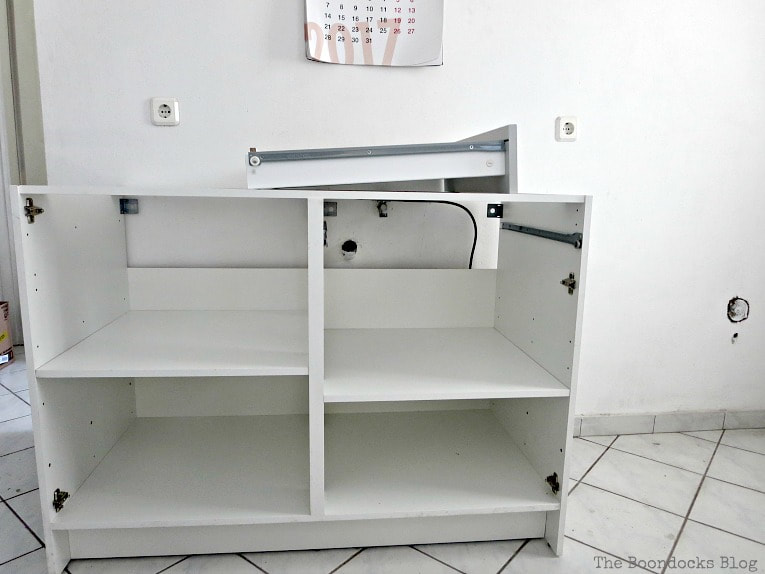
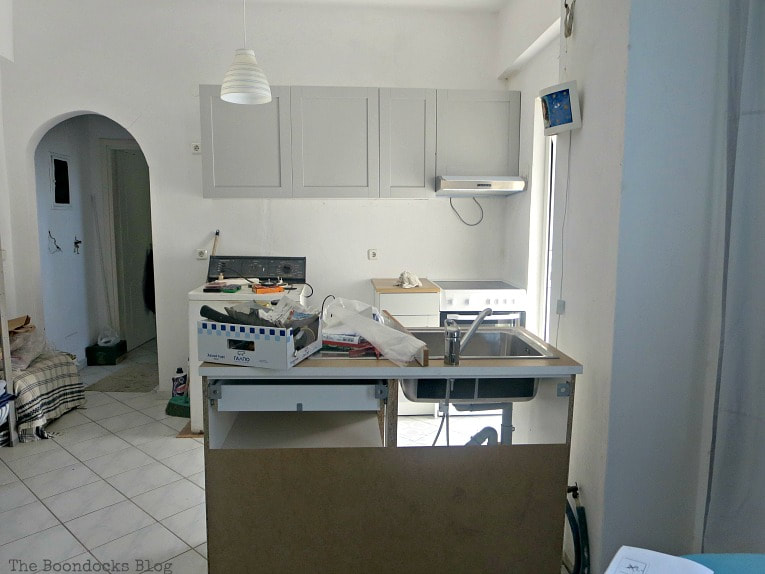
So we threw the plans out the window and started anew. The cabinets on top were fine. It was the bottom half that needed re-adjusting. The stove was to go in the corner and the small cabinet next to it. But then we had a large space in between.
And there was all this nonsense behind the washing machine. Ugh!!!
Here you can see the whole set up. The sink is now where the washing machine used to be. Ok we said it is something we can work with.
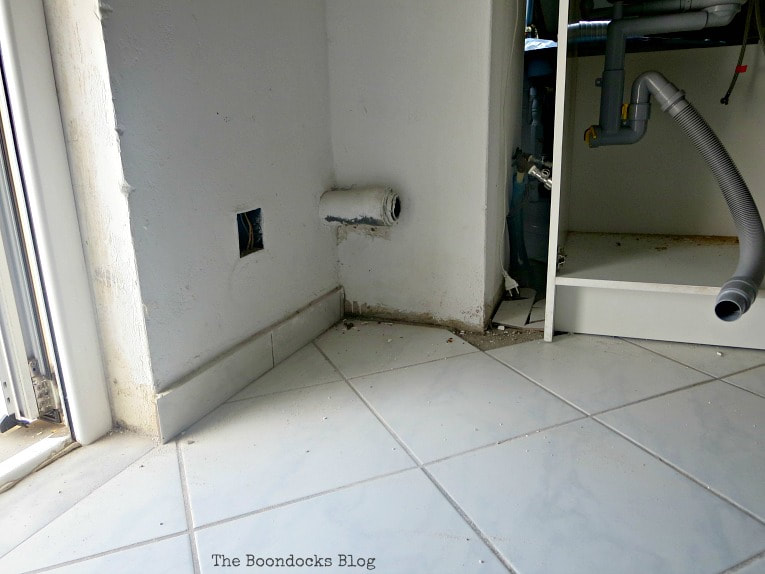
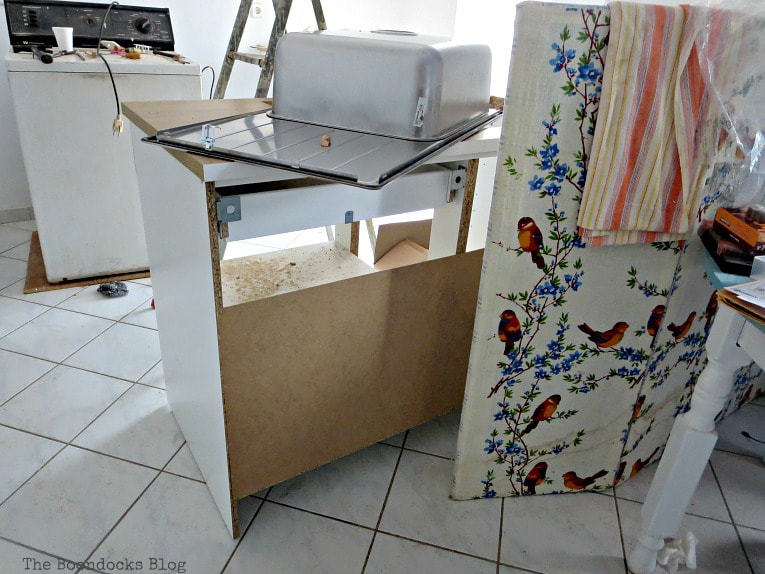
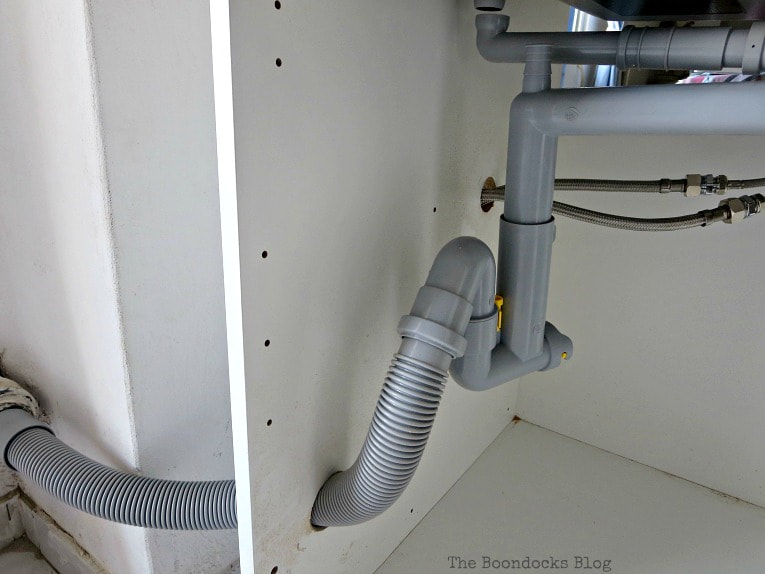
Except that someone had placed the plumbing in a weird way. And we couldn’t cut up the whole side of the cabinet to fit those water pipes. Hummm, maybe that’s why people hire professionals??
And of course the sink cabinets had no backing because they were meant to go up against the wall. Talk about your plans going awry!!
Despite all these setbacks, and with great time constraints (because I would be leaving at the end of the month) we plodded on. We had the help of a good friend with the tiles and with the installation in general, because we really had no idea how to do this. Thank you friend!!!
When the tiles were placed against the wall it all started to come together. You see that we opted to do the back splash all the way to the bottom. It made a HUGE difference. It will also be much easier to clean up in the future. Lucky for us we already had all those tiles.
We opened up a few holes on the side of the sink cabinet and snaked the pipes through. This one still needs to be addressed at some point in the future but at least now we have a working faucet.
Oh and FYI the hardest part of this project was getting that sink to fit into the counter top. We must have tried at least five times. There are all these clamps that need to fit through to tighten the sink onto the counter top. At least if I need to install another kitchen I’ll know what to do in the future. “wink”
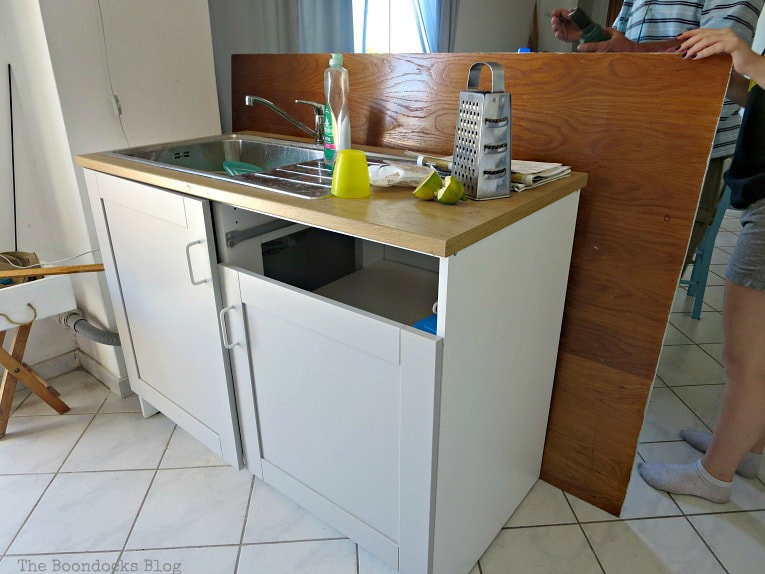
And for the back of the cabinet? I grabbed an old piece of plywood that we had and varnished one side of it. I wanted it to be waterproof since this is the side that would be facing the sink.
I was really trying to get the same color as the counter top but as you can see I failed miserably! Murphy’s Law at work again! It felt like trying to put a jigsaw puzzle together color-wise. Finally we pushed it all the way up against the small column you see to the left and used screws to attach it to the cabinet. It fit flush with the end of the sink cabinet.
See my sneaky attempt to hide the hose with the little table on the bottom left? Well that was a fail!
Disclosure: The items below are affiliate links and link to Amazon.com. If you purchase any of these products through the links, I receive a small commission, that way I can continue to provide you with lovely content. There is no extra charge to you for purchasing through my affiliate links.
Ok folks the reveal!
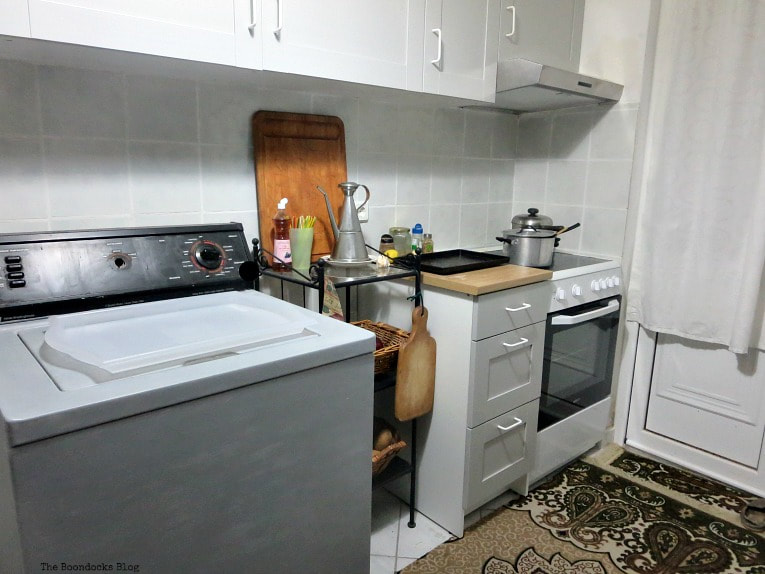
Here you see one side of the kitchen. Please excuse the less than perfect photos. I took these a few hours before going to the airport to leave for America.
We painted the washing machine to blend in with the rest of the kitchen and I must say it makes a huge difference.
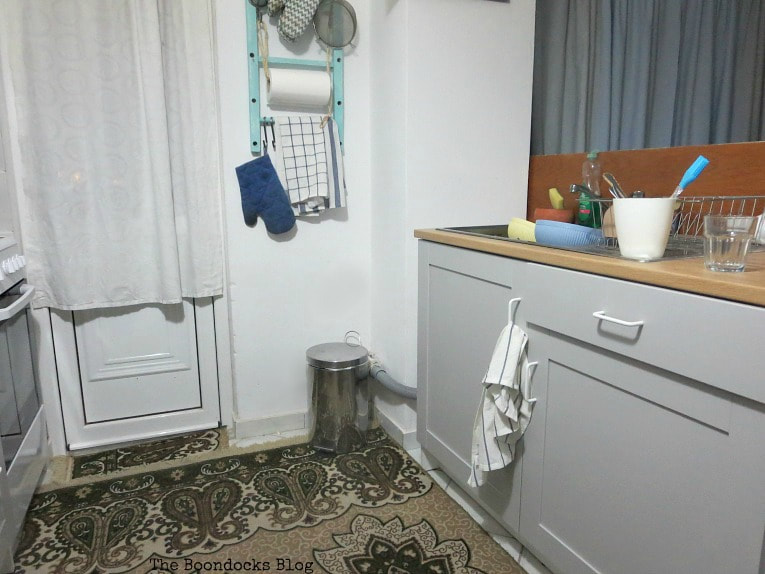
This is the other side. The door opens up onto the balcony. And there is my blue kitchen organizer hanging next to the door. We’ve placed the garbage can next to the hose but this is a sore spot with me. Also there is a bit of a space between the cabinet and the column. Eventually the hubs will have to build something to cover it while at the same time having access to the pipes.
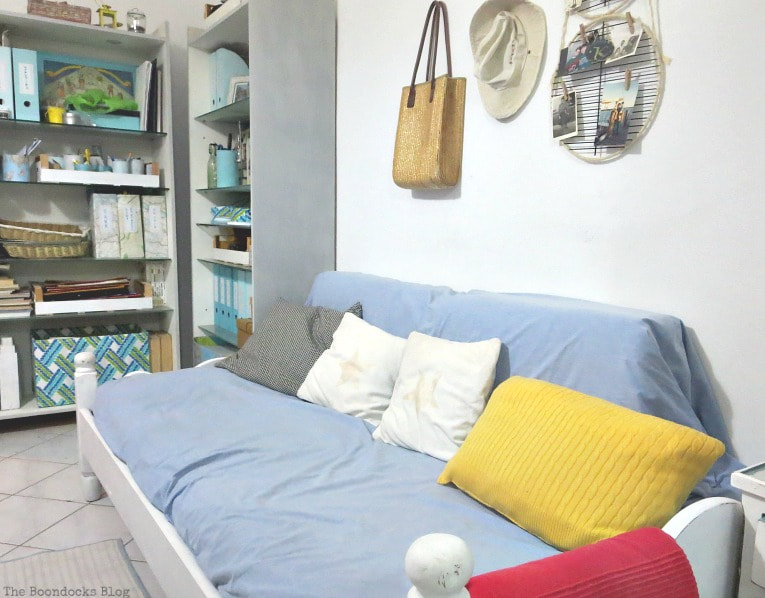
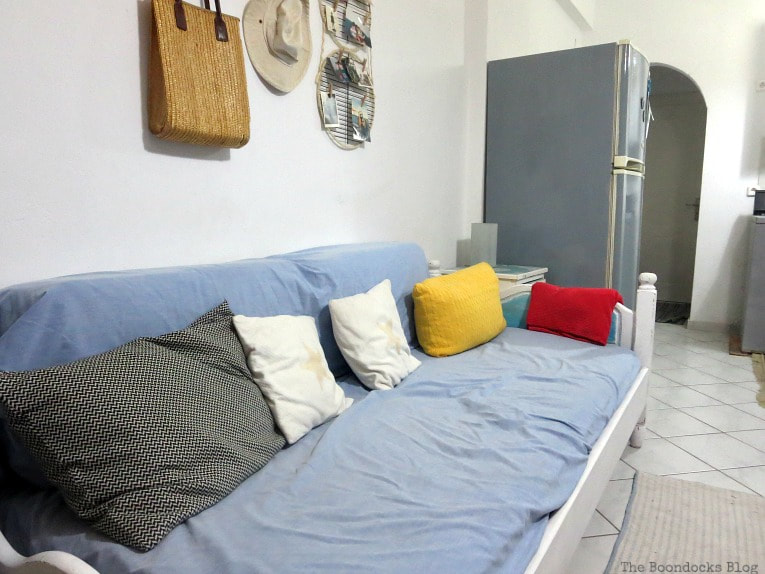
You can see that the fridge is right in between the shelving unit and the day bed. I wasn’t joking when I said it really is a small apartment that we downsized to.
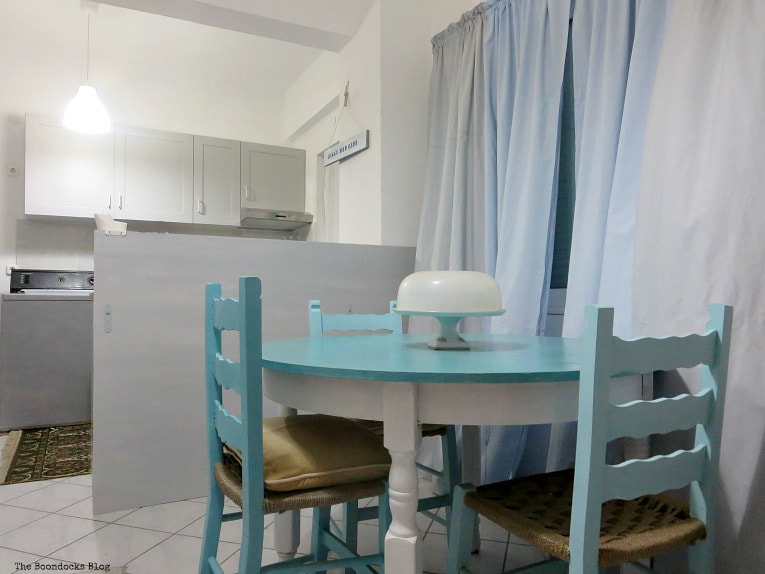
The view across from the daybed. In this photo you can see the plywood that is up against the sink cabinet. No you cannot see my dirty dishes from here. “wink”
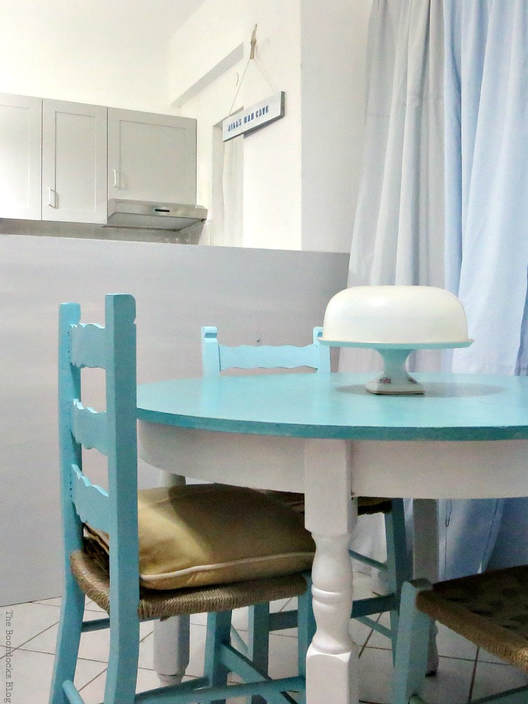
I painted it a soft shade of gray so that it would not stand out when seen from this side of the room. Instead we get to see the pretty blues of the table along with those happy chairs.
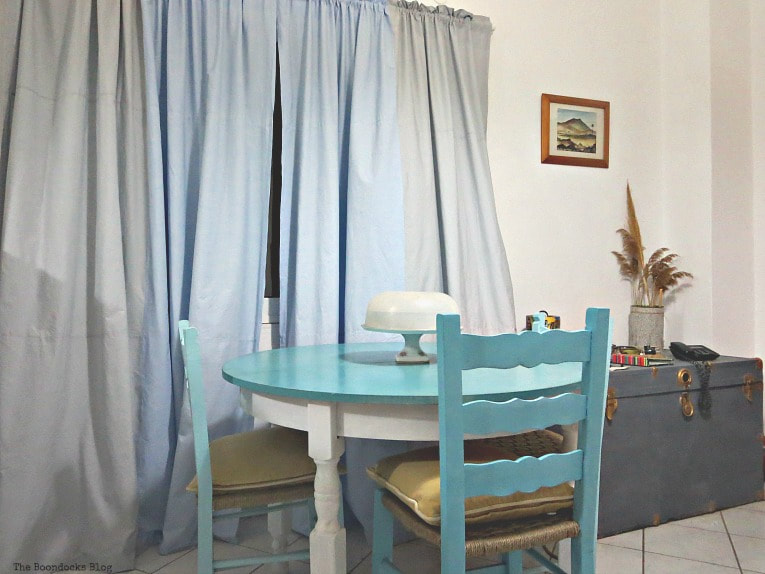
In the other corner is the metal trunk I had made over months ago. Oh and while I’m at it, those curtains were a duvet cover in a previous life. Everything gets re-purposed in my house.
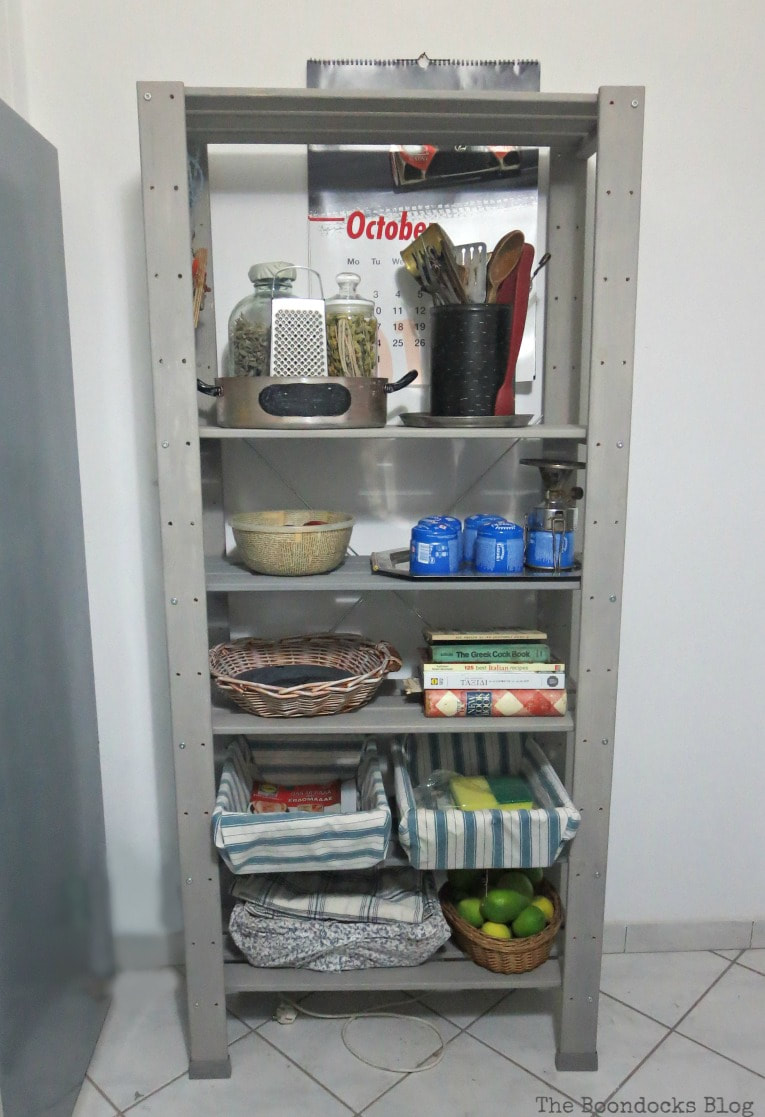
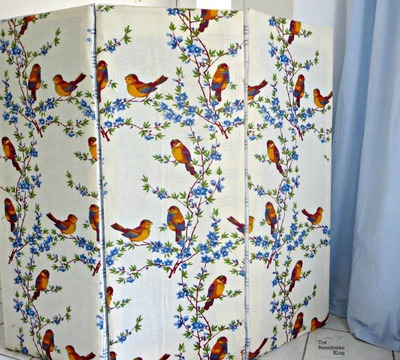
And we come full circle with the photo on the top of this post, ofthe bookcases next to the daybed.
Whew that was a long post but the project was even longer. I really wanted to share all of this with you to show you how all of these pieces fit together in this room. Anyone can go about transforming their space with just a little hard work and creativity. Solutions are available everywhere we look. fl
And if you’ve been following me, you know I’ve always talked about having a calm cheerful space. This was my attempt to keep the winter blues away because even in Greece, people who are used to the sun do not welcome the rainy dreary months that follow. Did I succeed?
Thank you all for sticking with me till the end. As many of you know I’ve been working on this space for quite some time. Despite Murphy’s Law we were able to install that kitchen and finish the whole space in the nick of time!
I still have a few more projects to show you from the bedroom and then we will be done with this small apartment forever. Or until I decide to re-decorate!
If you like what you see, share it with your friends, or save it on Pinterest. Above is a Pinterest worthy image!
If you really like what you see subscribe to my blog and get my adventures once a week in your mailbox. The form is on the sidebar and on top. Your e-mail will never be shared with a third party.
More DIY Projects:

Bernadette Christie-David
Thursday 1st of February 2024
One of the significant advantages (https://atelierwealth.com.au/) was having access to a wide range of lenders and mortgage products, which allowed me to compare and choose the one that best suited my financial situation.
How to Beautifully Transform an Ikea Malm Dresser - The Boondocks Blog
Monday 2nd of March 2020
[…] few weeks ago I shared my small apartment makeover with the newly installed kitchen. This is where we will be staying when we visit Greece. But […]
Kellie
Monday 16th of October 2017
You did that! Well done. I woukd be so afraid to take that on myself. It looks fabulous and so functional. Nice use of space.
Mary
Monday 16th of October 2017
We needed to do this one ourselves. What sort of DIYer would I be if I couldn't tackle it? ;)
Doreen@foxdenrd
Monday 16th of October 2017
So many hurdles but you overcame them with panache! You're nothing if not resourceful. I can't get past the fact that you had your washing machine sent from the States. Wouldn't it have been less $ to buy one in Greece than ship? xxx
Mary
Monday 16th of October 2017
The machines in Greece are smaller and they need to have the water heated inside the machine. Not like here where the hot water comes in through the pipes. I love my old machine. I throw comforters in there but they wouldn't have fit in a smaller Greek model. I thank the stars for that Whirlpool that keeps on whirling after 21 years!! :)
Κατερίνα Κωνσταντίνου
Monday 16th of October 2017
I can't believe that you managed to complete the kitchen Mary with Murphy's law! It looks beautiful though and now you gained all this knowledge!
Mary
Monday 16th of October 2017
That Murphy's Law is one tough cookie. But I was determined to finish this space. Let's not talk about how I forgot to pack half of my stuff - that is another story! ;)