It is the most wonderful time of the year, with all of us getting ready for the holidays. I’ve already got my Christmas tree up and have even made a few decorations. But we cannot neglect the front door, now can we? And so today I am here to show you how to make a rustic Christmas wreath.
I am also joining some very special friends for a Christmas blog hop, so be sure to check them out at the end of this post.
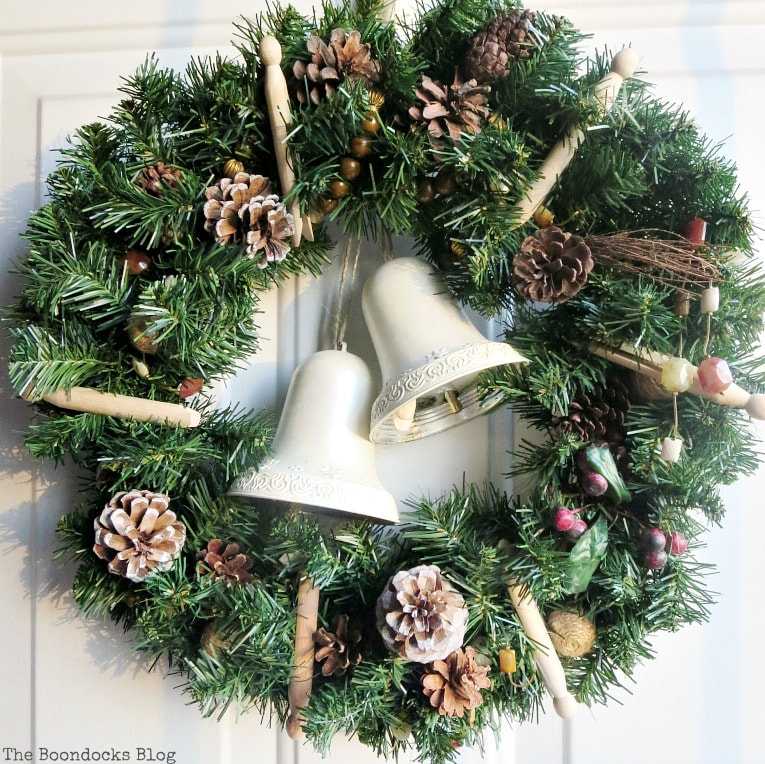
Last year I had made wreaths with frames. And the year before I was a bit indecisive so I made two wreaths. This year I wanted to try my hand at a rustic wreath but with items that are not normally used in a wreath.
What I used:
Disclosure: This post contains affiliate links for your shopping convenience. If you purchase any of these products through the links, we receive a small commission at no extra charge to you. You can find our full disclosure here.
- faux wreath frame with flexible branches
- pine cones
- traditional wood clothes pins
- twine covered balls
- pieces of old necklaces with rustic looking beads
- sprigs of berry
- 2 bells
- twine
- glue
The how to:
I started off by gluing the pine cones onto the wreath. I used regular glue. Nothing fancy.
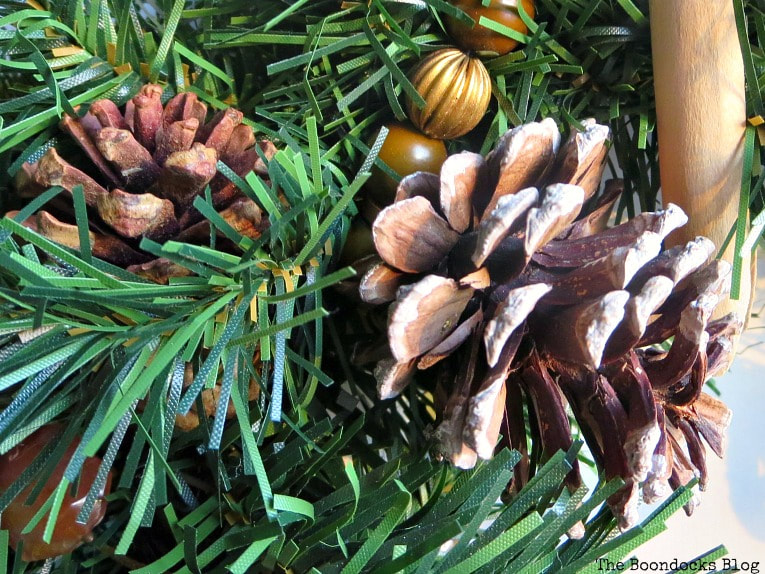
I was puttering around the garage one day and came upon these traditional clothespins. They looked so cute and quaint I just had do have them. To this dad, my dad does not know that I have borrowed them.
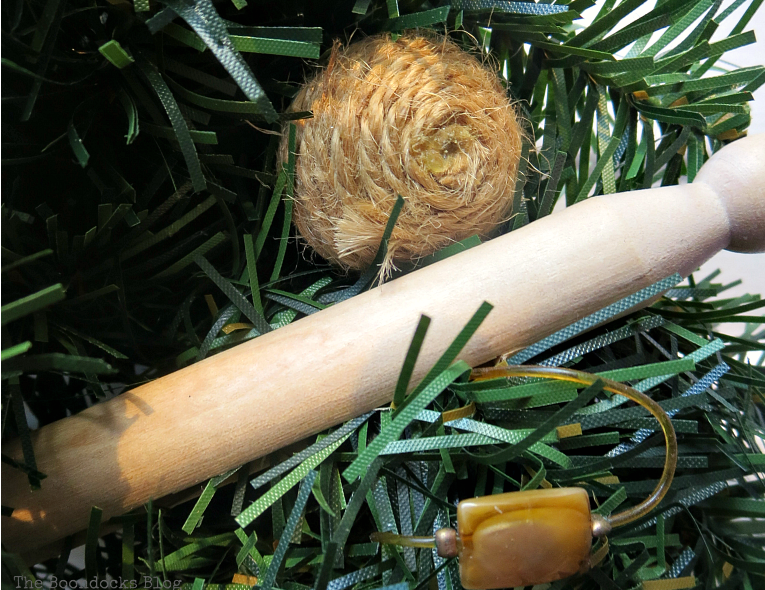
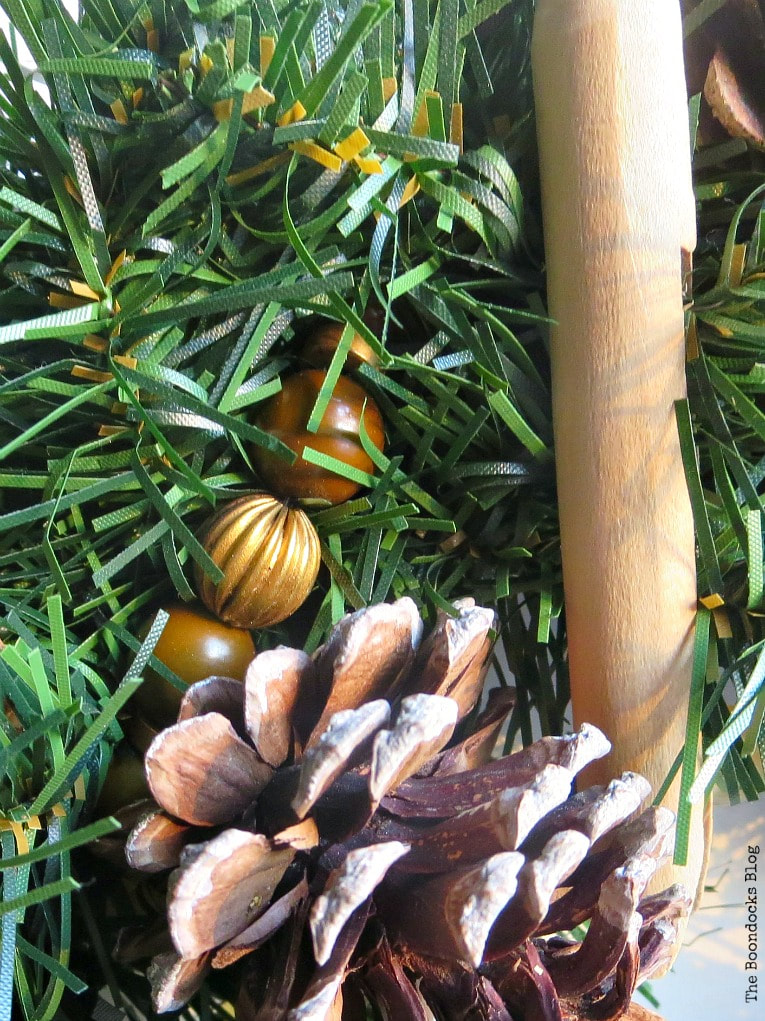
I inserted the traditional wood clothes pins around the wreath. Pretty much to divide the circle into 6 pieces, like a pizza pie. This is not something I would normally do but I was feeling adventurous. And I also placed the twine covered balls around the wreath.
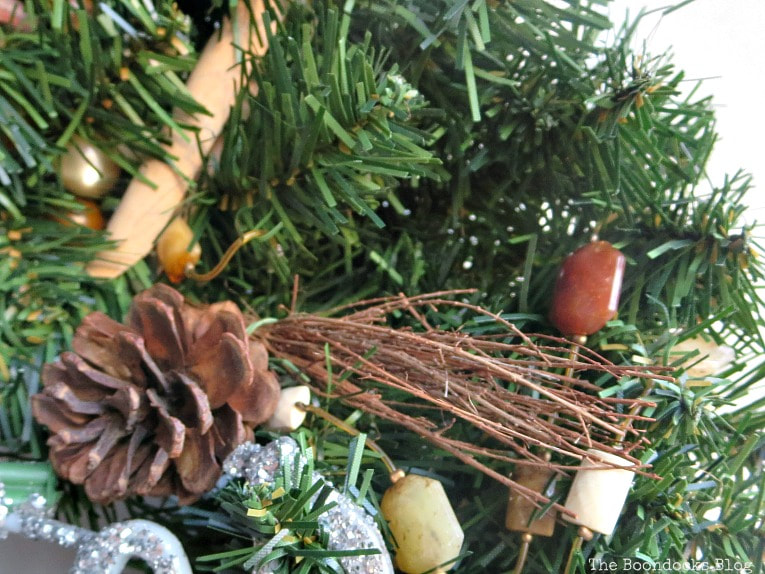
The faux berry sprig was next. Aren’t those berries beautiful? They look good enough to eat.
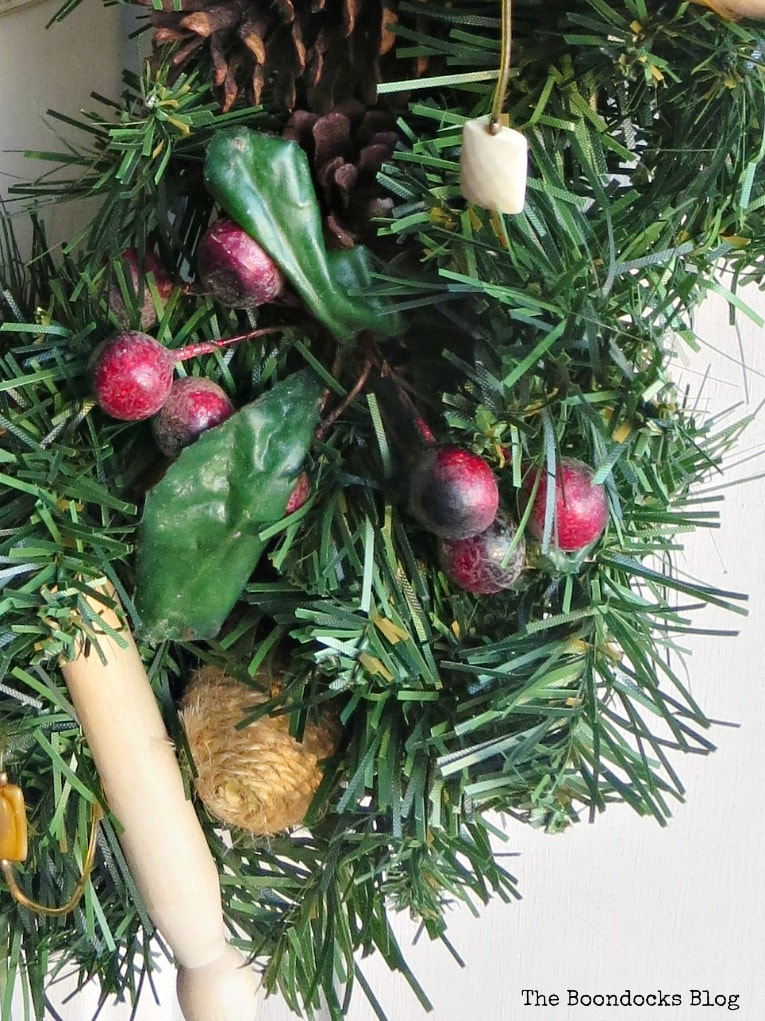
And the icing on the cake: I had dug up some old necklaces with stone and wooden beads. I would not be wearing them anytime soon since they were broken. So you know me, I wanted to re-use them somewhere and this wreath just seemed like the proper place.
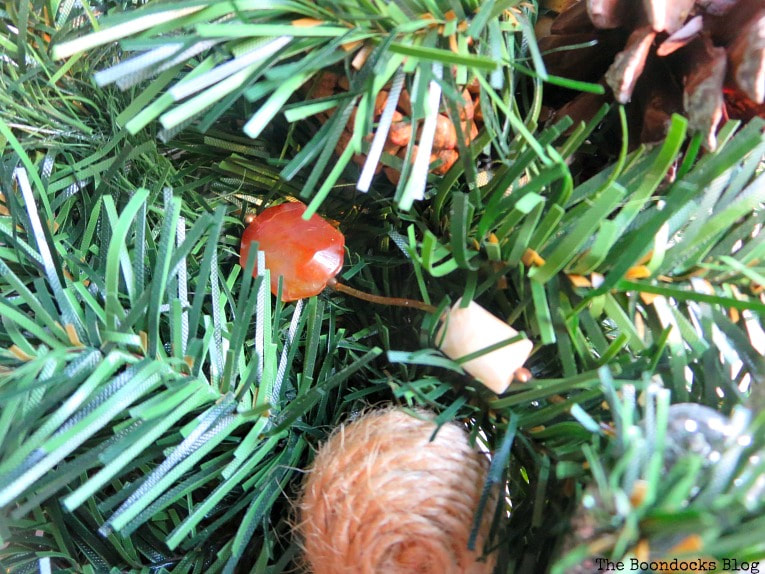
Those earthy colors were perfect for the look I was after.
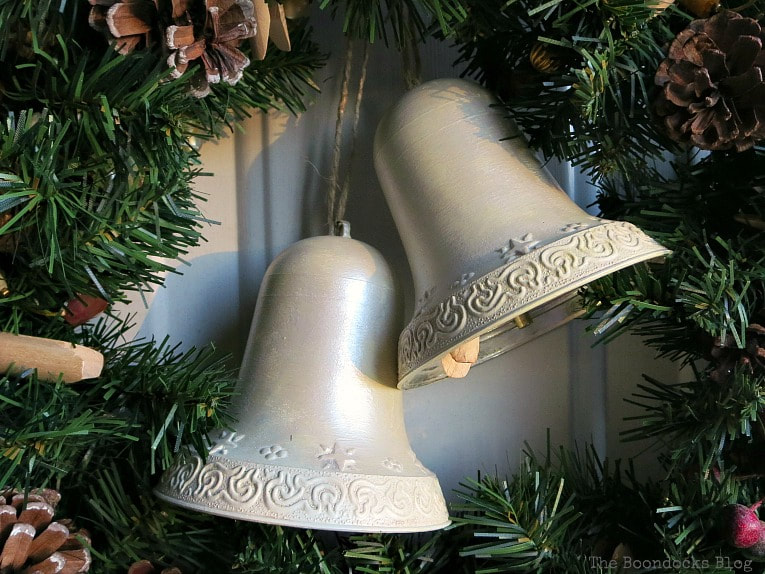
And finally I added these two bells in the center of the wreath. I’ll show you what they originally looked like in another post. I even added two clothes pins on the inside.
There it was my perfect wreath! Full of rustic, earthy goodness.
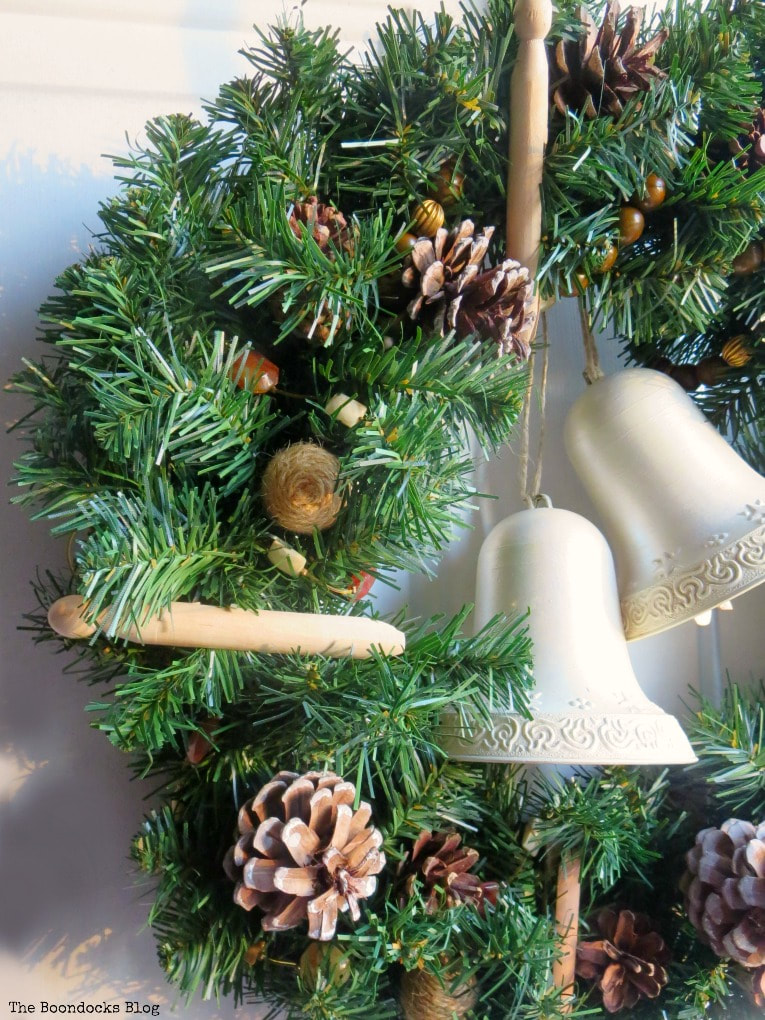
I hung it up on the front door of the house and snapped some photos in the morning light.
And then I tried to close the door with the storm door on the outside…. and guess what?
Those beautiful bells were too big to allow the door to close…
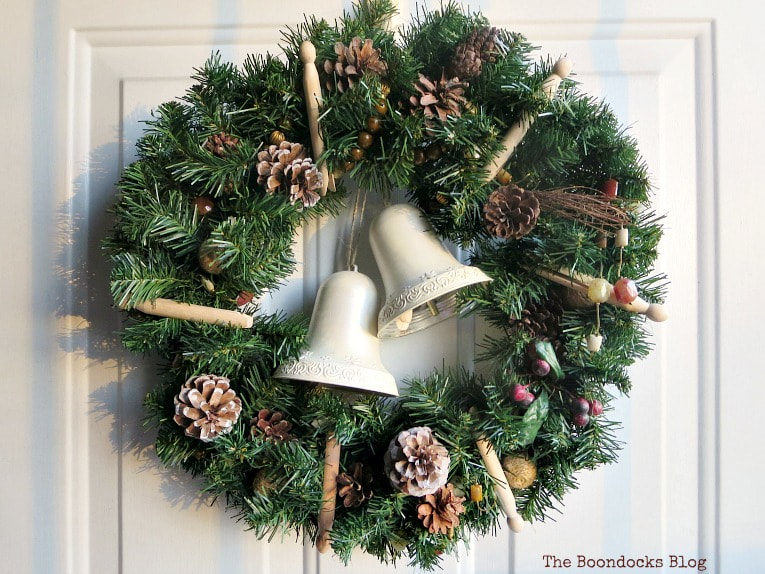
And so I had to replace my gorgeous bells with this “Merry Christmas” sign that I confiscated from another decoration. A little glitter never hurt anyone! 😉

At least now, my door closes!
As for the bells, oh those lovely bells, I’ll be showing you where I placed them next week.
Either way with the bells or with the silver lettering I still have a rustic Christmas wreath that is proudly hanging on my front door. Which do you like better?
Hop on down to visit my friends with their Christmas ideas.


Additional Christmas Wreath Ideas
Now it’s time to be inspired with wreaths from over a dozen of our fellow blogging friends!
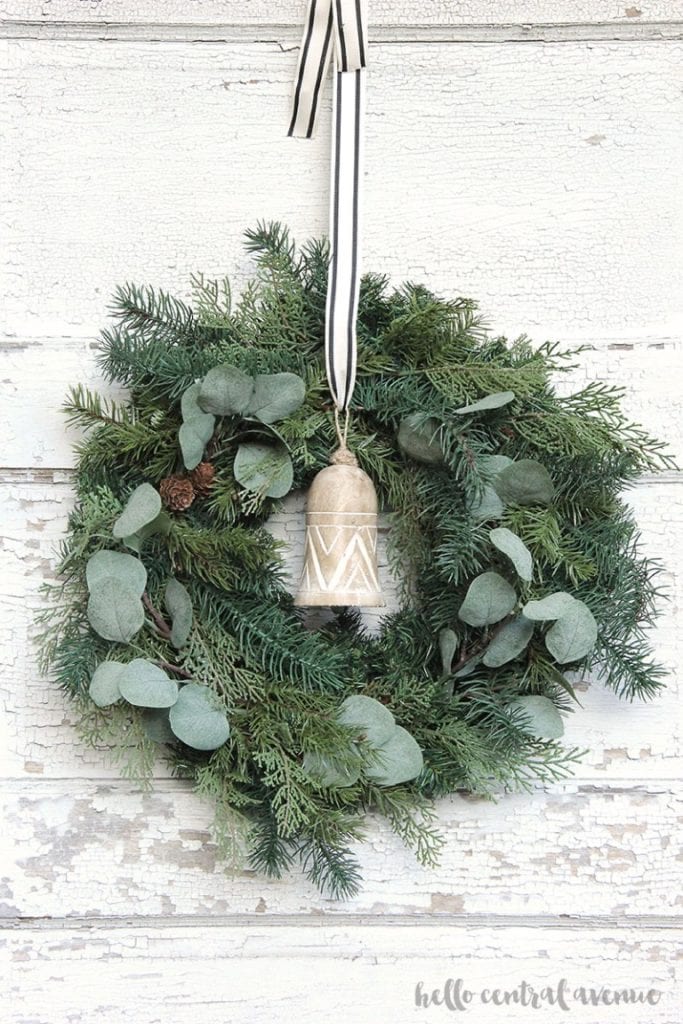
We love the touches of eucalyptus in this rustic green wreath from Hello Central Avenue.
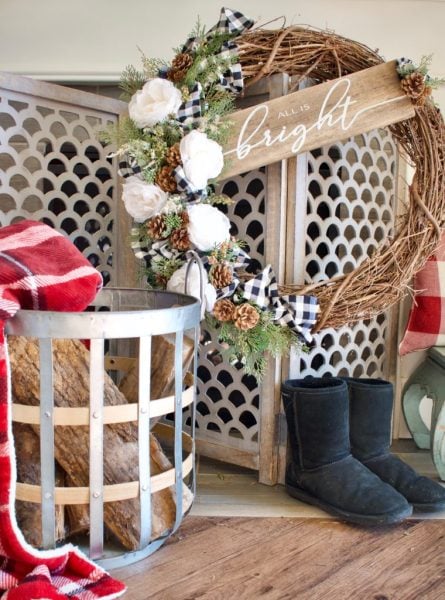
The little rustic sign on this beautiful grapevine wreath by Southern Yankee DIY is perfectly welcoming.
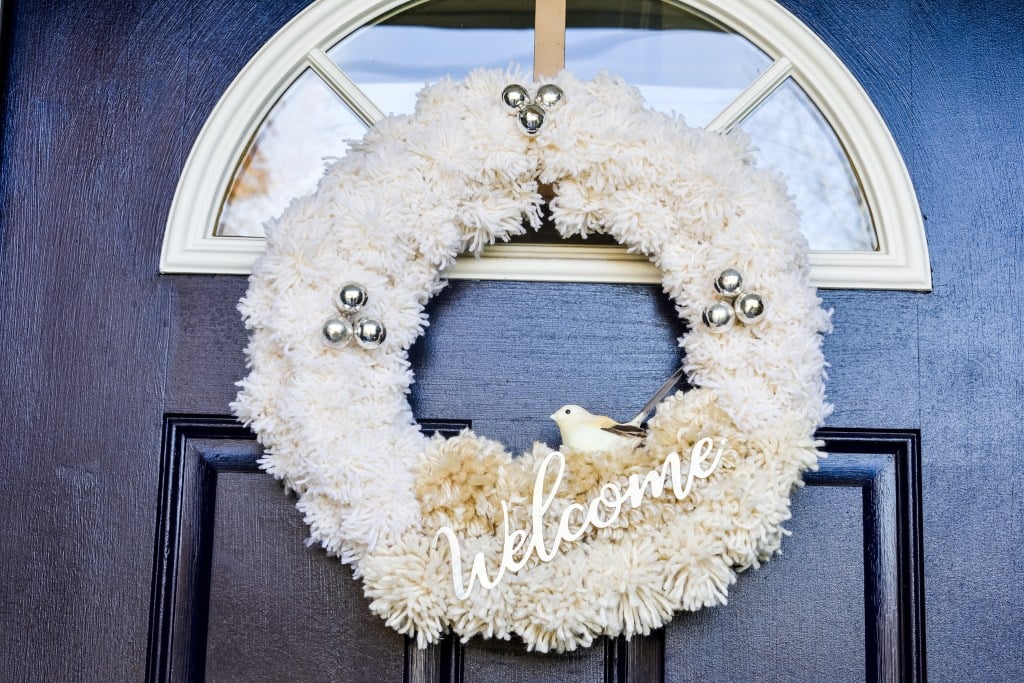
I can just feel the softness and texture of this creative pompom wreath from Zucchini Sisters .
Embellish a fresh green wreath with ornaments and ribbon for gorgeous decor on a budget. Find the tutorial for this lovely blue wreath at Impressive Windows & Interiors.

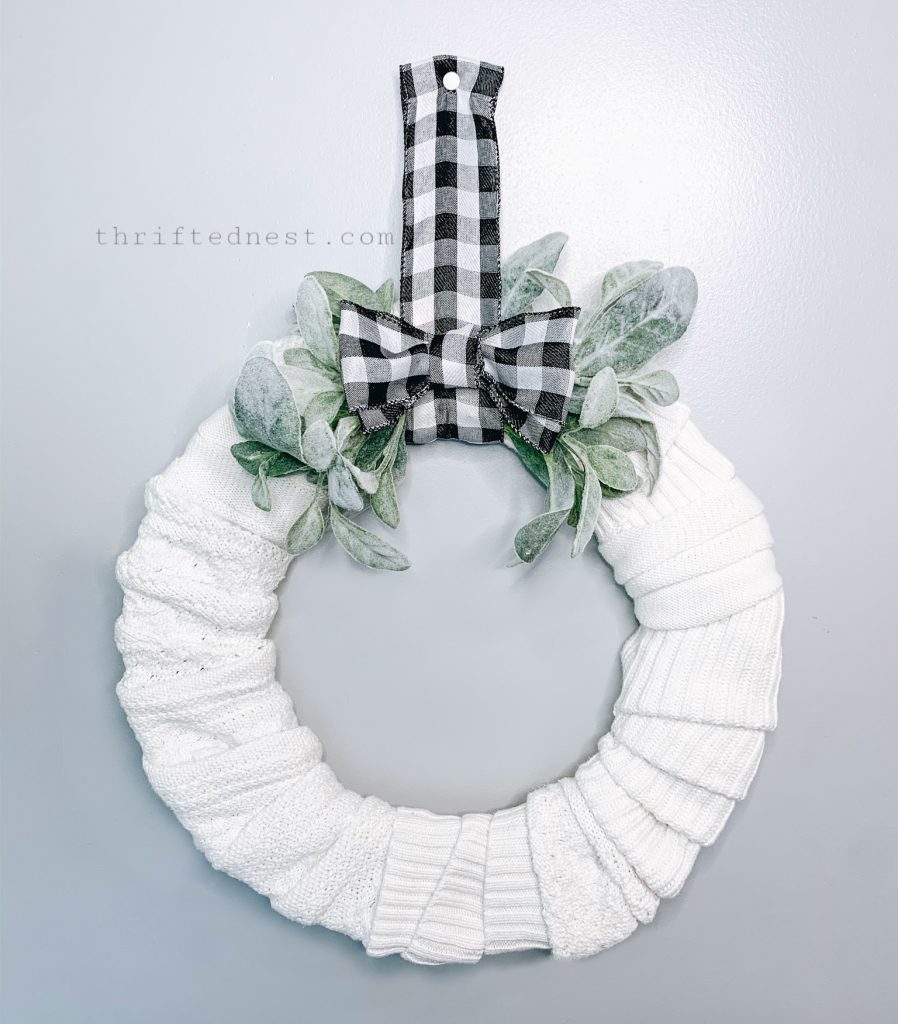
Upcycle a thrift store sweater into this cozy and simple wreath idea by Thrifted Nest.
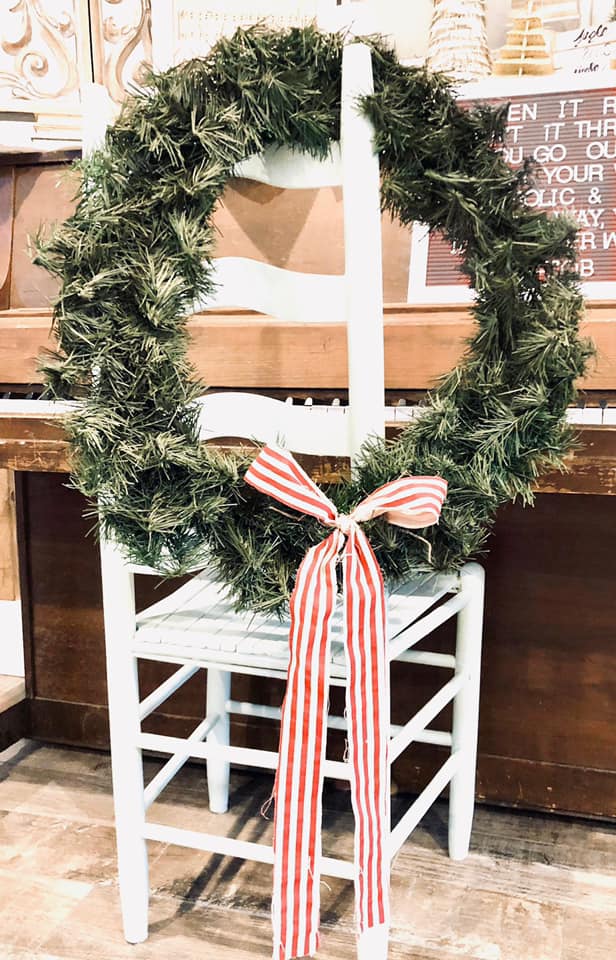
It doesn’t get much classier than this minimalist Scandinavian Christmas wreath from Tribe of Burton.
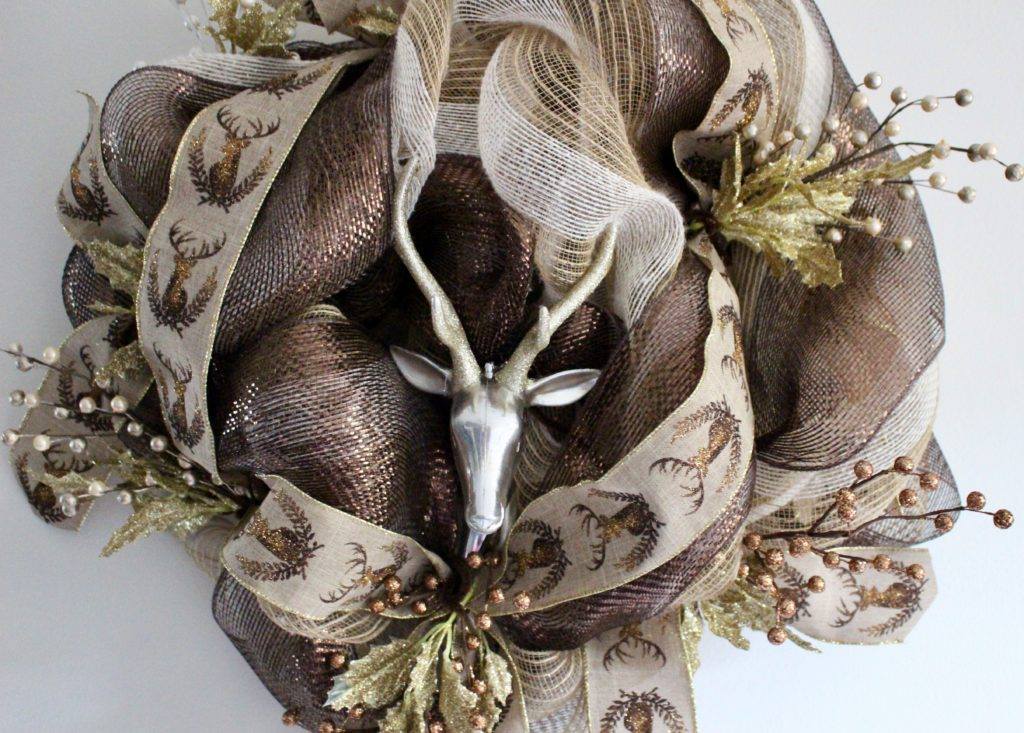
The richness of the browns and golds of this burlap wreath is so unique and interesting. Find the full tutorial at Our Crafty Mom.
I’m not sure if I like the frosted pine cones, buffalo check ribbon or wood slice ornament in this gorgeous wreath from Kippi at Home.
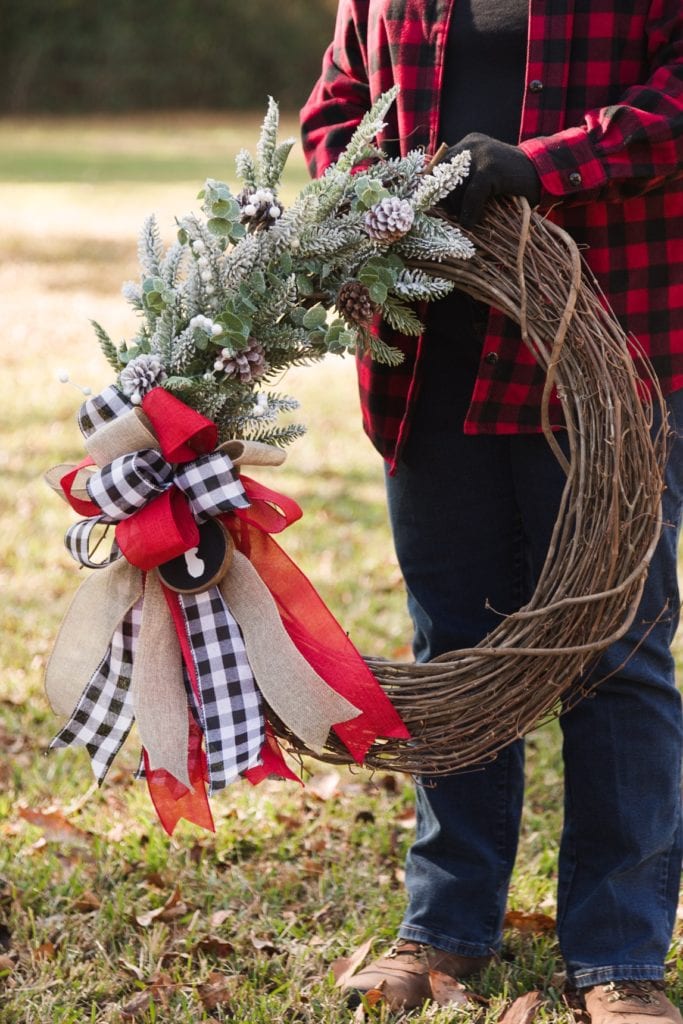
And I love how simple it is to give the wreath a completely different look by changing out the ribbon.
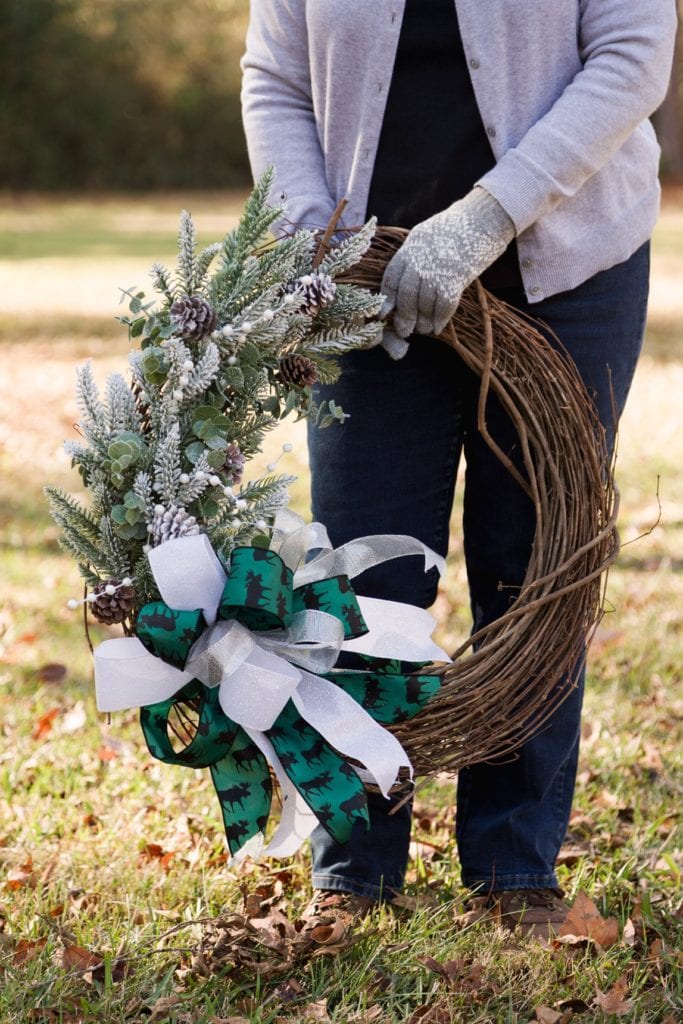
This lovely hoop wreath by DIY Vibes provides a nice, modern option.
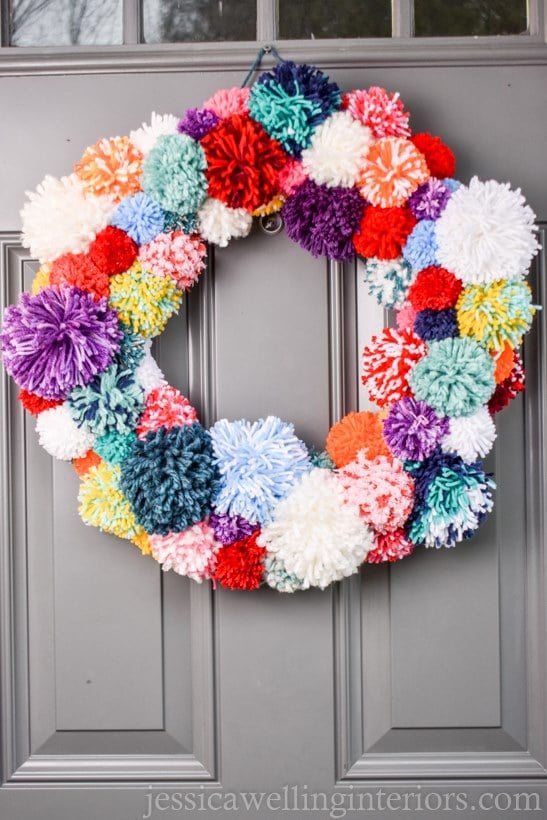
And you can’t go wrong with a cheery, colorful pompom wreath that’s perfect at Christmas and year-round. Found the full tutorial at Jessica Wellington Interiors.
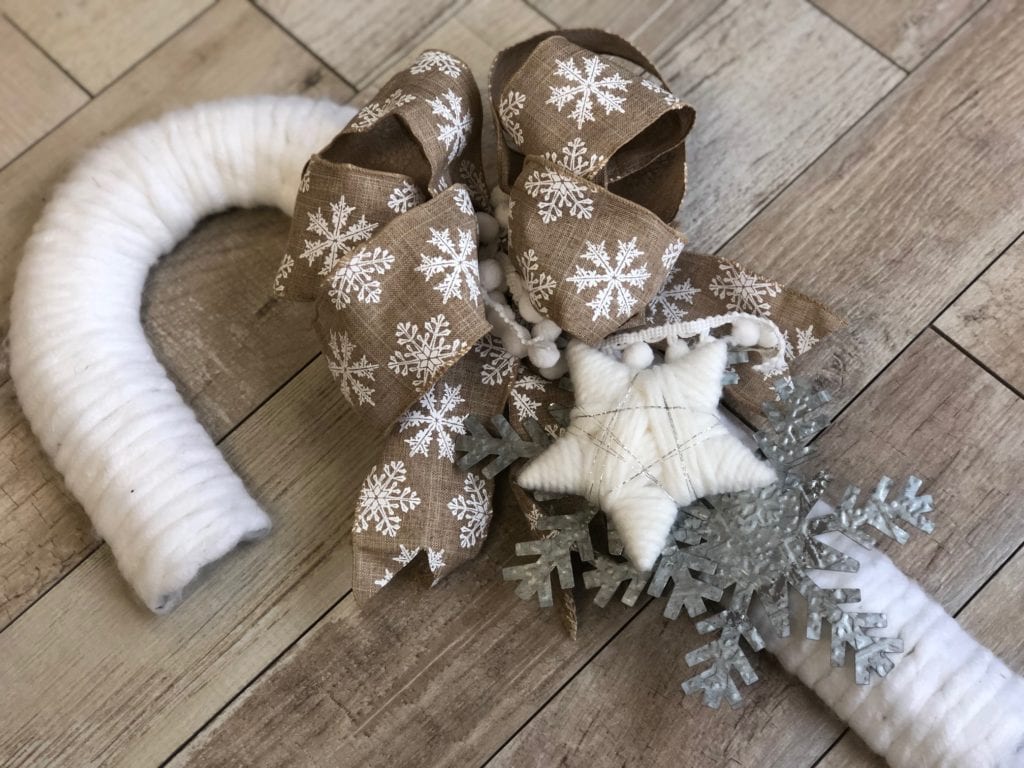
And for a fun alternative to a traditional wreath, try this candy-cane inspired rustic door hanging from Just That Perfect Piece.
Finally, this coastal inspired Christmas wreath from Sustain My Craft Habit has the perfect touches of beachy goodness!

Interested in More Christmas Decorating Ideas?
Explore these great projects by our favourite bloggers:
Sam @ Raggedy Bits | Janine @ Happy Happy Nester
Leanna @ Faeries and Fauna Crafts | Jodie and Julie @ The Design Twins
Katrin @ Kreativ K | Ashley @ Modern Glam
Sarah @ Creative Ramblings | Kellie @ Gratefully Vintage
Amanda @ Life on the Bay Bush | Tara @ Lehman Lane

How To Make The Best Christmas Decorations - Femina Unique
Monday 14th of December 2020
[…] Source: theboondocksblog […]
How To Make A Unique Mobile with Wire Hangers - The Boondocks Blog
Monday 16th of March 2020
[…] twine to hang and attached the old fashioned clothespins. You may recall I used these once before on a wreath project. I like the way they add a rustic feel to any project I’m working […]
Erica
Friday 13th of December 2019
I absolutely love how this turned out, Mary! Such a great idea using old jewelry. You are one clever lady.
Rustic Candy Cane Christmas Wreath DIY · Just That Perfect Piece
Thursday 12th of December 2019
[…] HOW TO MAKE A RUSTIC CHRISTMAS WREATH + 12 WREATH IDEAS! […]
Kippi
Saturday 7th of December 2019
Your wreath is so creative with the clothes pins. Merry Christmas, Kippi