Is your Christmas decorating done? I thought I had finished a while ago but you know, I am never really done. Always tweaking something or other!
I am always looking to use up whatever I have at home instead of getting rid of them. Case in point clothing that is no longer usable but can be repurposed into something else.
I had a lovely red sweater that was choking me at the neck. But no worries I wasn’t about to get rid of it. I simply used it for my Christmas decor. Today I am going to show you how to make easy Christmas stockings from sweaters.
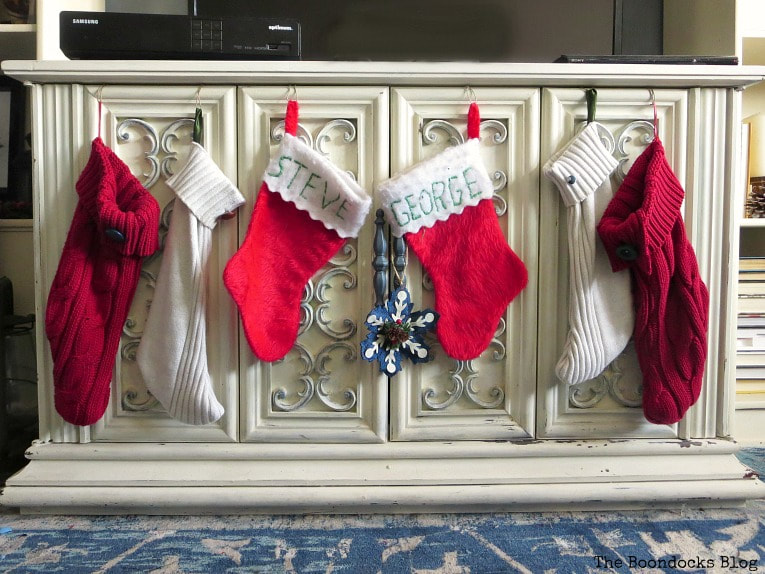
What I Used:
Disclosure: This post contains affiliate links for your shopping convenience. If you purchase any of these products through the links, we receive a small commission at no extra charge to you. You can find our full disclosure here.
- An old sweater
- 2 sleeves from another sweater
- Thread and needle
- Scissors
- Buttons
- Ribbons in Green and Red
The How To:
Since moving to the States I have had to start pretty much from scratch with all the Christmas decor. The only things I had originally were those 2 felt stockings you see in the middle of the photo above. I had made those when my boys were babies and I had embroidered their names on them. But now I think they also need a refresh, the felt looks worn out.
Last year we made do with cheap stockings, you know the felt kind that fall apart after hanging for an hour. I wanted to make something a bit nicer and more permanent.
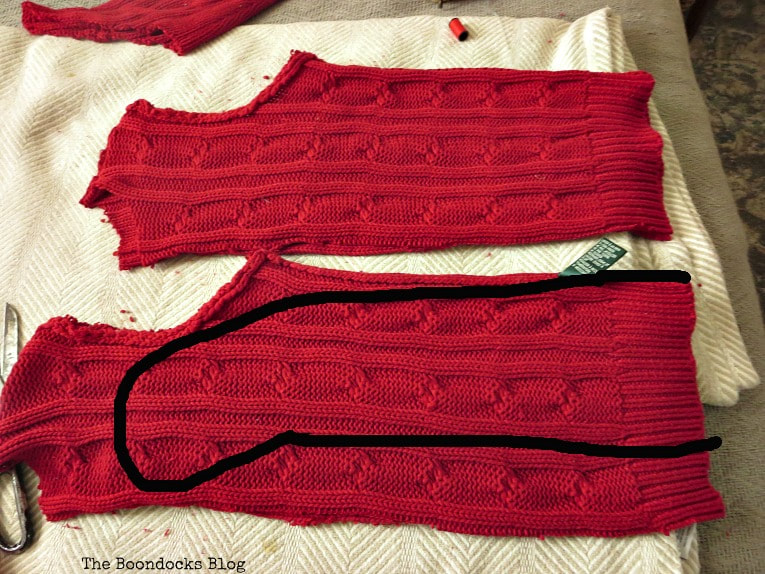
This sweater was very pretty but it did not fit so it was only natural for me to want to repurpose it. I started out by cutting the sleeves off the body.
And just so you know I’m super frugal, I actually used the sleeves as gift wrapping for wine bottles.
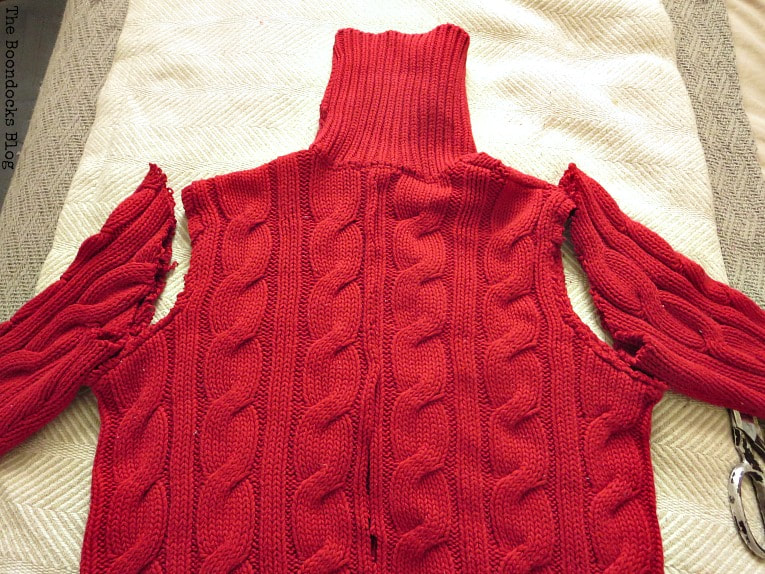
The body of the sweater was cut down the center.
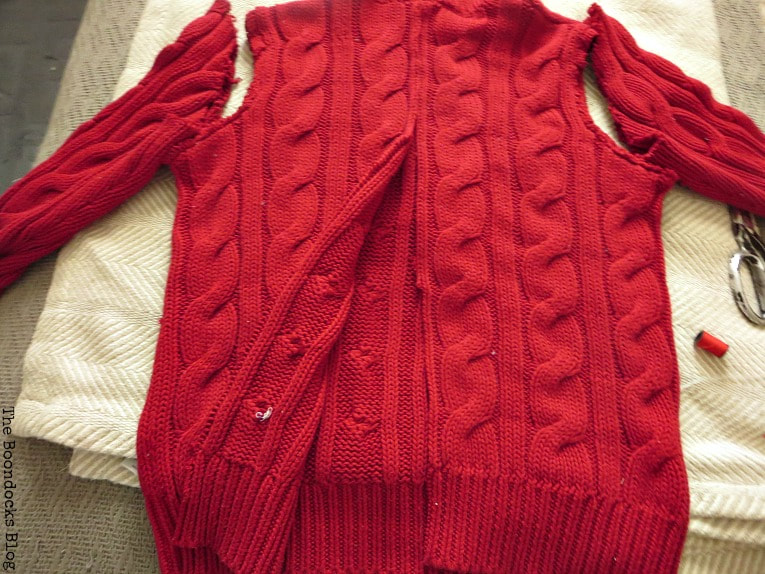
And the turtle neck was also cut off.
Like this…
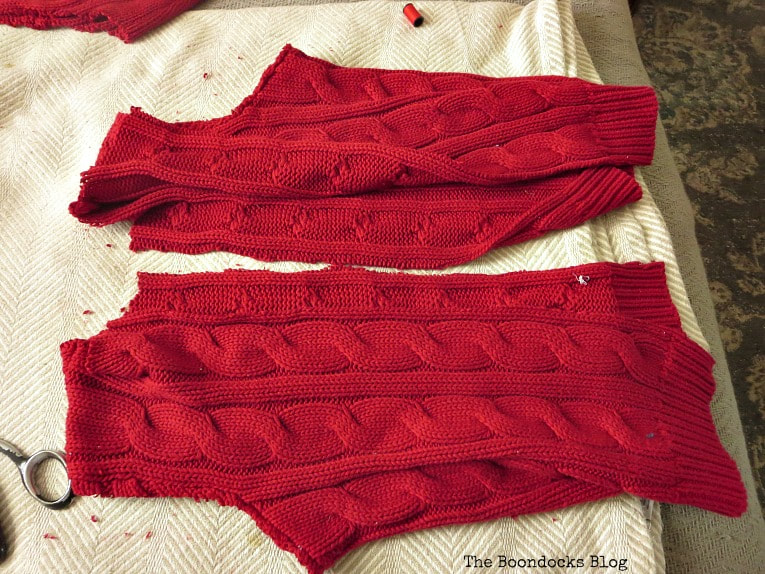
Using a needle and thread I proceeded to sew a stocking shape on the sweater. I really didn’t have to do the one side that already had the seam. I then cut off all the excess.
Once the sewing was done I turned the top over to create a cuff.
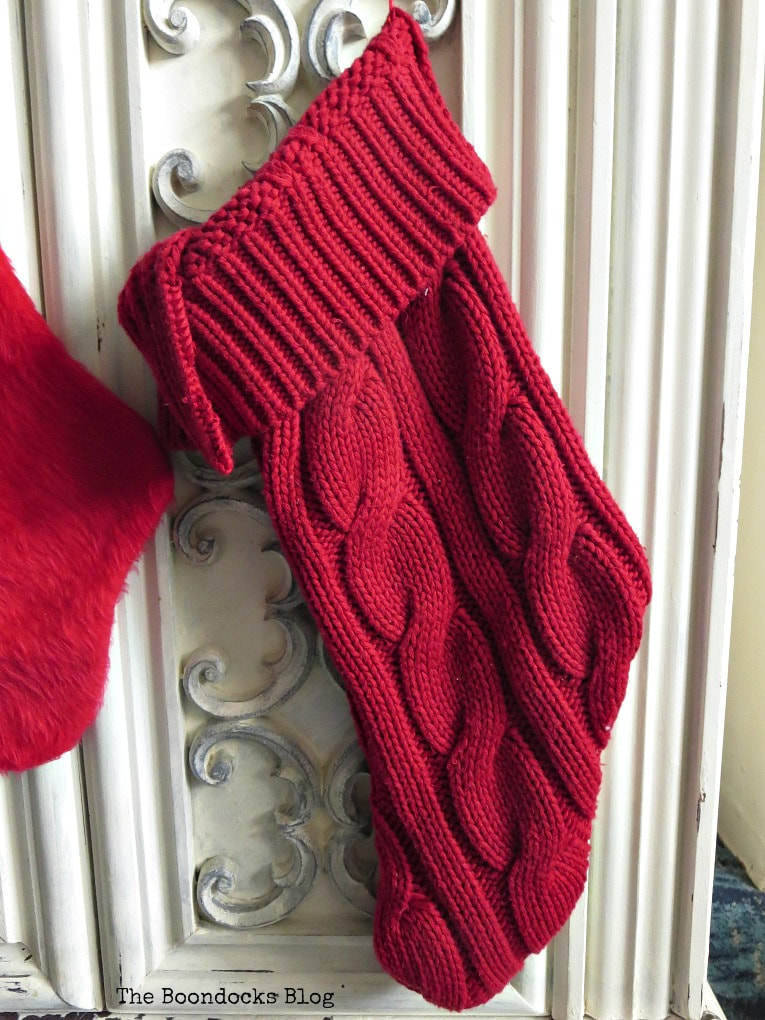
Different colored ribbons were added on top for hanging.
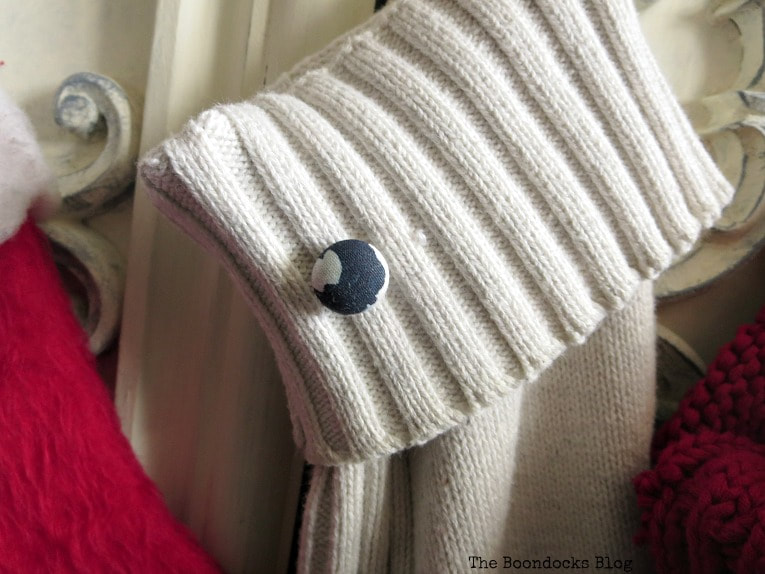
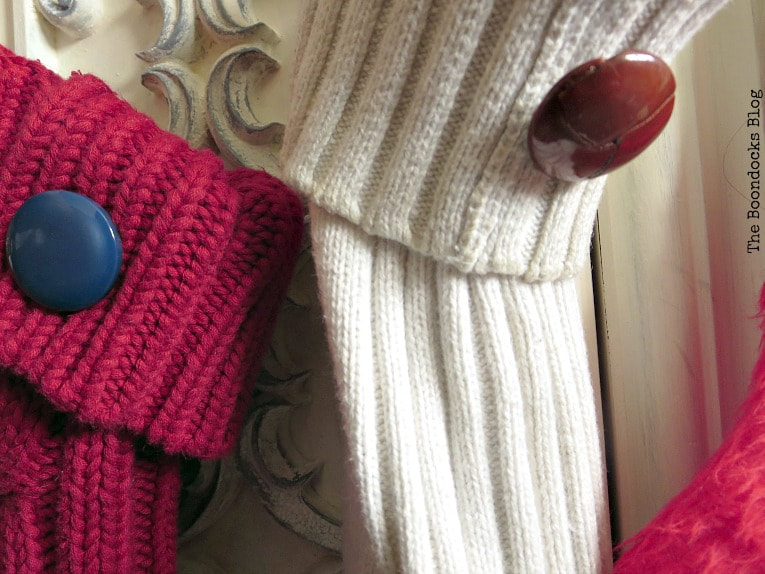
Buttons were added as accents but also to let us know to whom each stocking belongs to. I may add names in the future. This one belongs to the moody daughter.
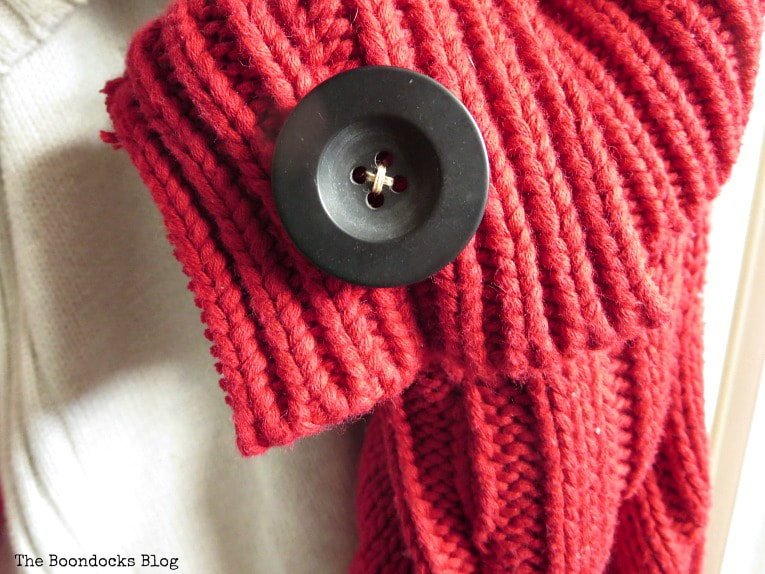
And this one, to the daughter who is a lover of all things blue.
I redid an old cabinet earlier this year for our living room. You can actually see all that scroll-work behind the stocking here. That’s where all the stockings are hanging now.
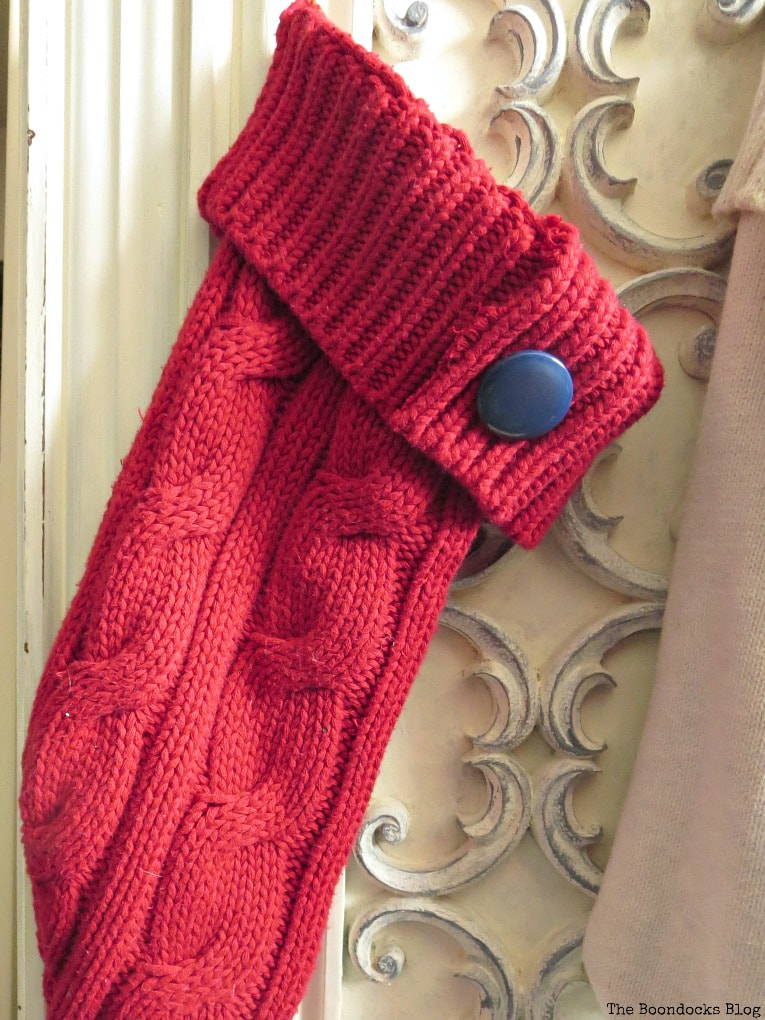
This one belongs to our sweet dog, Tatou. He is black and white so it is a perfect match for him.
The socking below was made from the sleeves of a sweater I repurposed into a pillow a few weeks ago – the one with the yarn wrapped around it. All I did was to sew the top of the sleeve and turn it over. It was easier than the red stocking because the sleeves were quite wide.
My stockings are all done. As long as they have room for the “stuffers” I am a happy mom!
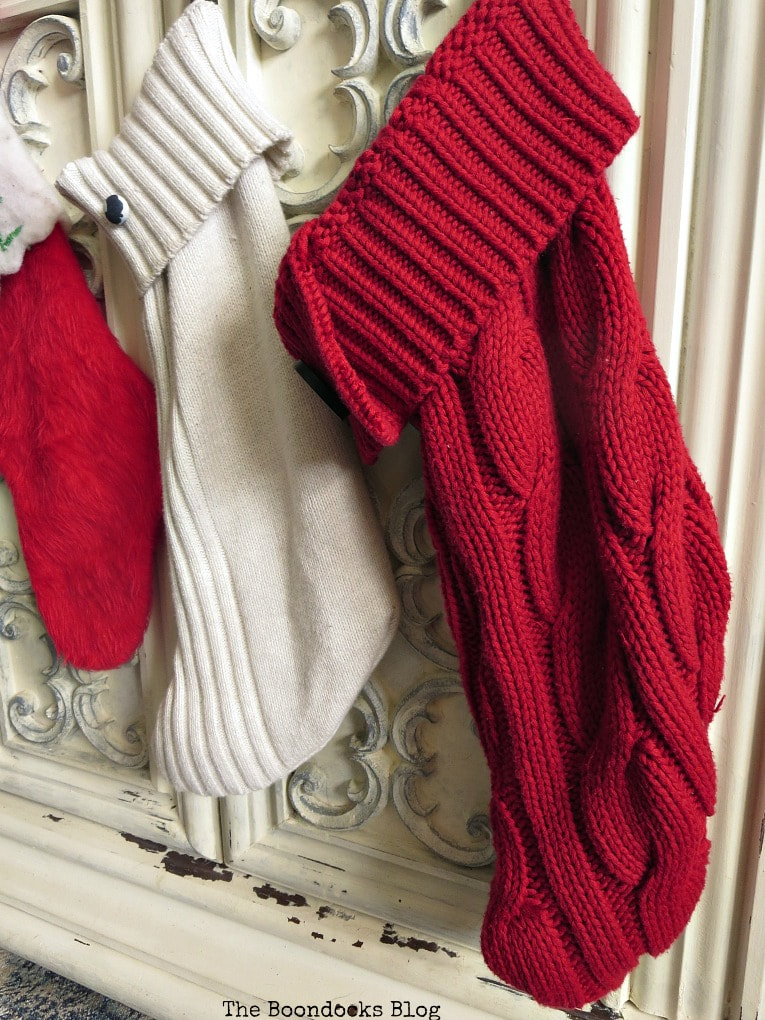
Next time you have an old sweater that is to be given away, why not take a second look at it? I hope my how to make easy Christmas stockings from sweaters has been inspiring for all of you.
And let’s not forget the easy solution of pillows! “wink”

This blog is for entertainment purposes only; my DIY tutorials are not professional advice.
15 Ways to Re-Purpose Old Clothes - The Boondocks Blog
Wednesday 23rd of June 2021
[…] let’s not forget Christmas stockings which began as a […]
Debra
Thursday 13th of December 2018
The stockings look fabulous. Great upcycle project.
Cindy
Thursday 13th of December 2018
These are great and pinning for another time. Thanks for sharing. Cindy
Marie InteriorFrugalista
Thursday 13th of December 2018
Your stockings are lovely, Mary. I like how you identified each one with a different button - great idea!
Michelle Leslie
Friday 14th of December 2018
Love them so much Mary and I do believe I have a whole bunch of sweaters that I haven't been able to fit into since....... well since I had Calin which was like 21 years ago. More than enough to make a stocking for all our eight fur babies :D