Have you ever felt that a piece of furniture can become a part of your family? Last year at around this time I had written a story about another dresser. Well, this year it’s time to take on this downtrodden mess. This old fellow is an Ikea pine dresser. And like the other one, it too has traveled across the Atlantic to spend most of its’ formative years here in Greece. But in this case I would say they were deformative. Now, I am going to show you how to save an Ikea pine dresser.
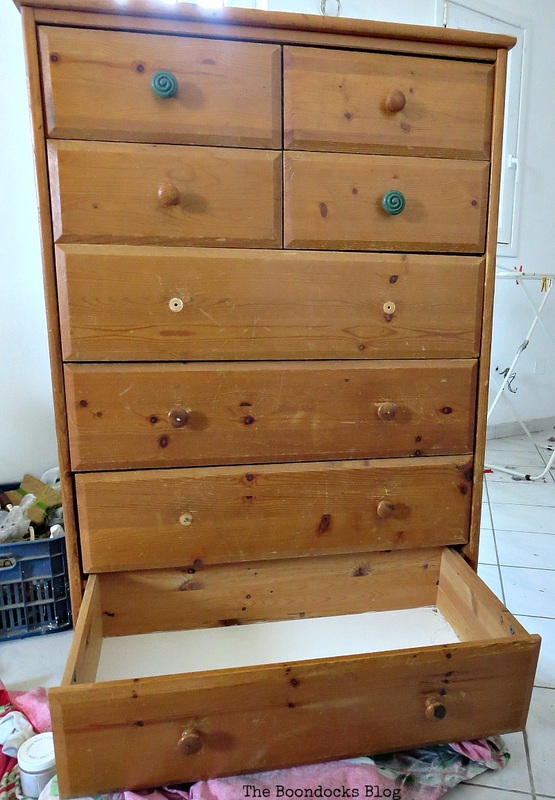
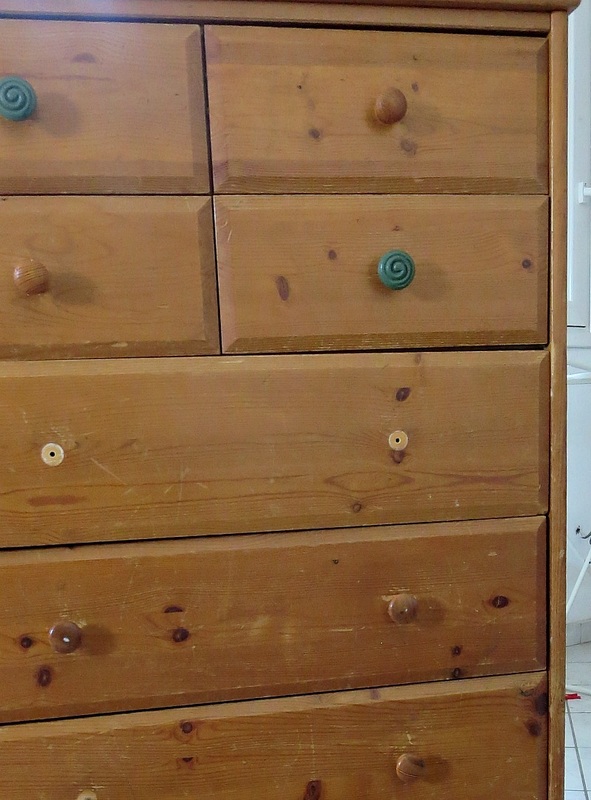
The dresser was used by two rowdy boys… and you know what that means. They used it as a playground, climbing onto it, and diving off of it and all sorts of other creative activities. Boys will be boys, as the saying goes. And here is the proof.
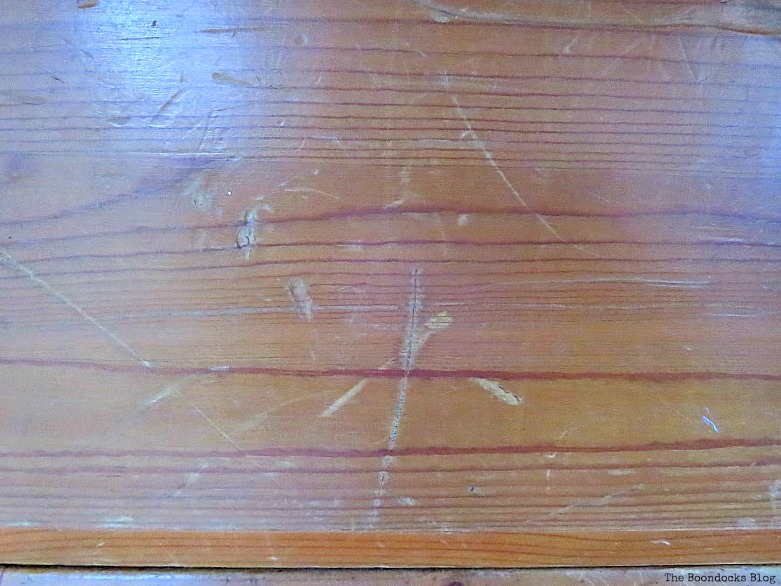
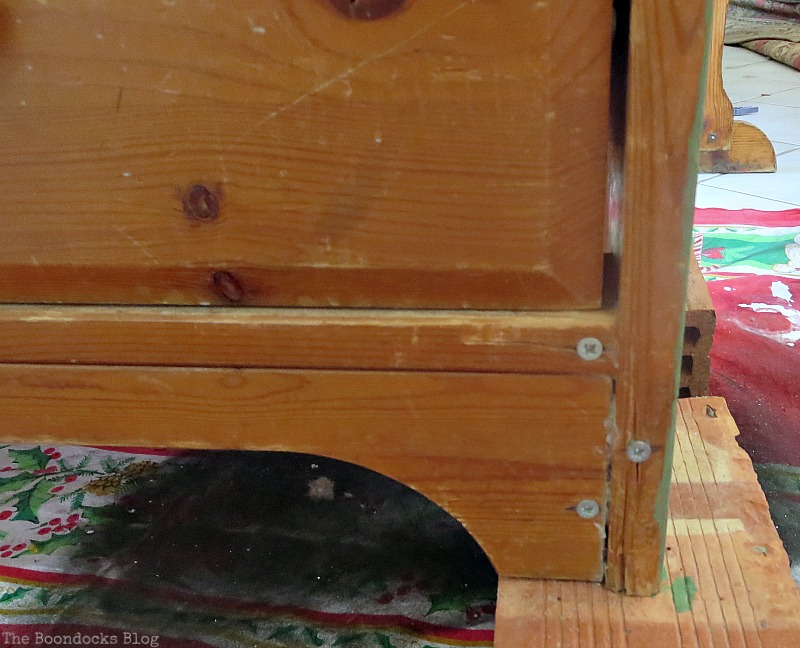
And here is more proof. We had to put it back together with screws. Of course, we all know that Ikea furniture is not the sturdiest in the world but it was solid pine and deserved a new life … even if it was looking awful. Here we are to the present and we had to decided what to do with this old thing. Were we going to keep it or use it as firewood? The saving grace was that it was solid pine for the most part. We just needed to realign the drawers as best as we could.
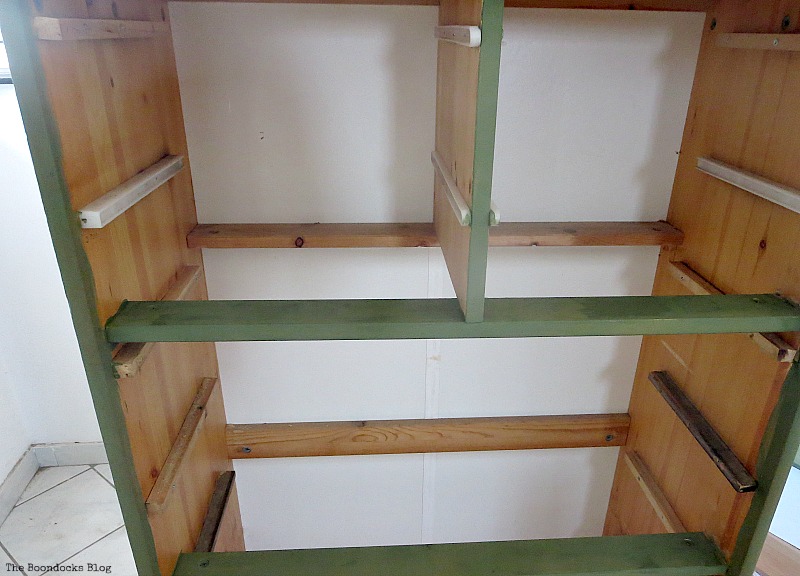
I had on hand this lovely shade of green and decided to paint it. It’s the hubs favorite sports color.
It’s called Enchanted by Americana Decor Chalky Finish Paint from DecoArt. Originally I was thinking of doing it as an ombre with each drawer darker as we went down. (If you would like to buy this product I have included Amazon links at the bottom of the post.)
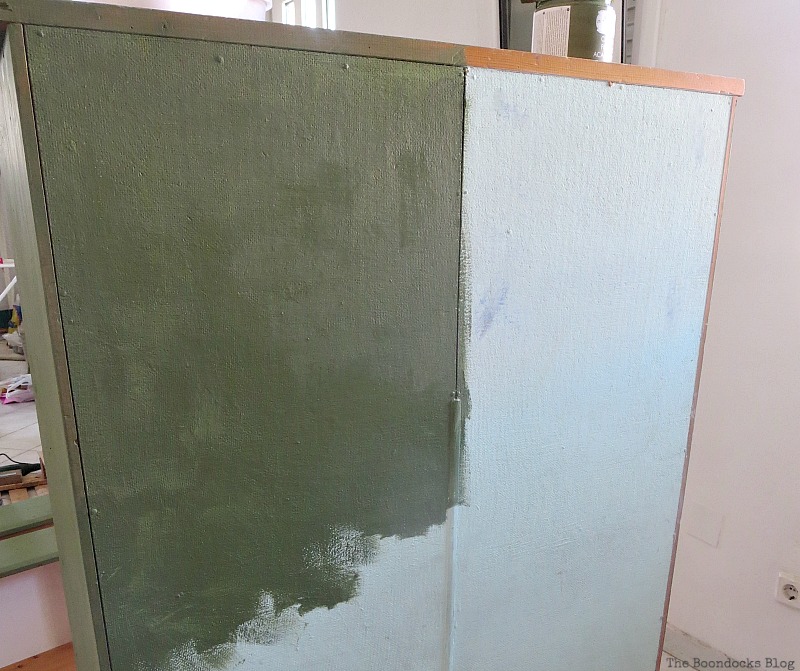
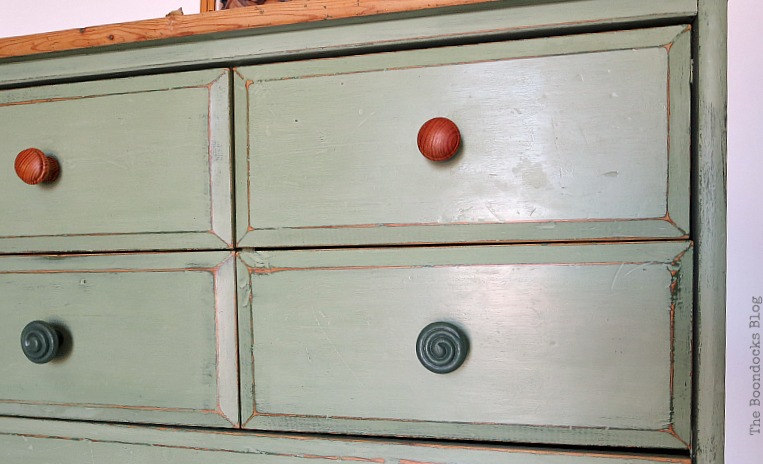
But once I painted the whole thing, it looked really dark so I decided to distress it just to get an idea of what it would look like with the contrasting wood. I even added the knobs back on. I had wanted to get new knobs originally, but when I added the old ones back on I liked the look.
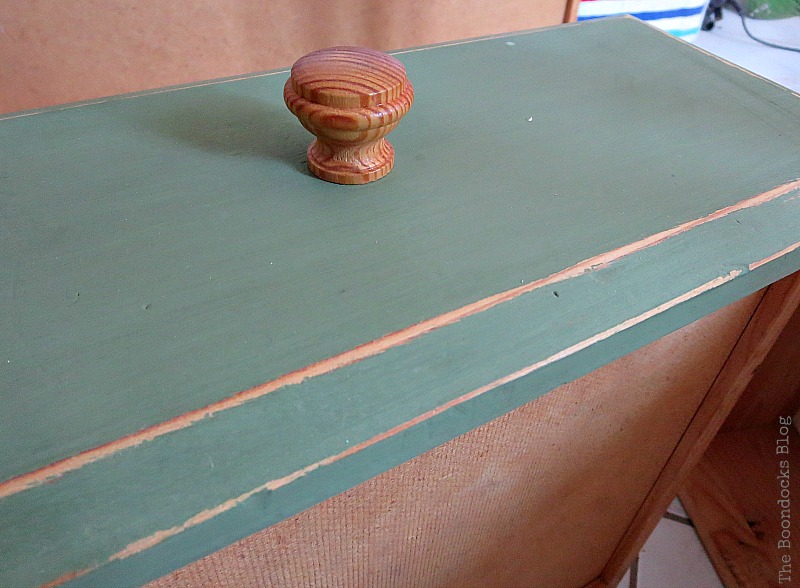
But here is what happened next. When I put the drawers in the whole thing looked way too dark. So I added some white paint to the Enchanted color and lightened it up a bit. When I distressed I also sanded the whole thing. This really gave a soft smooth feel to the whole thing. I was really impressed by this finish. I did this on the whole dresser.
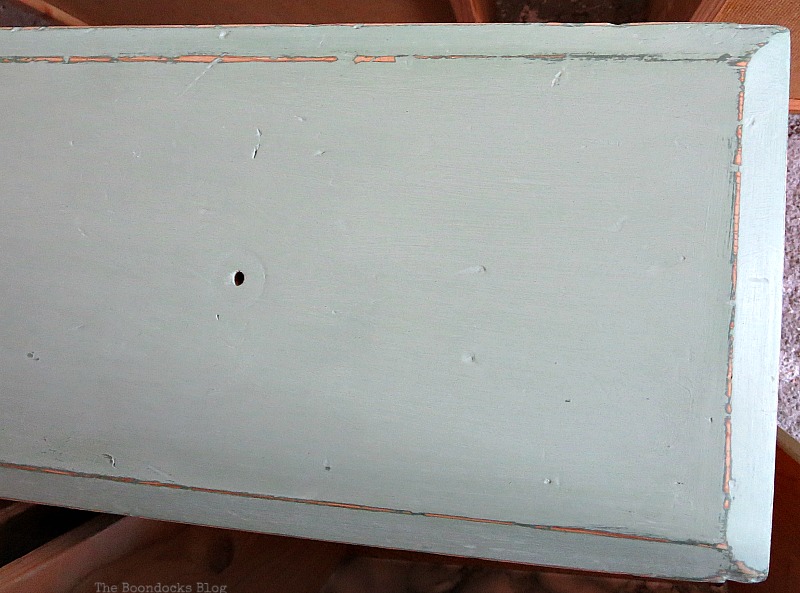
The bottom half here is waxed with Americana Decor Cream Wax. You can see how it darkens it a bit. (If you would like to buy this product I have included Amazon links at the bottom of the post.)
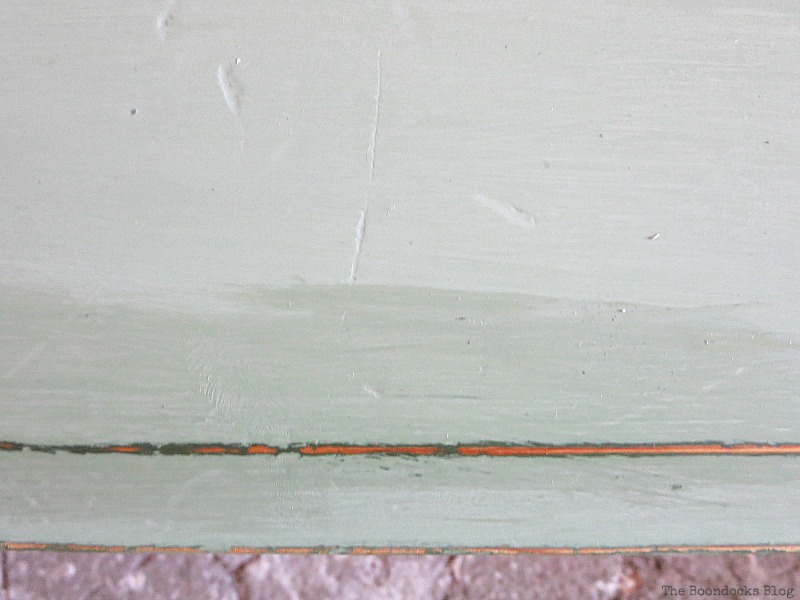
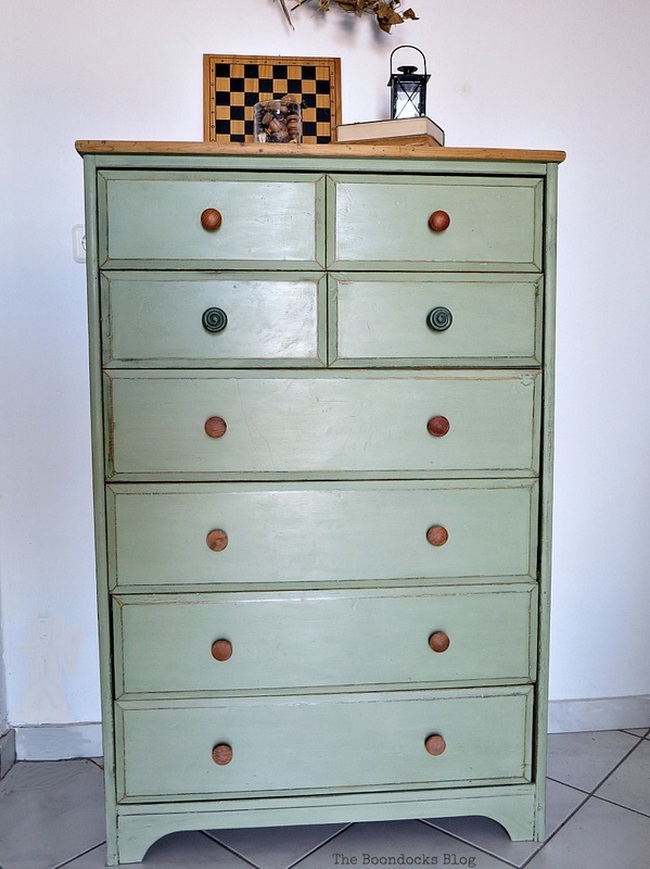
The finished job with wax and distressing. It now has a beautiful sheen and it is protected.
As for the top it was just sanded down and finally gave it a coat of wax.
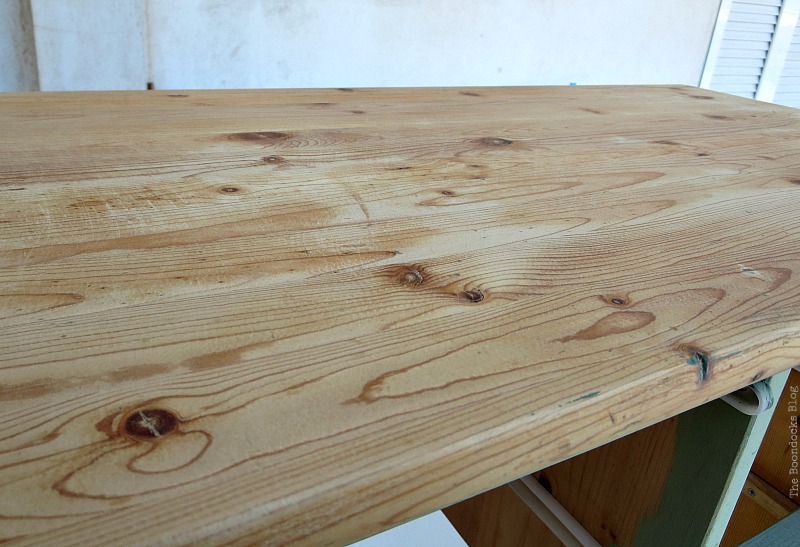
When using chalk paint the big plus is that you don’t have to sand before. No prep work. But I did sand after I finished painting when I was distressing the piece. Not only did it make a huge difference in the appearance but it became as smooth as butter, paving the way for the wax.
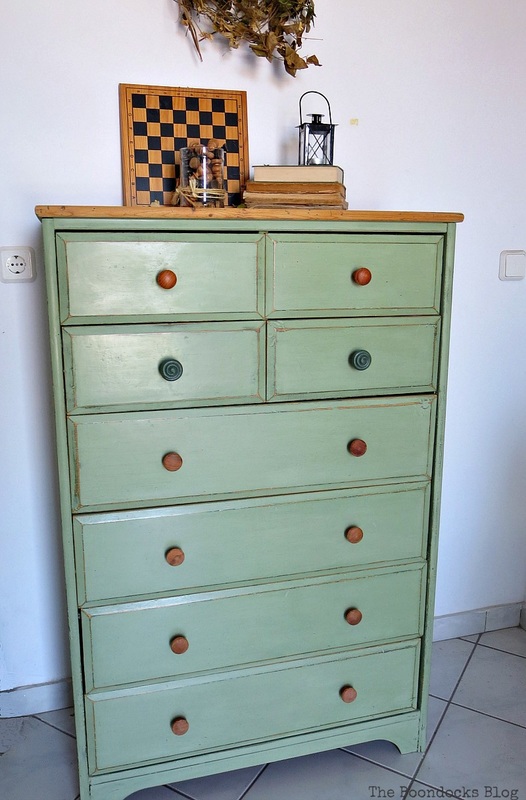
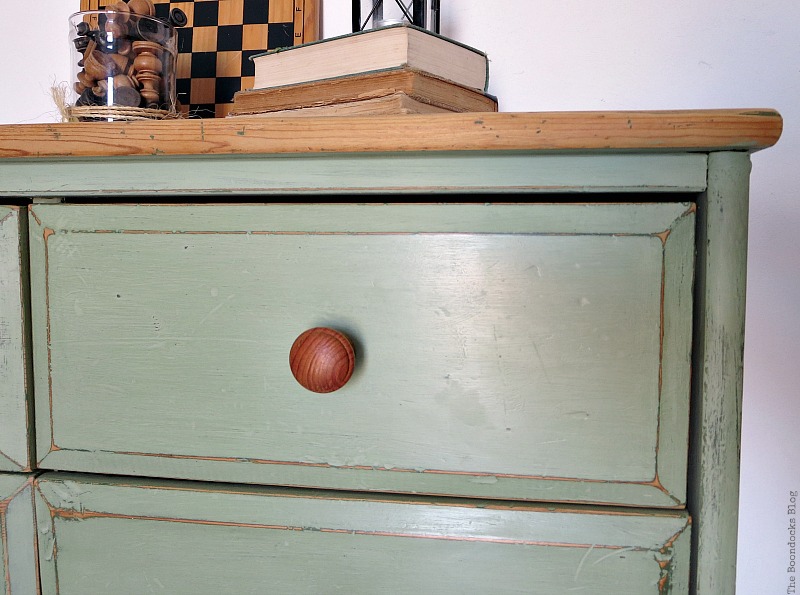
I reapplied the knobs that I had from before; they look great and really stand out now.
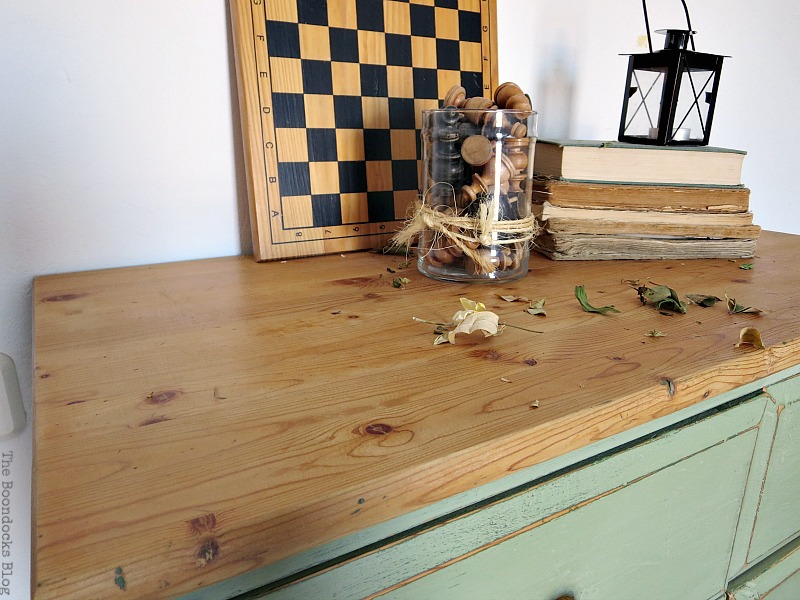
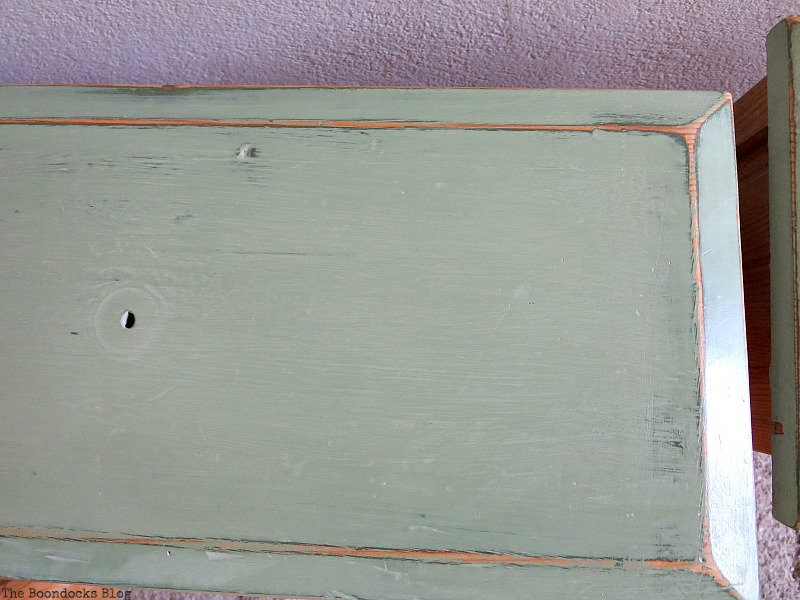
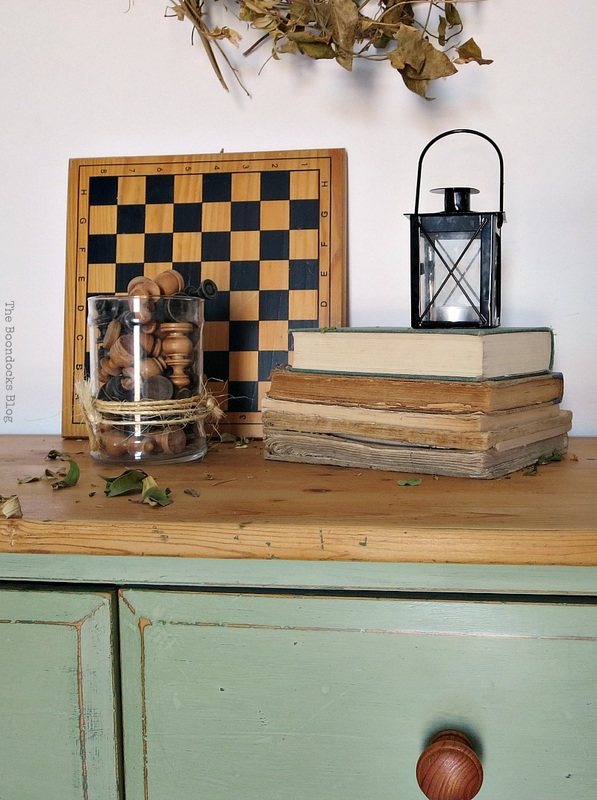
You can see the nicks and scratches on the top and some dark green color but that’s okay as it adds to the charm of the piece.
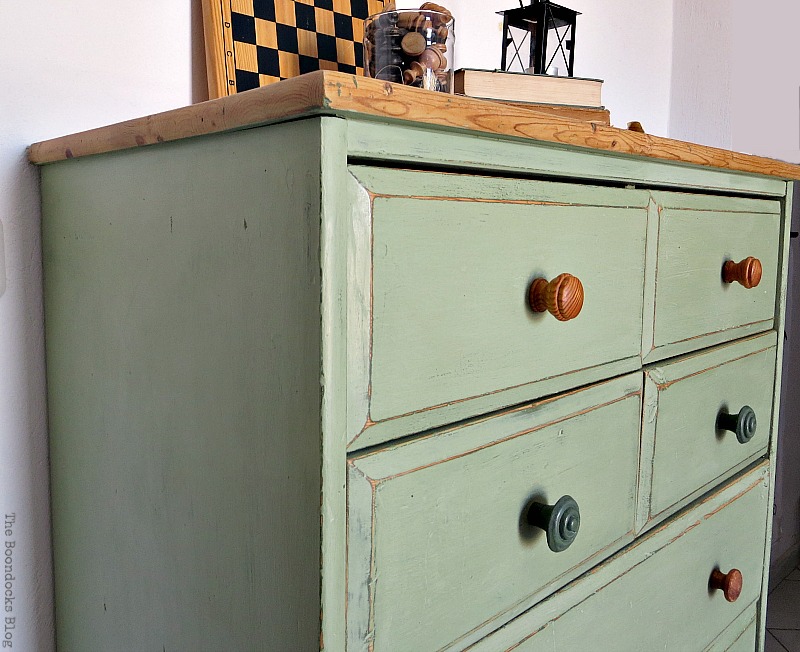
Here you can see how the distressing shows just the green in some places…
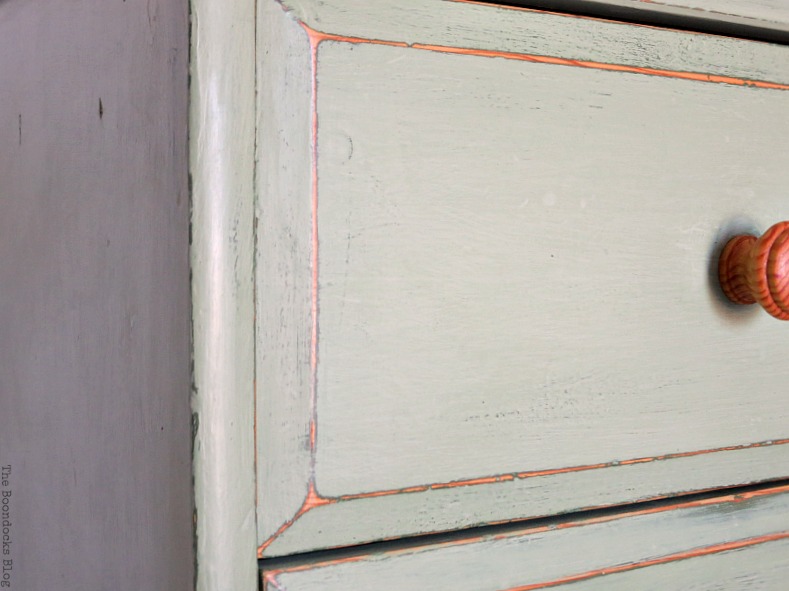
Can you see the subtle sheen? Now every time I walk by it, I just have to run my hand over it.
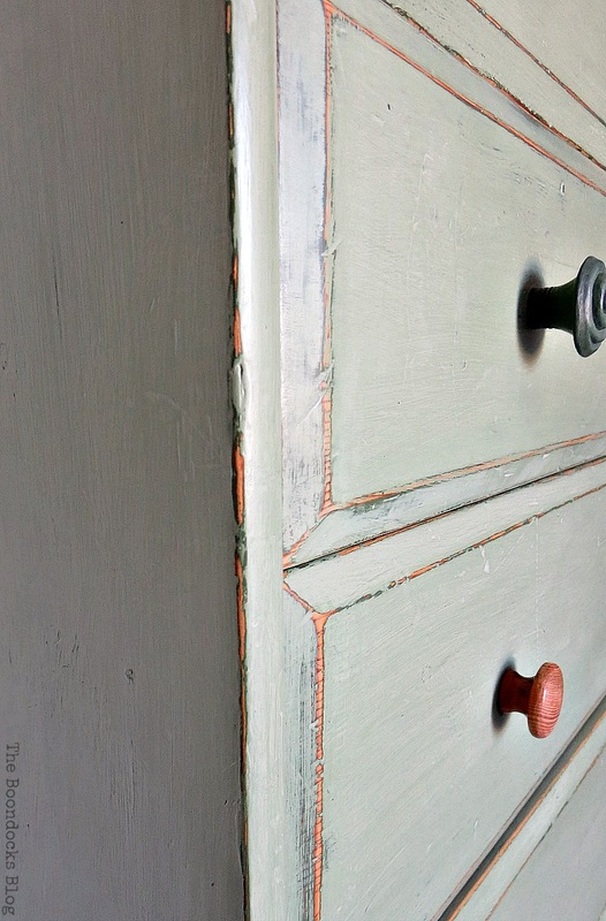
… and in others the green and the wood, giving it more dimension.
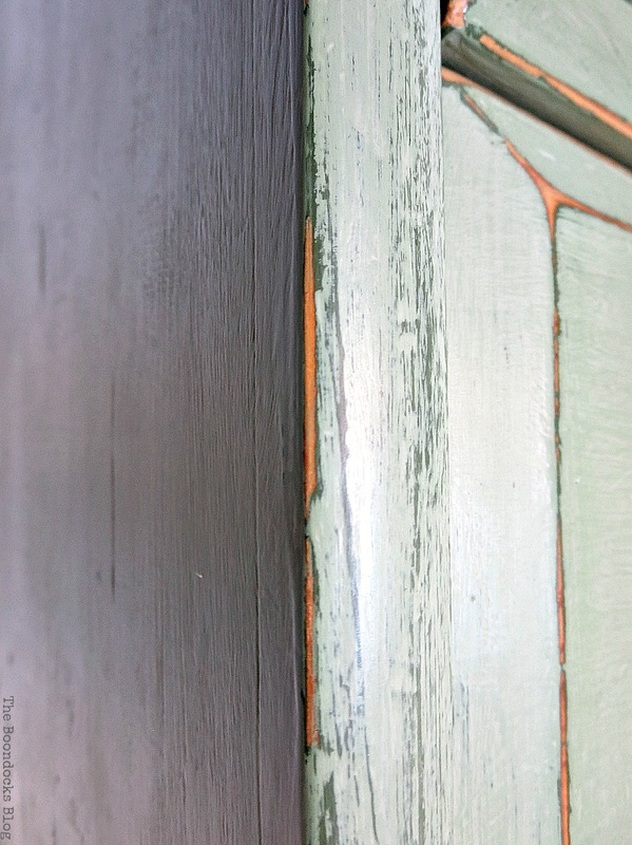
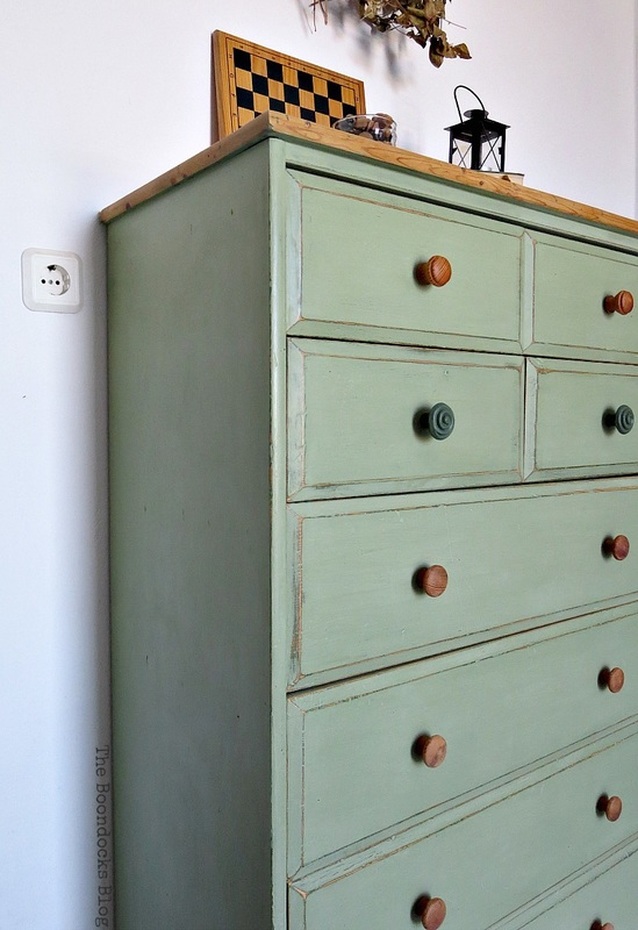
It’s far from perfect. You can still see that there are some gaps where the drawers close, and it is full of nicks and indentations but it is a huge improvement from before. And it is full of character, even the hubs loves it.
Everyone goes on vacation in the summer and I go to work, but it was well worth it. And now that I have shown you how to save an Ikea Pine Dresser I am off to my basement. I do believe I have an old bed that I can paint to match this dresser. Would you have bothered to save this old thing or would you just have sent it to wood heaven?

Addition Furniture Painting Ideas you Might Like:
If you like what you see, share it with your friends, or save it on Pinterest. If you really like what you see subscribe to my blog and get my adventures twice a week in your mailbox.
This blog is for entertainment purposes only; my DIY tutorials are not professional advice. Read my full disclaimer here.
I love it when I get your comments and I will reply to each and every one of them.

How to Make an Easy Cover for a Bedroom Clothes Rack - The Boondocks Blog
Friday 17th of July 2020
[…] originally painted this old Ikea pine dresser over two years ago.. it was really terrifying to look at before. And I was lucky to be able to […]
Curbside Mirror Makeover the Lazy Way - The Boondocks Blog
Saturday 30th of May 2020
[…] one. I never make mistakes with chalky paint. It is very forgiving! Well, even if I do make mistakes it is still […]
Katrin
Monday 1st of August 2016
Mary, WOW! It is gorgeous, I love that colour and yes, the before green would have been too dark for my taste, but this is just perfect! You really really made a beautiful piece out of this dresser! The top looks amazing with the rest of the dresser and the knobs as well! Great job my friend!
Mary
Saturday 6th of August 2016
That green really was too dark, I am so happy with how it turned out. It was really in bad shape before. Thank you Katrin.
Michelle
Monday 1st of August 2016
Oh that looks so pretty. (I actually said that out load when I was reading the post, lol!! Our fur babies thought I was nuts) The dresser is definitely not deformative anymore Mary.
Mary
Saturday 6th of August 2016
Yes Michelle, it was in really bad shape before and I was so reluctant to get rid of it. I think the more I blog the more I want to find creative solutions instead of throwing things out. Say hi to the fur babies for me. <3
Dalia
Monday 1st of August 2016
Honestly, I am always a little happy when someone restores old Ikea-Furniture. I think they get a bad rep unfairly, many pieces are solid pine and really only need a few screws. I have saved a couple of pieces that really only needed sanding and paint. Though I let my son do the distressing. :-) Throwing them out is such a waste of resources.
Mary
Saturday 6th of August 2016
Dalia this was a very solid piece but it had to suffer thru four rowdy kids. No one can blame it for falling apart after 25 years. Do you have any pictures on your blog of the ones you restored? I'd love to see them .