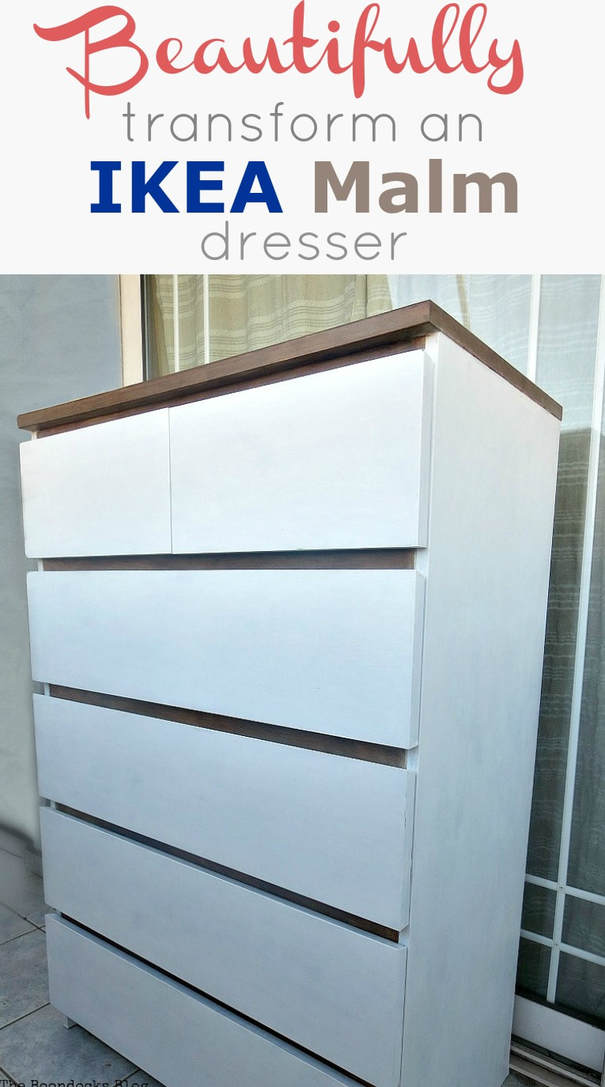
How to Beautifully Transform a Black Ikea Malm Dresser
Learn how to paint an old black Ikea Malm dresser and transform it into a beautiful new furniture piece for your bedroom.
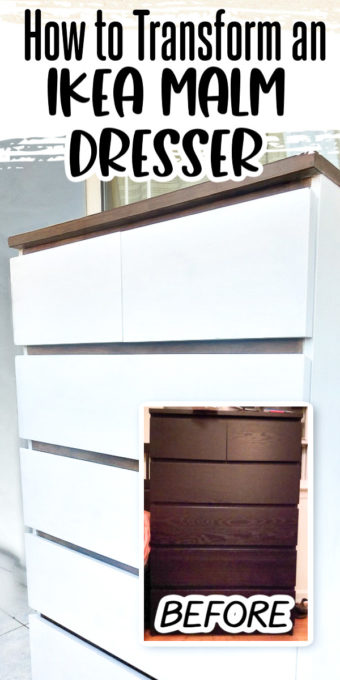
Have you asked yourself if you can you paint Ikea furniture? It’s easier than you think! I painted a black Ikea Malm dresser and transformed it into a beautiful white dresser. It looks updated, fresh and adds a perfect farmhouse touch to my bedroom.
A few weeks ago I shared my small apartment makeover with the newly installed kitchen. This is where we will be staying when we visit Greece. But did you know there is another room to this space. Yes, we also have a bedroom.
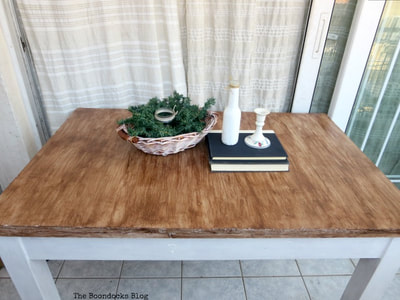
It is time I show you all the furniture that I tackled in there. A few weeks ago I had shown you the laminate table makeover into a farmhouse look which will be used as a computer table. Today I am sharing how to beautifully transform a black Ikea Malm dresser.
Disclosure: I was compensated for doing this post with product. However, all the opinions stated here are my own. I only use products I love and would recommend to my viewers.
Materials Needed to Paint your Ikea Malm Dresser:
Disclosure: This post contains affiliate links for your shopping convenience. If you purchase any of these products through the links, we receive a small commission at no extra charge to you. You can find our full disclosure here.
- Sandpaper
- Decoart Americana Chalky Type paint in Everlasting
- Decoart Americana Acrylic Paints in various colors – basically whatever I had left over because I wanted to make a brown
- Decoart Americana Multi-Purpose Sealer
- Decoart Americana Gel Stain
- Decoart Creme Wax in Clear
- A round brush
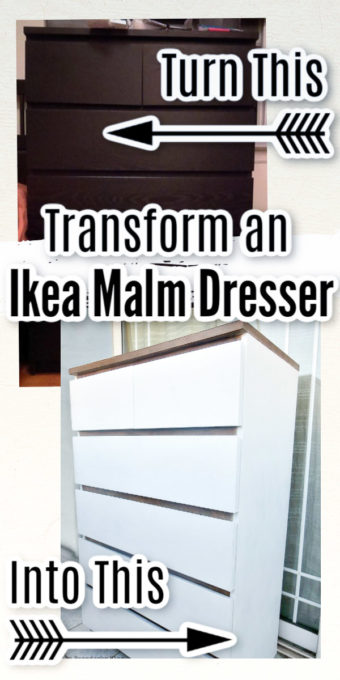
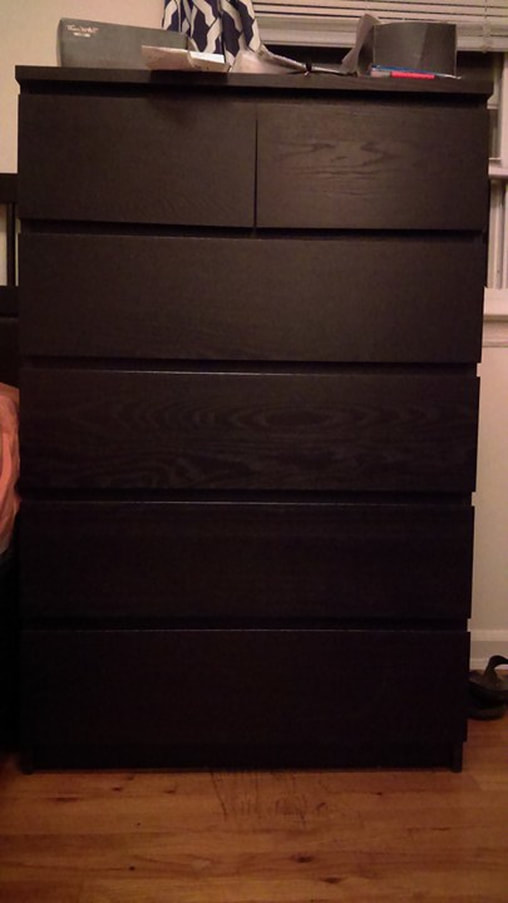
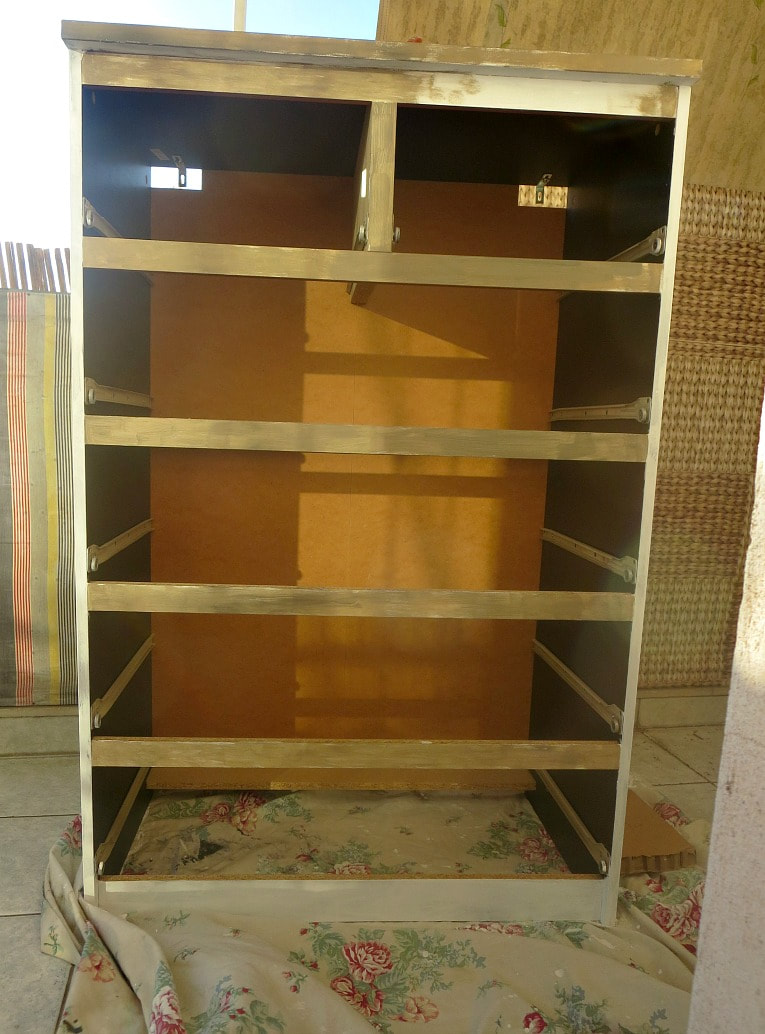
I started out with a standard black Malm Ikea dresser. Basic black and oh so ugly! What were we thinking when we bought it? The only great thing about it is that you can fit lots and lots of clothes and of course it is cheap. But it was way too dark – in fact it couldn’t get any darker. I desperately needed to do something.
How to Paint your Ikea Malm Dresser:
The first thing I did was to scuff up the Ikea Malm dresser with a sander.
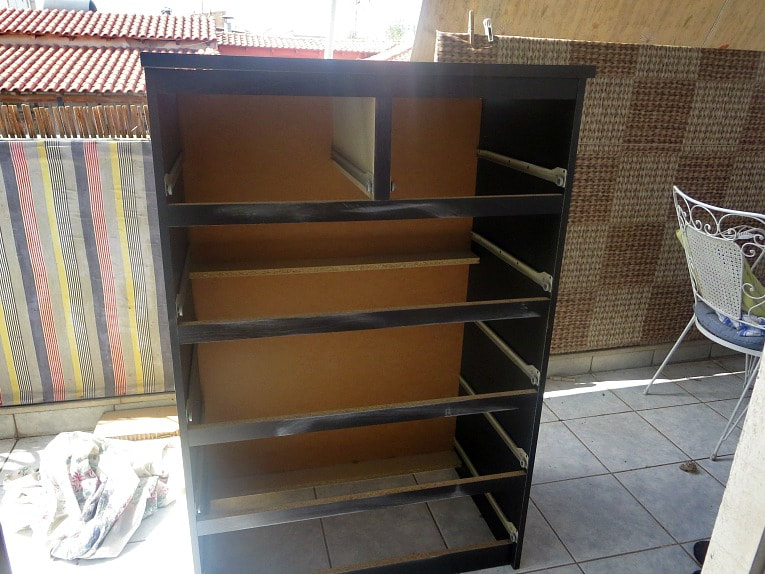
Just random scuffing and sanding all over.

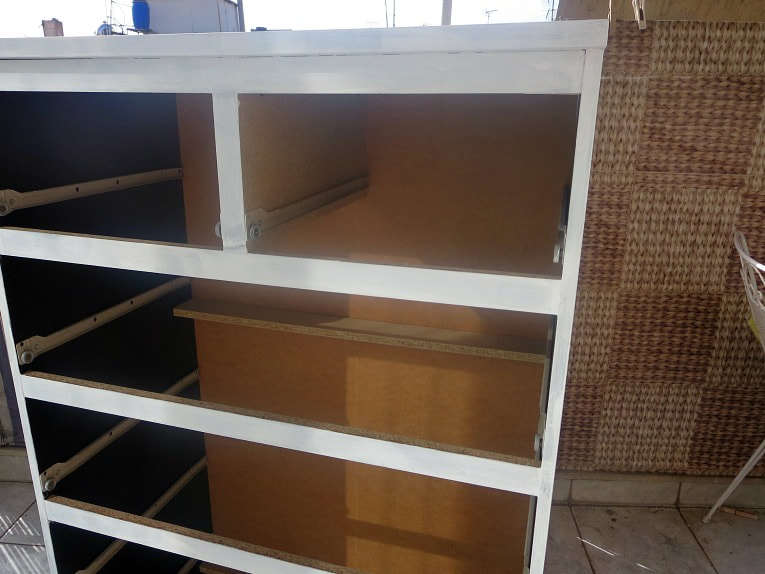
Then I went over the entire thing with Americana Chalky Type Paint in Everlasting. As you must know by now I use this color as a base and also because it goes on really well. I must have added about three coats to the whole dresser. Needed to desperately get rid of that black!
I then wanted to use an acrylic paint to go over the white on the top. This is what I had, but the bottle was almost empty.

But there is one thing I am, and that is resourceful! So I mixed in a whole bunch of colors to really muddy it up and come up with a brownish tone.
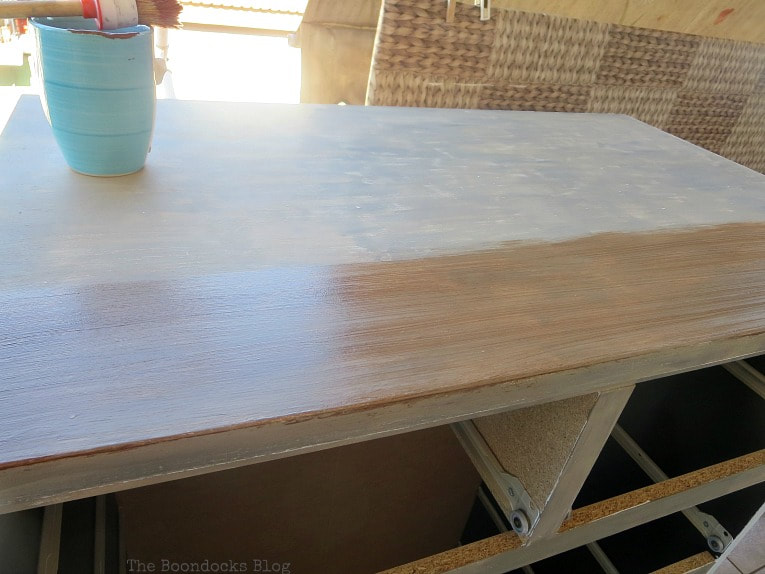
Here is the brown toned color that I created. I went over the top of the dresser with this.
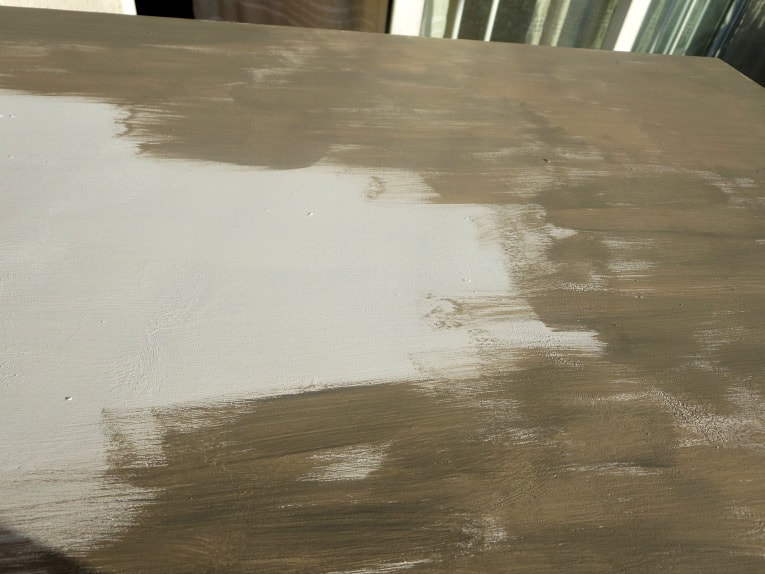
I did this in short brushstrokes and it dried quickly. I was aiming to give it some texture.
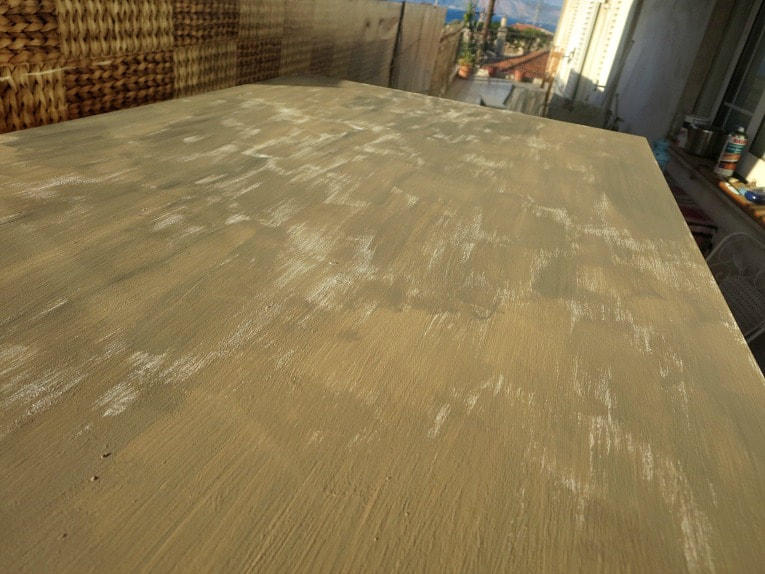
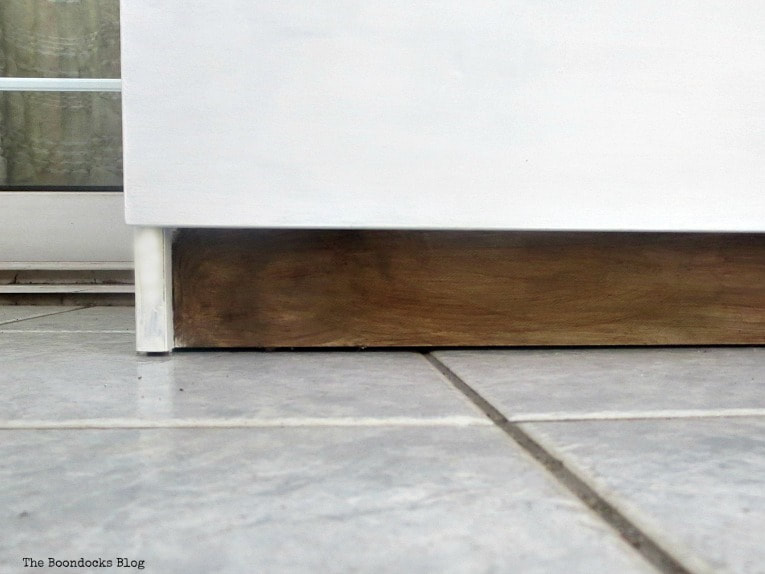
I also painted the front part of the Ikea Malm dresser in this brown looking color. But I left the sides with the white color.
Here we can see that it has dried. But I was not done. I wanted something more.
What I wanted was to get a nice rich finish that would be hard as nails. Because it is a dresser and the top would be used a lot so it had to have a tough finish.
Enter my secret weapon. This is a multi-purpose sealer also from DecoArt’s Americana line. It can be mixed in with almost anything to create a hard surface. In fact it can be used for outdoor items too. Not that I would be placing my Ikea dresser outdoors… just sayin’!
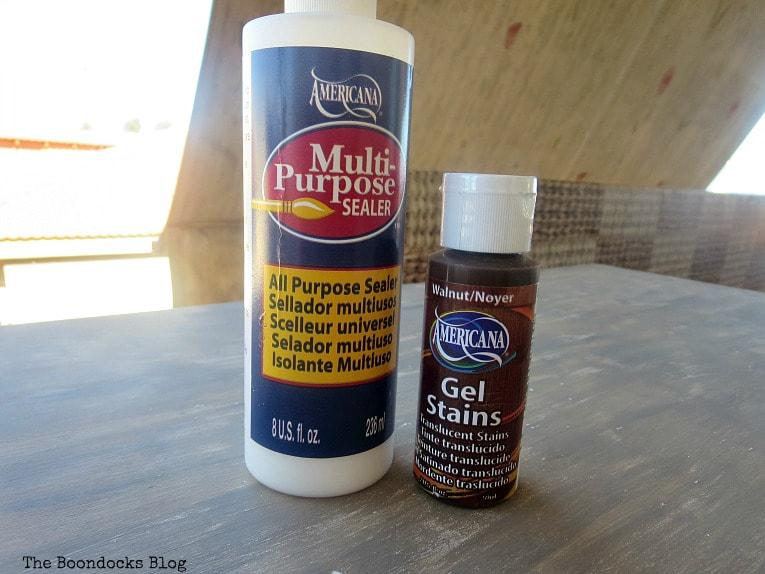
I mixed it in with the gel stain to get a nice rich look, about 1/4 sealer to the 3/4 gel stain.
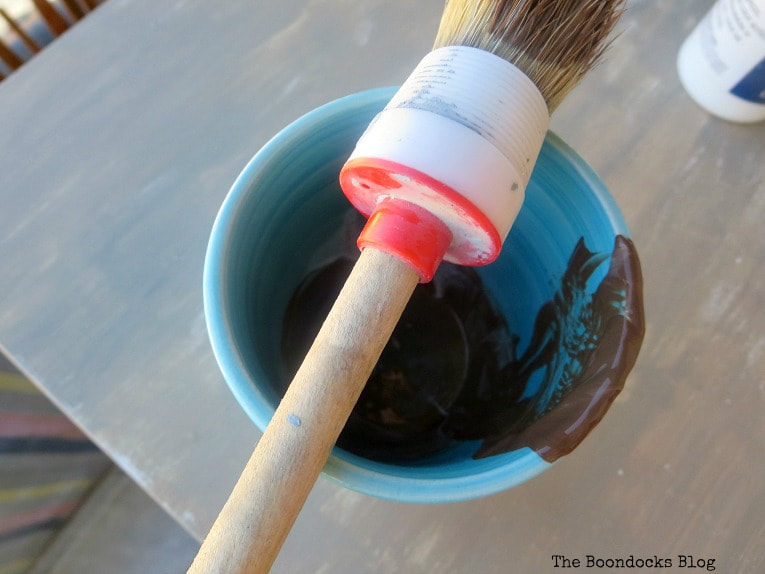
I used a nice round brush to get thick full brush lines. I just dipped the brush in and dragged it all the way across the top. I had also used the gel and the brush to get a different sort of look on the laminate table a few weeks ago.
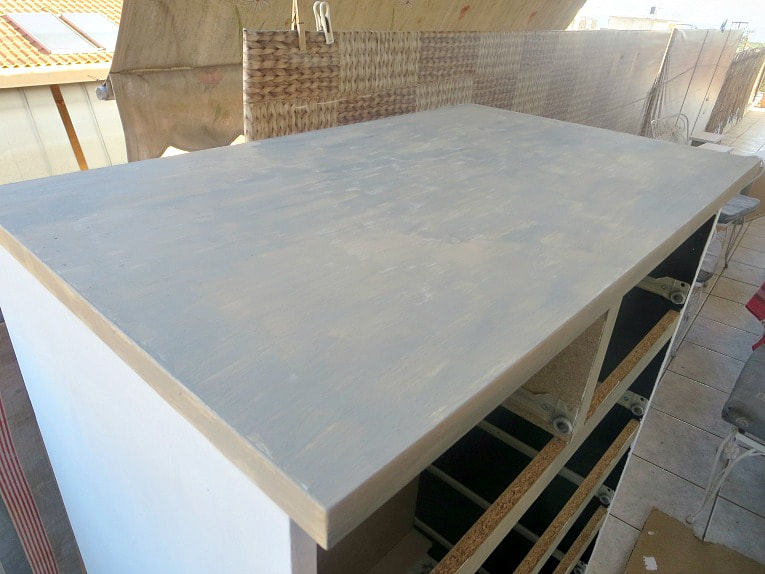
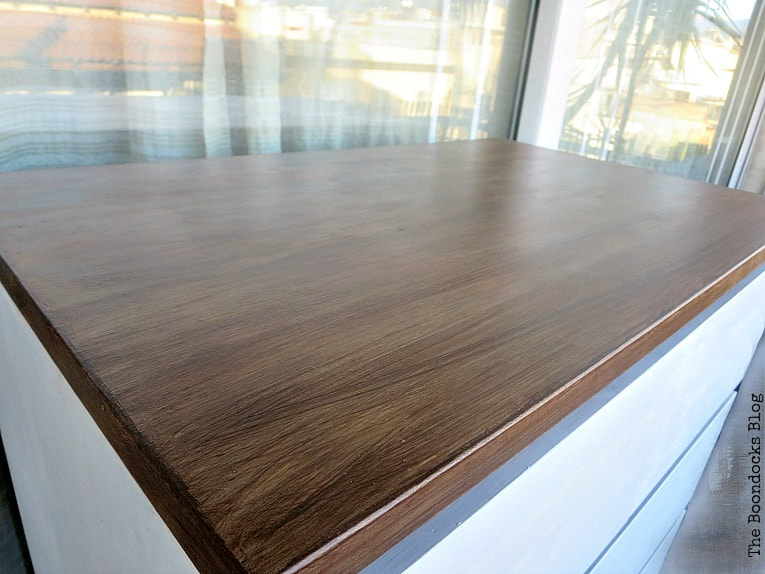
Next, I stained the dresser with a more subtle look by dragging the gel stain right across. No short paint strokes.
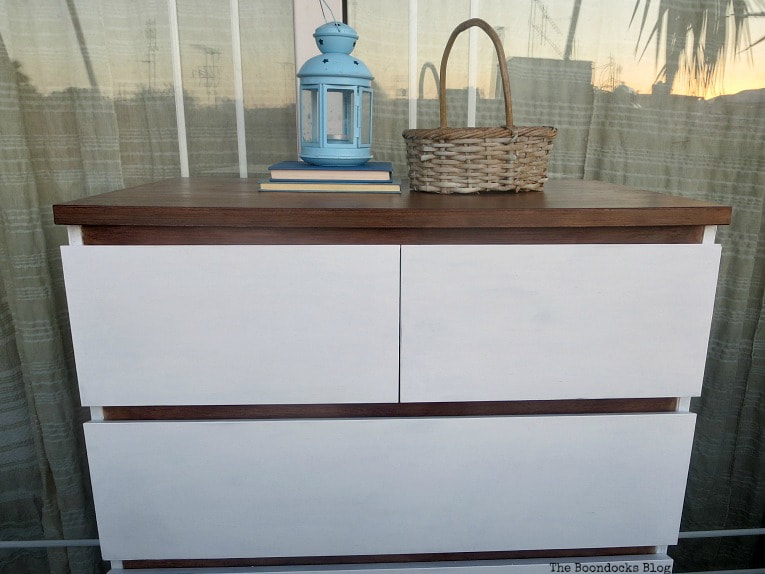
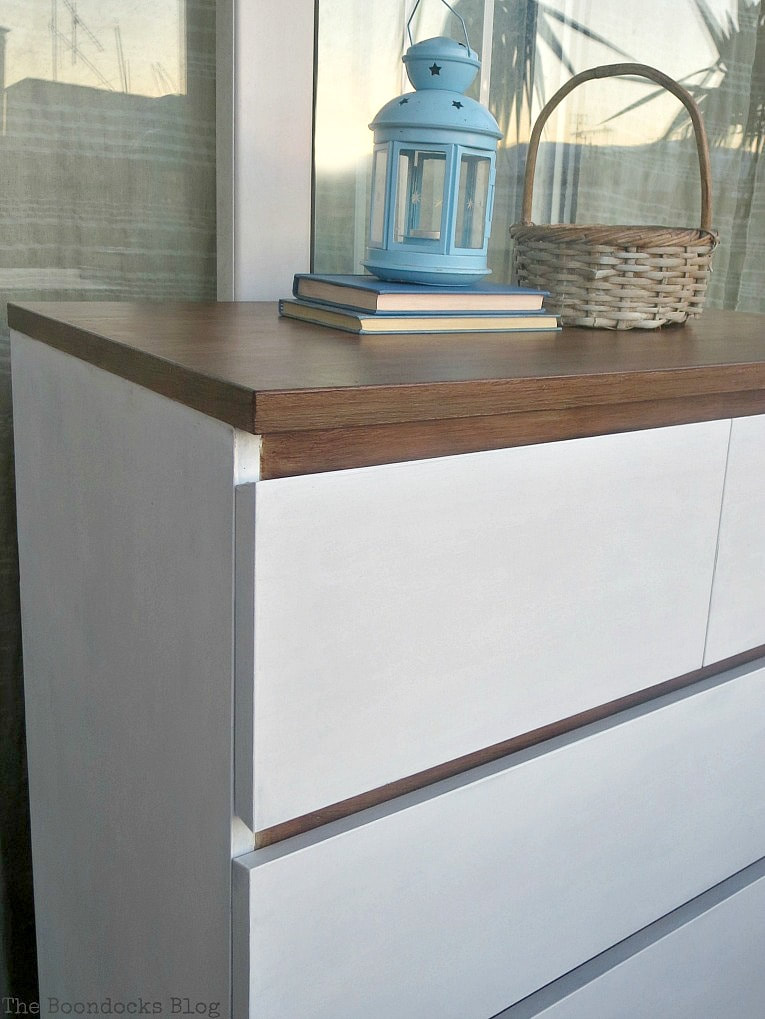
Here is the top all done with those nice long brush strokes across it.
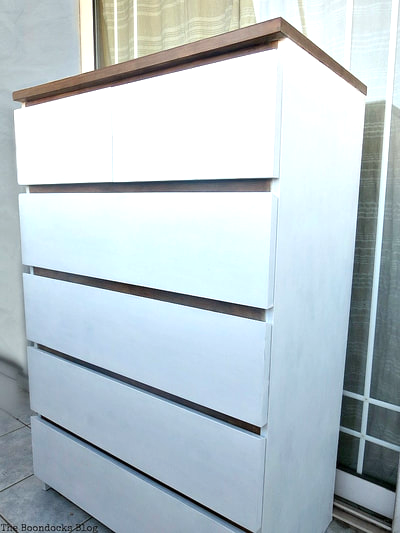
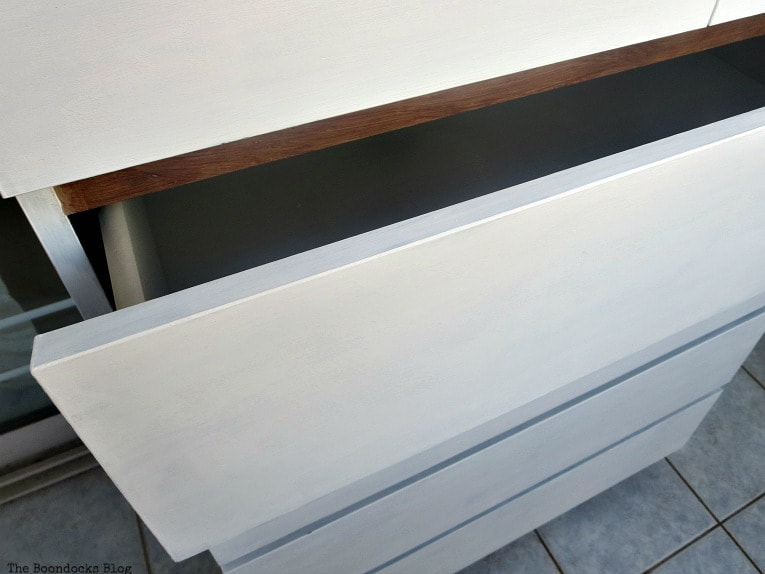
The drawers were all painted in Everlasting white. And they along with the other white parts of the dresser were all sealed with the creme wax in clear.
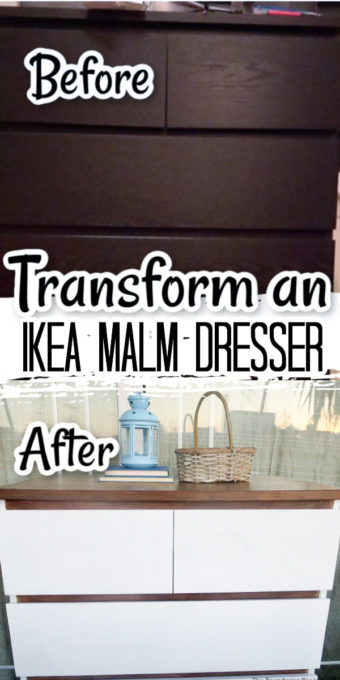
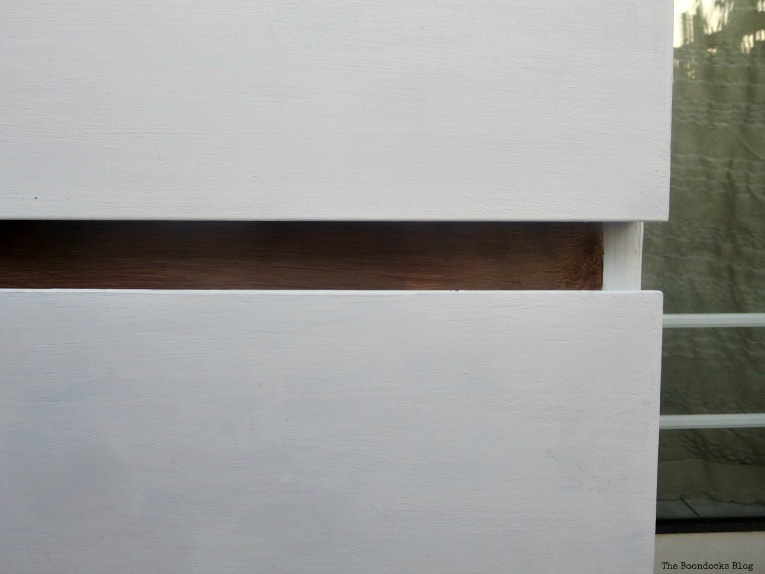
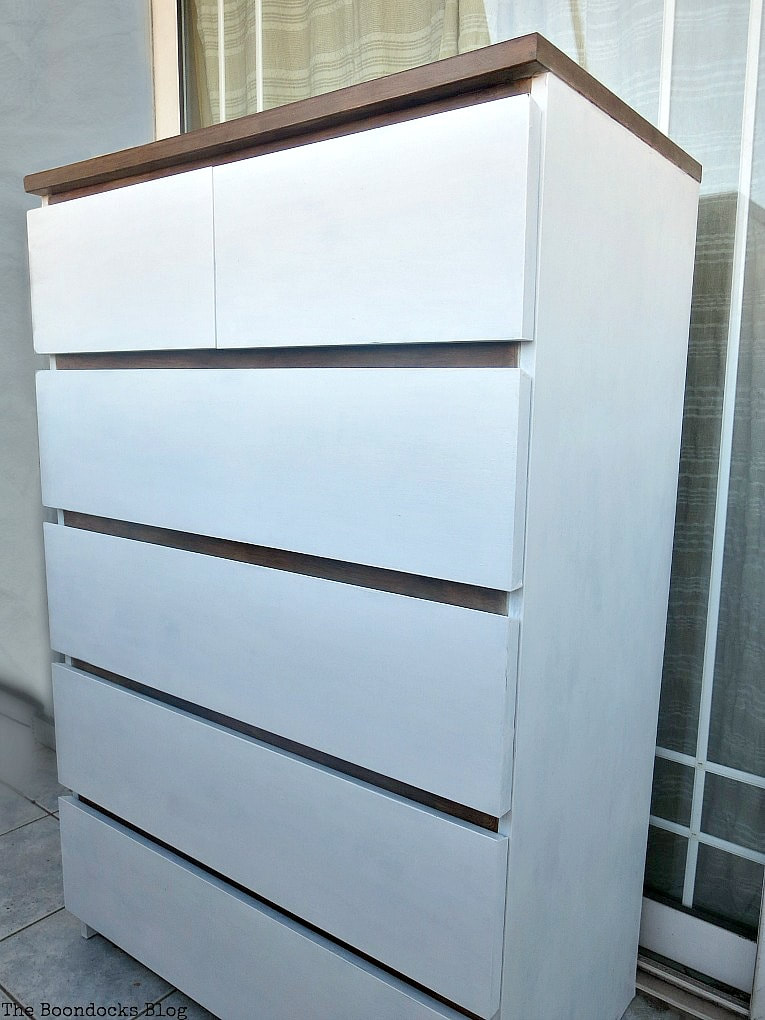
And here is the result!
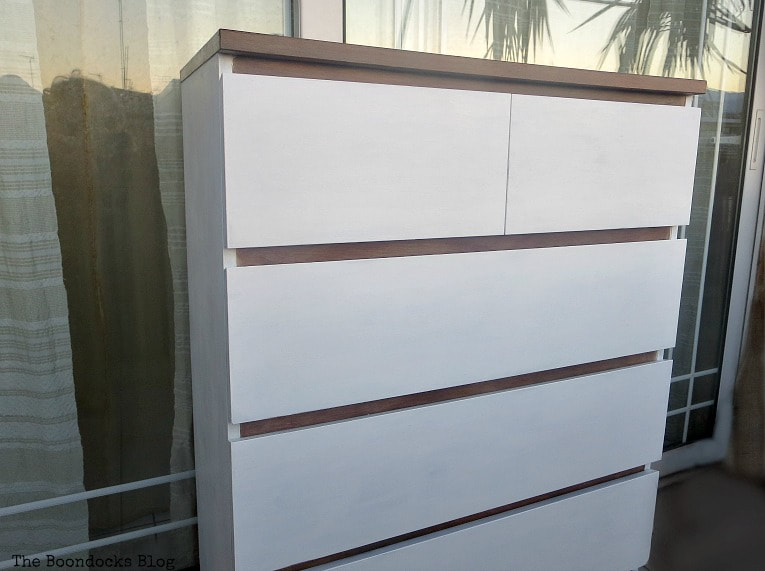
Doesn’t it look cool with the rich brown tone peeking out?
The top dried to a nice hard surface which is what I was after so that I can put all sorts of fun things on top.
And just a quick before so we remember what the black Ikea dresser looked like:

Ahh so much better, don’t you think? It has a bit of that farmhouse look that we all love. Would you have believed it was once black?
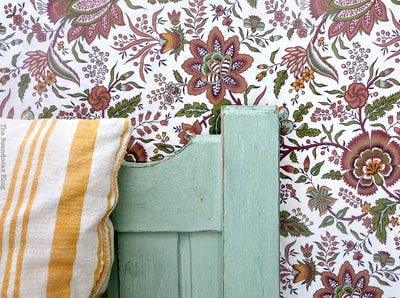
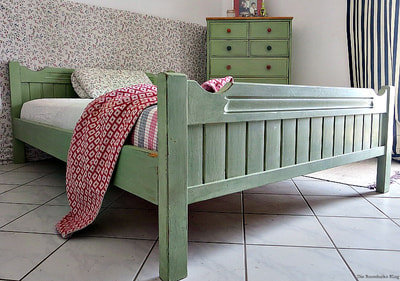
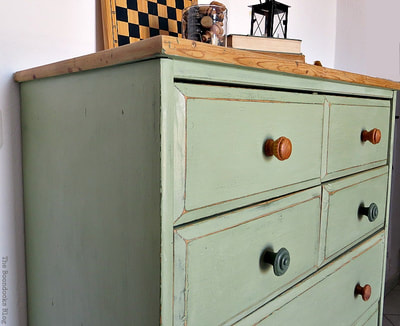
As you have seen I’ve got the farmhouse look going on. White is an easy color to coordinate with almost anything and already had a green bed and dresser in the room.
The obvious question to ask me is why didn’t I just buy it in white in the first place? And that is a good question. Originally the dresser was used by my son when he was still a teen and he wanted black. Of course that was years ago but that does not mean we have to settle for the original color. It is easier than you think to transform your furniture. And this piece is not even wood but particleboard.
It is now in the bedroom. I have one more project to show you and I will be done with the apartment in Greece.
I hope you enjoyed this up-cycle. I am always looking to try new products on my furniture to see what works and what doesn’t. This multi-surface sealer really made a difference! I am so happy with how I beautifully transformed this Ikea Malm dresser. Have you ever tried this product?
Do you have a Malm dresser? I have another one in New York and it is also black. Ugh!!

The Bedroom Series:
It looks completely different now Mary. You would never say it was the same dresser at all. And the lighter color makes it seem bigger too and less of a black hole that swallows everyting up
I have to be honest. When I first looked at this one I honestly had no idea what I was going to do. And then it hit me that I would go with this combination which is so easy on the eyes.
Hi Mary, how much improved is that dresser now? It’s a amazing what a lick or five of paint can do! It’s far better than the original. Lighter and brighter.
xx
Exactly Debbie. Greece can be so depressing in the wintertime on a cloudy day so we needed to have lots of pretty bright furniture.
Hi Mary! Oooh! I love how modern the dresser looks now. I don’t like black much on furniture, either. Still thinking about painting this little nightstand I found at Hobby Lobby that is perfect here in our RV prairie home… <3 😉 At first I wasn't sure about the brown on the front, but now that it is all done and the drawers are in, just a touch really makes the front pop!!! Really nice! Happily pinned through Tailwind for you. Will share over to FB, too.
Thanks so much Barbara. That combination of white and wood is so warm and cozy. I think it goes just about with anything. I hope to see your project on the blog soon.
Mary, So beautiful and looking up to date. Great job, my friend!
Thanks Carol Now I am eyeing the one we have in New York. 😉
Mary, great job! I love to see Ikea hacks. 🙂
Pinned.
Stacey the black had run its course, it was time for some happy bright furniture.
That looks amazing, Mary. What a difference. I love the top. Lots of great paint tips here, I never knew about that sealer!
Thank you Heidi. The top is what makes this dresser special otherwise it would just be a plain white box.
I love this. You did an awesome job. Thanks for sharing.
Thank you Louise. It was my chance to get rid of that black hole of a dresser.
Mary! That is IMPRESSIVE. When I saw the before photo, I was so anxious to read your post and see the AFTER. You are truly amazing with your vision for upcycling. xo rachel
Rachel that before photo was really bad. Can you imagine living with that thing for so many years. But you know teens have that stage they go through where they want everything black? Well, I had a few of them that went through it.
What a difference the paint makes. The dresser looks terrific. I love how you gave it texture. It will really brighten up the space
Debra you know the power of paint better than all of us. You are always transforming blah pieces and making them so interesting.
Mary! It looks so refreshed and awesome!
Thanks Larissa, it was time to get rid of all that black.
You just gained the title of inventor of colors! I can’t believe the result on the finished dresser! Great transformation!
Thank you so much Katerina. I needed to drag that dresser out of the depression era!
Light, bright and beautiful, Mary! Thanks for sharing. 😊
Thanks Kim. All that black needed a kick in the butt to go away. But I believe there is not a trace of it left in the apartment!
You worked another miracle on a piece of furniture Mary. I would never believe it had been such a dark black. It’s now an attractive transformation.
Thank goodness Florence. All that black can be really depressing.
You did a great job transforming the dresser! Love how it turned out, and really loving the top. I can see another makeover coming soon on your other black dresser.
I need to get me some of that sealer. Is it water base?
The sealer is water based yes. I mixed it with the gel stain which was also water based. So it was an easy cleanup as well.
Another beautiful transformation!
Thank you so much dear friend. I will banish all the black, one piece at a time!!
Mary, wow that dresser turned out fabulous! Your vision for the piece was perfect! It now has a nice modern vibe! Great job~
Thanks so much Pam. It really was too depressing before. I like to think of it as modern farmhouse now.
It is a whole different piece of furniture!!!! From a modern masculine black dresser to a sweet farmhouse style ! As always you did excellent work! I prefer also to transform my old furniture than buying new ones. I can’t wait to see what you have done for your small apartment in Greece!
You know it doesn’t even look that nice in black. Now that I have discovered what I can do with paint, there are so many other ideas that could be done, maybe with milk paint? That would give it an interesting look. Thanks Christina for the support.
Wow that looks so much better. Thanks to the magic of paint.
Claire they have so many varieties that do so many things, how can you not want to transform everything.
This looks great now, I love how the white contrasts with the brown top. You did a marvelous job of refurbishing this dresser its so bright and fresh now. Great job.
I am so glad it all worked out. You know I always get nervous when I start these projects.
You gotta be kidding me! It is gorgeous and the top looks like real wood and shines so beautifully! Wow, what a stunner that Malm dresser, I would have never thought you could do this to it!
Katrin it was that sealer that did it. I love trying out new things. I researched this a long time and finally found it and it worked beautifully.
Mary, the way that you painted the top makes it look like wood. It looks fantastic! You know I’m a huge fan of black furniture and even I thought it needed some help! LOL Good thing the lines of the piece were nice and that you are so creative. It turned out awesome!!!
I really wanted a look that was more than a plain white box Nikki. This was the best solution.
I do love a good IKEA hack, and this one is a real charmer. You did a great job on this one, Mary! And thanks so much for sharing info on new to me products. It’s always nice to learn something new along with all the pretty pictures. Take care, Cynthia
Cynthia I love using new things. I am learning so much one piece of furniture at a time.
Magic once again Mary. you are really coming into your own as a repurposer!
Thank you so much Michele. I am always looking out to redo things that will be practical and make sense to my way of life. I hope the readers agree with my practical self.
You are right Mary. It looks great with the brown details. Much much better now!
It did not fit in with the rest of the house before too dark.
You did a great job of updating it and i love the top of the unit Mary
Thanks so much Amber. It’s the top that makes it stand out otherwise it would just be a white box.
Wow, that sealer is really worth knowing about – thanks. I love the rich finish it has given to this dresser. It really is transformed.
Julie I researched this at length before and knew I had to have something tough to work with. I am very happy with how it turned out.
It’s beautiful Mary! Love the light color withers the brown edges and top. The tops turned out beautiful, your brushstrokes make it look like wood grain.
Linda its all about those brush strokes.
It looks great! you are really good with furniture makeovers. I enjoy them all.
Love how this dresser transformation turned out, Mary! Always a pleasure to share your furniture upcycles. <3
Hope it is cool up your way! The heat has finally arrived here in North Texas... ugh! :{
Hugs,
Barb 🙂
I adore seeing upcycling projects progress to the end result. This looks amazing! #TheHappyNow
Hi Mary!
This dresser turned out so nice! I didn’t realize you could mix the Americana sealer with gel stains like that, but I love the effect. I really like how the unpainted front peeks out between the painted drawers! Well done! Thanks for sharing at Homestyle Gathering!
>>> Kim
Thank you so much Kim. I really had to work hard to banish the black and painted the whole thing but in different colors.
Looks great in the white and you’ve done a wonderful job with the addition.
Thank you Deborah, it needed to be bright and happy!
I think we all know someone with this dresser! What a great way to upcycle and make it a unique piece. Love the contrast!
All of your hacks have been amazing. I’ve never tried doing one but think it’s a great money saver!
So pretty! I’ve had the same black-on-black Malm dressers in my room for almost a decade and I cannot wait to use this Ikea hack on them and get rid of that ugly black!! I’ve never done anything like this- so this should be interesting haha. So thanks for the tutorial! What size sandpaper did you use? Think I could mix in an additional acrylic paint (in white or light gray) with the chalky paint?
Loved the idea!
After painting the drawers white, what did you do? Did you set it with the wax? I’m sorry, I’m little confused on how the white part got finished.
I came across this when looking for ideas for painting my Malm dresser. I don’t usually comment on blog articles, but I had to say that the work you did on the top of the dresser was a stroke of genius (pun intended). When I saw the first “after” image I assumed you had used a new wood top. You’re as talented as you are resourceful! Great job.
Hi Mary! How long did this transformation take you?
I just did tried this on my old, sad-looking Malm dresser and it looks awesome! One question though: After applying the gel/sealer coat, do you recommend a second layer of just the sealer for added protection? Or is the first layer sufficient? Thanks!
I have a white malm desk, I want to make the top look like this. Do I not need a primer on it so the stain stay?