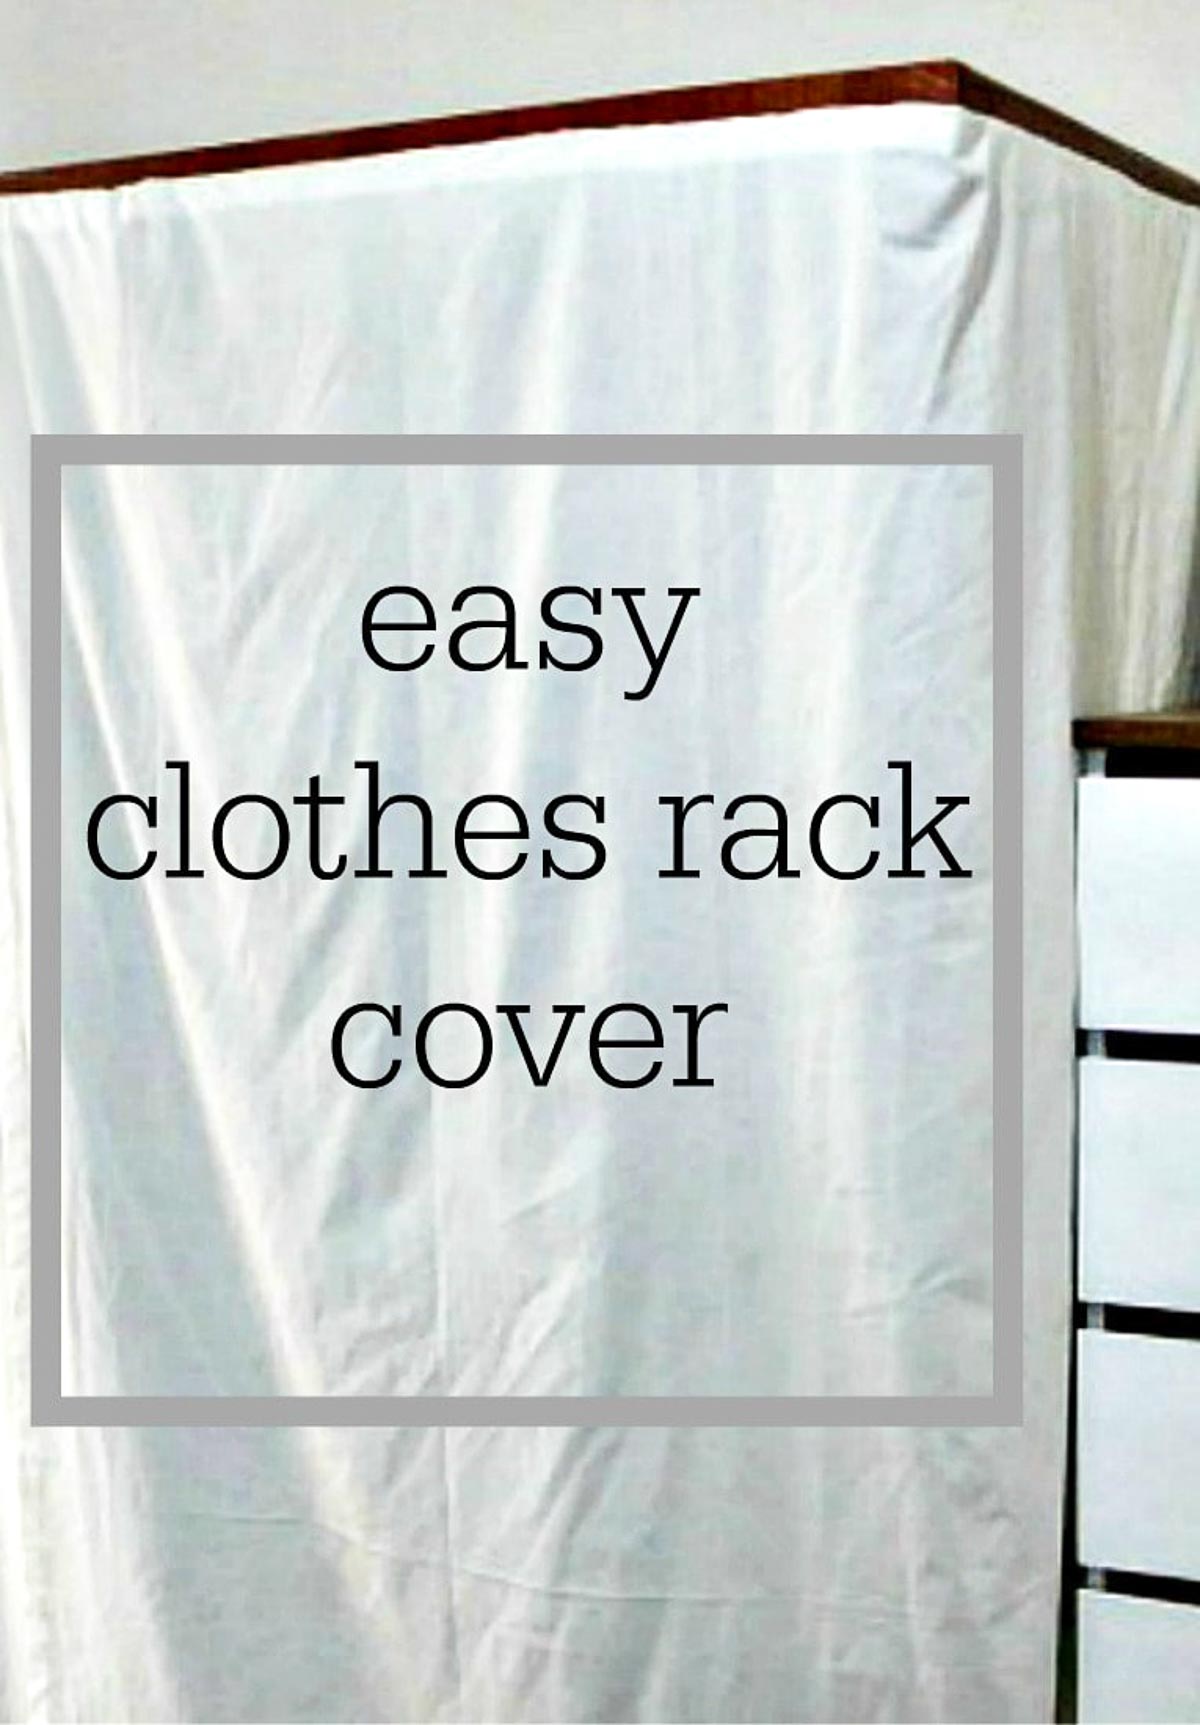
How to Make an Easy Clothes Rack Cover
Keep your clothes clean and dust free with this easy DIY clothes rack with cover.
If you have a new Ikea rolling rack or even an old clothing rack sitting in your bedroom it may be time to learn how to make a DIY clothes rack with cover. The cover will help keep your garments clean, dust free and it will make your room look more organized and less cluttered.
This post is looooong overdue. It was my last project from the apartment in Greece. The truth is I have been so busy with holiday projects and getting settled here that I didn’t have time to share this with you before. But it is also fitting that I am sharing it now because it is all about organizing – an easy garment rack with cover upcycle.
After I’m done showing you the clothes rack with cover up-cycle we will take a look at the finished bedroom. It has many of my favorite pieces and yours as well, since they were in my top ten for 2017.
Now I must preface this post with the warning that these photos are all very real life. Literally taken a few hours before we boarded the plane to fly to America.
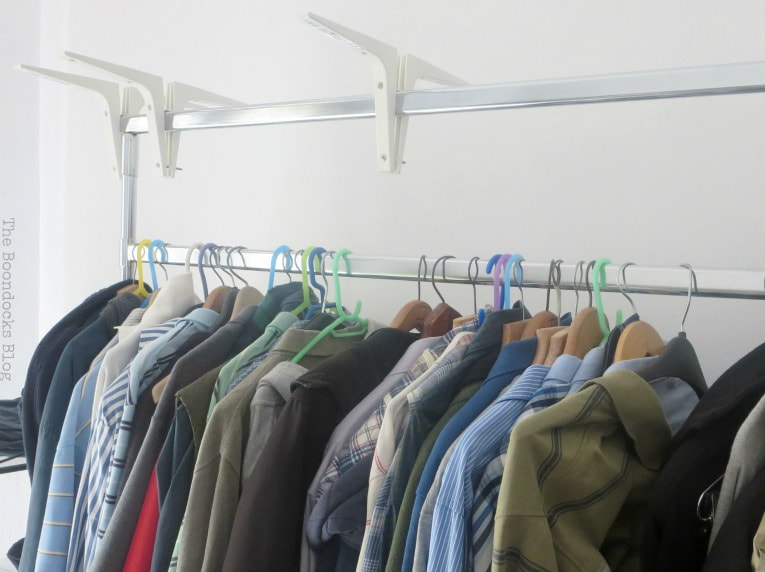
We had purchased this aluminum clothes rack from a store in the area that had gone out of business. It was super functional but let’s be honest…not very pretty. No one wants to air their dirty laundry!
I needed to come up with a solution to hiding all the clothes because we did not have a built in closet – but something a little nicer than just throwing a sheet over the whole thing.
Materials I Used to Make a Clothing Rack Cover:
- I had purchased the aluminum rack at a store.
- 6 pairs of Ikea EKBY brackets
- 3 flat sheets in white
- left over cardboard boxes in this case from Ikea.
- contact paper in walnut and white
- Stapler
How to Make a Garment Rack Cover:
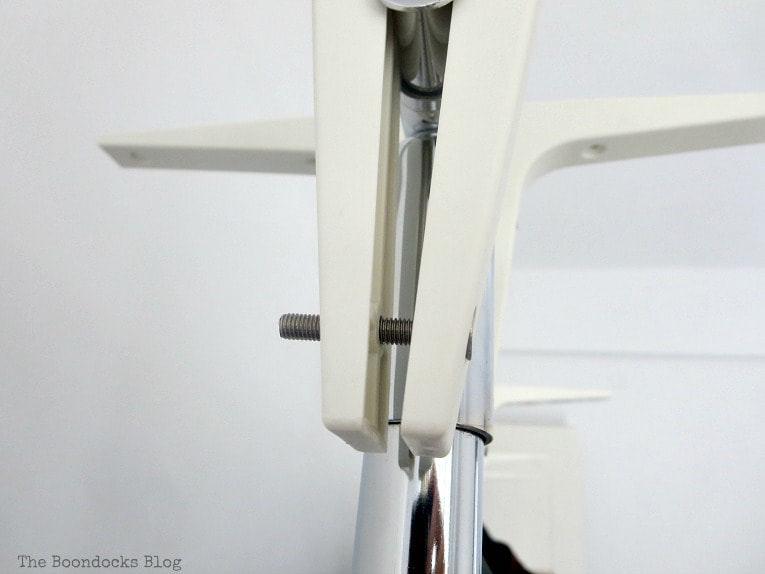
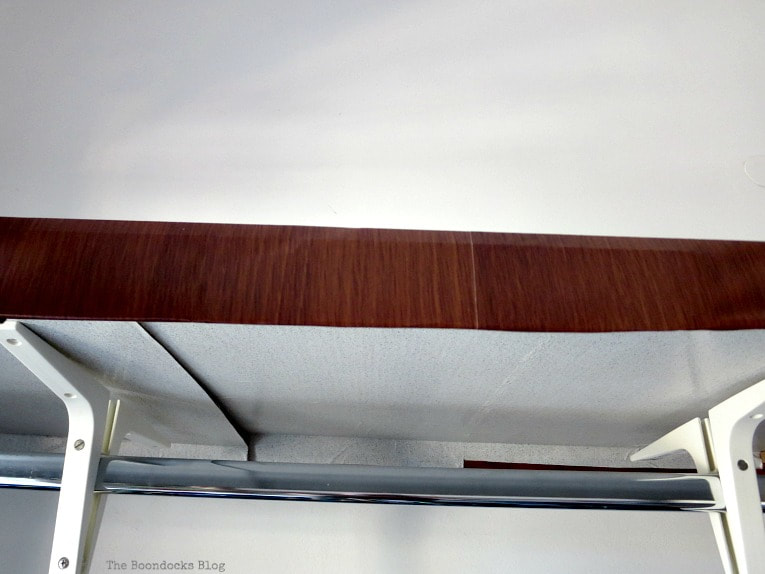
Instead I added 6 sets of these Ikea shelf brackets called Ekby. We screwed them onto each other with the top of the clothing rod in the middle. This was to be the base for the top of the structure.
I then took two pieces of cardboard (I had many, many left over from the kitchen cabinets) and cut them so that they fit on top of the shelf brackets. One slid into the other and they created a frame or shelf on top of the brackets.
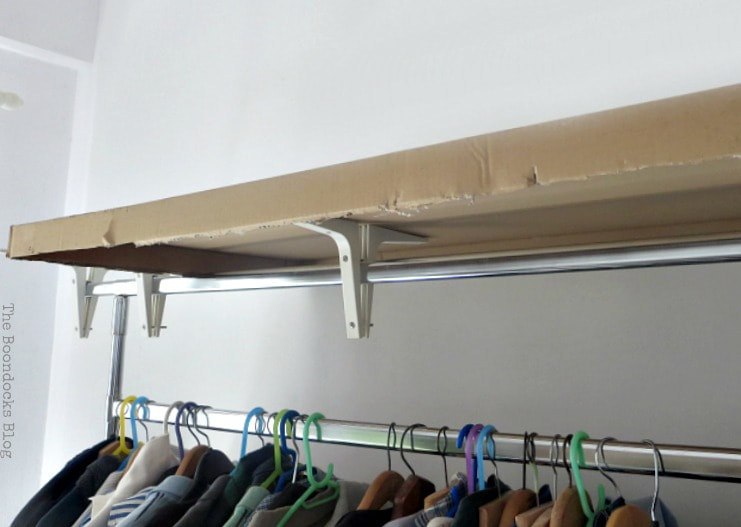
And because I wanted to have a uniform look to match the dresser, I covered the cardboard with contact paper. The outside had walnut and the inside had a whitish sort of pattern.
Disclosure: This post contains affiliate links for your shopping convenience. If you purchase any of these products through the links, we receive a small commission at no extra charge to you. You can find our full disclosure here.
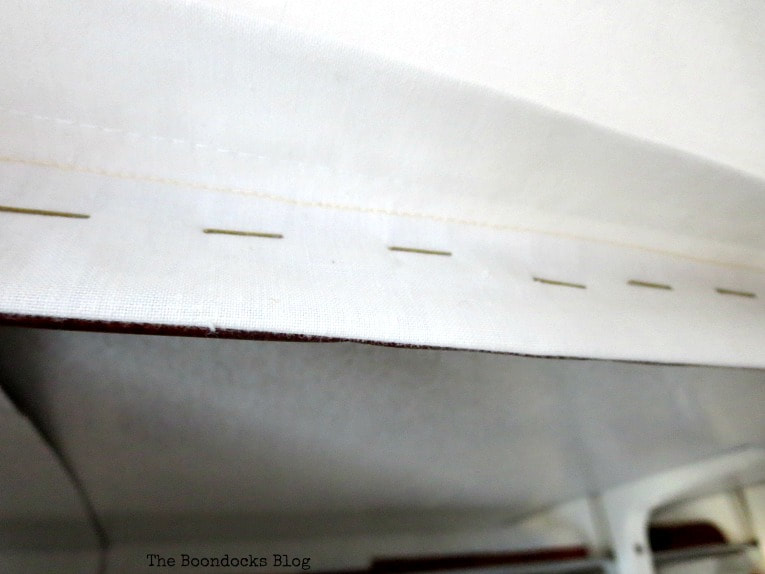
By re-purposing a few sheets I would have my cover. I stapled them onto the edges of the shelf/frame.
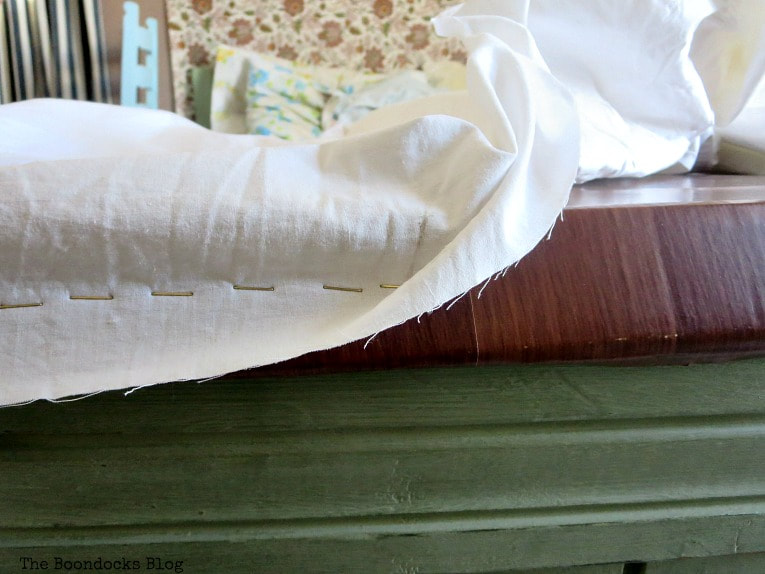
I just stapled them onto the cardboard. All the way around the whole frame. Easy peasy.
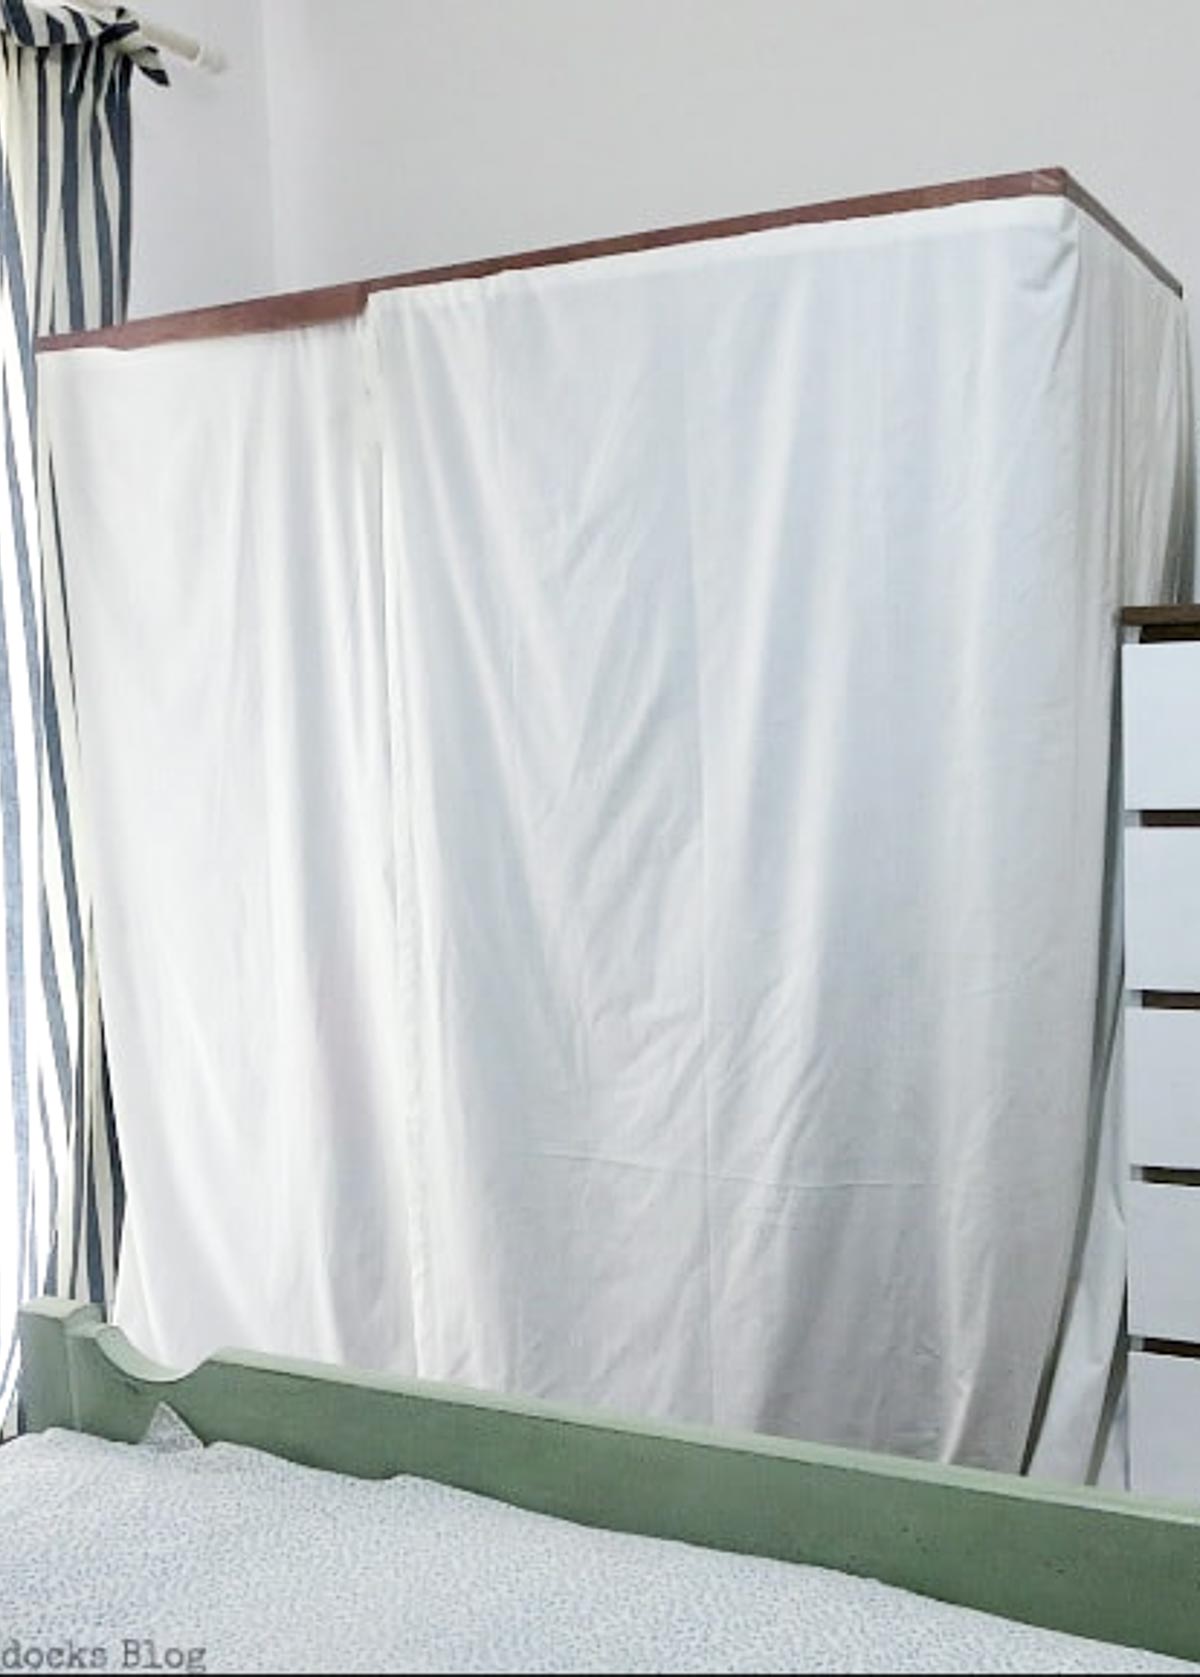
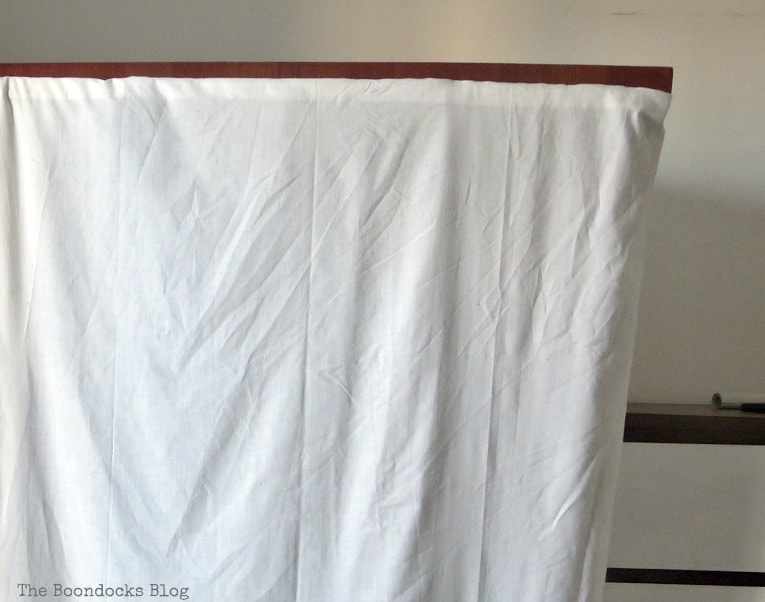
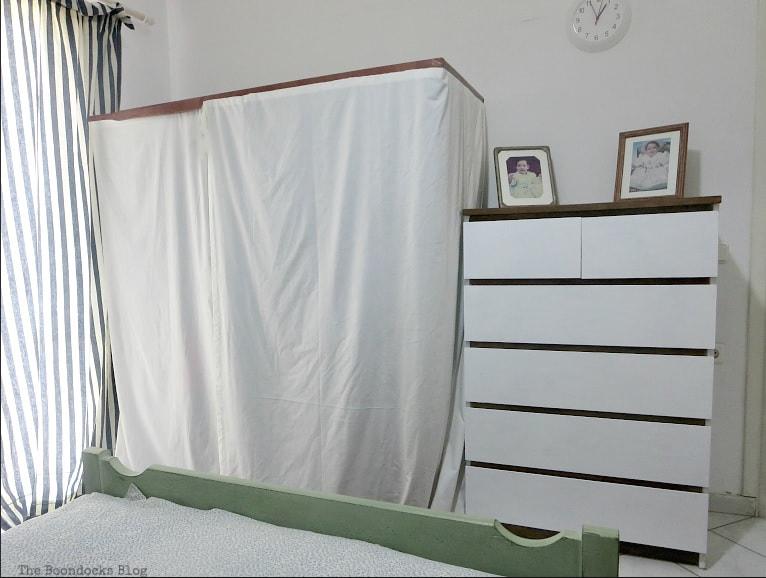
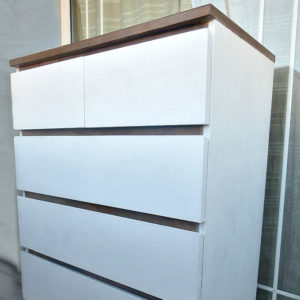
And here is the result of my DIY clothes rack cover!
It looks like a massive box, but underneath hides the clothing rack. Of course it would have helped if I had ironed the sheets first before stapling them on there, but…the plane was waiting!
The Finished Bedroom
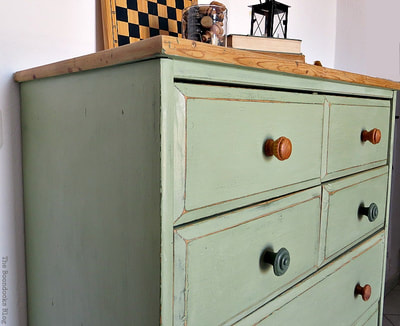
The clothing rack with the cover may not be Pottery Barn worthy but it sure beats dusty clothes. And it looks really great next to the upcycled Ikea Malm dresser.
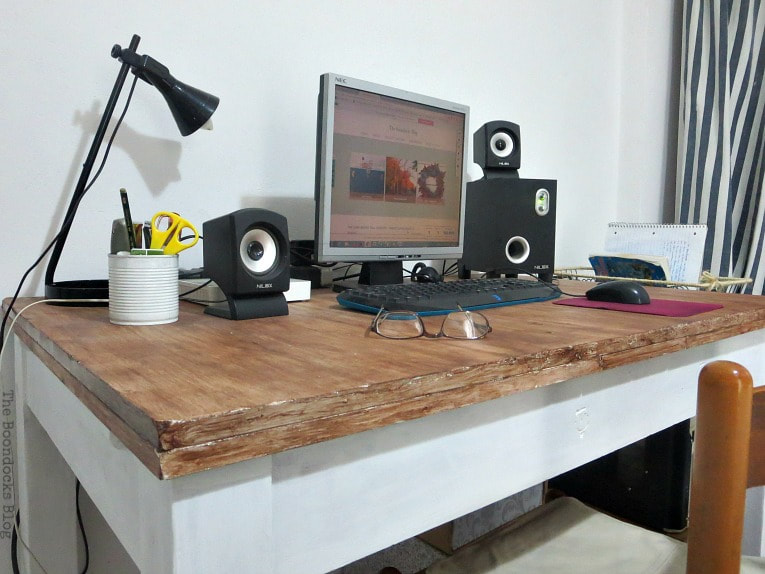
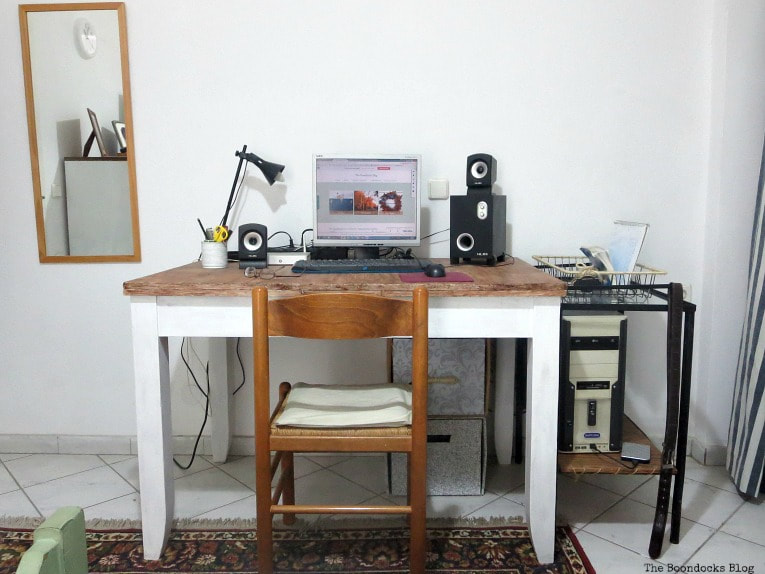
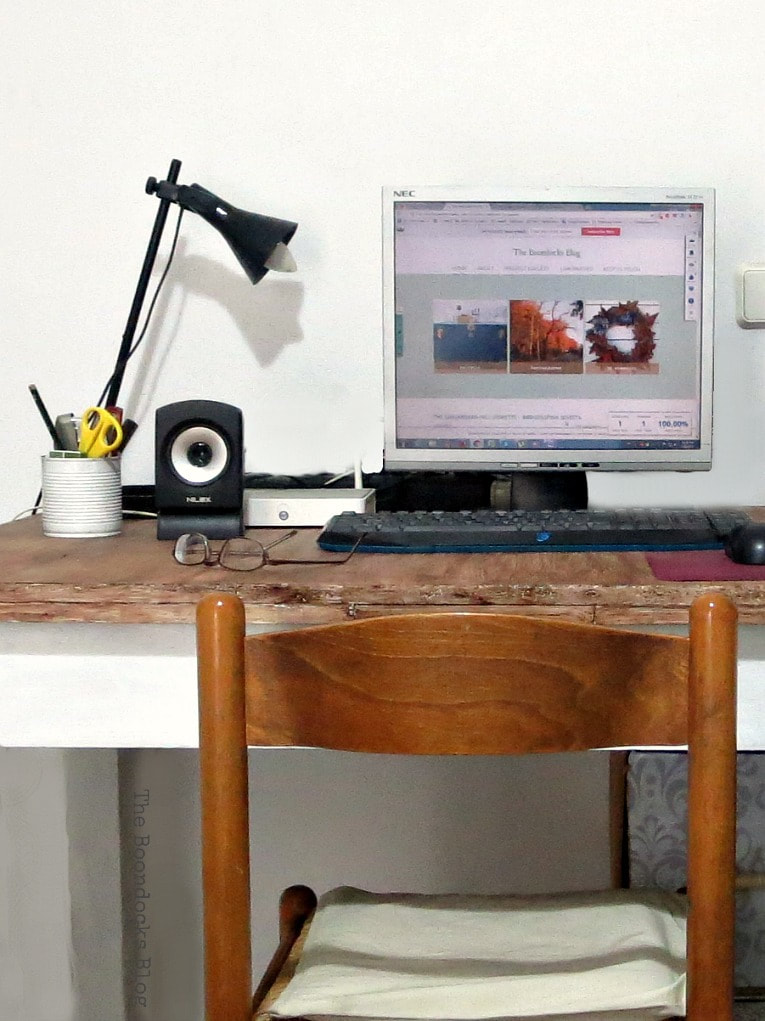
And now for a tour of the room. This is my office with the made-over laminate table I had shared with you a few months ago. It has the computer and all the bare necessities.
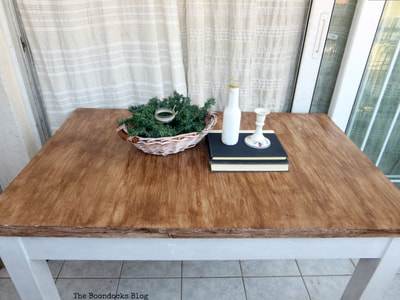
Next to it is an old project of mine, the metal table which I had saved from the farm. And on top is the dish rack which I had repurposed as an organizer.
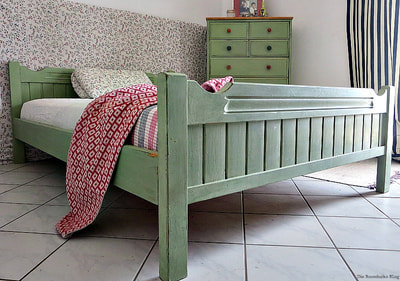
I had originally painted this old Ikea pine dresser over two years ago.. it was really terrifying to look at before. And I was lucky to be able to match the bed frame to it, so now I have a new bedroom set.
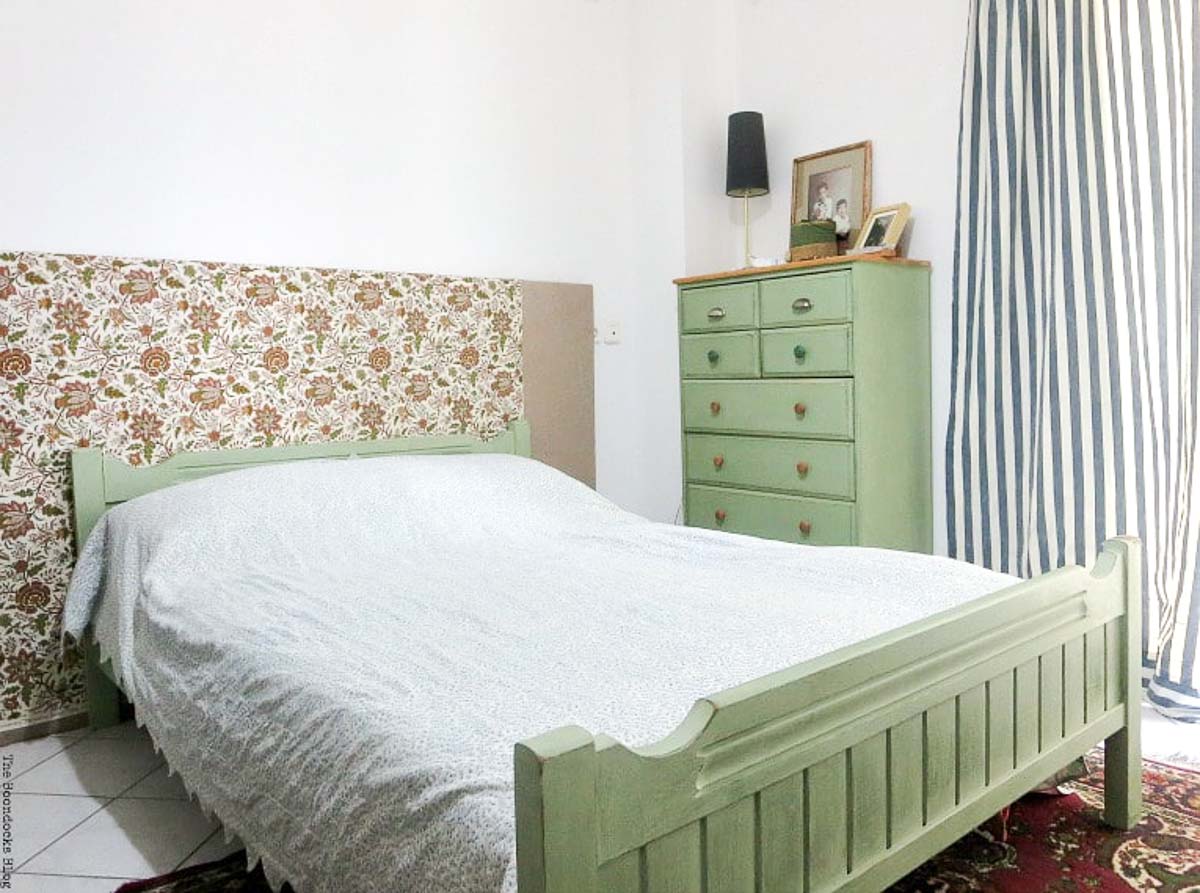
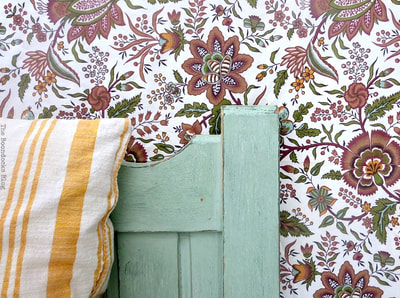
In order to tie everything together I added the backing with a piece of fabric.
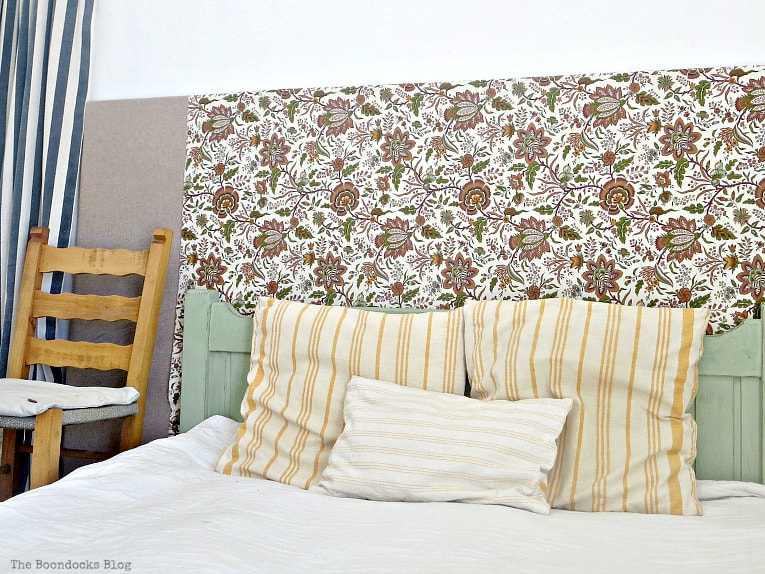
And that was the last post from Greece. The bedroom really came together nicely. It is not a very big room so lots of white was used to make it bright and cheery.
I hope you all enjoyed my post on hiding those clothes with this easy DIY clothes rack cover… or how to not air your dirty laundry.
And finally we have closure with this bedroom reveal. Now we can finally move on to all the projects the projects that I have here in New York!

The Bedroom Series:
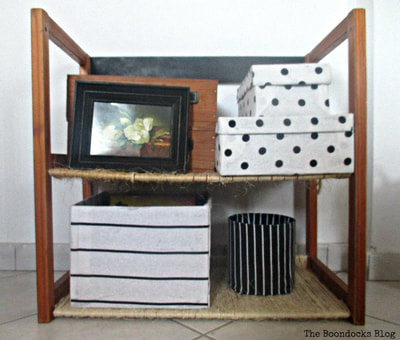
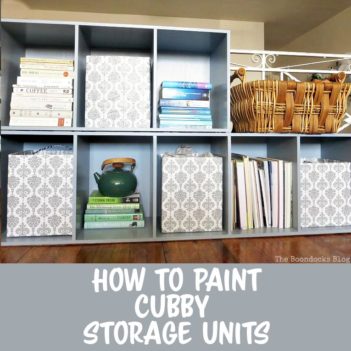
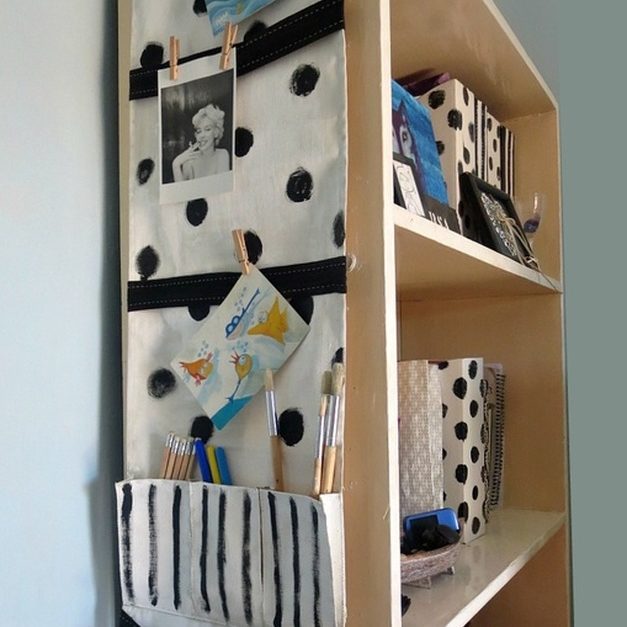
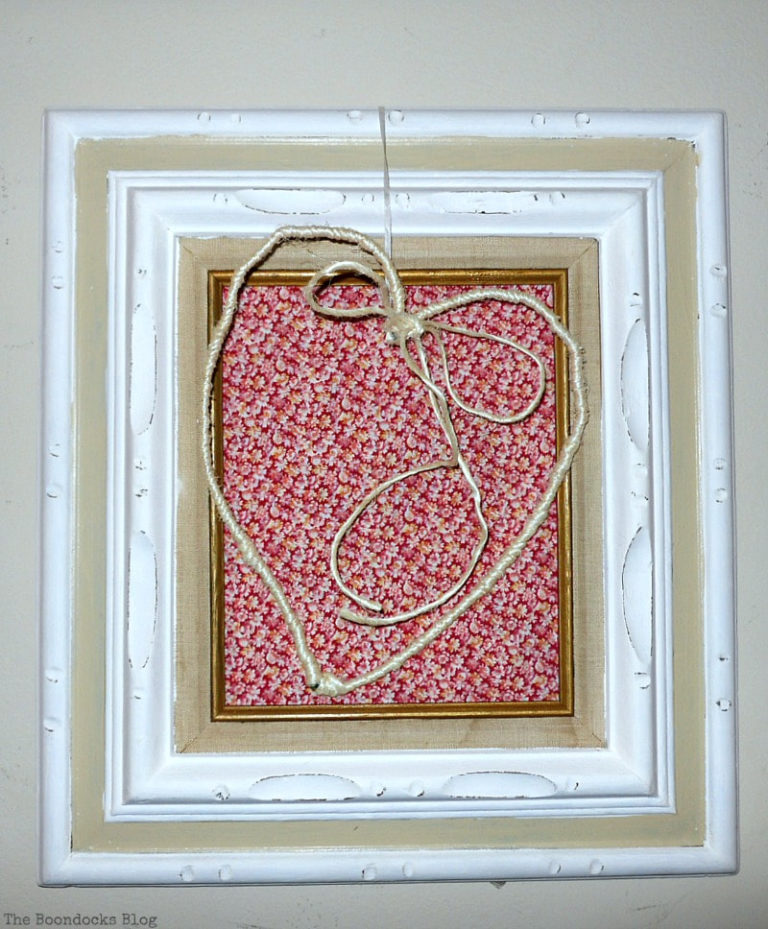
More Bedroom Storage ideas:
This blog is for entertainment purposes only; my DIY tutorials are not professional advice. Read my full disclaimer here.
It makes me a little sad to know this is the last Greece post Mary. Your old home feels almost like a second home to me and I’m going to miss it even though I know you’ll be adding your unique Mary touch to the apartment in New York too. I love, love, love what you did to hide the cloths and those wrinkles will wrinkle themselves out after a while, so no worries 😉
Mary that is a very good idea.and now you have increased your storage so much.
What a lovely space Mary! And the cover brightens the place and makes it peaceful and calm! Great work!
Neat and tidy! It would also look great if you’d taken the same fabric of the backpanel of the bed (I know you didn’t have any left). And: Oh, I still love what you’ve turned the bed into! This is really a lovely room!
Hugs,
Marjan
A little ingenuity goes a long way.
Is it typical that rooms in Greece don’t have closets?
What an easy fix. Shared.
That is so practical Mary, you can hide everything behind those curtains now! How clever to use cardboard for the top, you always come up with such frugal ideas! I agree with Michelle, I miss your apartment in Greece, it is a bit sad to think you’re far away now 😉
Looks like a great fix Mary! You are always resourceful. You can make it look pretty using what you have. I admire that. Pinned.
The cover up looks good, so much better than airing your dirty laundry. I can’t get over you working on it right before catching your plane. The room came together nicely.
You are truly the craftiest…and on the fly! I am so impressed.
Hey Mary…what a brilliant idea…fits my ‘functional aesthetics’ mantra…do a job and look good while doing it.
That was a brilliant idea Mary! Hides the clothes nicely, and it brightens up the room as well. You always come up with the most creative ideas for next to nothing, and they look great. The whole room makeover looks great. You did a wonderful job on it.
Mary, what a clever way to hide a clothes rack! The room looks beautiful! You did a great job putting it all together.
Mary you are the only person you could think such a project! Brilliant idea! I love how this room came together…every single detail! Bravo my friend!
A great fix in a short time Mary.
I’m not a mad fan of a clothes rail on show if it can be avoided.
Hello,
Thank you so much for this post!
I’m trying to gather the supplies to do this. Just wondering, do you remember if the Ikea brackets you used were plastic or metal?
Ikea has a plastic option and a powder coated alumunium option.
I’m guessing plastic would suffice for this project, but would the aluminium metal be too heavy, and more likely to tip over when opening the sheet cover to access the clothes?
Am trying to avoid ordering both, and could use the brackets for shelf brackets when no longer needed for the wardrobe. I have to order online, and returning unwanted things to Ikea is a real inconvenience.
Anyway, thanks again and I hope all is well with you : )