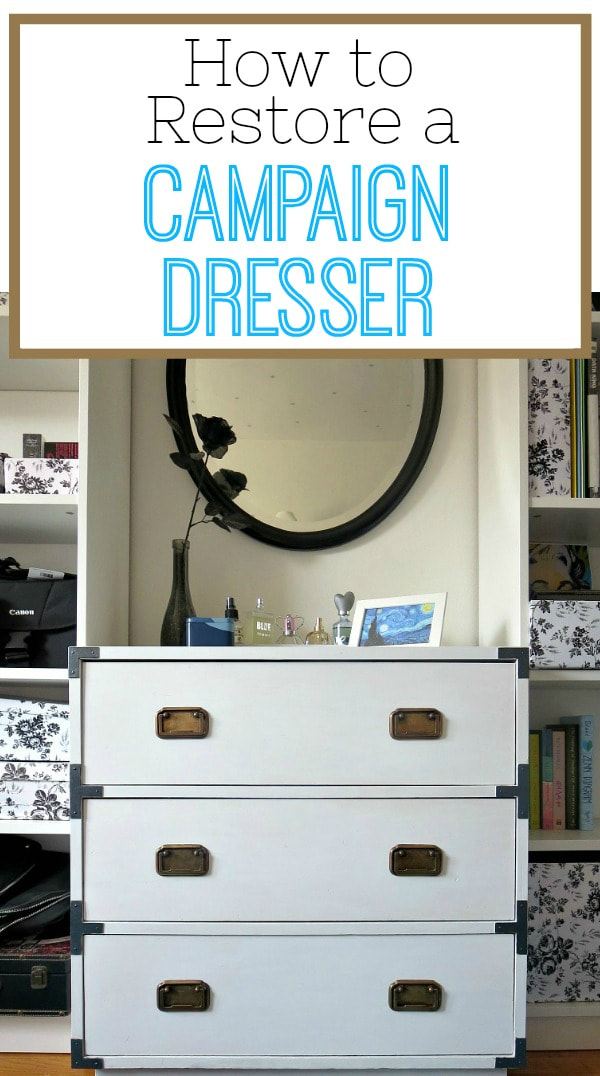
How To Restore a Campaign Dresser
A refinished dresser can transform your space. Learn how to restore an old wooden dresser with paint, wrapping paper and DIY updated hardware.
A refinished dresser can transform your space and can save you money. Learn how to restore an old wooden dresser with paint, wrapping paper and DIY updated hardware.
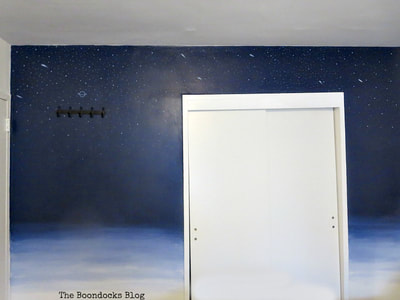
Spring is finally here and I have sprung into action trying to finish up the girl’s bedroom. Scroll to the bottom to check out the rest of the bedroom. My girls need as much storage as possible because the house doesn’t have much in general.
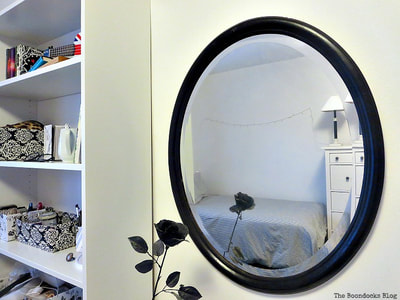
So when I spotted this lovely (shhh…my dad is a wealthy source of old neglected furniture) I instantly grabbed it and took it up to their room. You might even remember it when I shared the mirror makeover with you. I’ll show you how I restored this campaign dresser, just like Cinderella for her ball.
Disclosure: I was compensated for doing this post with product. However, all the opinions stated here are my own. I only use products I love and would recommend to my viewers.
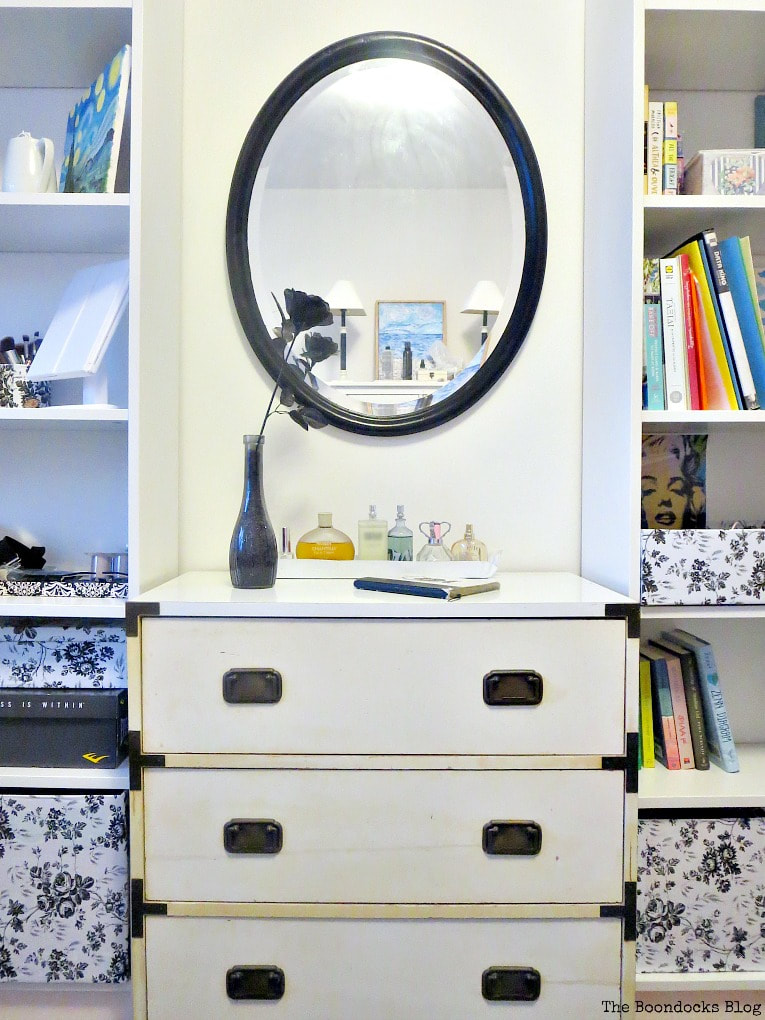
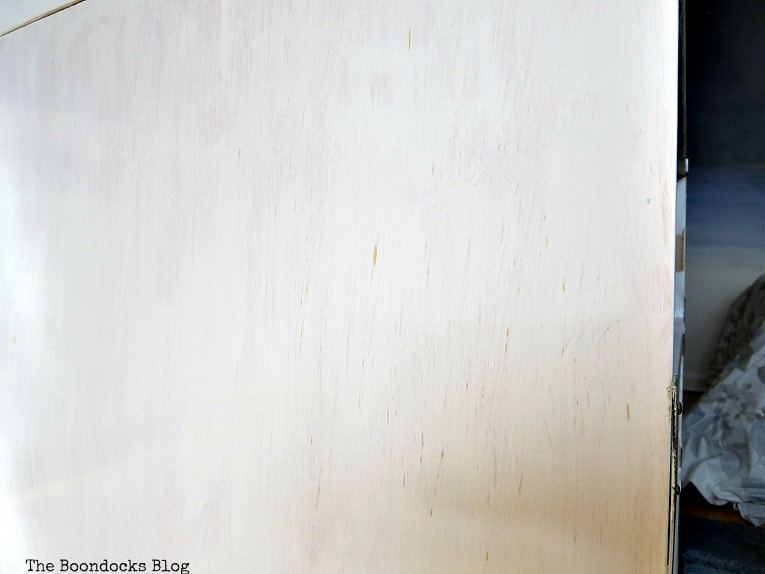
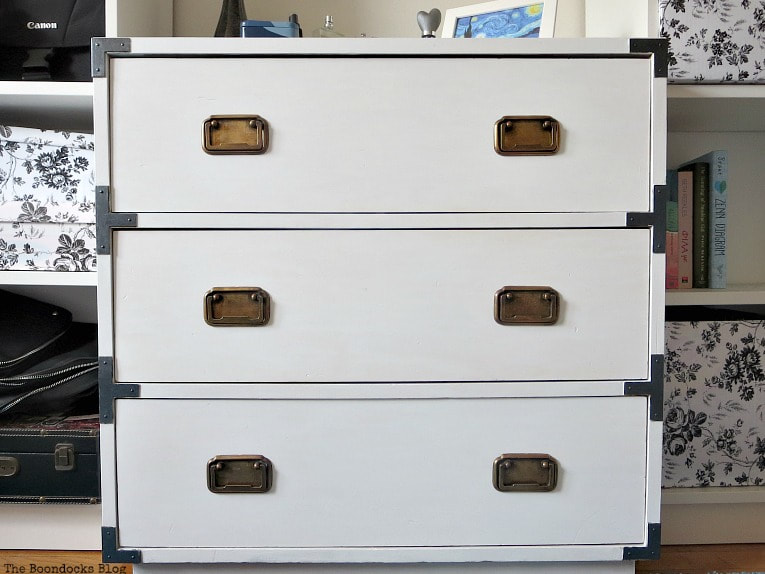
This dresser fit in perfectly between the two Ikea bookcases, but the color left much to be desired. The exterior was laminate and had turned yellow and looked even worse next to the bookcases. There were scratches everywhere and it looked like it had been kicked around a bit. In fact, my daughter complained that it was difficult to open and close the drawers and it made squeaky noises.
Well, how could I leave it looking like a sad Cinderella? I was going to be its fairy godmother and give it a new outfit.
Materials Used to Refinish a Dresser:
Disclosure: This post contains affiliate links for your shopping convenience. If you purchase any of these products through the links, we receive a small commission at no extra charge to you. You can find our full disclosure here.
- DecoArt Americana Satin Enamel Paint in White
- DecoArt Americana Dazzling Metallics Pearl Black
- Vinegar
- Stainless Steel Scourer
- Bar of soap
- Mod Podge
- Gift Wrapping Paper damask Black and White
How to Refinish a Dresser:
I started off by giving it two coats of my favorite paint in white. Since the dresser was laminate this was the perfect way to do it. As long as you let the paint cure for a few days, you will have no problems.
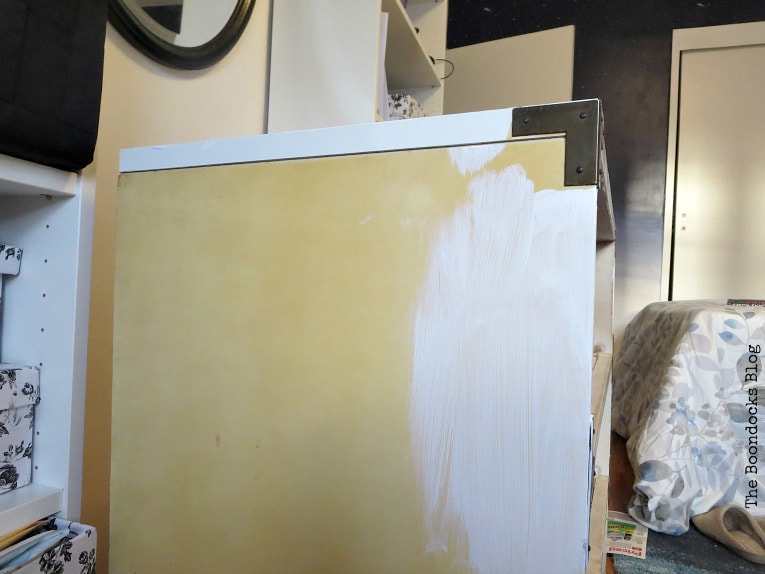
Here you can see that it was giving me trouble so I just went over some spots with a third coat. I also did the top with a third coat because I wanted a nice hard finish.
And just so you know I did not use a sander at all, firstly because I’m lazy and secondly because it was not an option in this room. Unlike Cinderella’s hearth I could not afford to have soot, er, sand all over this room.
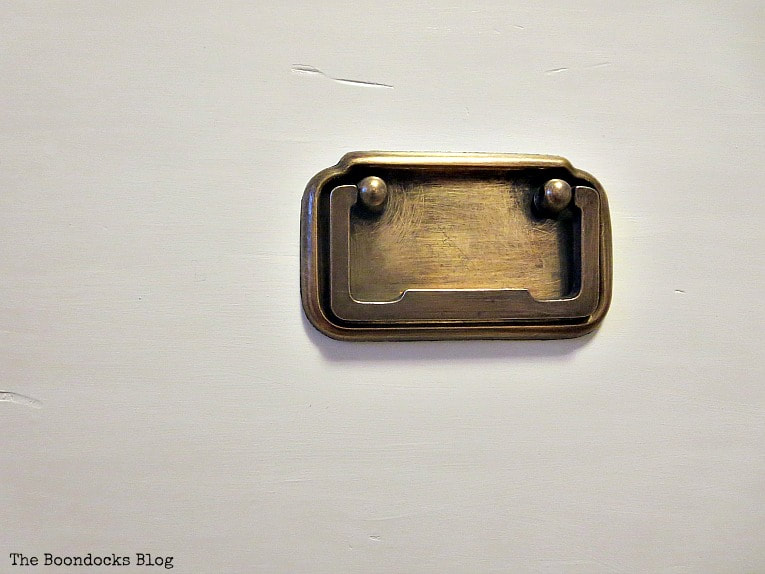
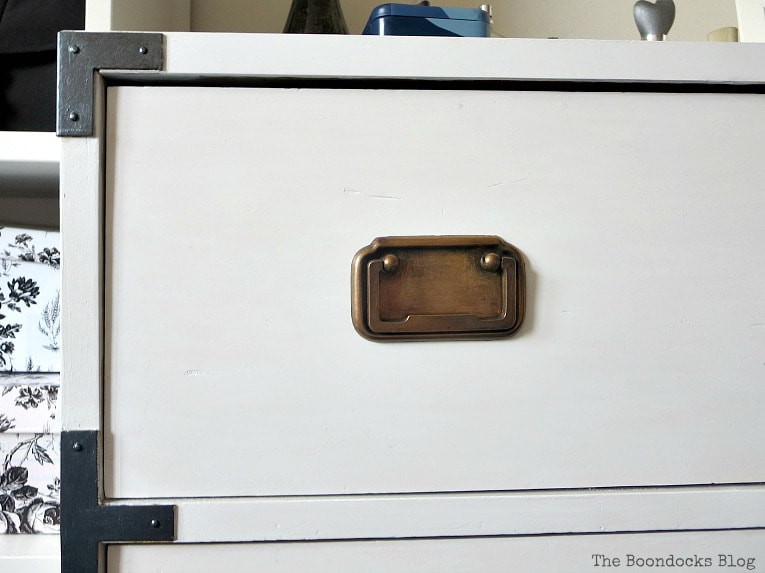
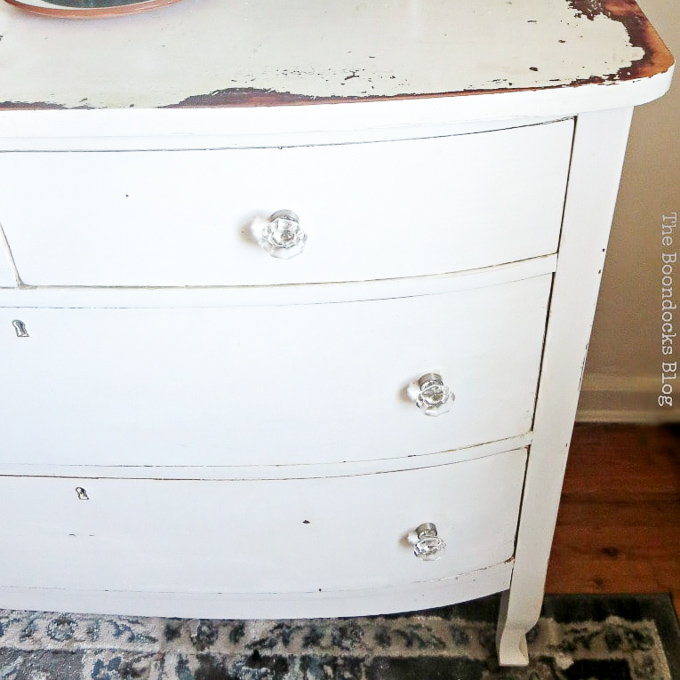
The hardware was made of brass. I took out the handles and drenched them in vinegar for ten minutes. Then I just scrubbed them with some steel wool and this was the result. I put them back on the refinished dresser.
This method did not totally remove all the patina but that is fine with me. I wanted this piece to be eclectic. A bit of new and old – just like Cinderella herself!
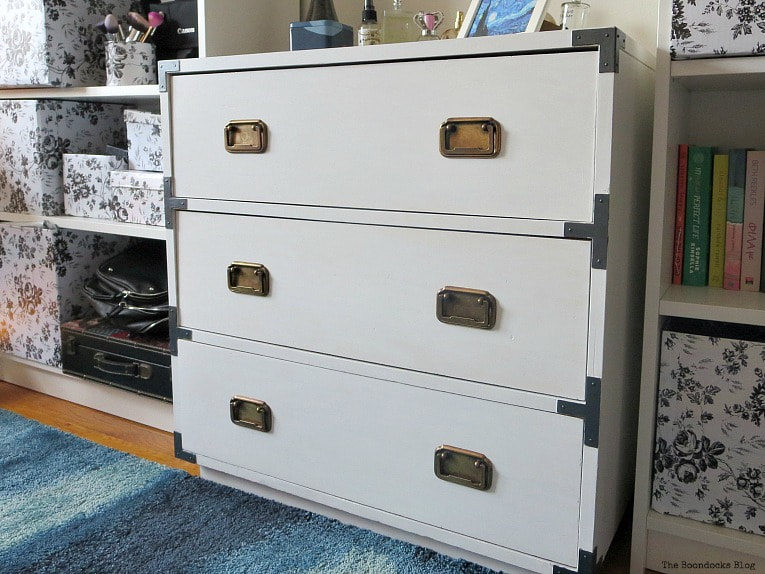
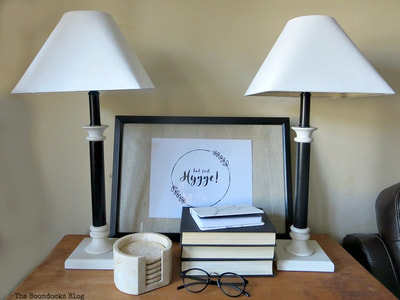
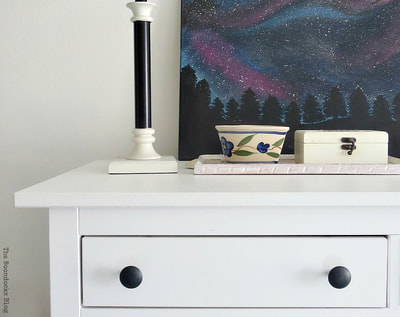
The rest of the hardware that was on the edges of the dresser was painted using the metallic black pearl that I had also used on the night stand. I used both looks for the hardware because I wanted to keep it interesting. Also, a bit of black is echoed in the handles.
See how when the light hits it looks more like a deep gray than a black.
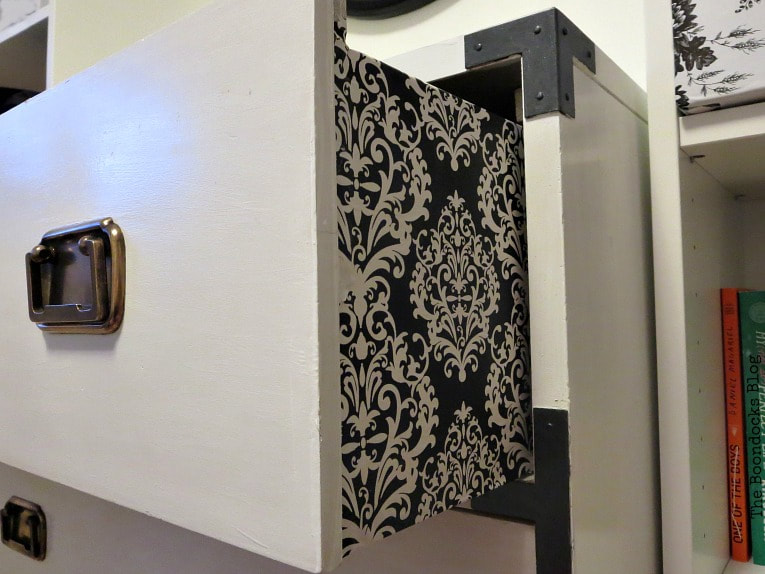
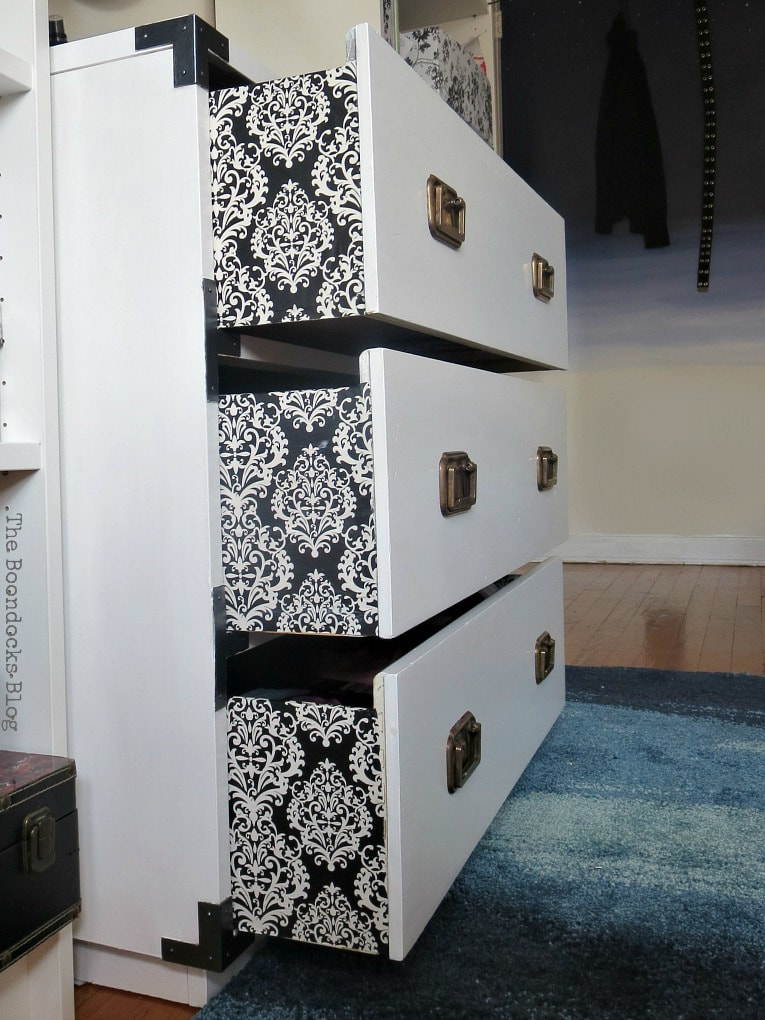
Of course, to add even more interest, because our Cinderella cannot go to the ball with just her glass slippers, I added this damask black and white wrapping paper to the sides of the refinished dresser using Mod Podge. I have previously used this paper on pretty boxes that are on a shelf near the corner of the room
It is super easy to do. Just brush Mod Podge onto the wood, place the paper over it and smooth it out. Once it dries add a top coat of Mod Podge to the paper to seal it.

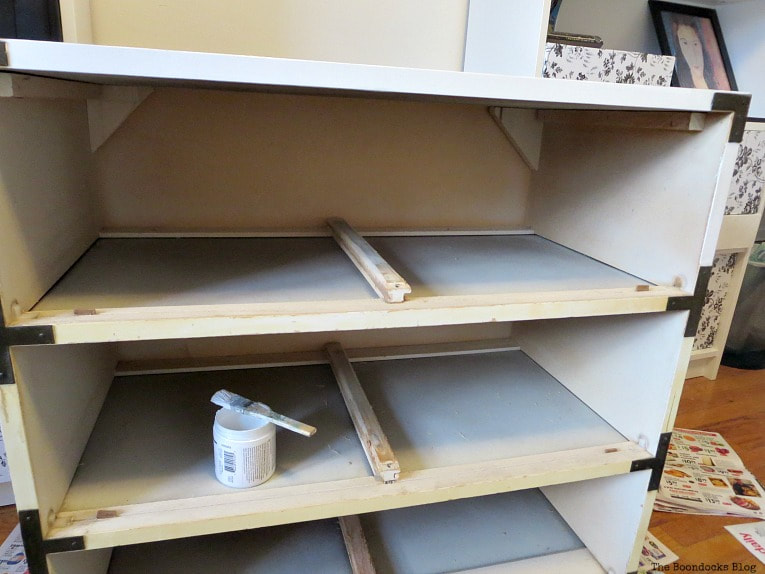
And let’s not forget my girl’s complaint about the drawers. It was an easy fix, I just rubbed a bar of soap on the frame where the bottom of the drawer slides into the wood. Easy peasy!
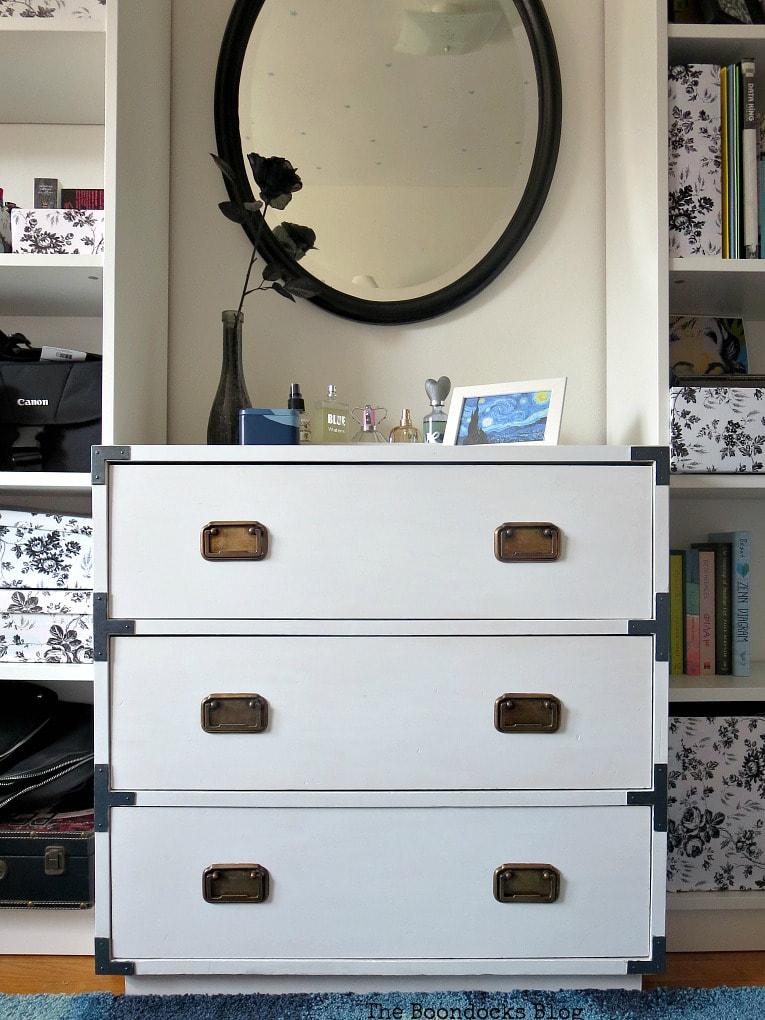
I think adding all those different elements to the refinished dresser keeps just enough interest. Cinderella is ready for the ball!
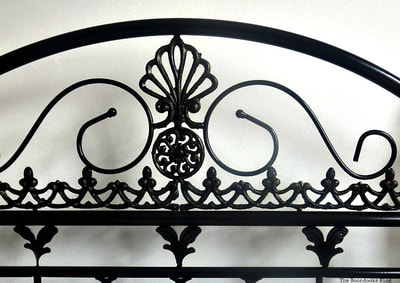
She may not look like a classical Cinderella dresser with scrolls and pastel colors, but she is a makeover beauty to me!

And now you are probably asking why not use the toile that is all over the bookcases? Well the idea was to have a bit of surprise and I didn’t want the room be too matchy-matchy.
And that is the last piece of furniture in the room that has to be made over. I am thinking of adding a chair but that can be done later on … or not!
Sometimes all it takes is just a bit of paint to make something look new. When I showed this piece to my dad his jaw dropped. You have to remember that in person it looked a lot worse. He told me that he had always meant to paint it but had never gotten around to it.
Well at least I know where I get my DIY genes from!
This is how I restored my laminate campaign dresser just like Cinderella. She is now ready for the ball. Now tell me was I worthy of being a godmother to this lovely dresser?

The Black and White Bedroom:
The girls room is really coming together. Great makeover. I really enjoy your Facebook group it’s fun and members are from all over the world.
Lorin I’m also enjoying it and it is so nice to have people from all over to get their perspective.
I love this so much. Will you come make over my bedroom furniture?
Sure let me find my glass slippers first! 😉
Mary, you have been hard at work getting the girls room looking so up to date and stylish. I love how the dresser fits right in. And how it looks like a built in. They really have a lot of storage.
Debra you have no idea how much stuff girls have. Boys are so much more simple. Anyway I think it was really smart to buy those two bookcases because they really helped with the storage situation and of course this dresser was the icing on the cake.
With all the work you’ve done in the girls bedroom they must be feeling so much more at home now. Isn’t it awesome that the dresser fits so perfectly between the bookcases. Thank goodness for Dad’s that see the potential of hoarding and for a Mom, like you, that takes the time and effort to make something beautiful for their bedroom. And then they have the added special touch that when they open it up there’s this beautiful damask pattern to show you went the extra mile too. So lovely
Thank you Michelle, It is the least I can do since this is such a huge change for them and they deserve to have a space all their own the way they want it.
Fabulous makeover!! Love this newook.
Jackie I was so glad to see that yellow disappear once and for all!
Quite inspiring, Mary! Love how the handle came out, and the damask ‘surprise’!
Julie it has been a long journey in this room but I am so glad everything has come together so well.
This dresser looks so sophisticated with the brass edges and handles Mary, I love it! The coat of paint was necessary and well worth it, it is a beautiful storage unit!!
Never has the saying “the power of paint” been more evident then in this room. It was so dull and boring before with no focus at all.
Mary, I LOVE all of the projects you’ve done to give your girls a bedroom fit for Cinderella ~ this dresser is just icing on the cake. <3 Really great makeover and I'm glad you left the patina on the brass pulls! I'm glad your dad liked how the dresser turned out, too. 🙂
Sharing on Pinterest and to my FB page,
Barb 🙂
Barbara thanks so much. Everything is falling into place now and aside from a few minor adjustments I should be ready to share the reveal soon.
That looks FABULOUS!!!
Thank you Pam. I am really happy with how it’s all coming together.
Well, well, well. Cinderella is indeed ready for the ball. The dresser looks ah-mazing now! Your TLC really did the trick. I like those brass corners & pulls. The paint has done wonders, and I knew about the soap trick. You can use a candle too. Clapping now for a job well done! Hope your daughters like it.
Thank you Florence. I am really happy to have banished all that discolored white. Now the room look so fresh. I like that idea about the candle.
Looks amazing, Mary! Pinning. 🙂
Thank you Stacey, the whole room is now crisp and clean.
I love this campaign dresser, Mary! It looks so clean with a fresh coat of white paint. I love the pretty surprise when opening the drawers. Your daughter’s must’ve been thrilled when they saw it. I love that your Dad is witnessing his hidden basement treasures being brought back to life and into the upstairs living area!
Marie I too am thrilled that I found all these pieces of junk, ehm, treasures in the basement. You know this blogging gig is good for that, it helped me to develop an eye as to what is worth saving.
Wow, what a makeover for Cinderella! Just a little paint and pretty paper and she is looking classy! I love it! Especially the gorgeous drawers!
It was not a lot of work but it totally transformed the piece. It looks brand new.
Mary, this is beautiful. Your furniture makeover always make me smile.
This one has to be my favorite Kim, but I always say that about all my furniture. haha!!
What a fun makeover! I love the black and white theme of the room. Adding the color to the drawer sides was smart. So cute! I hope you get good weather soon! I can imagine NY must be beautiful in the spring! Pinned 🙂
Thanks so much Wendi, Spring finally made an appearance! I am really happy with the way this dresser turned out, now that the paint is dry it has a hard shine on top 🙂
Mary what a great makeover! I absolutely love campaign furniture and have made over 2 campaign pieces myself!
Linda would you believe I didn’t know what these types of dressers were called. Thank you for giving me the correct name. I know all about your beautiful dressers, they are very inspiring.
You been so busy with the girls room, and it’s all coming together beautifully. I love the new pulls, and how you added the paper to the sides of the drawers. Super cute!
Thank you so much dear friend. I would have pulled my hair out if I couldn’t have fixed it.
Hi Mary, I never get over how creative and clever you are when it comes to upcycling. You’ve done that dresser proud and I particularly like the touch of paper on the side of the drawers. That’s something I’ve never seen before.
Popped over from #sweetinspiration
xx
Debbie I had to do something to keep it from being to plain. The room is simple enough but you want a few surprises here and there.
Love the peek a boo damask, it compliments the storage boxes so well. Thanks for sharing your project at #FridaysFurnitureFix Mary, always a pleasure!
Thank you Brenda! I had lots of fun with the dresser and its always good to have a surprise.
I do love this campaign dresser and I love that you used more of the contact paper for each drawer’s sides! Turned out great, Mary!!!
Thank you Barbara. I really like adding surprises like the contact paper on the sides.
Your makeovers are so creative and this one is brilliant! Love the white color and the paper drawer sides.
Thanks Carol. It was ready for the dumpster before but I never underestimate the power of paint.
Paint is the great transformer, right? Love your hardware too! Thanks for sharing at Vintage Charm!
Cecilia this was all about getting rid of that yellow discoloration and yes paint did all the work!