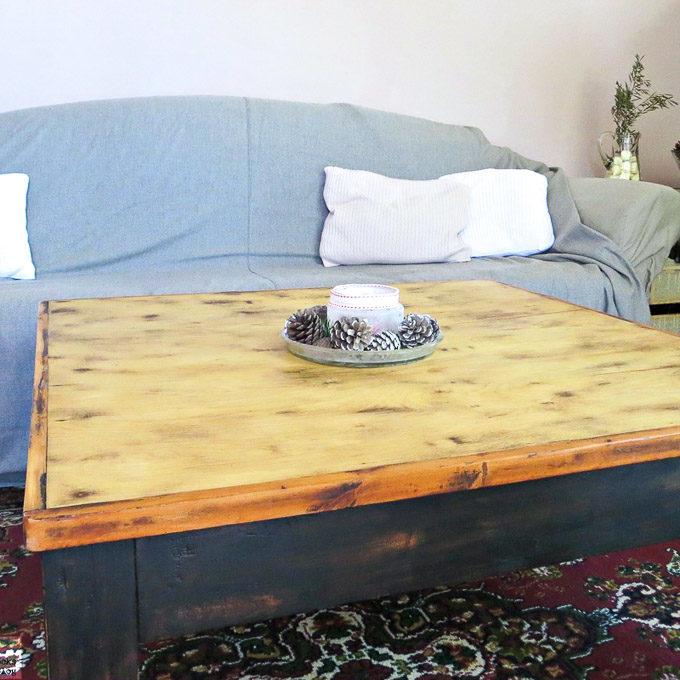
This refurbished coffee table idea is a budget-friendly and beautiful way to add a rustic farmhouse touch to your living room. Transform your own dated coffee table with this step-by-step tutorial.
Refurbishing a Beat Up Coffee Table
As many of you may know having kids can be quite the challenge. They run, jump and do all sorts of things that would make me pull a nerve in unwanted places in my body. For them it’s all in a day’s play. But my furniture takes a beating.
For many years I had a vintage trunk for a coffee table. It was solid and it did not budge. But after a while, I wanted to feel like a normal human and have a “real” coffee table.
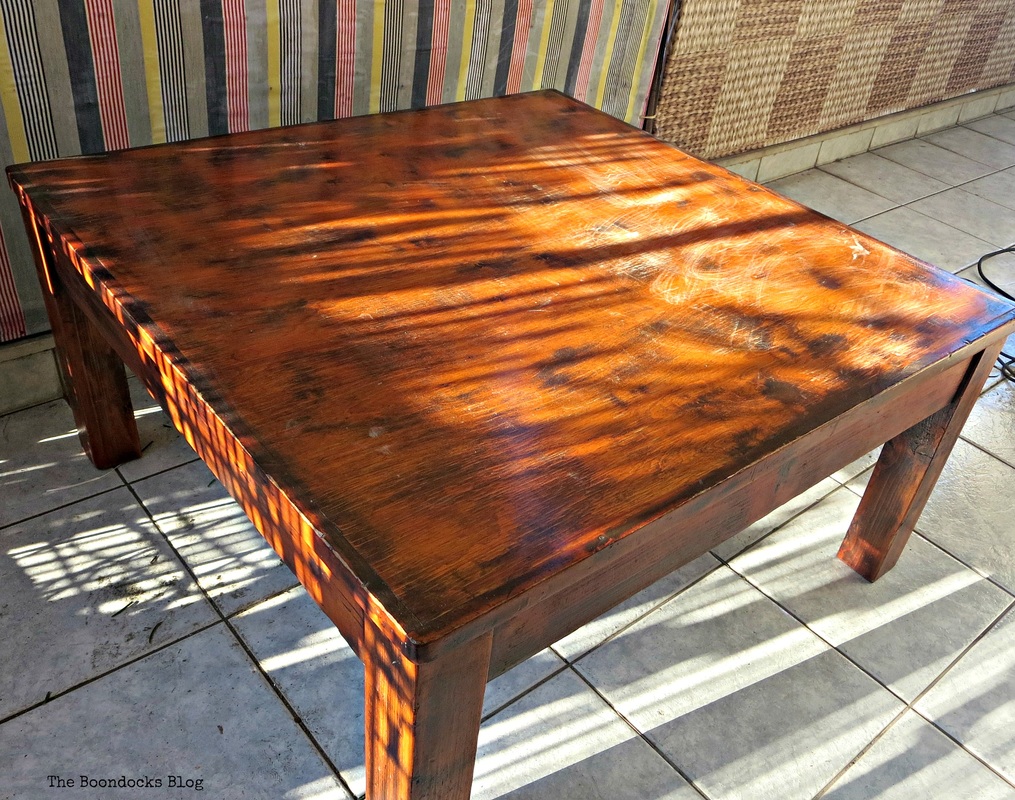
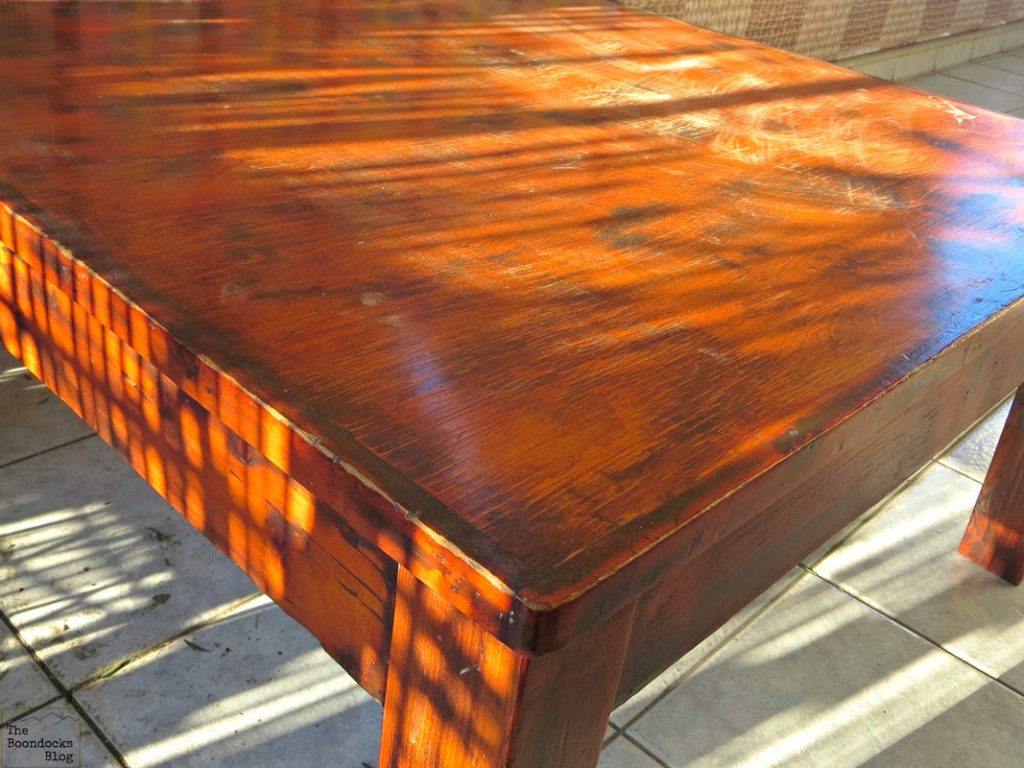
I spotted this old table (no, it was not in the basement) and asked the hubs to cut the legs down to coffee table height. I stained it this color that you see above, which was fine 10 years ago when “orange” was all the rage.
But looking at it now, well it looks too orangey. And it was full of scratches (thanks kids) and cracks. Time for a much needed update or an accident waiting to happen?
Materials Needed for this Coffee Table Upcycle
- old solid wood coffee table
- orbital sander and sandpaper
- dust cloths and drop cloth
- clear varnish
- paint brush
- black chalky paint
How to Refurnish a Coffee Table
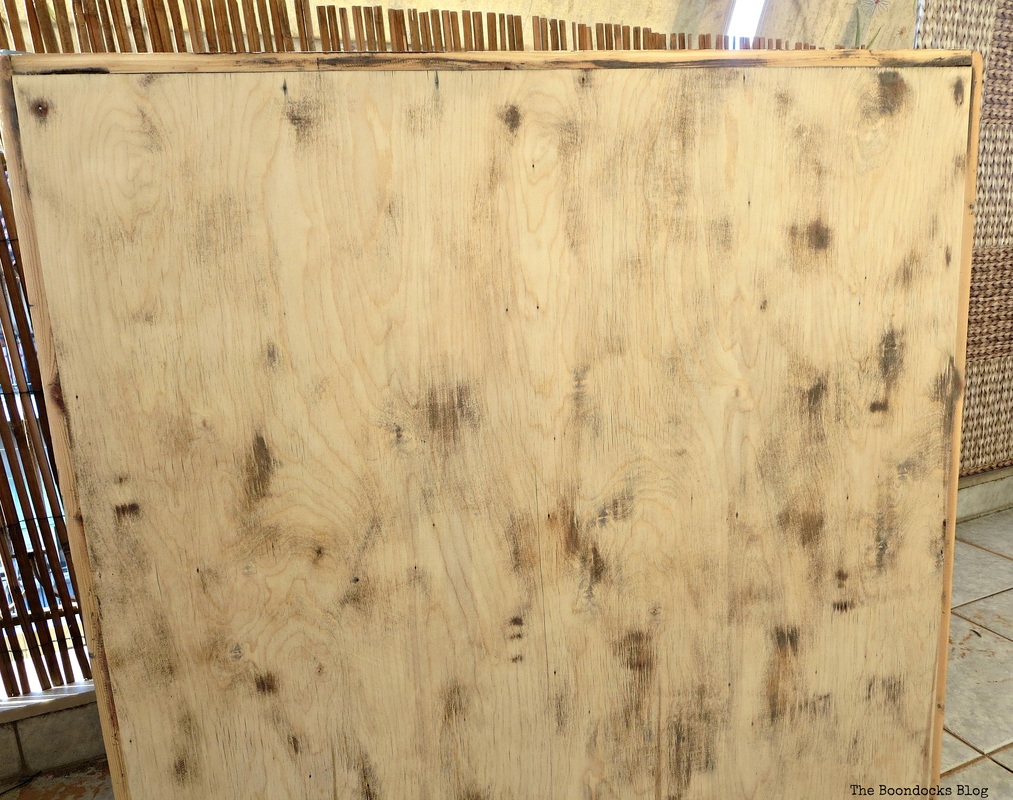
I gave it a good sanding and this is what I found underneath all those layers of stain and varnish.
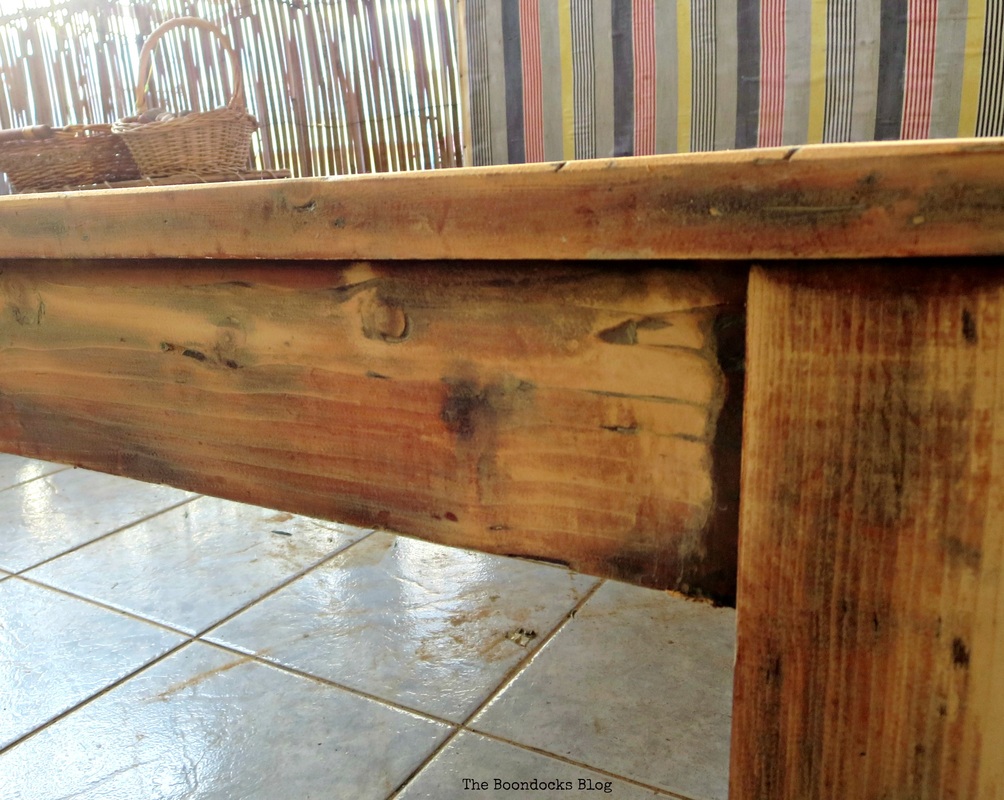
Imagine my surprise when I accidentally discovered that the frame of the table top was a different wood than the actual top.
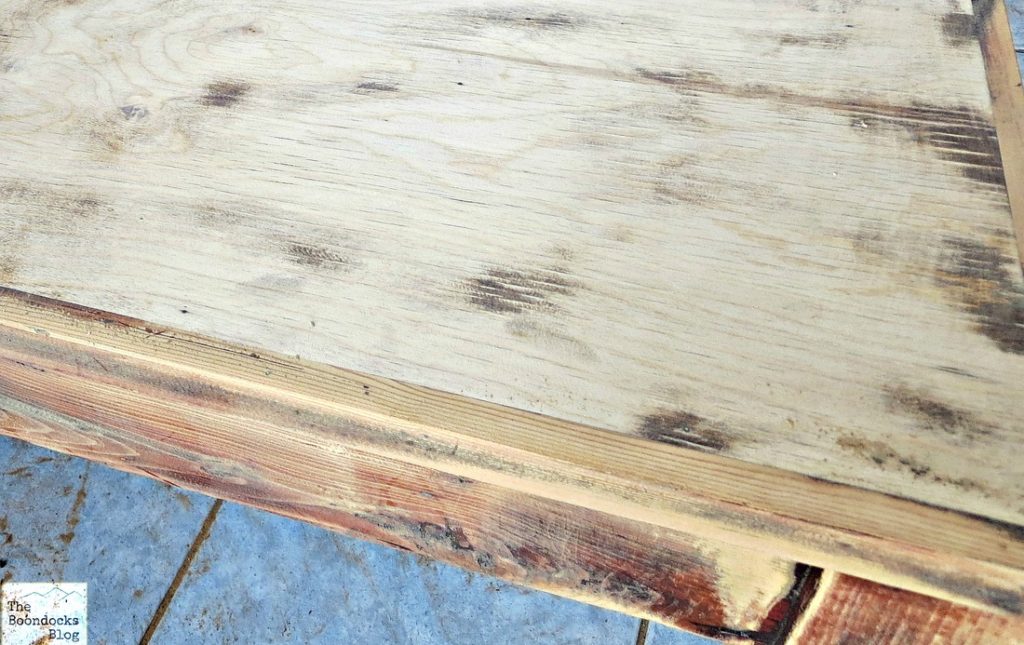
I liked this blonde wood so much I decided to keep it and not stain it a darker color. I used a colorless varnish that had just a tiny bit of yellow in it.
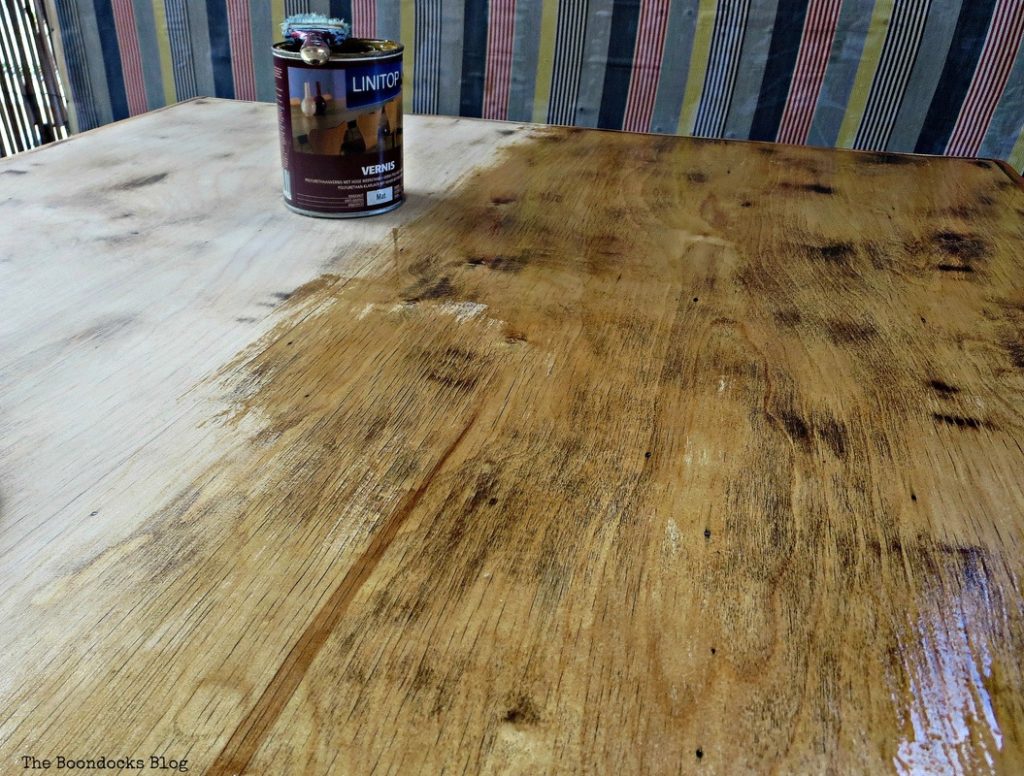
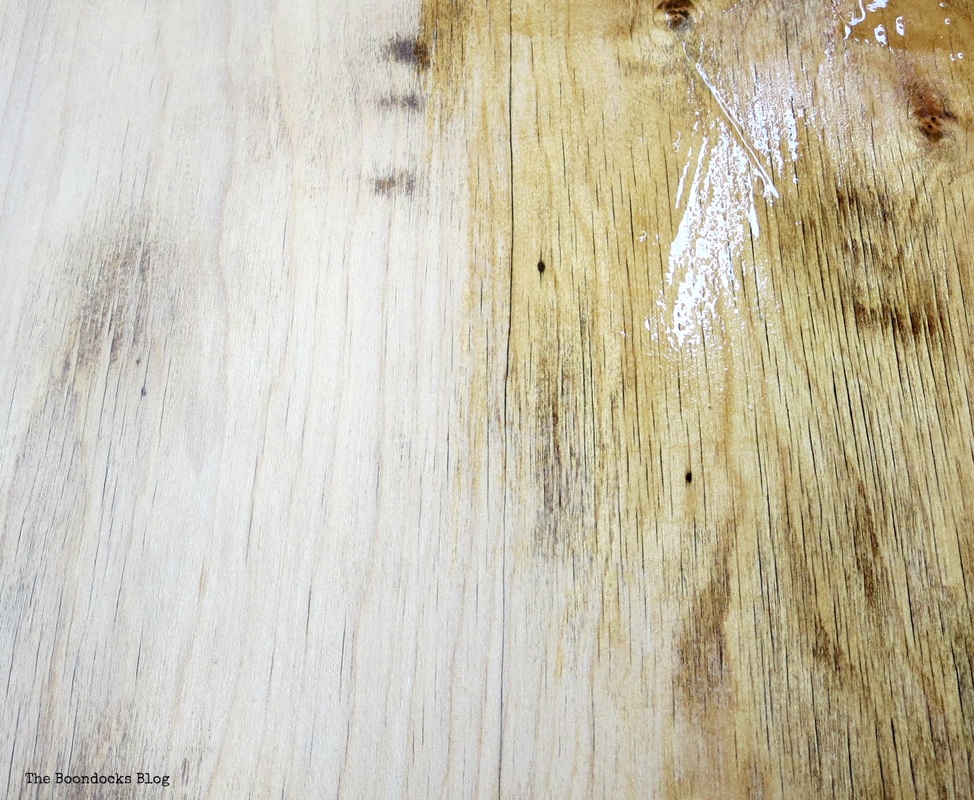
Here you can see the difference between the naked wood and the varnish which was still wet. It took about 4 coats and 2 weeks of waiting for it to finally stop absorbing the varnish.
When the coffee table top was finally finished, I opted to paint the legs with black chalky paint, and lightly distress them. Here you can see how nice the legs look with the wood showing through, which also happens to be the same wood on the frame top.
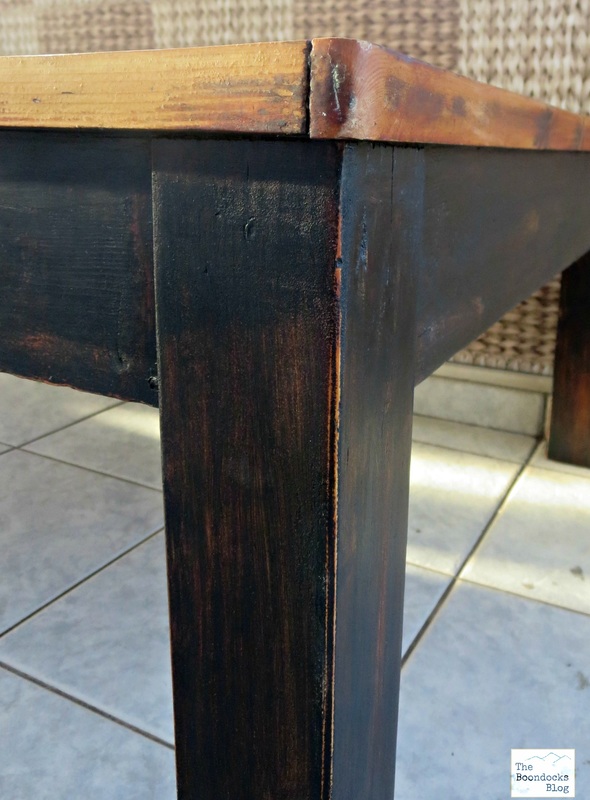
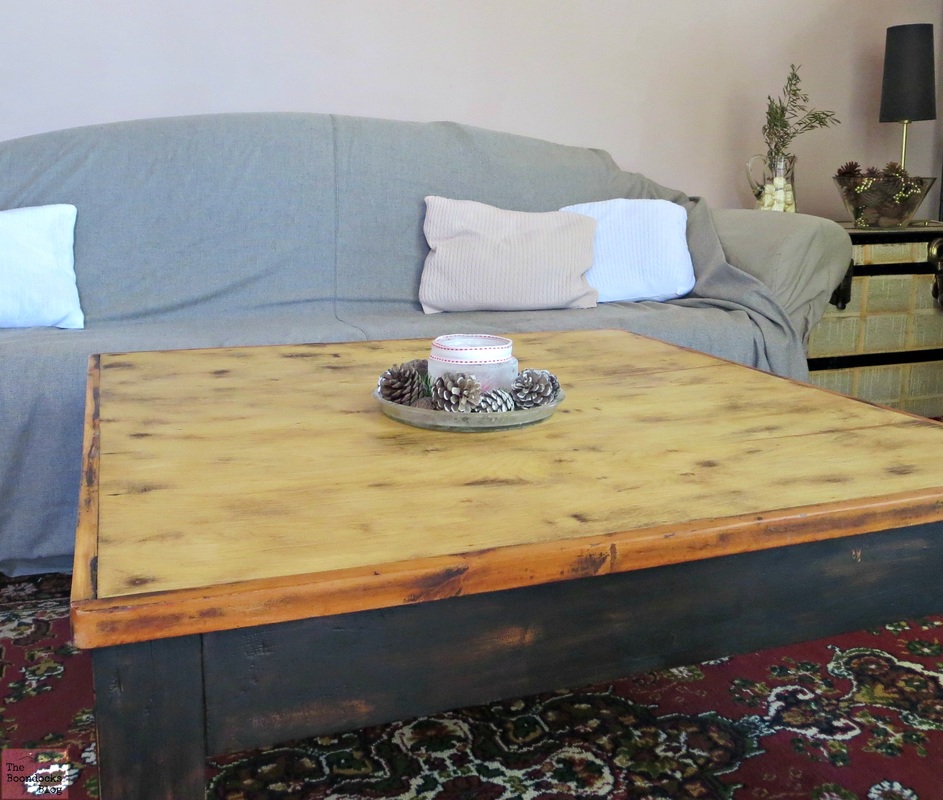
And here you can see all three colors of the refurbished coffee table: the black, the reddish and the blonde! I couldn’t have done a better job if I had planned it. Another happy accident!
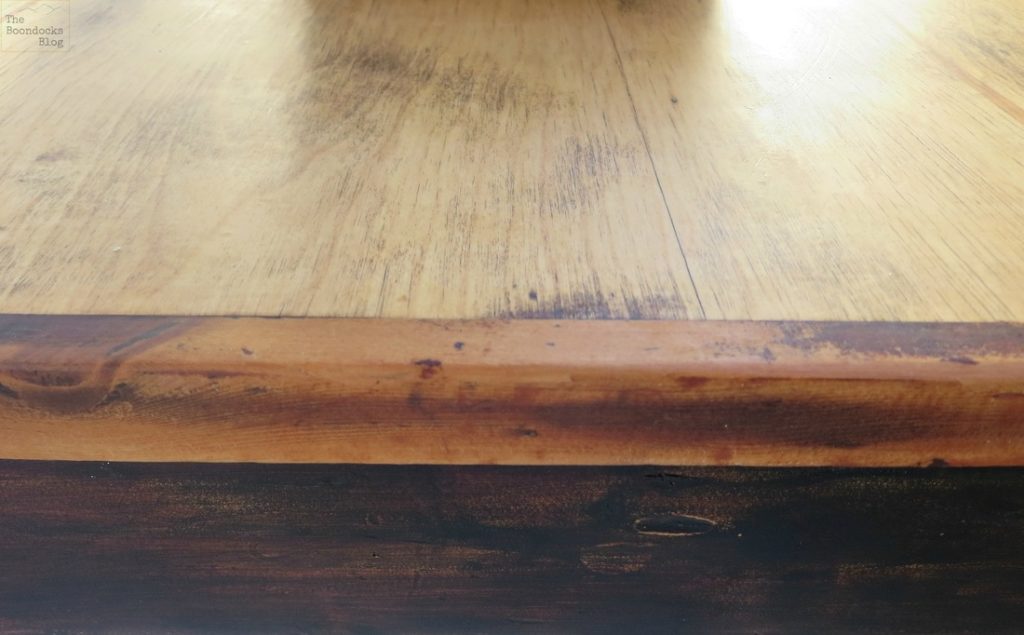
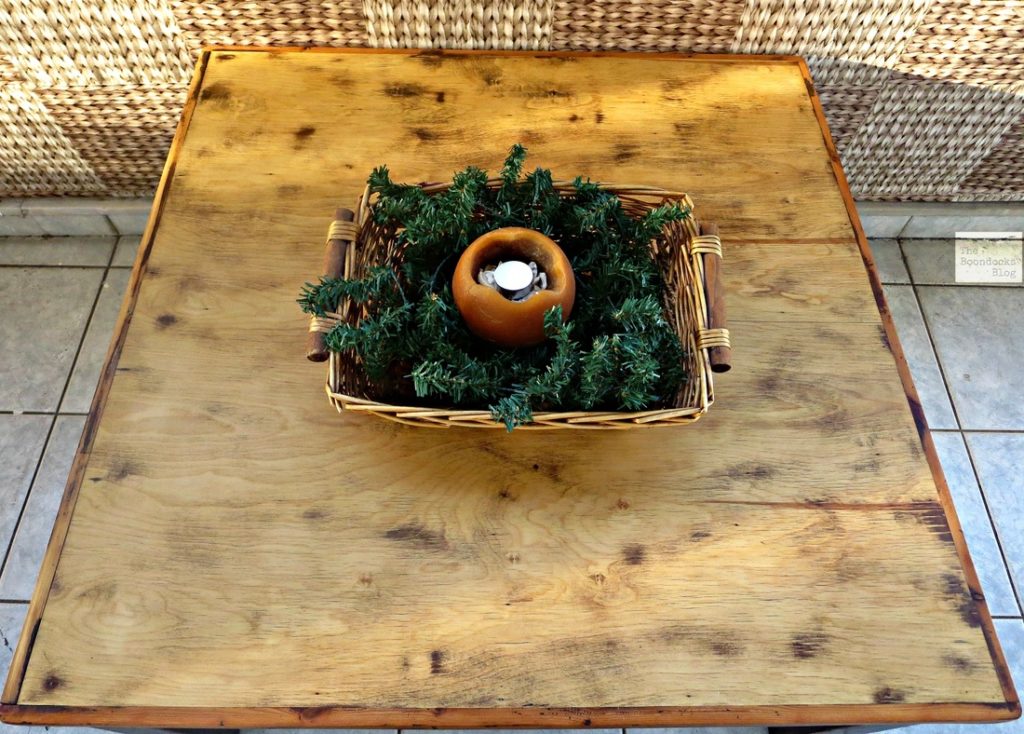
By choosing to use a colorless varnish for the coffee table surface, the natural grain of the wood shone through. This was not visible before the makeover nor were the dark spots on this unique piece of wood.
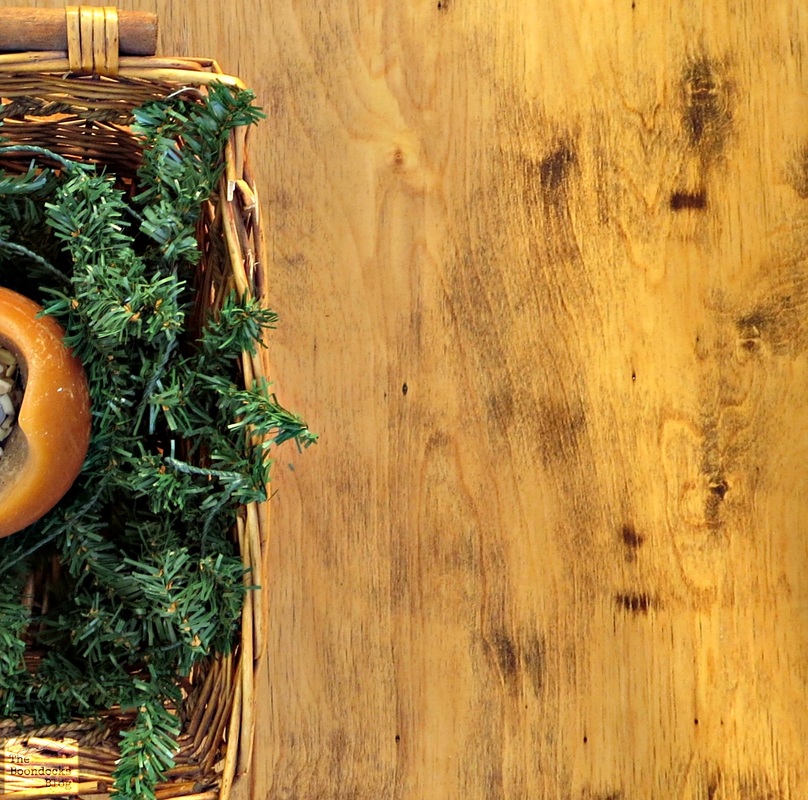
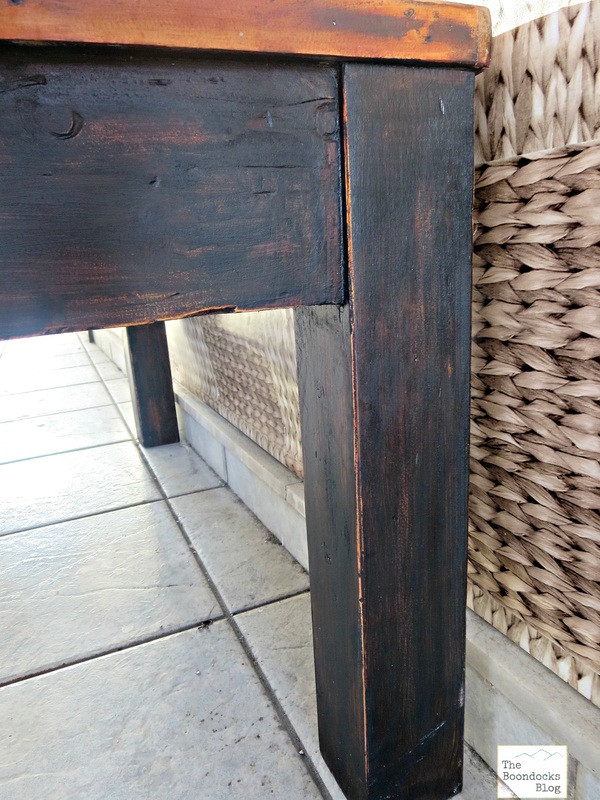
Here is the refurbished coffee table in it’s natural habitat!
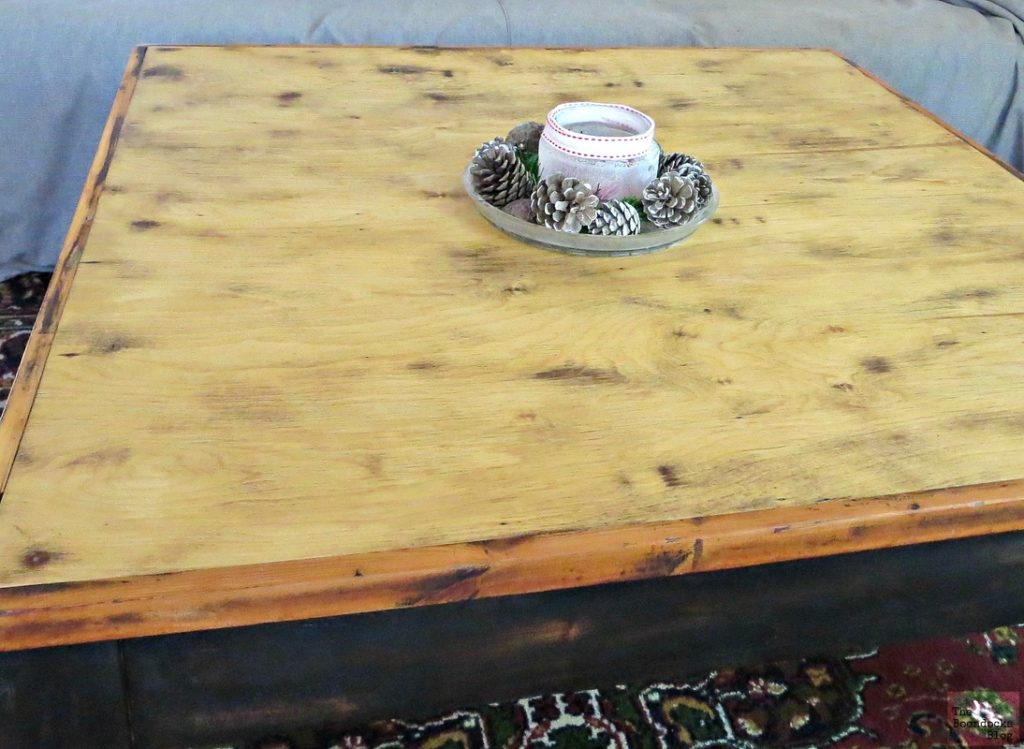
One last look at that horrible before:
And that smooth blonde color which is so soothing to my eyes.
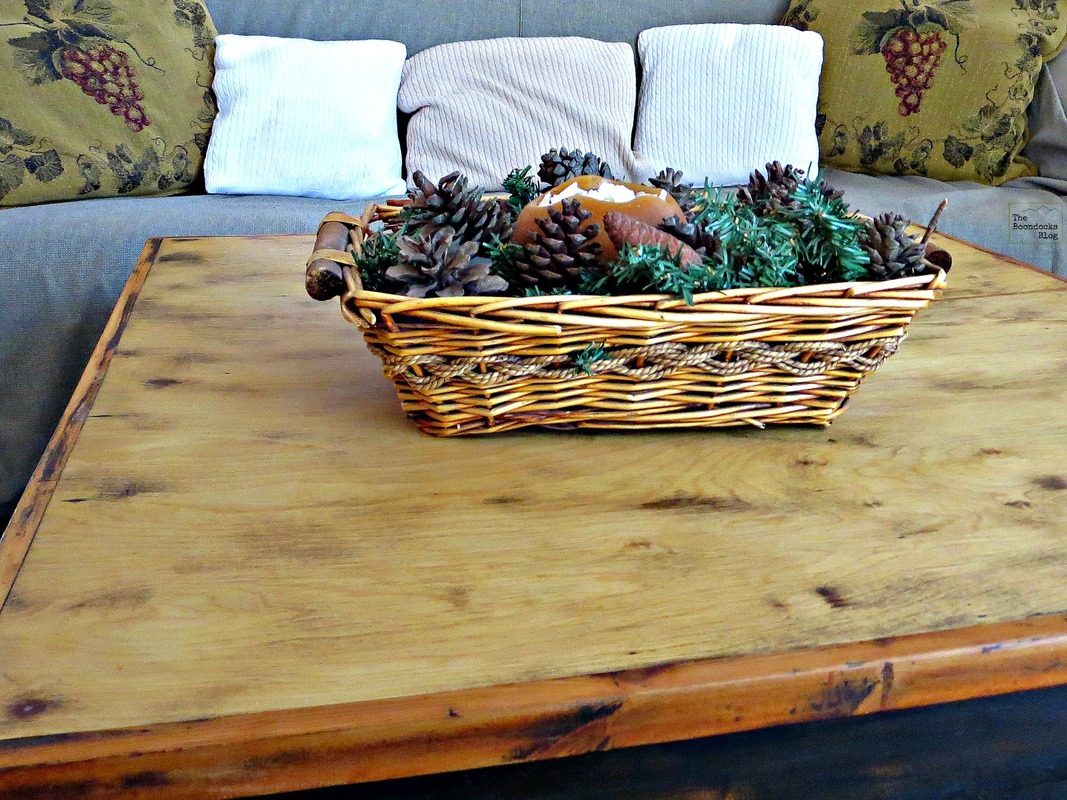
This old table has been around for about 70 years, and now with it’s new colors, and no more little kids in the house, it’ll be around for many more. I did not set out to make a tricolored table. But it seems that this month’s theme has become happy accidents.

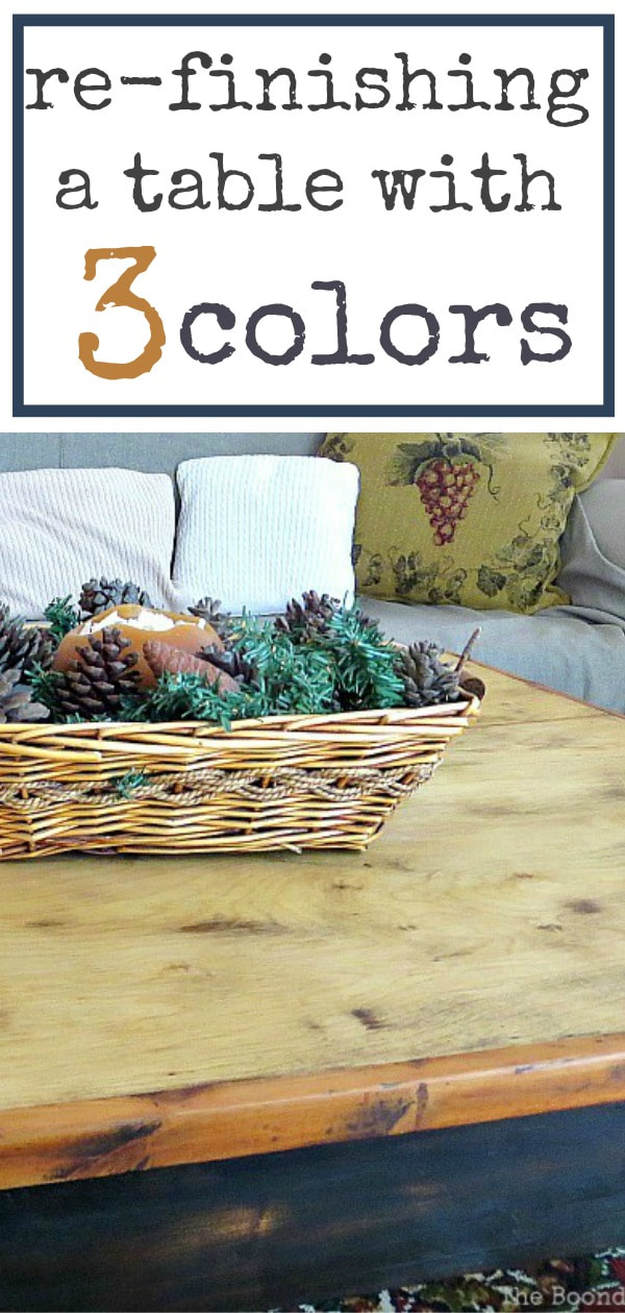
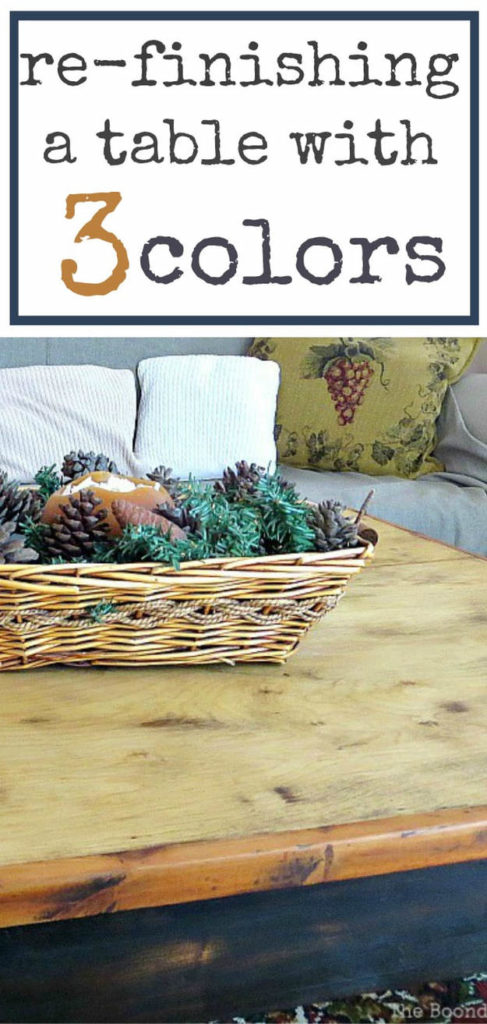
If you like what you see, share it with your friends, or save it on Pinterest. Above is a Pinterest worthy image!
If you really like what you see subscribe to my blog and get my adventures twice a week in your mailbox. The form is on the sidebar and your e-mail will never be shared with a third party.
We love it when we get your comments and will reply to each and every one of them.
Debbie
Thursday 30th of July 2020
Hi Mary, I love the rough and ready look about your table. The different colours work well and I like that the natural grain is visible adding interest to a very nice table. Now it just needs some coffee mug rings!... Or is it just my lot who seem to avoid using coasters?
xx
Katrin
Monday 18th of January 2016
How beautiful and rustic Mary! I think it looks quite unique with the dark legs and the blonde top! You did a great job transforming it and it sure looks fantastic! I can't believe it's 70 years old!
Mary
Tuesday 19th of January 2016
Yes Katrin, that old, my husband had it in his family so he should know. I am so happy I was able to give it a new life. It was all full of cracks before.
Lynn Spencer
Monday 18th of January 2016
Mary, this may be one of my most favorite of all your projects! I love how the different colors all work so well together. That's something that I wouldn't have planned to do either, so its always such a nice surprise when those 'accidents' work out so well. And 2 weeks for the varnish to dry! Wow, I might expect that in my humid Southeast, but not where you are. Wonder why it took so long. Hugs and Kisses and enjoy your Monday! Lynn
Mary
Tuesday 19th of January 2016
Lynn I didn't even realize they were different till I applied the varnish. It was only then that the colors showed through. As for the drying time, In the winter it is very humid here because we are in a plain near the bay. And it also kept on raining whever it felt like it. ;) xoxo
Marilyn Lesniak
Monday 18th of January 2016
What a great idea! It turned out very beautiful. Thanks for linking to #overthemoon!
Mary
Tuesday 19th of January 2016
Thank you Marilyn, now it can proudly sit in my living room without giving me a headache.
Michelle
Monday 18th of January 2016
The table looks really nice! Thanks for sharing!
Mary
Tuesday 19th of January 2016
Thanks for the compliment, I am so relieved it is finally finished..I actually had it done in time for Christmas and it made such a difference to the room.