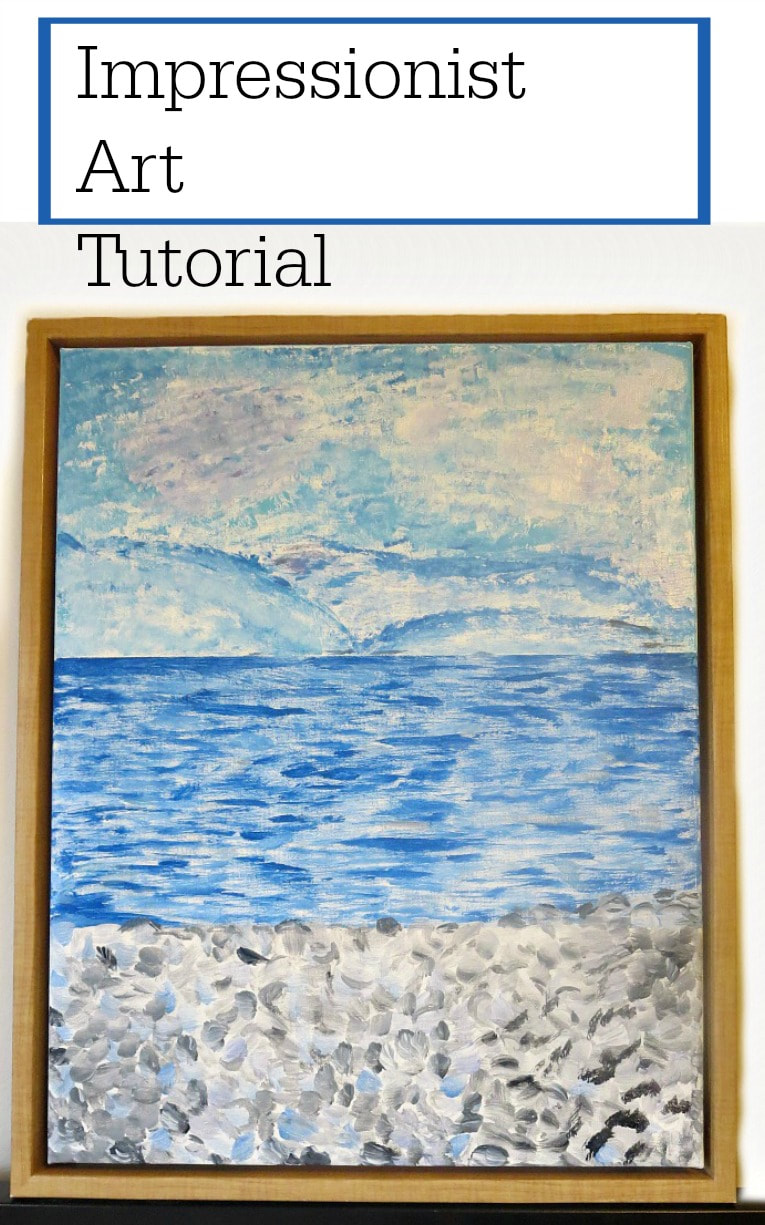
This month we really wanted to challenge ourselves so instead of doing something that is normally done at this time of the year we decided we would try something new… new that is to each one of us. I chose to try my hand at Impressionistic art painting.
To see what my buddies chose to try their hands at, simply scroll down to the end of the post.
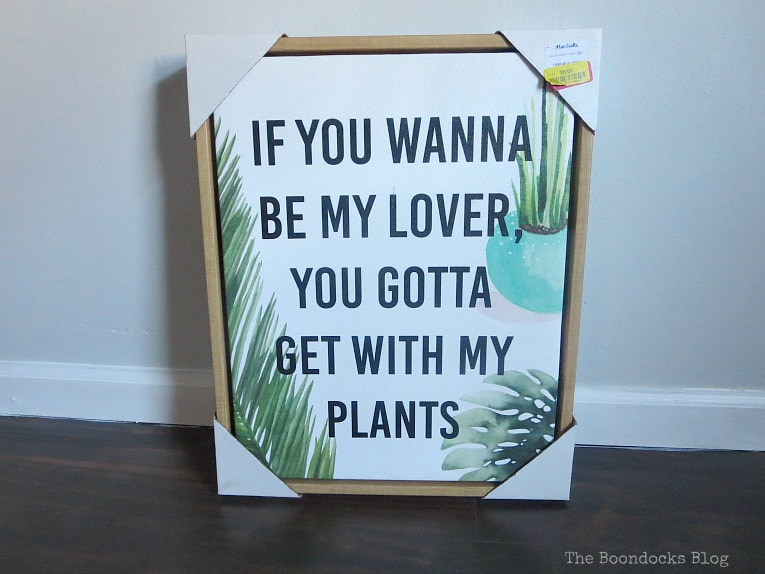
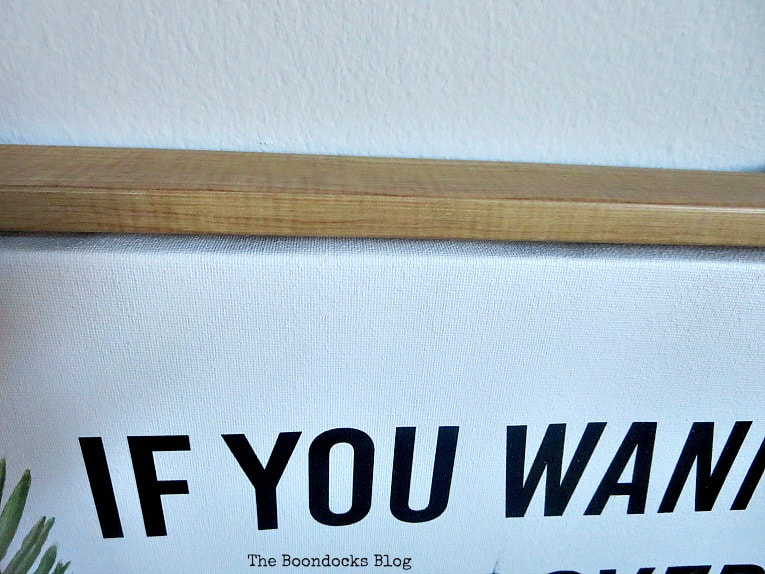
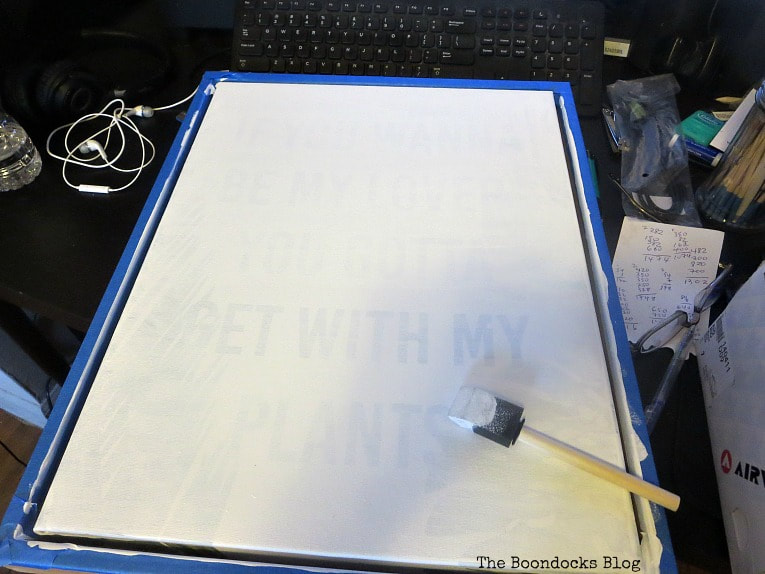
My journey into this attempt started at my local Marshall’s where I was shopping and chanced upon this piece of art which was on sale for $8. Well I didn’t really care for the artwork since I am not a fan of plants (being a brown thumb and all) but my eye was drawn to the frame. I knew that if I took it home I could get my daughter who is artistic to do something with it, maybe paint something on top of it. I sent her a text, but she rejected my idea.
Well, guess what? I still bought it. I decided that if she would not do it then I would challenge myself to see if I could create a piece of art. After all it was worth the price of the canvas alone.

What I Used:
- canvas in a frame 14 by 18, you can use a plain canvas
- masking tape
- various acrylic paints
- sponge brush
- small brushes
The How To:
I taped off the frame and began working. I ended up applying 6 coats of white acrylic paint to try and hide the Plant artwork. And I still wasn’t able to hide those darn words. Did I say this was going to be easy?

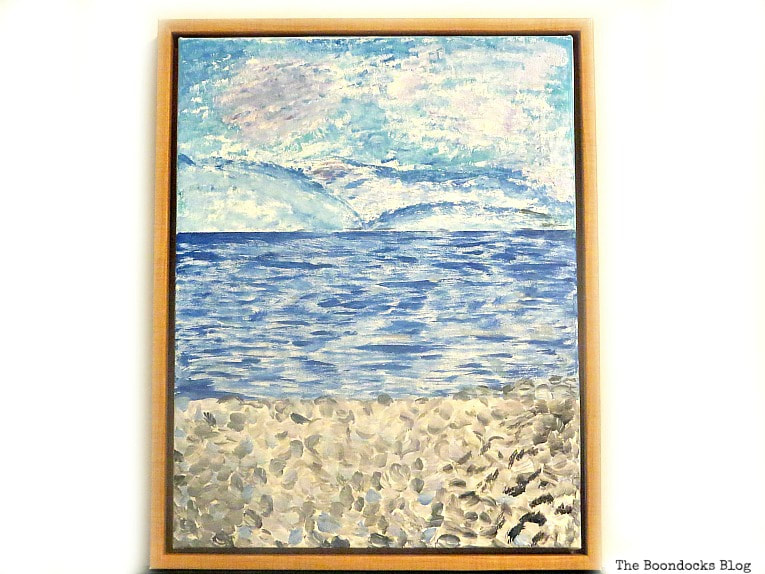
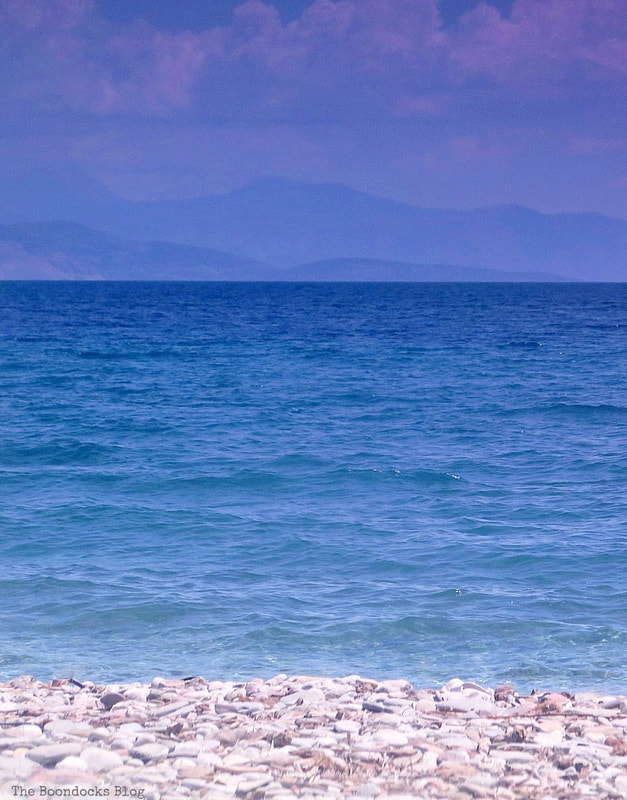
At this point frustration had set in. There was no way that I would be able to recreate the abstract art I was after with this pitiful canvas, with it’s letters that wouldn’t disappear. After all it’s nice to challenge yourself but I had other painting to do, of the furniture variety. So I thought of something my friend Michelle of A Crafty Mix had said to me once about painting one of my photos. And I figured why not try that but still keep it Rothko-esque. This is the one I chose. Michelle wanted to do the one with the pebbles that was in the same post.
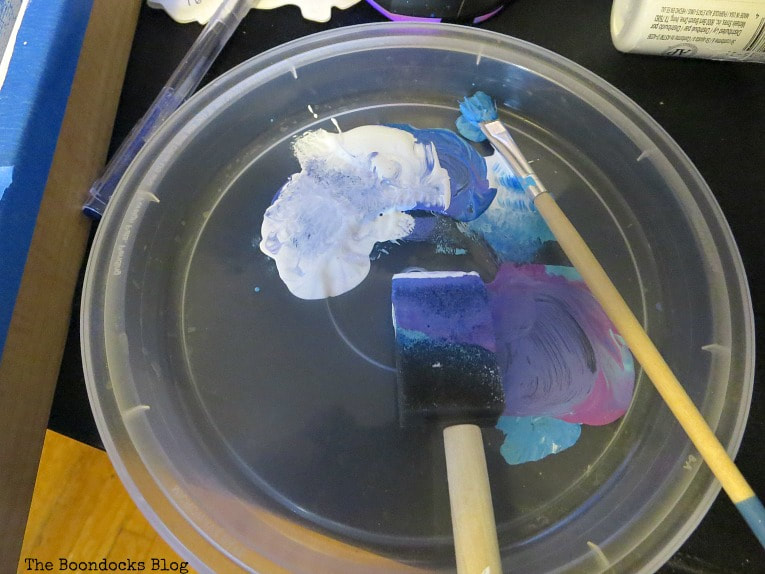
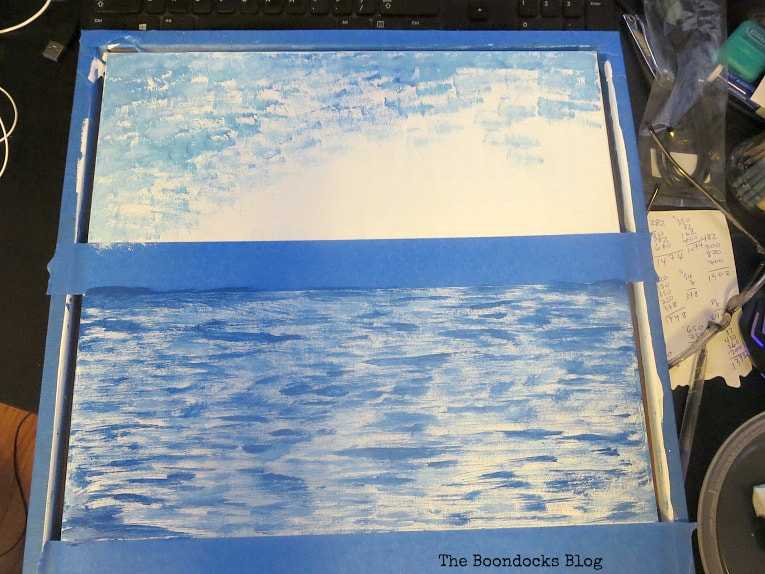
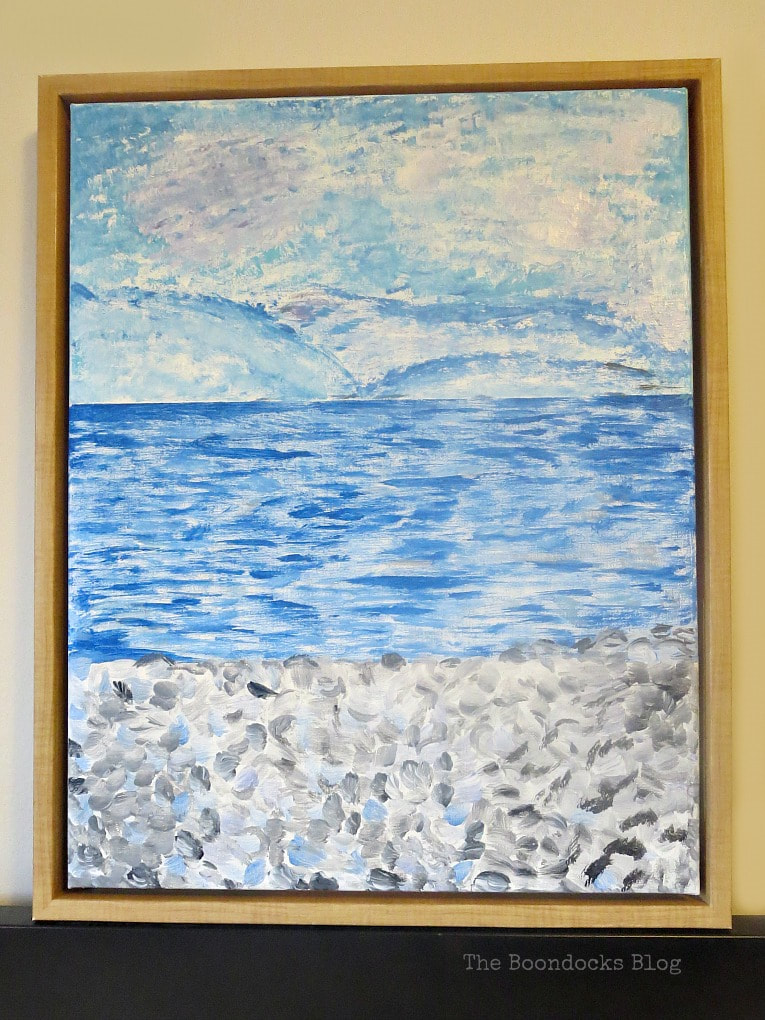
And so I taped off the canvas into three parts. They were not exact. Using a small stiff brush I applied blue paint here and there, making sure to cover all those offensive letters and this was the result.
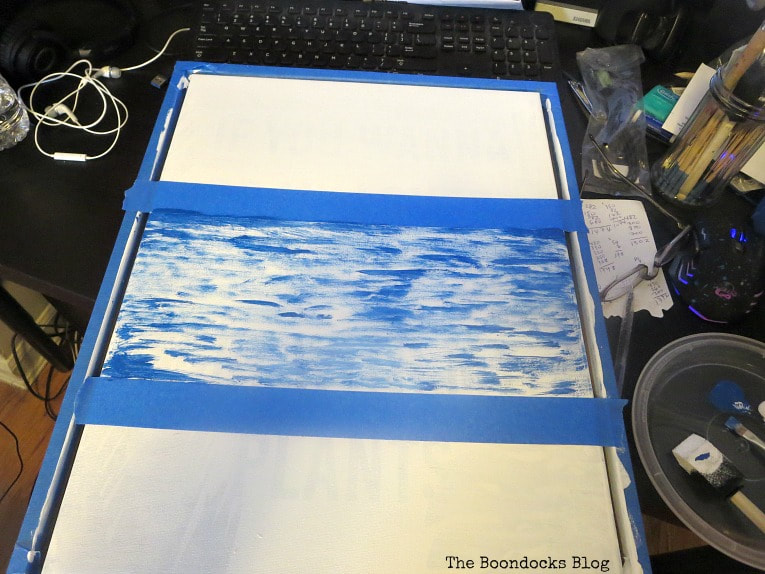

Don’t mind the mess around the canvas. I had placed it on the desk where the computer was so I could see the photo. I do not recommend doing it this way but I was in such a rush and wanted it to come out nice.

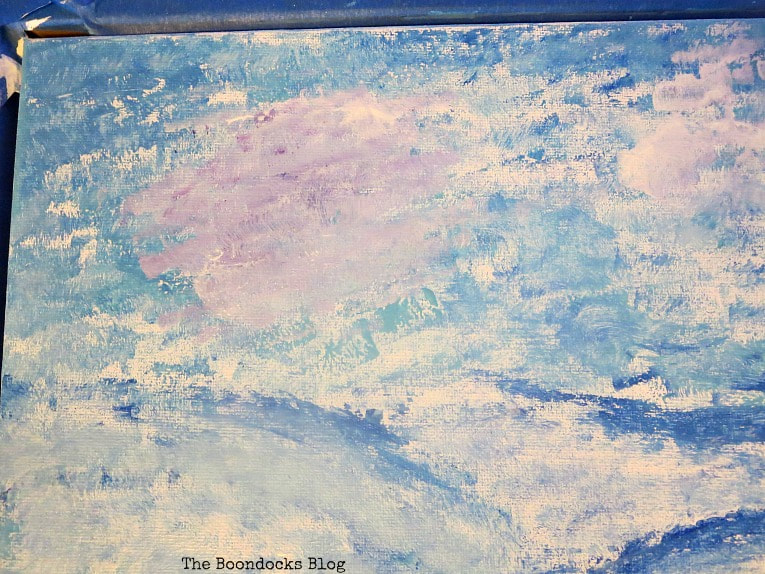
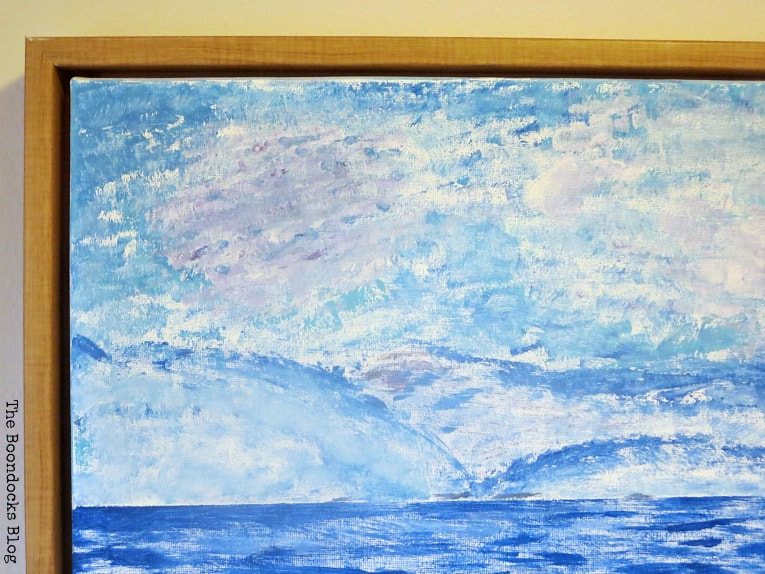
Using a brush I went back and added a bit of red to the blue, this gave me a bit of purple which you can see is prominent in the photograph. Just a hint of it to give the illusion of some clouds.
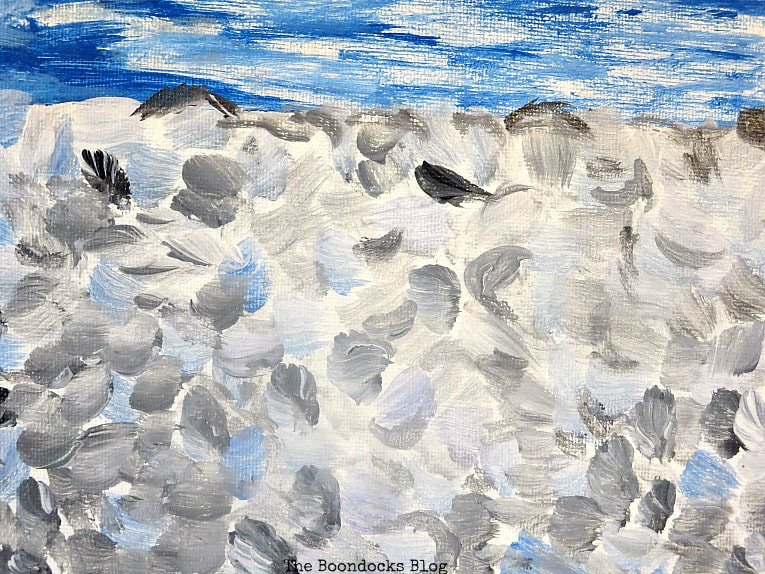
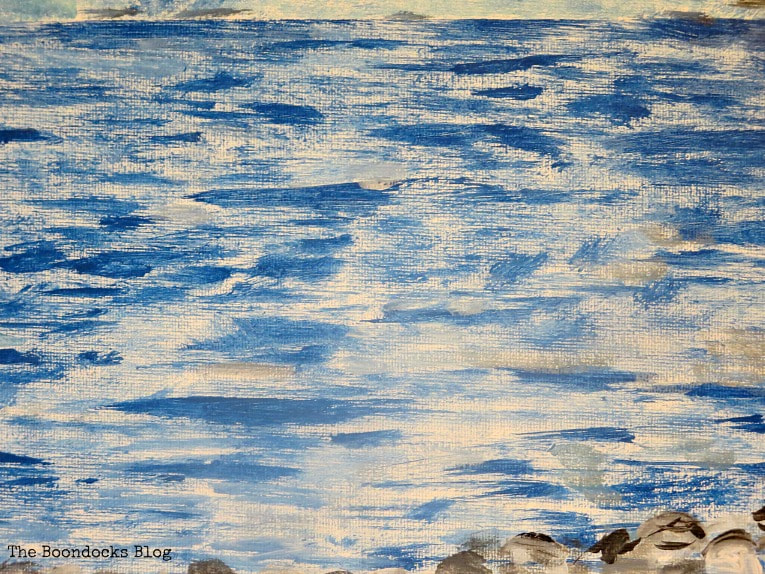
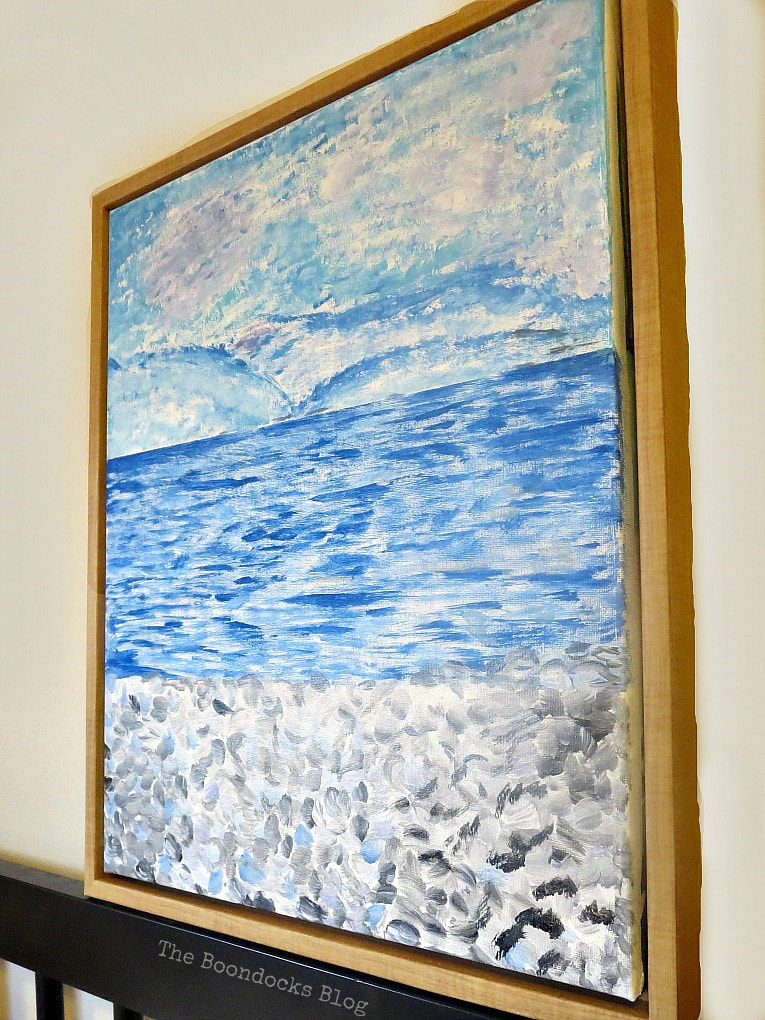
And I was done. I had made sure to keep the horizon straight but the pebbles didn’t need such a straight line. Oh and can you see those pesky letters? NO!!
Now join my friends and see what they have tried out for the first time. Simply click on the images below my name. If you’d like to see more past challenges click here.


Linking up to these Link Parties
This blog is for entertainment purposes only; my DIY tutorials are not professional advice. Read my full disclaimer here.
I love it when I get your comments and I will try to reply to every one of them. Please do not add a hyperlink to your comment, otherwise it cannot be published.
How to Repair and Revive a Tired Night Stand - The Boondocks Blog
Wednesday 4th of November 2020
[…] in the room, between the ombre wall and the bed. I do believe that the color of the top mimics the pebbles in the painting. That painting is staying here for now since it is a gift to the daughter who loves […]
How to Make Pretty Pleated Drop Cloth Curtains - The Boondocks Blog
Tuesday 10th of December 2019
[…] things are done in our countries. Last time we shared projects that were new for us, I painted an abstract art piece, and the month before it was Valentine’s Day Projects. Today, I get to share this easy DIY […]
FLORENCE
Monday 26th of February 2018
Mary, that looks pretty good...very Monet-looking. And it pleased your daughters! High praise indeed. That was brilliant to tape it off in 3 sections. If it had been me, I would have kept painting over & painting over the letters & gotten more frustrated. You did good.
Mary
Monday 26th of February 2018
Florence I needed to get that horizon straight. There was no way I could do it freestyle. And now I'm inspired to look for more canvases! ;)
Deborah Regen
Monday 26th of February 2018
We have a winner here. I like your painting very much. Especially knowing what lies under...haha. You did a great job here explaining how you proceeded at each step plus all the photos as your painting took shape. I am sure your finished art piece will look nice wherever you decide to hang it in your home.
Mary
Monday 26th of February 2018
Deborah I had to get rid of that print underneath. I'm so happy I was able to come up with a decent solution. Btw, my daughter has already called dibs on the painting. :)
Josephine
Monday 26th of February 2018
Mary, Your painting is lovely! Happy daughters are always a good thing as well. When I first started working at Harvard University back in 1989, my office was in the Rothko building across from Harvard Yard. It was a beautiful building but the space was much to small for our growing department and we ended up moving to a much larger space a bit further away from the yard, but still a walkable distance. Now that you are in NYC, perhaps you will take a trip to Boston and Cambridge for some walking tours.
Mary
Monday 26th of February 2018
Josephine I'm sure Rothko would welcome me with opened arms. I have never been north of Connecticut. So that would definitely be a trip for my bucket list.