Skip to Content

How to Easily Transform a Blanket with Yarn

Sharing is caring!

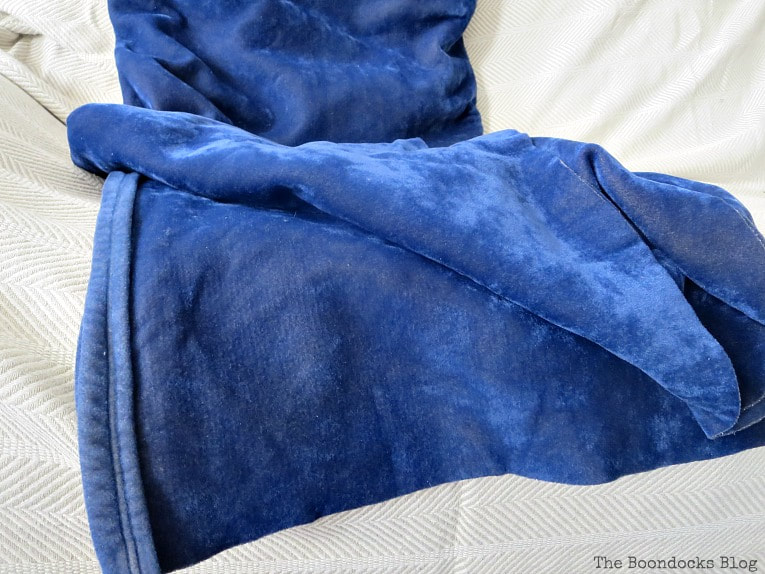
I had this old blanket that was sort of velour with a velvety finish.  But it was very dark and very boring. I had it hidden away in the closet for many years. 

If you are joining me from  Ashley’s blog Modern Glam I want to welcome you! Recently a few of my blogging friends suggested that we do a blog hop with a cozy theme and I knew that old blanket was the perfect candidate for this post.  I really wanted to add a fun element to it. So today I am here to share with you how I easily transformed a blanket with yarn, to give it a bit of fun and fringe! 

Stay with us till the end and you will see what the rest of my friends are up to. 

Blue Blanket Before, How to easily transform a blanket with yarn, www.theboondocksblog.com
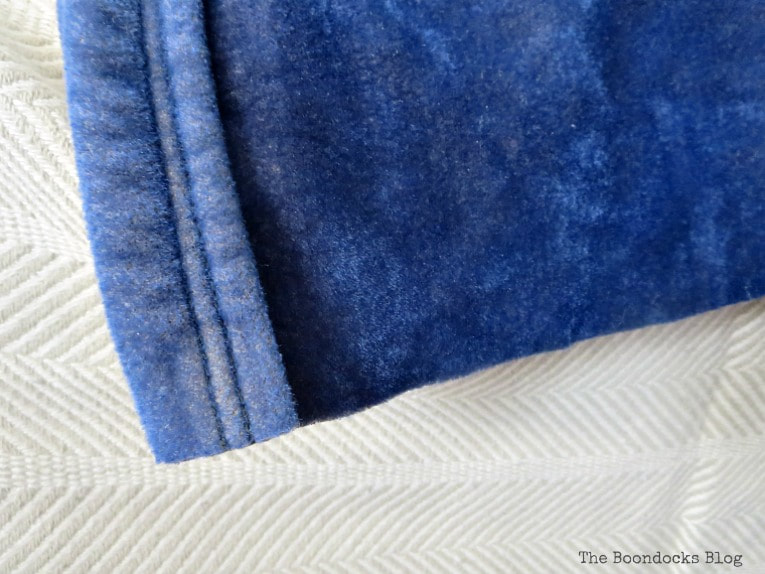
The only way to describe this blanket was threadbare.  You cannot see it by just looking at it but you will understand just what I’m talking about as the story unfolds. Two of the ends had a finished hem like what you see below.  But when I pulled on it, it tore with no effort at all. 
edges of blanket, How to easily transform a blanket with yarn, www.theboondocksblog.com

What I used:

  •  old velour blanket
  • One ball of yarn
  • a pair of scissors

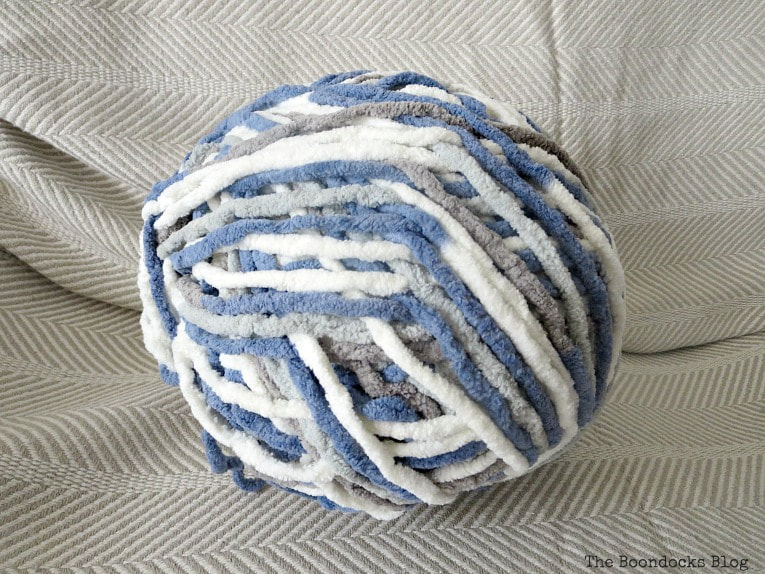
This was a very easy project to make.  All I needed was this yarn which I purchased at Michael’s.

ball of yarn, How to easily transform a blanket with yarn, www.theboondocksblog.com

The How to:

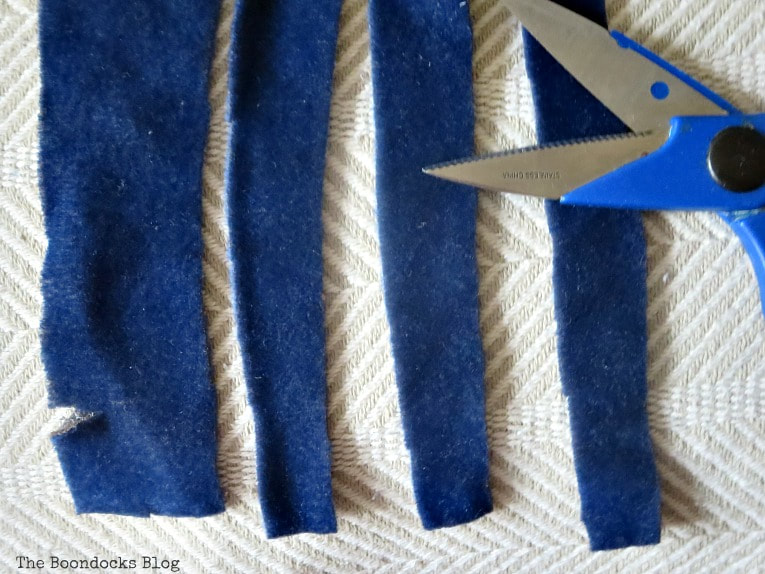
After cutting off the hemmed edge, I cut strips of the bottom part of the blanket.  I did them about 8 inches in length  (20 cm). 
cutting the strips, How to easily transform a blanket with yarn, www.theboondocksblog.com
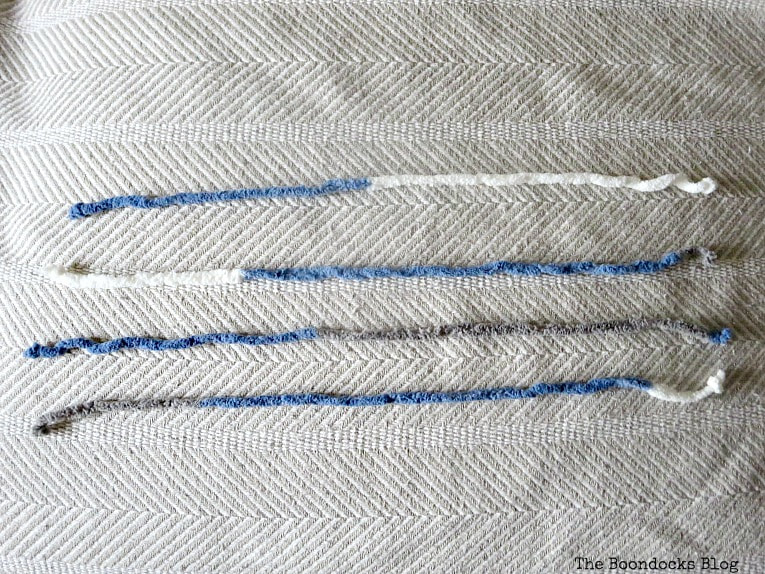
I then cut the yarn in a length double to the strips, in this case about 18 inches (46 cm). 
cutting the yarn, How to easily transform a blanket with yarn, www.theboondocksblog.com
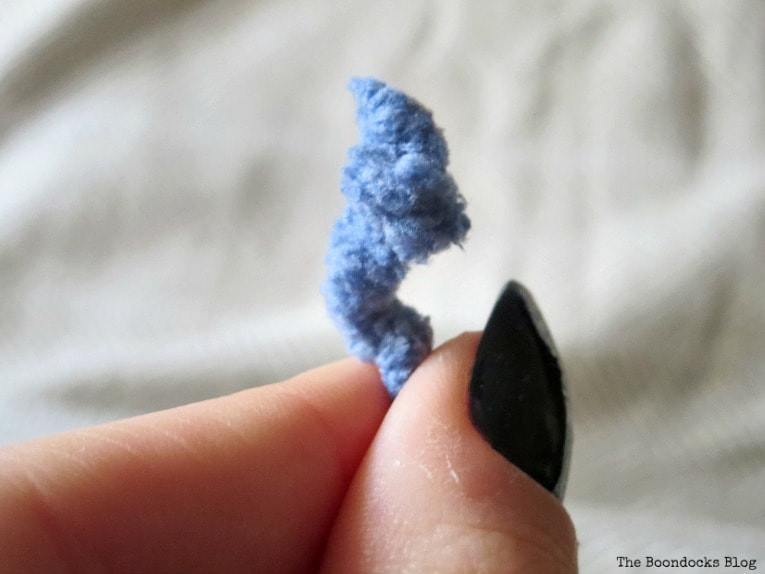
The ends were knotted like this to keep them from running.  The particular chenille style yarn I had bought was made of polyester and felt very soft and velvety. (I have a link on the bottom of this post if you are interested in purchasing it.)
​​
knotting the ends, How to easily transform a blanket with yarn, www.theboondocksblog.com
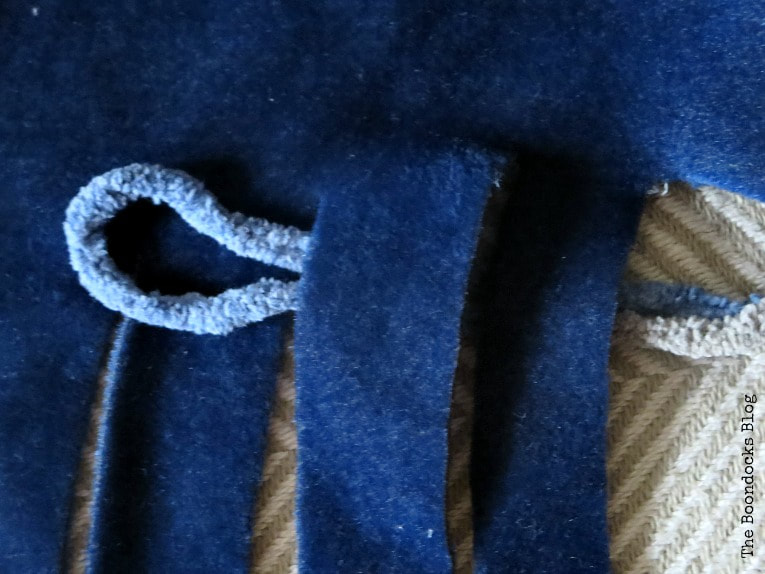
I then folded the yarn over and placed it under two of the blanket strips. 
looping the yarn under the strips, How to easily transform a blanket with yarn, www.theboondocksblog.com
Disclosure: This post contains affiliate links .  If you purchase any of these products through the links, I receive a small commission, that way I can continue to provide you with lovely content.  There is no extra charge to you for purchasing through my affiliate links.

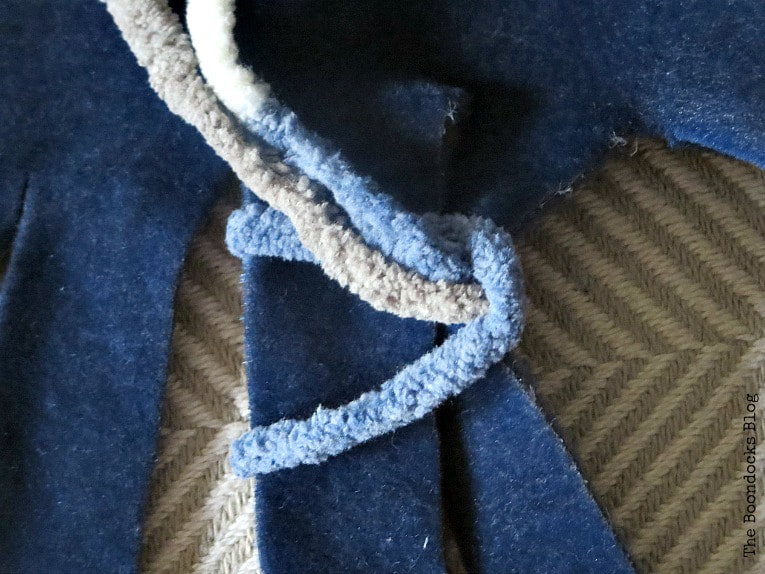
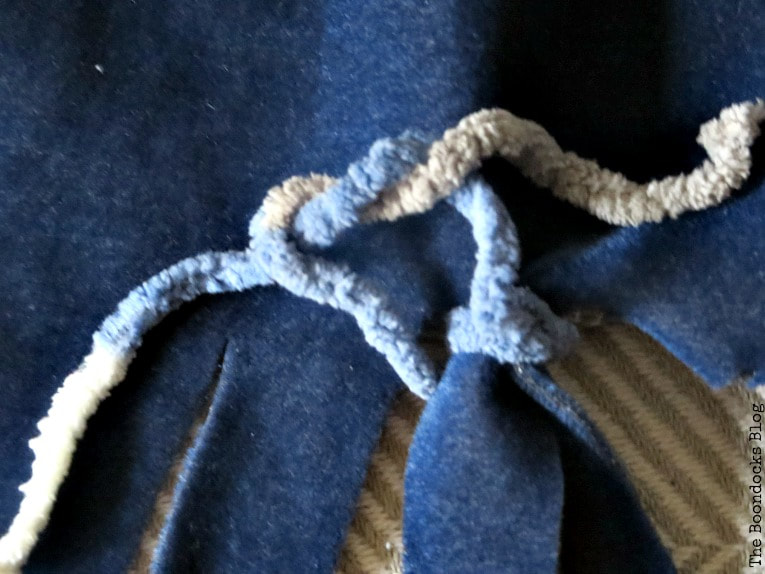
​I placed the ends of the yarn under the loop…
placing the ends through the loop, How to easily transform a blanket with yarn, www.theboondocksblog.com
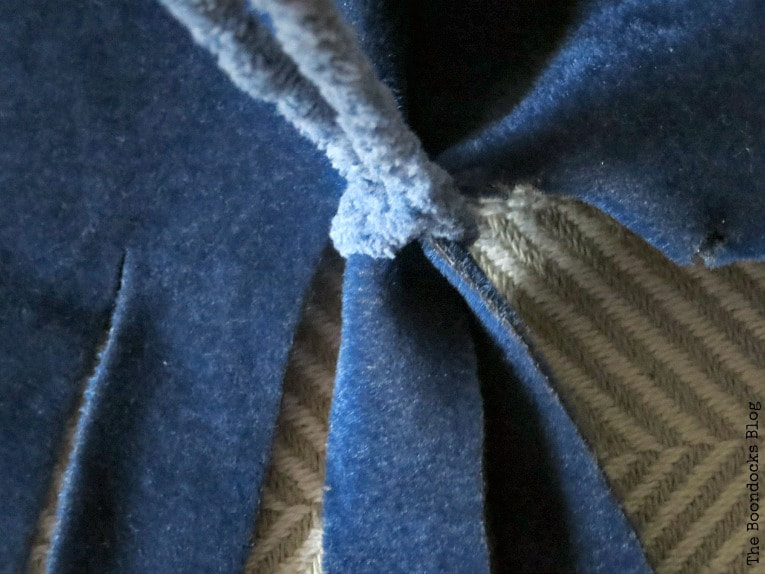
…and then pulled!
tightening the loop, How to easily transform a blanket with yarn, www.theboondocksblog.com

​The yarn was then pulled under and tied to make the tie sturdier. 
tying it again, How to easily transform a blanket with yarn, www.theboondocksblog.com
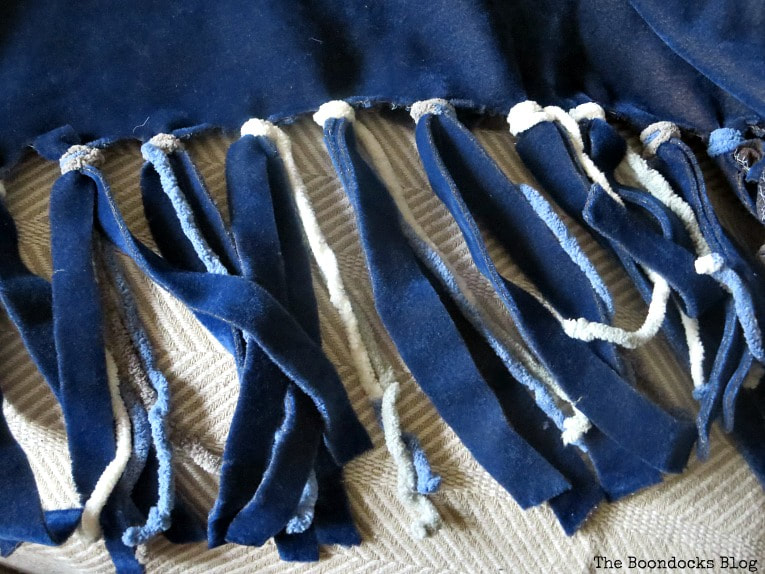
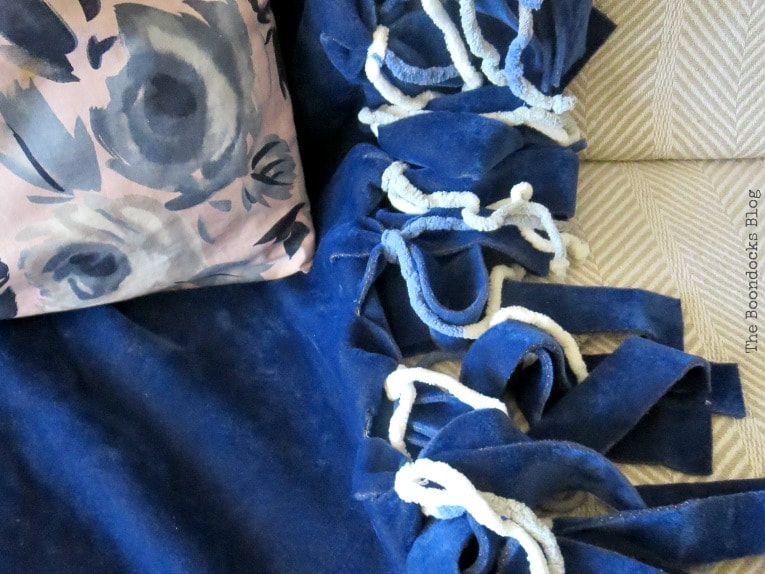
And here they are.  All in a row!
the finished edges of the blanket, How to easily transform a blanket with yarn, www.theboondocksblog.com
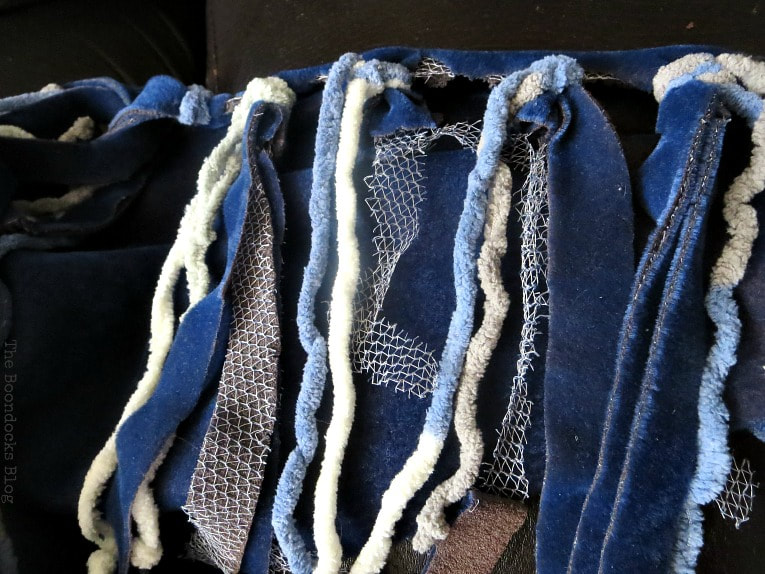
But one end turned out to be not so pretty.  The reason I had used this blanket was because it was old and there were parts of it that were “threadbare”. When I pulled on the strips they came apart and the fabric fell off the binding. 
the strips are threadbare and come apart, How to easily transform a blanket with yarn, www.theboondocksblog.com
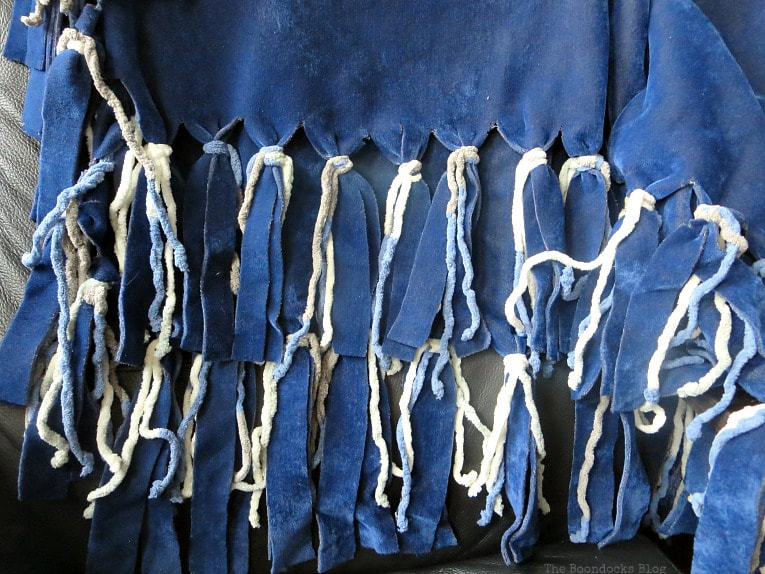
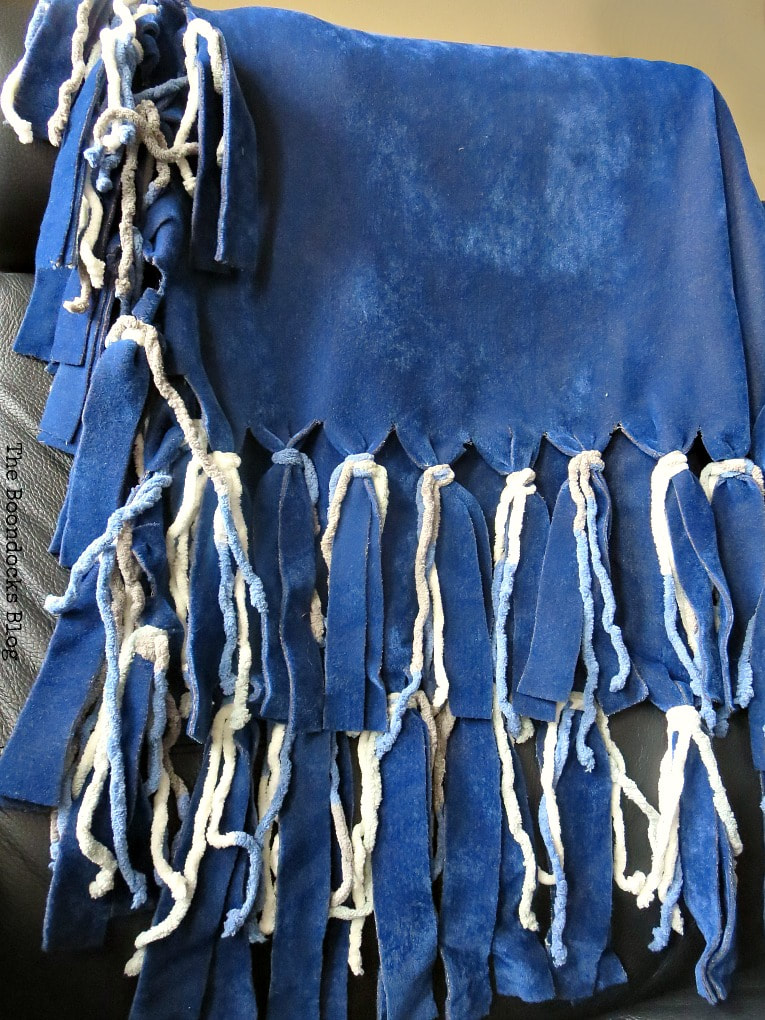
I ended up cutting off another 10 inches of that “threadbare” part and throwing it away.  I redid the bottom but this time I placed twice the number of yarn pieces.  So now there were 4 dangling from each wrapped strip of velvet.  It made for a fluffier look. 
making double threads, How to easily transform a blanket with yarn, www.theboondocksblog.com

​Of course now that my eyes were wide open to imperfections I noticed that the other end of the blanket also had these “threadbare” spots.  Therefore I had to redo the other side too.

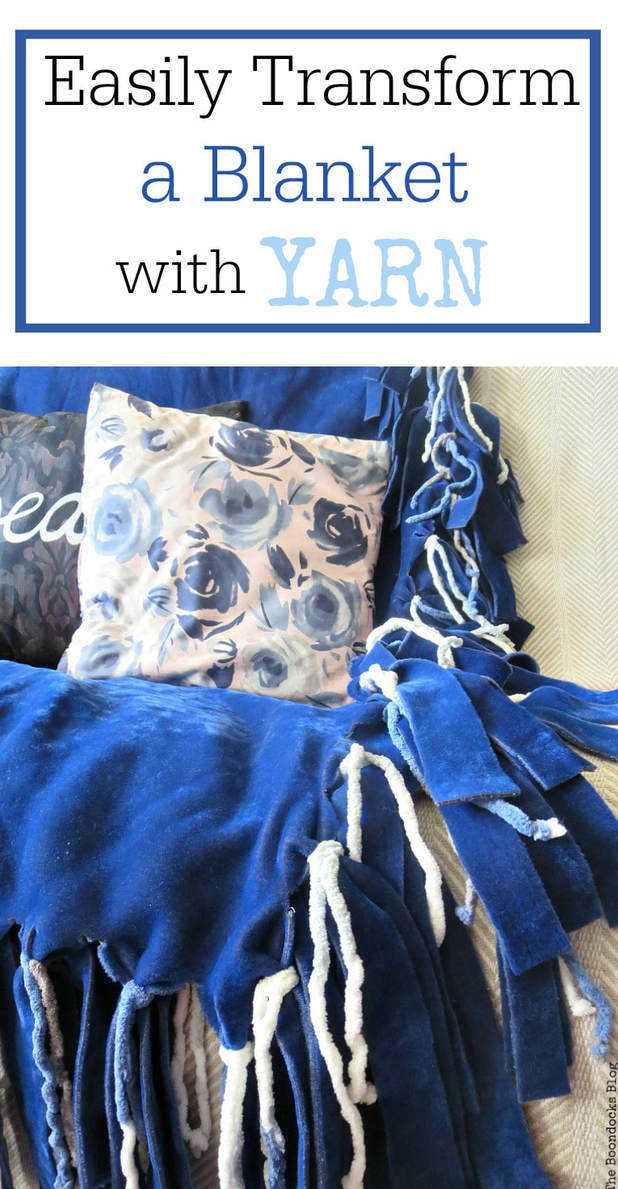
Finished blanket, How to easily transform a blanket with yarn, www.theboondocksblog.com
​Thank goodness the threadbare spots were on the ends of the blanket and not in the center otherwise I’d have nothing at all to show you for my efforts. 
double fringe, How to easily transform a blanket with yarn, www.theboondocksblog.com
Honestly, what was meant to be an afternoon project turned into a few days with all the cutting and spotting of the “threadbares”.  
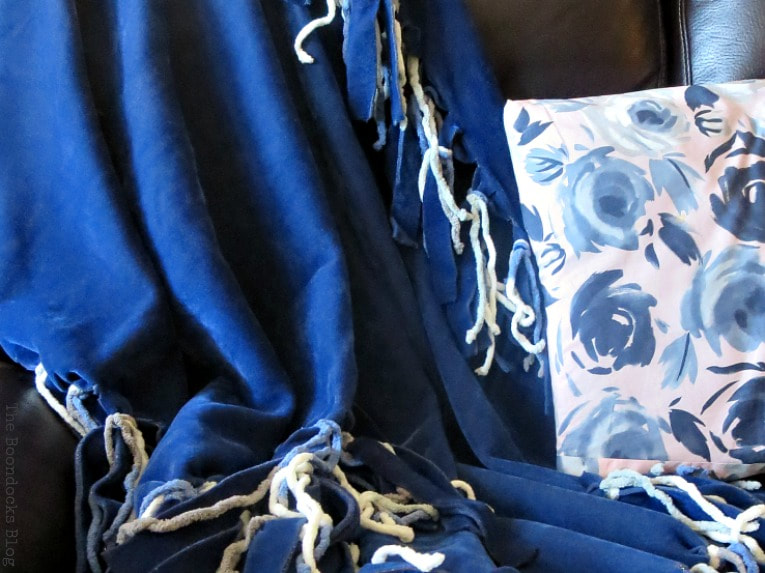
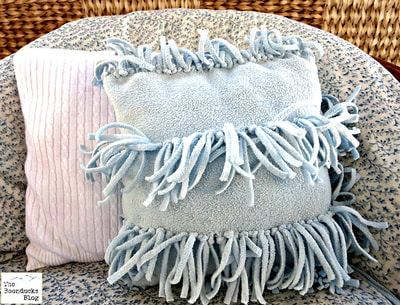
the blanket with a DIY pillow, How to easily transform a blanket with yarn, www.theboondocksblog.com

The finished blanket ended up being much smaller than the original. But now I had a lovely blanket that was actually nice enough to grace the living room couch and not just hide in the closet. 

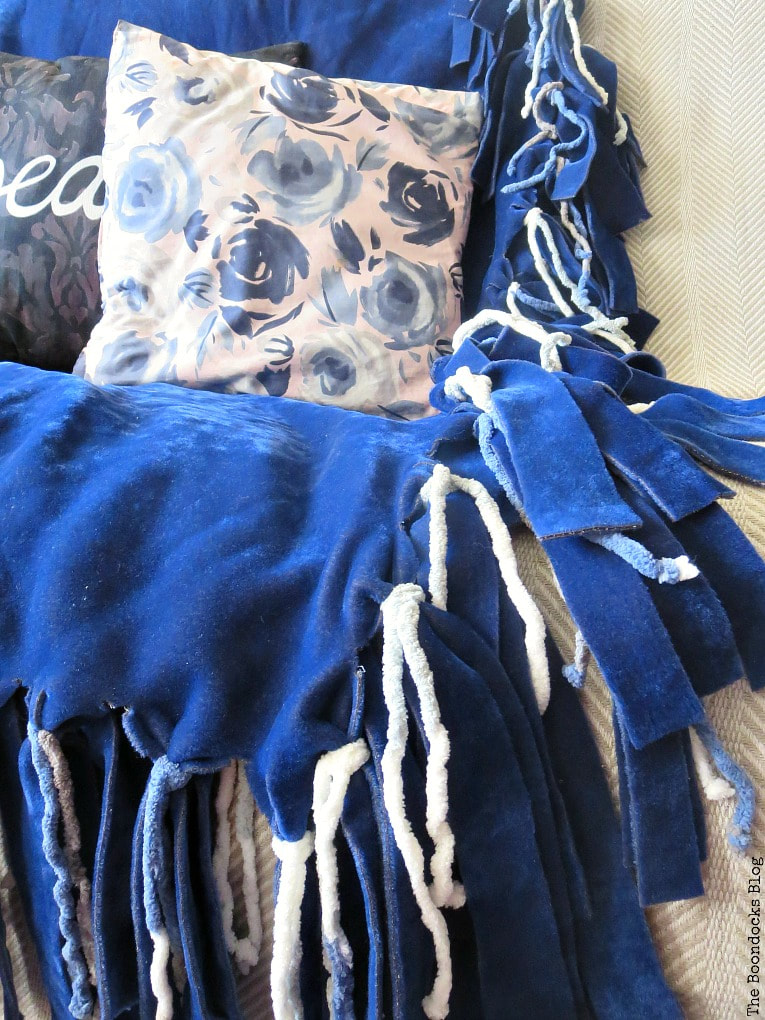
And those pillows?  The pink was from fabric of a dress of mine from the 80’s.  And the “peace” pillow was from a gift of my friend Nikki

Finished blanket on couch with pillows, How to easily transform a blanket with yarn, www.theboondocksblog.com
I love how my new fringed blanket came out. It was quite a transformation and with nothing but a little yarn!   And to think I had it hiding out in the closet all this time. 

Now hop on down and check out all the cozy cool projects that my blogging friends have created. Or go to Kellie’s blog, Gratefully Vintage to see her cozy spaces.

Picture
By using yarn and just cutting the edges of a blanket you too can easily transform a plain old blanket into one that is fun and full of fringe. How to Easily Transform a Blanket with Yarn, #Upcycle #blanketmakeover #addingfringetoblanket #easycraftidea #cozyblanket www.theboondocksblog.com

​If you really like what you see subscribe to my blog and get my adventures in your mailbox. The form is on the sidebar and on top.  Your e-mail will never be shared with a third party.
Picture

Welcome to Our Monthly Creative Blog Hop

Kellie | Gratefully Vintage

Michelle | Our Crafty Mom

Leanna | Of Faeries and Fauna Crafts

Janine | Happy Happy Nester

Katrin | Kreativ K

Sam | Raggedy Bits

Ashley | Modern Glam

Mary | The Boondocks Blog

More Cozy Projects:
<< Easy Cover for Clothes Rack          HOME    Sweet Inspiration Link Party #90 >>  

Linking up to these Link Parties

This blog is for entertainment purposes only; my DIY tutorials are not professional advice. Read my full disclaimer here.

I love it when I get your comments and I will try to reply to every one of them. ​Please do not add a hyperlink to your comment, otherwise it cannot be published.
  1. Marie says:

    I have a black blanket just like that hiding in the closet. My office is black & white and often in the evenings I get cold in there. Hmmmm, I just may try this!

  2. Michele says:

    This is so pretty. That blue is. My favorite color- kind of llike Greek waters! It sounds like you are thriving and not missing Greece too much!

  3. Maya Kuzman says:

    It looks fantastic and stylish with its newly acquired fringes Mary!

  4. Oh dear, Moneypenny would sure love the fringes 😉 But that blanket looks much better now. Would fit in perfectly into the studio to keep me warm in the evenings…

  5. Jann Olson says:

    Cute! Reminds me of the fleece blankets I use to make and tie like this for my grands. Thanks for sharing with SYC.
    hugs,
    Jann

  6. Keri Roberts says:

    Mary, what a fun way to give the blanket a new look and fix the threadbare parts. I like the yarn and fabric combo.

  7. This is so smart Mary. With just a yarn you have a “new” blanket. I have the perfect old fleece thingy to try this technique!

  8. Nikki Gwin says:

    Well Mary, you know I love blue and out of all the cozy projects, I gravitate towards yours. I love color! Great job. And thanks for linking up at OVER THE MOON Link Party.
    🙂 gwingal

  9. Jelica says:

    What a creative idea, Mary! I like that boho-inspired fringe mixed in with the yarn. It really adds some pizzazz to that throw!

  10. I love the color, I love the yarn, I love the idea! So easy to make it and you have a whole different throw! Oh Mary! You and your smart ideas!!!

  11. Beverly says:

    You always come up with great ways to save those old items, Mary. Your “new” blanket looks great.

  12. Maria says:

    Love the colors, very cozy blanket. I remember years ago that my daughter did a blanket like this and I still have it.
    Maria

  13. Julie says:

    A great save, it’s a shame the state of the blanket slowed up your transformation but I guess if it wasn’t in a sad state it wouldn’t have needed your tender loving care!

  14. Gail says:

    Another great idea, Mary! You are the Queen of Transforming Old Stuff!

  15. Susanne says:

    Mary that looks so cute!! And comfy and warm. Great makeover!!

  16. Kim says:

    What a great way to bring new life to an old blanket! I love it and it’s so (and no sew!) easy. Love that.

  17. Wow Mary! I love it. You did a great job with it. Bravo!

  18. Wow…that came out beautifully! This is a great post for this time of year while it is so cold outside.Thanks for sharing!

  19. Katrin says:

    I just love an easy project like yours Mary. So clever of you to just add the yarn to the ends. You’ve turned it into a fun and cozy blanket in just a few steps!

  20. Janine says:

    Mary,
    I love your beautiful fringed throw! What a clever idea and it turned out so pretty! Throws are perfect for this time of year! Thanks for joining us on this month’s blog hop!

  21. Very clever idea using the yarn, and adding the fringe. Not just a boring blue anymore, but now it’s a beautiful cozy blanket to be proud to have it own permanent place in the living area.

  22. What a great way to add some fun touches to a blanket!! Love this idea and I have a blanket that this would be perfect for! Thank you for the inspiration, Mary!

  23. This blanket does look so cozy. I like how you fixed it by adding the yarn. The fringe really makes it

  24. Leanna says:

    This is a great revamp for a worn out blanket. Not only were you able to remove the threadbare parts you made it so much more interesting and fun. Perfect for these cold days.

  25. Debbie says:

    Hi Mary, how clever! It’s amazing what a little time and effort can do. I wonder if I could apply the same technique to my old and threadbare husband?
    xx

  26. Kellie says:

    What a clever idea, Mary! you gave a dull blanket a glam makeover!!

  27. Perfect project for these cold winter days!

  28. Florence says:

    That’s super cute Mary! Love the color and I can just feel that soft cuddliness! You could have even left those net-looking things on it. They were sort of cute with your fringe.

  29. I could quite easily snuggle up under that blanky all day, with a few purr babies and a good book of course 😉 I need to dive into the back of our linen closet and see if we don’t have a old threadbare blanket somewhere. It looks lovely Mary

  30. Lauren says:

    What a great makeover! I love taking things that we think should be scrapped and doing something to make them useful again and you certainly achieved that with the blanket and the pillows.

  31. Love how your “new” blanket turned out, Mary! The fringing is really soft and pretty. My daughter and I picked up some of that soft yarn and it is wonderful.
    Great project!
    Hugs,
    Barb 🙂

Comments are closed.