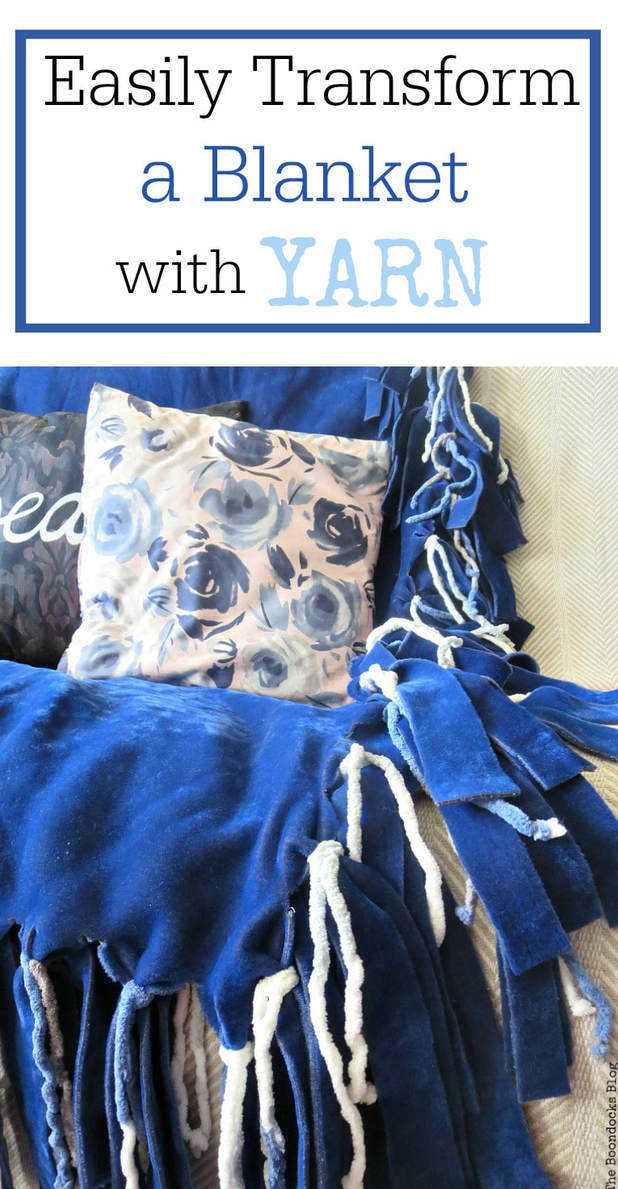
How to Easily Transform a Blanket with Yarn
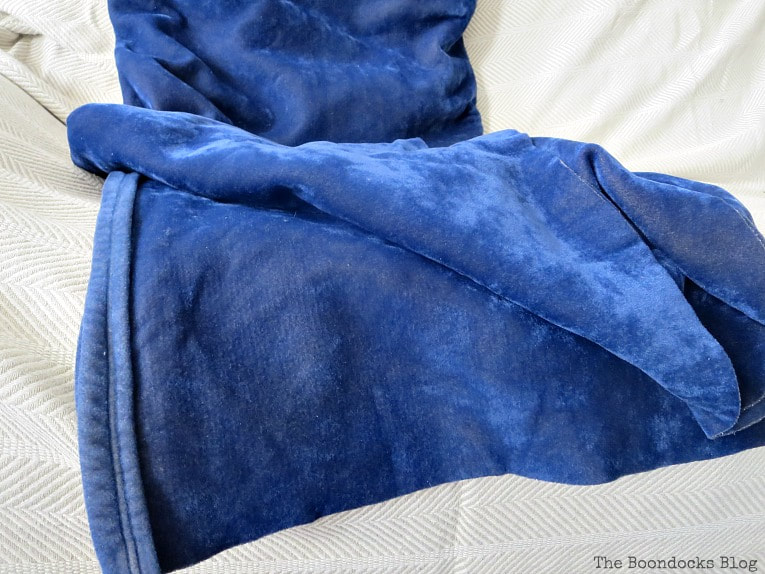
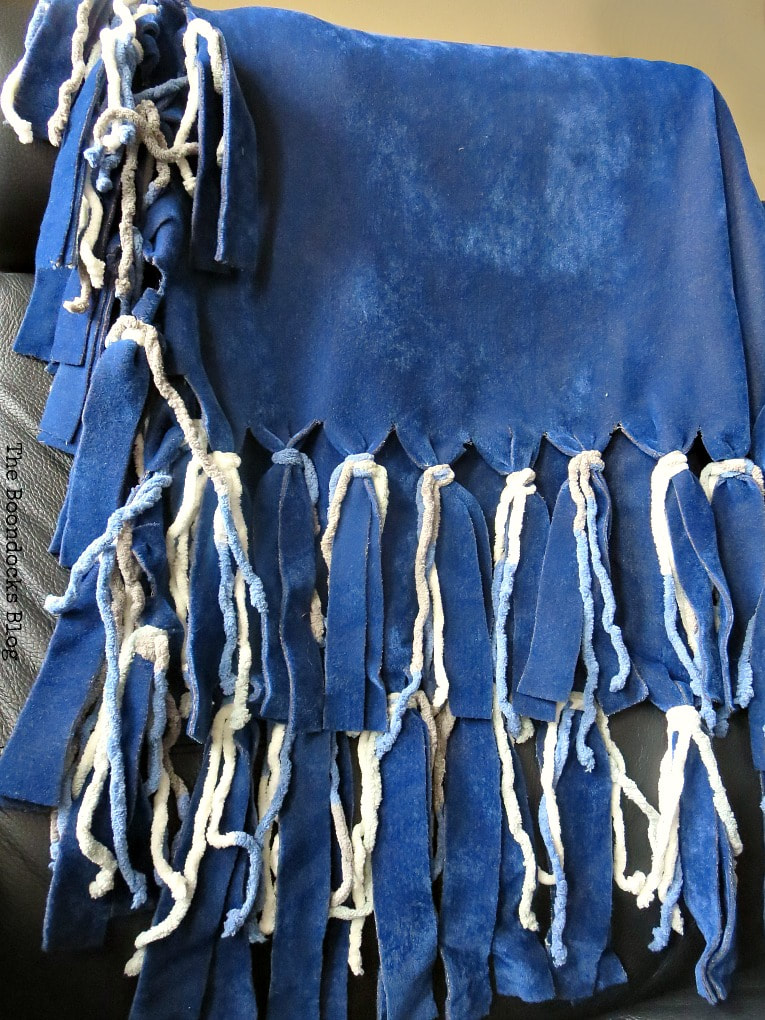
I had this old blanket that was sort of velour with a velvety finish. But…
If you are joining me from Ashley’s blog Modern Glam I want to welcome you! Recently a few of my blogging friends suggested that we do a blog hop with a cozy theme and I knew that old blanket was the perfect candidate for this post. I really wanted to add a fun element to it. So today I am here to share with you how I easily transformed a blanket with yarn, to give it a bit of fun and fringe!
Stay with us till the end and you will see what the rest of my friends are up to.
What I used:
- old velour blanket
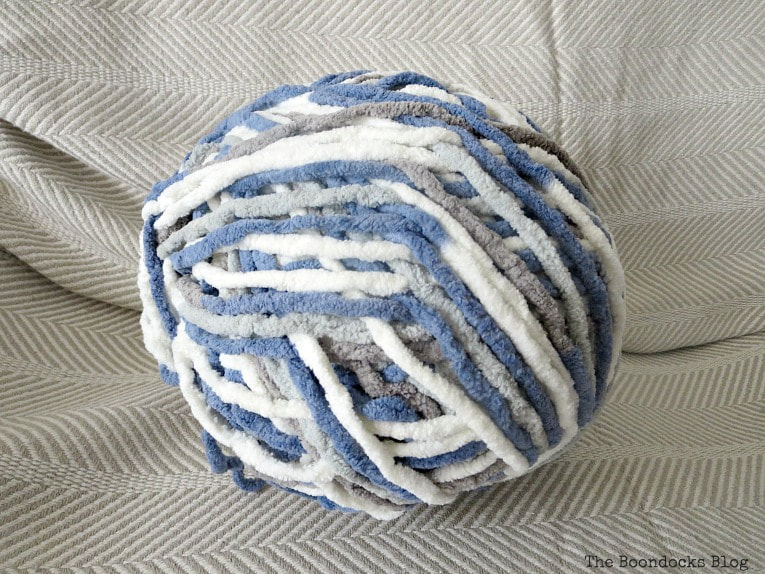
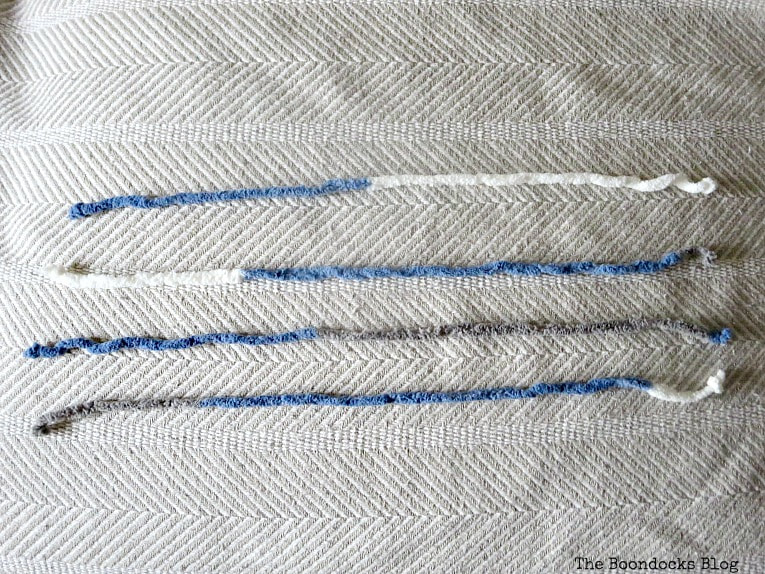
- One ball of yarn
- a pair of scissors
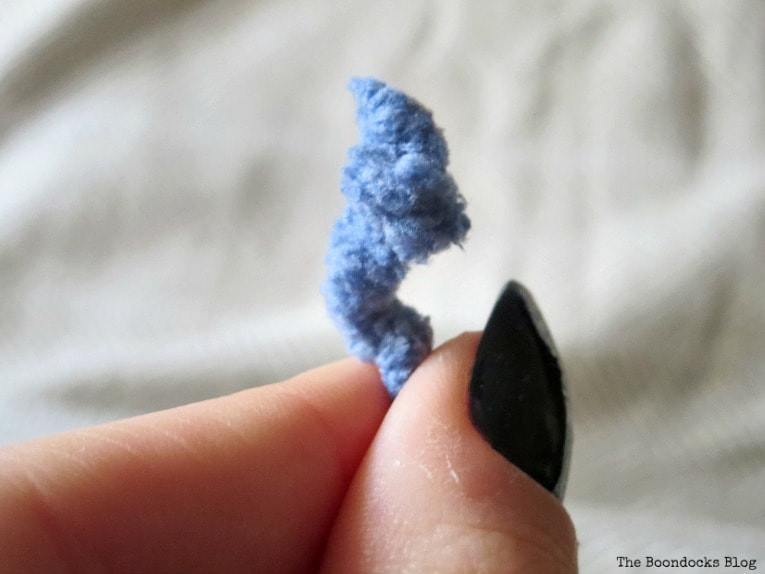
This was a very easy project to make. All I needed was this yarn which I purchased at Michael’s.
The How to:
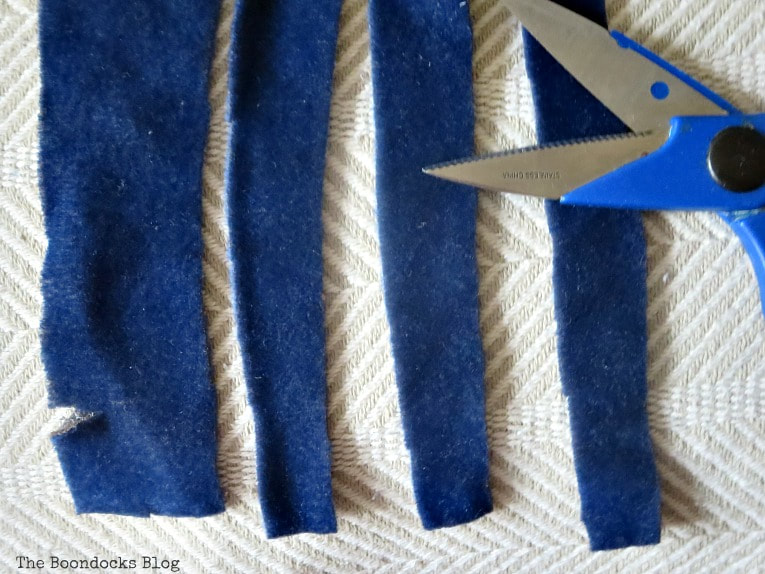

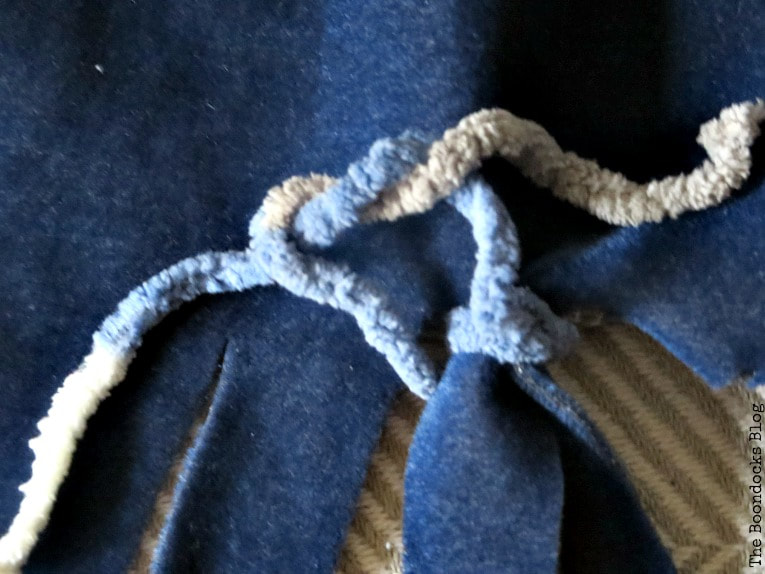
I placed the ends of the yarn under the loop…
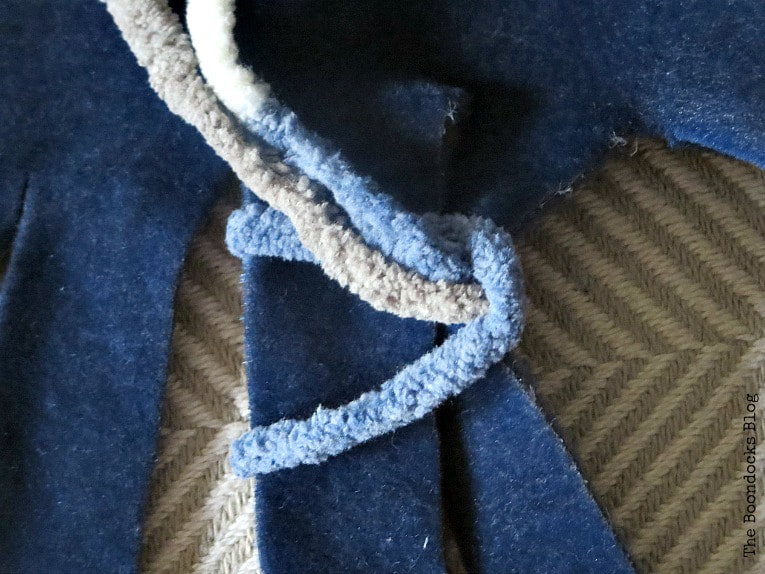
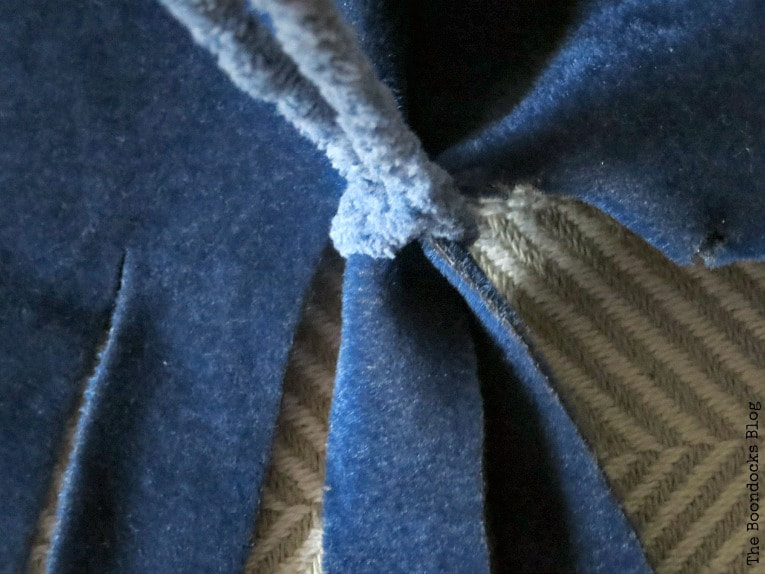
The yarn was then pulled under and tied to make the tie sturdier.
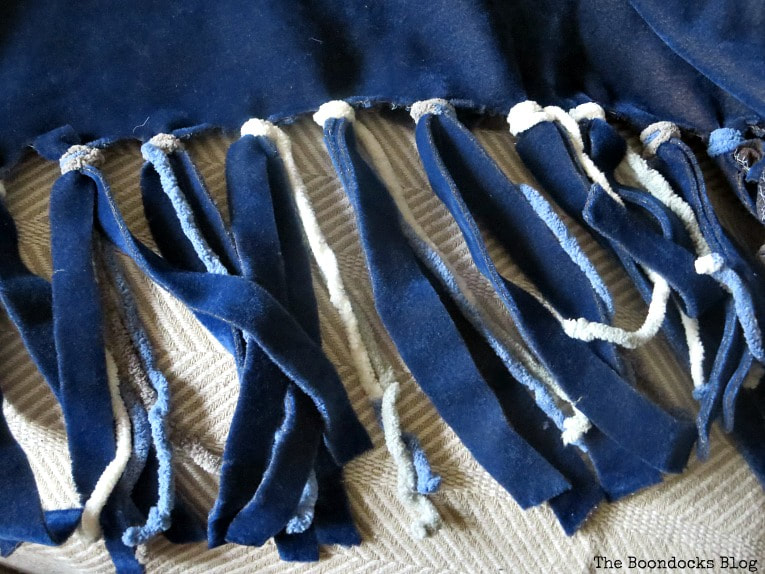
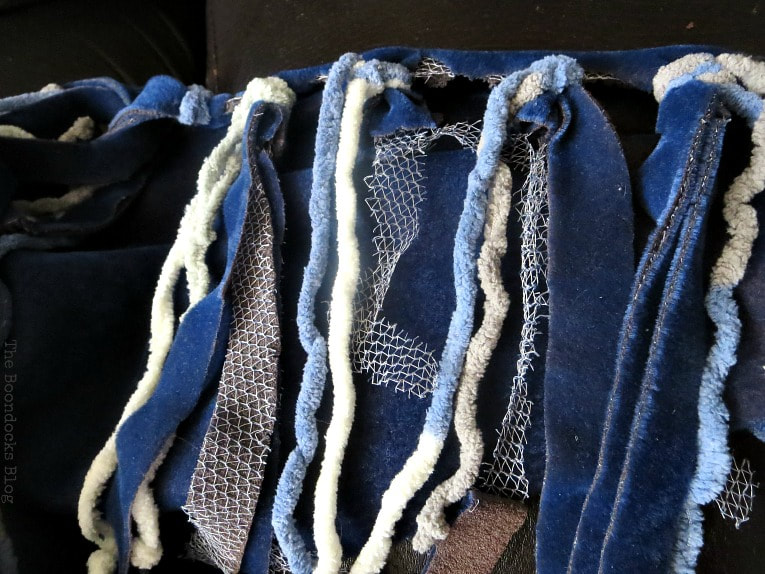


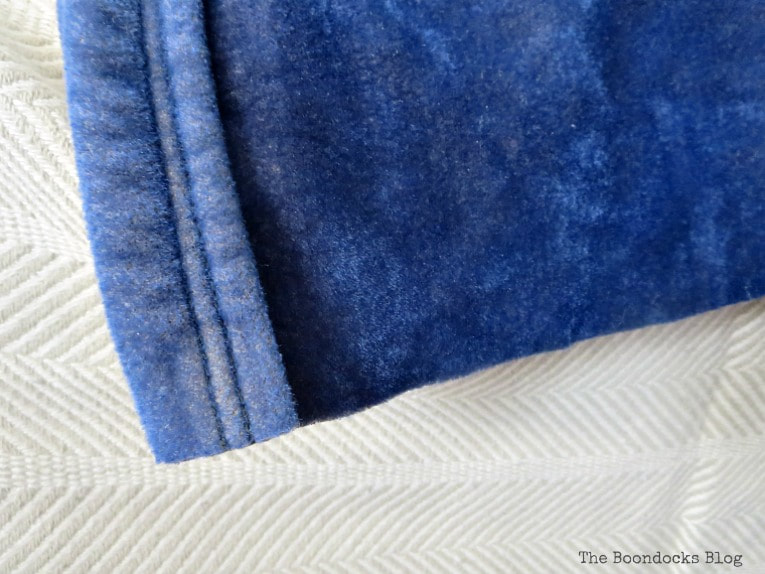
Of course now that my eyes were wide open to imperfections I noticed that the other end of the blanket also had these “threadbare” spots. Therefore I had to redo the other side too.
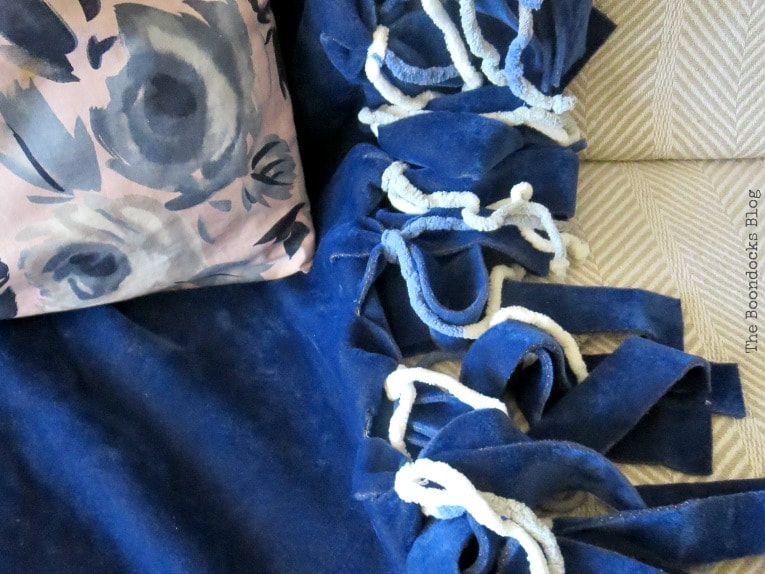
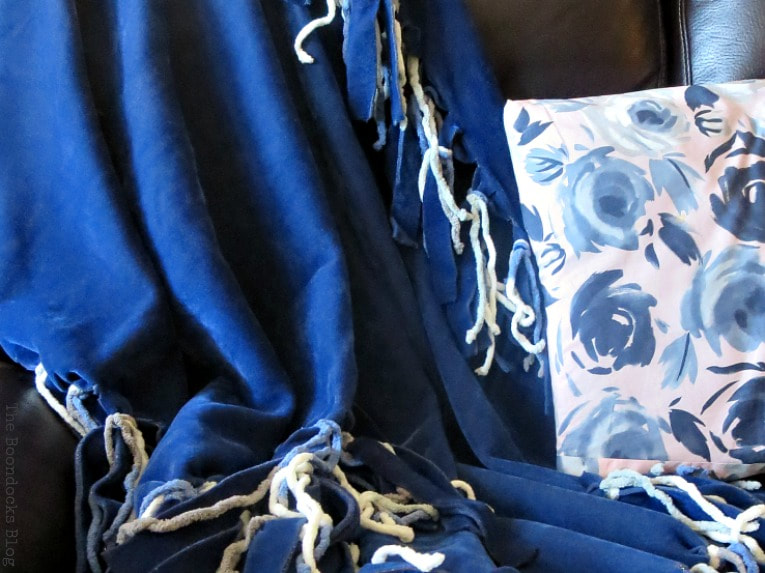
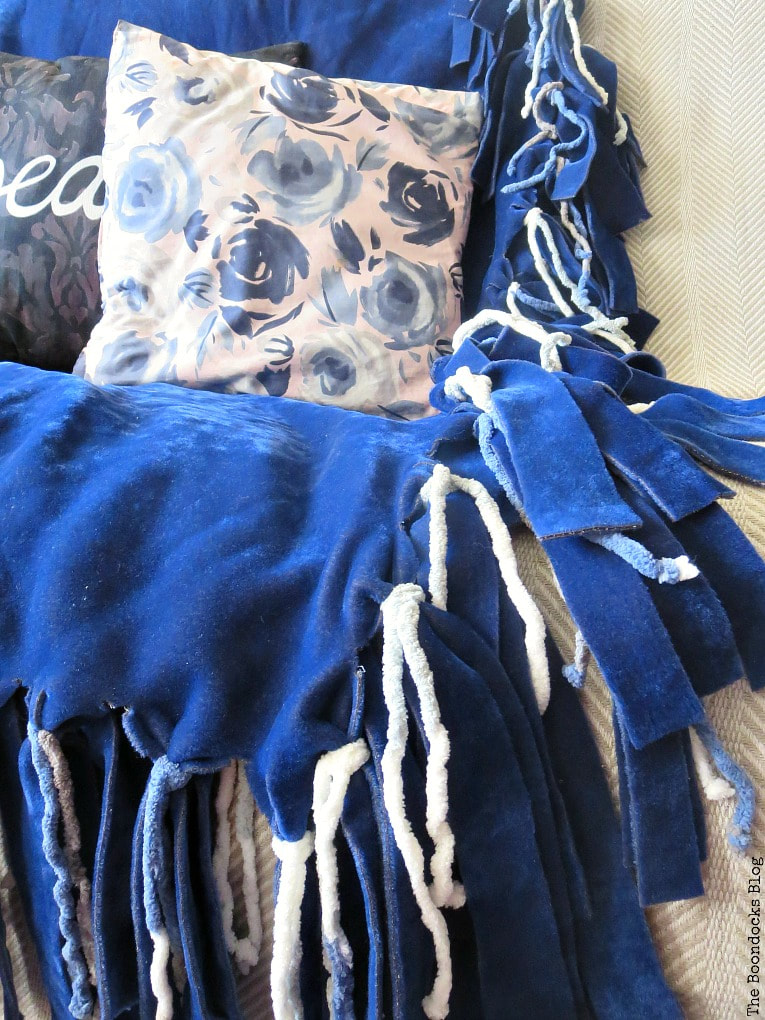
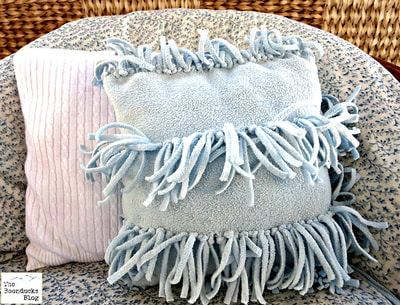
The finished blanket ended up being much smaller than the original. But now I had a lovely blanket that was actually nice enough to grace the living room couch and not just hide in the closet.
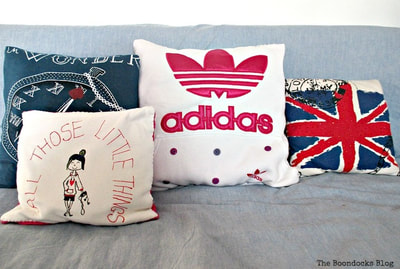
And those pillows? The pink was from fabric of a dress of mine from the 80’s. And the “peace” pillow was from a gift of my friend Nikki.
Now hop on down and check out all the cozy cool projects that my blogging friends have created. Or go to Kellie’s blog, Gratefully Vintage to see her cozy spaces.

If you really like what you see subscribe to my blog and get my adventures in your mailbox. The form is on the sidebar and on top. Your e-mail will never be shared with a third party.

Welcome to Our Monthly Creative Blog Hop
Kellie | Gratefully Vintage
Michelle | Our Crafty Mom
Leanna | Of Faeries and Fauna Crafts
Janine | Happy Happy Nester
Katrin | Kreativ K
Sam | Raggedy Bits
Ashley | Modern Glam
Mary | The Boondocks Blog
Linking up to these Link Parties
This blog is for entertainment purposes only; my DIY tutorials are not professional advice. Read my full disclaimer here.
I love it when I get your comments and I will try to reply to every one of them. Please do not add a hyperlink to your comment, otherwise it cannot be published.

I have a black blanket just like that hiding in the closet. My office is black & white and often in the evenings I get cold in there. Hmmmm, I just may try this!
Wow…that came out beautifully! This is a great post for this time of year while it is so cold outside.Thanks for sharing!
I just love an easy project like yours Mary. So clever of you to just add the yarn to the ends. You’ve turned it into a fun and cozy blanket in just a few steps!
Mary,
I love your beautiful fringed throw! What a clever idea and it turned out so pretty! Throws are perfect for this time of year! Thanks for joining us on this month’s blog hop!
Very clever idea using the yarn, and adding the fringe. Not just a boring blue anymore, but now it’s a beautiful cozy blanket to be proud to have it own permanent place in the living area.
What a great way to add some fun touches to a blanket!! Love this idea and I have a blanket that this would be perfect for! Thank you for the inspiration, Mary!
This blanket does look so cozy. I like how you fixed it by adding the yarn. The fringe really makes it
This is a great revamp for a worn out blanket. Not only were you able to remove the threadbare parts you made it so much more interesting and fun. Perfect for these cold days.
Hi Mary, how clever! It’s amazing what a little time and effort can do. I wonder if I could apply the same technique to my old and threadbare husband?
xx
What a clever idea, Mary! you gave a dull blanket a glam makeover!!
Perfect project for these cold winter days!
That’s super cute Mary! Love the color and I can just feel that soft cuddliness! You could have even left those net-looking things on it. They were sort of cute with your fringe.
I could quite easily snuggle up under that blanky all day, with a few purr babies and a good book of course 😉 I need to dive into the back of our linen closet and see if we don’t have a old threadbare blanket somewhere. It looks lovely Mary
What a great makeover! I love taking things that we think should be scrapped and doing something to make them useful again and you certainly achieved that with the blanket and the pillows.
Wow Mary! I love it. You did a great job with it. Bravo!
What a great way to bring new life to an old blanket! I love it and it’s so (and no sew!) easy. Love that.
Mary that looks so cute!! And comfy and warm. Great makeover!!
This is so pretty. That blue is. My favorite color- kind of llike Greek waters! It sounds like you are thriving and not missing Greece too much!
It looks fantastic and stylish with its newly acquired fringes Mary!
Oh dear, Moneypenny would sure love the fringes 😉 But that blanket looks much better now. Would fit in perfectly into the studio to keep me warm in the evenings…
Cute! Reminds me of the fleece blankets I use to make and tie like this for my grands. Thanks for sharing with SYC.
hugs,
Jann
Mary, what a fun way to give the blanket a new look and fix the threadbare parts. I like the yarn and fabric combo.
This is so smart Mary. With just a yarn you have a “new” blanket. I have the perfect old fleece thingy to try this technique!
Well Mary, you know I love blue and out of all the cozy projects, I gravitate towards yours. I love color! Great job. And thanks for linking up at OVER THE MOON Link Party.
🙂 gwingal
What a creative idea, Mary! I like that boho-inspired fringe mixed in with the yarn. It really adds some pizzazz to that throw!
I love the color, I love the yarn, I love the idea! So easy to make it and you have a whole different throw! Oh Mary! You and your smart ideas!!!
You always come up with great ways to save those old items, Mary. Your “new” blanket looks great.
Love the colors, very cozy blanket. I remember years ago that my daughter did a blanket like this and I still have it.
Maria
A great save, it’s a shame the state of the blanket slowed up your transformation but I guess if it wasn’t in a sad state it wouldn’t have needed your tender loving care!
Another great idea, Mary! You are the Queen of Transforming Old Stuff!
Love how your “new” blanket turned out, Mary! The fringing is really soft and pretty. My daughter and I picked up some of that soft yarn and it is wonderful.
Great project!
Hugs,
Barb 🙂