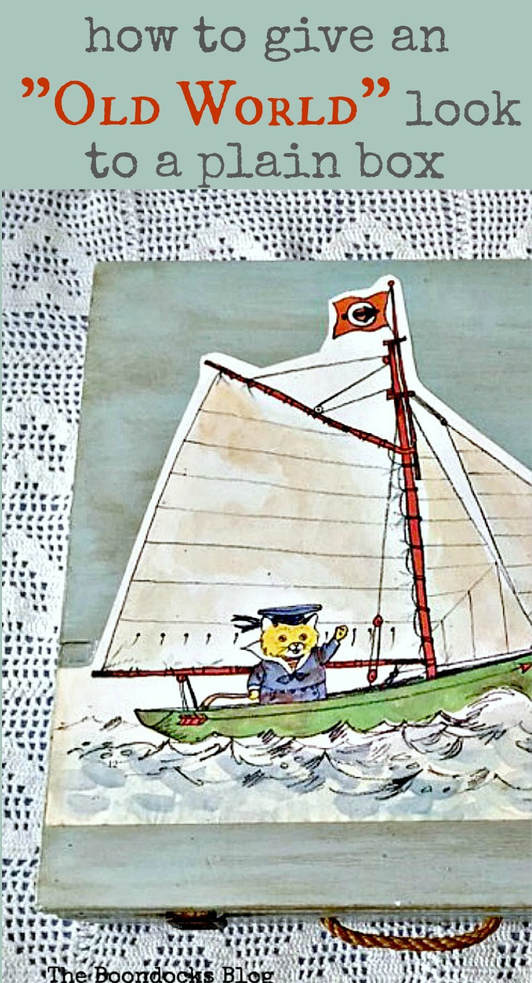
How to Give an “Old World” Look to a Plain Box
Disclosure: I was compensated for doing this post with product. However, all the opinions stated…
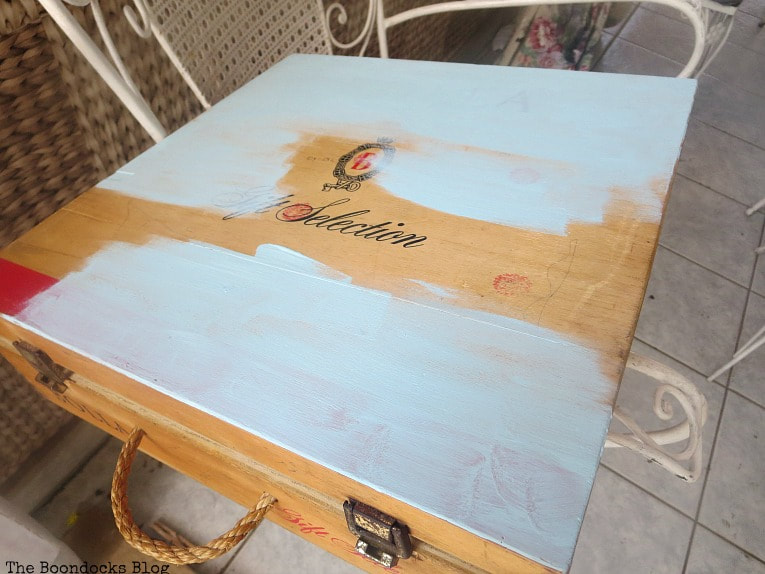
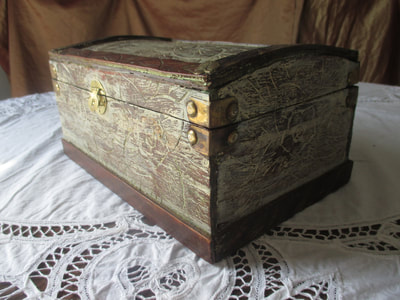
This box was in my possession for many years. I used it to store beloved photos and cards. But when I was packing for the big move, I decided to give it as a gift. But not in that horrible condition.
You’ll have to forgive me for the lack of photos but I was in such a hurry to finish the project and do the packing. As you may have guessed this project was done in Greece before the move. You can see that I was in such a rush I started painting it before I had a photo.
And so today I am sharing how to give an “old world” look to a plain box. And maybe even finish packing! 😉
What I Used:
- A wooden box
- DecoArt Americana Chalky Type Paint I used a mixture of Everlasting and Treasure
- DecoArt Americana Cream Wax in Deep Brown
- A sponge
- Mod Podge
- Pages from a book
The How To:
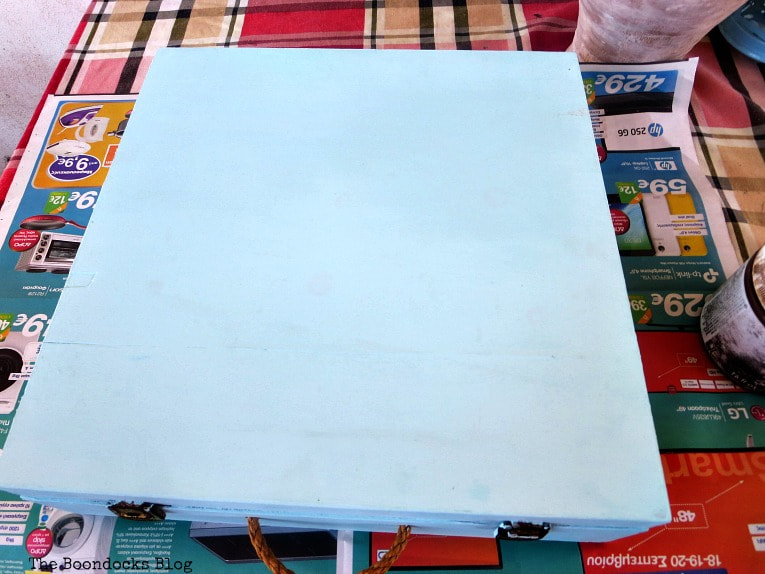
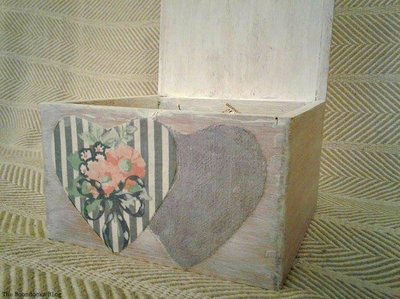
The inside was painted the same color except for the top inside which was done in Everlasting white.
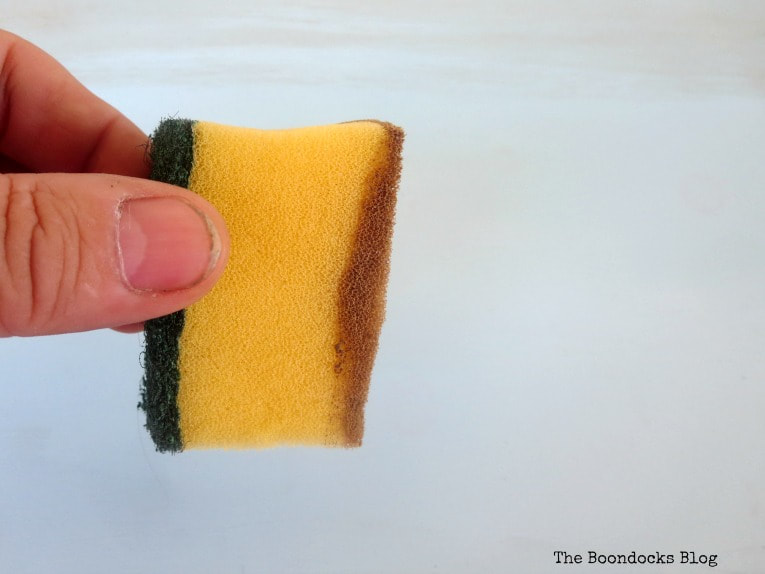
I didn’t care if it stained the color below! The more stain the better I say. I wanted the box to have a real “old world” look to it. A vintage look and this brown wax was going to make that happen. You’ll see why I wanted this in a bit.
I just cut a bit of a sponge because I didn’t have any fancy sponge brushes – remember I was in the middle of packing – and dipped it into the wax and then just dragged it across the box. In some places I went over it more and others less. I did this till I got the desired effect I wanted.
I really didn’t want to destroy the box. After all it had become a family heirloom of sorts. So I did the safe thing and decoupaged these images you see below.
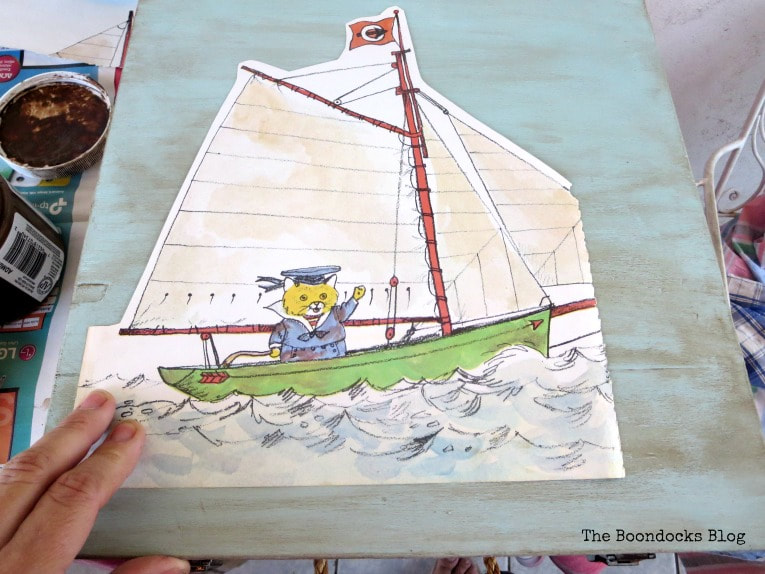
It was easy to do this time (unlike some other disasters with Mod Podge) since it was basically large thick paper. I applied the Mod Podge to the paper and pressed it onto the box. Once that had dried I added two coats on top to seal the paper in. It also seals in the wax, which is a sealant so that is kind of redundant. But you want to get the same finish all over the top.
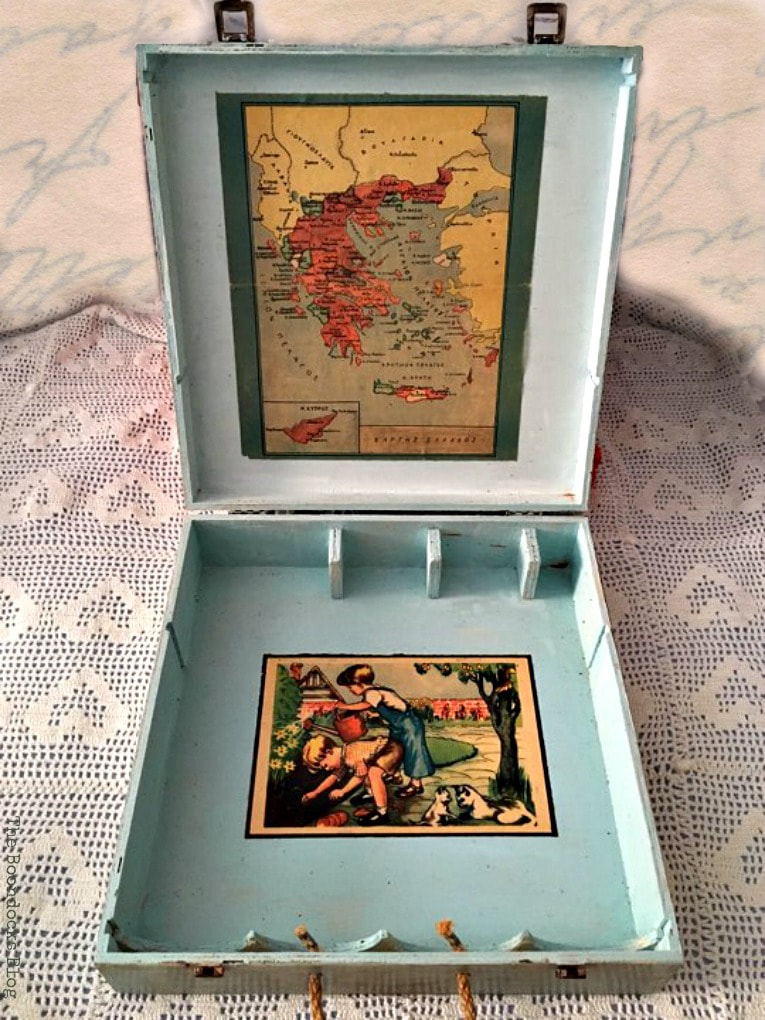

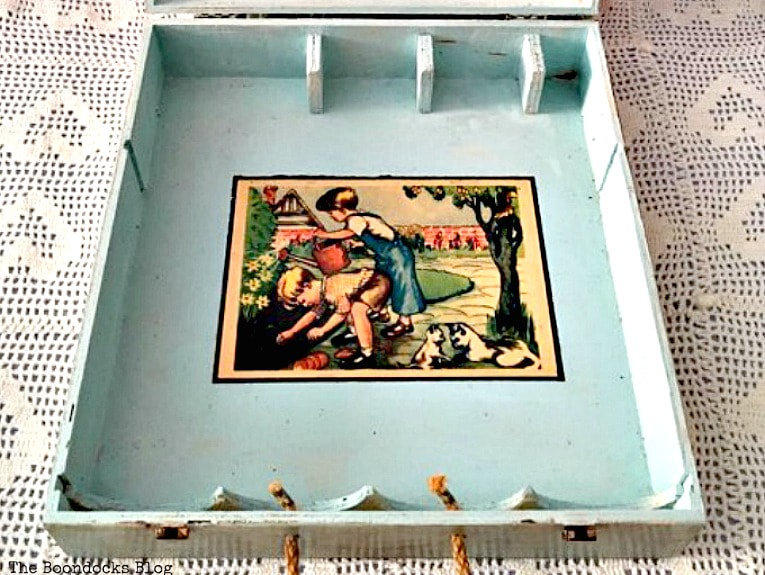
This bottom image is from a reading book for kids. It is also old, maybe from the 60’s. Now that is really making me feel old too. The boy’s overalls look great with the light turquoise of the paint.
This brown wax was a new to me product and I really enjoyed using it to get this effect. You know me, this is my idea of doing something risky! But I will definitely tackle that other idea with the paper transfer at some point in the future, now that I have a printer which actually works.
This made a great gift for a young guy! Do you like to decorate boxes and give them as gifts for storage?


This blog is for entertainment purposes only; my DIY tutorials are not professional advice. Read my full disclaimer here.
I love it when I get your comments and I will try to reply to every one of them. Please do not add a hyperlink to your comment, otherwise it cannot be published.

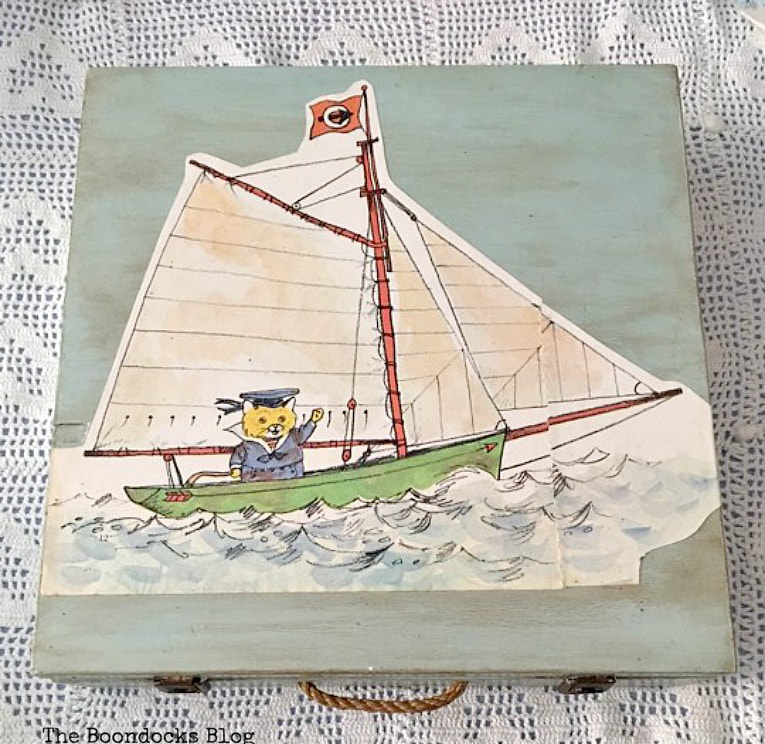
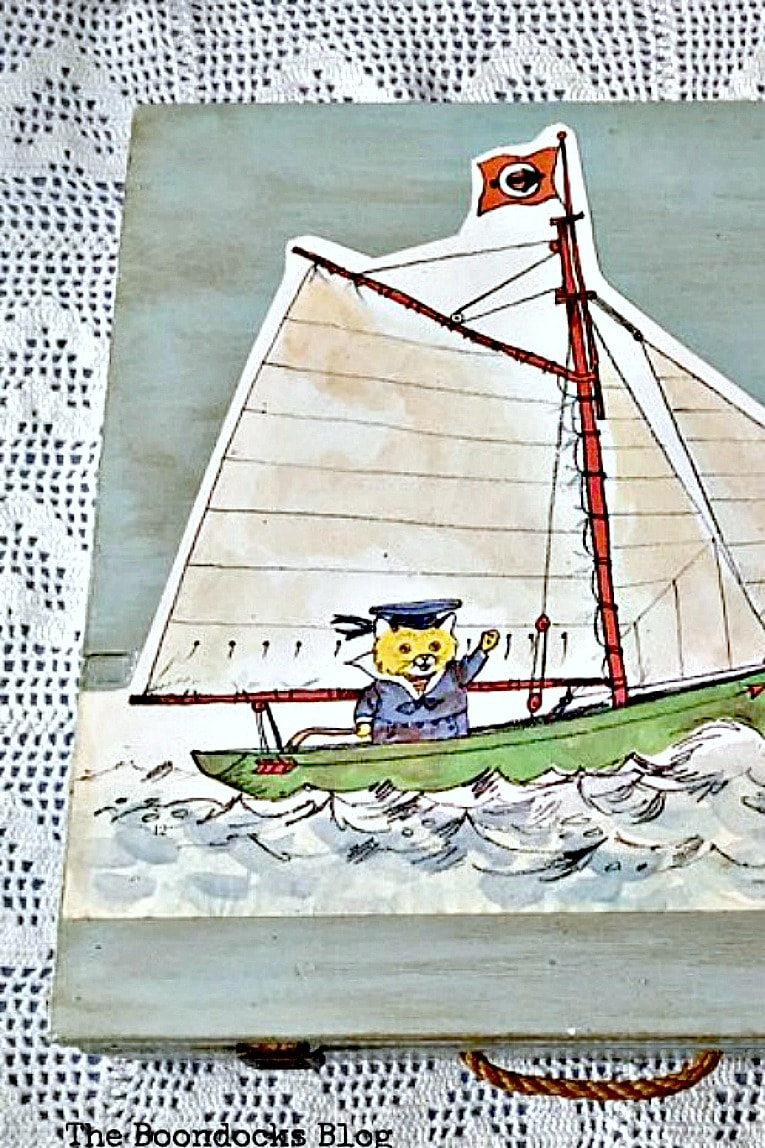
Such cute images Mary! Love the little bear waving in that top one.
I’m sure the recipient will love it.
xxx
Oh he did Doreen. I am so happy I gave it as a gift.
That’s such a sweet and thoughtful gift Mary and you’ve made it perfect for the little boy to treasure it as much as what you have. Love the pictures you added
Thank you Michelle. Between packing and making projects it was such a whirlwind.
Oh this is ADORABLE! I LOVE the image you chose for the top – what a great gift for a little boy this is. Your whole process is simple and gives this such a great vintage look!
This little fella lives near the sea so it was only fitting that the image should have boats.
I adore this little box and the look you gave it Mary. The front picture is so sweet but so are the other ones, the map really cool! It looks like an old box ready to collect treasures! A perfect gift for a little treasure hunter!
I really wanted an old style look and when I found those pictures I knew they were perfect for the box.
That is the cutest little wooden box. Love the artwork you used.
Thanks Sharon, a little Mother Goose is good for all kids.
What a pretty box , great for a little boy! It’s perfect with the sail boat, the map and photo on the inside. I’m sure he will love it.
I have been wanting to try a photo transfer as well. But I don’t have the type of print needed.
We have the same problem Linda. I guess we will have to collaborate on this one someday.
I love boxes because you can do so much with them You did a great job on this one. The pictures are so precious. And I can so relate to decoupage disasters as I just had one. But that story is for another time. I am sure the little boy will treasure this gift you have made for him.
I so agree Debra. I too love boxes and have lots of them for storage, big or small doesn’t matter.
So charming, love it.
Amalia
xo
Thanks so much Amalia.
Mary, great job!
looks very good.
many greetings
Thanks Uwe, it makes a great gift idea.
I’ve always loved wooden boxes, and this one looks vintage. You did a good job on this one Mary & I hope the little boy likes it.
I was so happy to have found those old pages Florence. It pays to not throw things out. Although in all honesty I was in the process of decluttering when I found them.
I am just in the process of decorating box this week so thanks for the tips and the inspiration! I loved the Greek details!
Katerina I was lucky to have found those pages, I was throwing everything out right before the move so it was sheer luck that I still had them around.
So cute!!! You cannot imagine how it looked before! I like old look items and this looks exactly how I wanted to look!
I wanted to keep a bit of the old Greek school books idea.
Oh that is adorable! I love the pictures you chose. My first ever decoupage was similar box. We put a picture on the front at 4H camp. I loved that box and kept it for many years.
🙂 gwingal
That’s the thing, you can personalize them any way you want and then they become a part of you.
What a gorgeous gift for a lucky boy. Mary I love the images you chose for inside the box. I can imagine him using this to keep his childhood treasures in and then hoarding it as an adult because he is attached to the memories. Love this project!!
That’s what I hope he will do Leanna. Have it for many years to remember us by.
That’s gorgeous Mary, so you waxed then did the decoupage? I would have probably tried it the other way round and then messed up the paper. This certainly worked well so I’m pinning so I can refer to it when I find something fabulous I want to paint and decoupage.
I wasn’t sure what I was doing Julie. But it turned out great,so I’m not complaining. I did let the wax cure a few days before doing the decoupage.
This would make a great holiday gift. It’s perfect for storing papers, art supplies or secrets. Thanks for sharing on Sunday’s Best.
That is so true Rhonda, it has so many uses.
Love your old world box Mary – love the colour