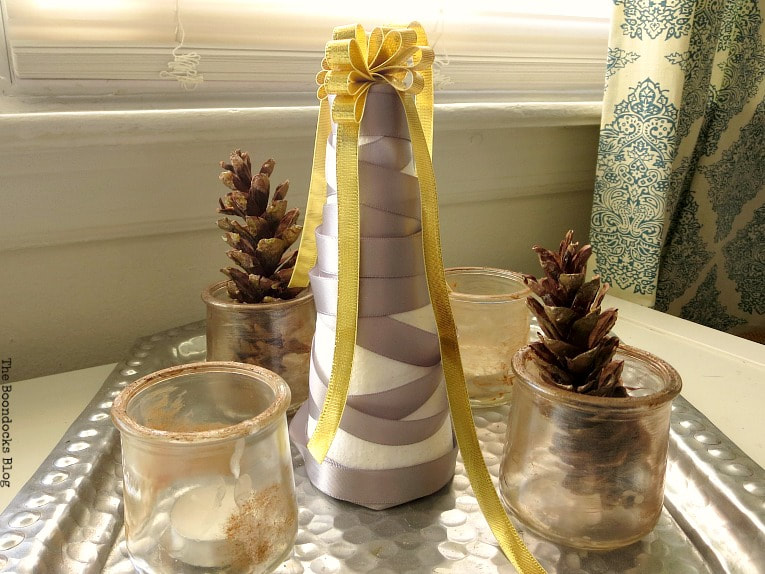
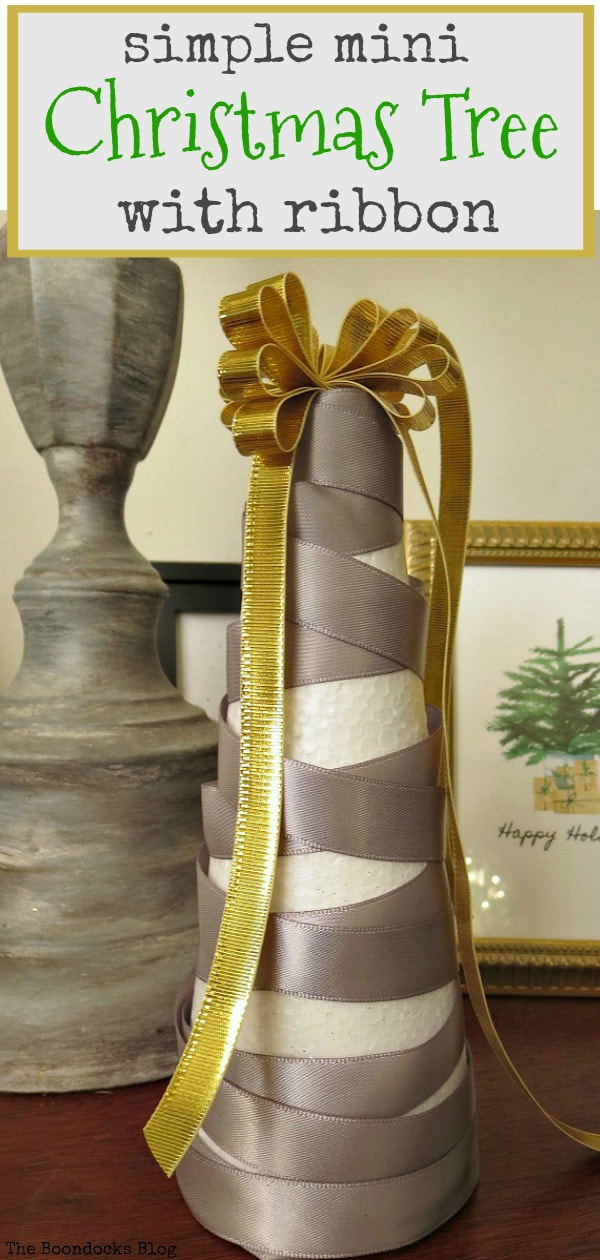
How to Make a simple mini Christmas tree with ribbon
I have been admiring all that the internet has to offer, especially at this time…
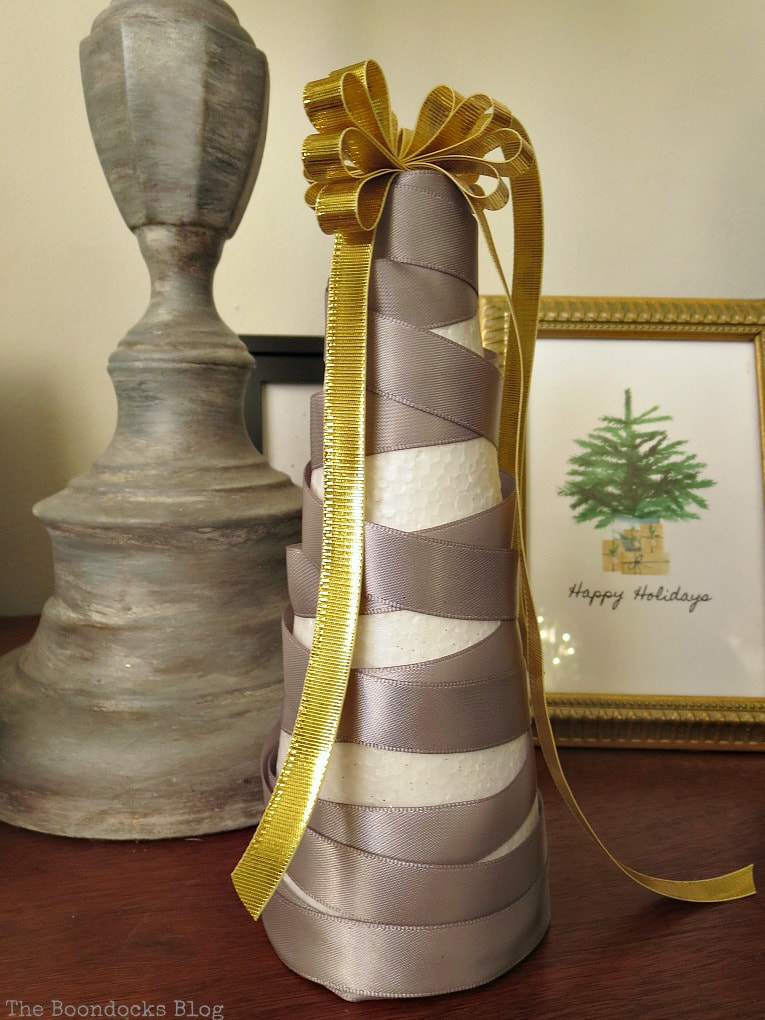
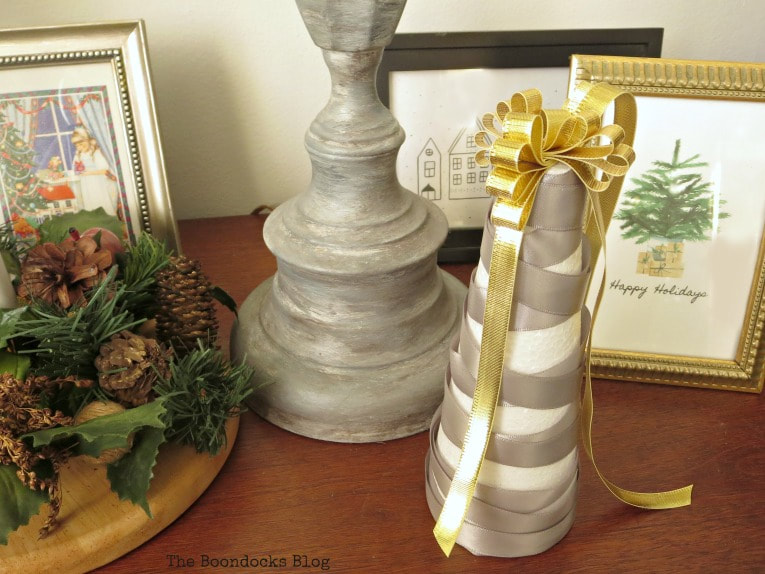
I thought I would give one or two a try and make my own version of a mini tree. This first one is a simple mini Christmas tree with ribbon.
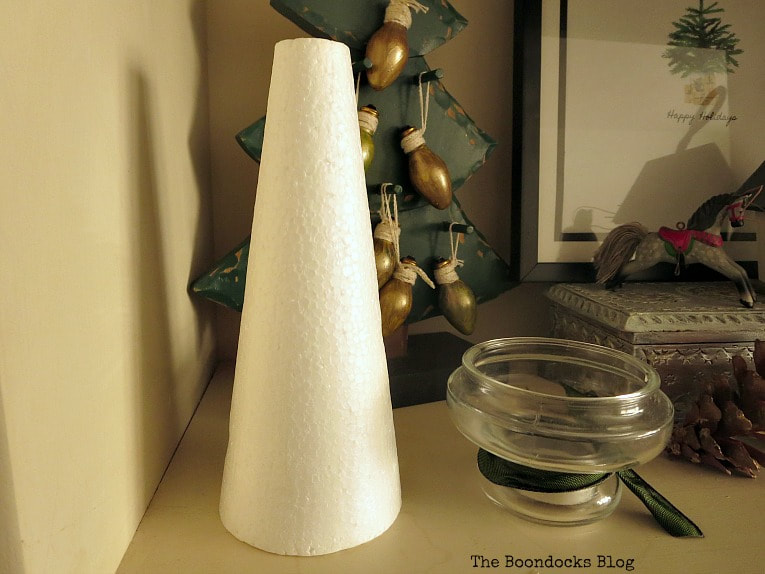
What I Used:
- Foam cone used for floral projects
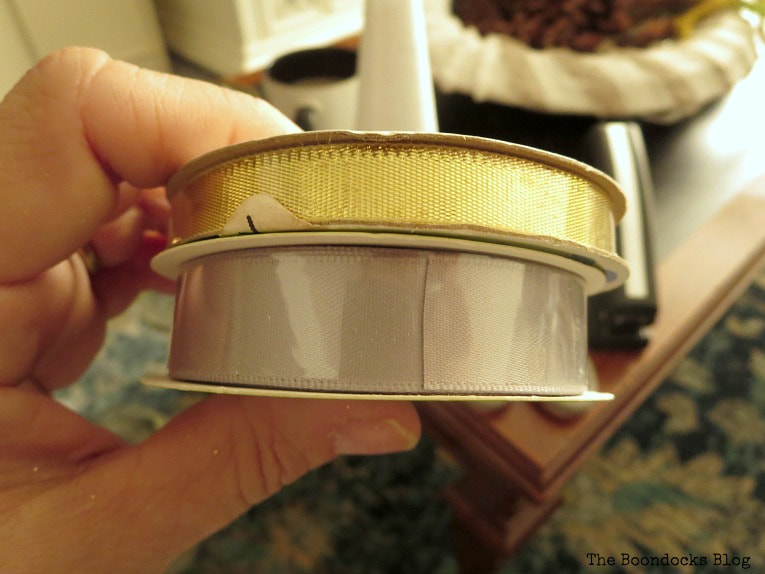
- ribbon in gold and silver
- dressmaker pins the kind used for sewing
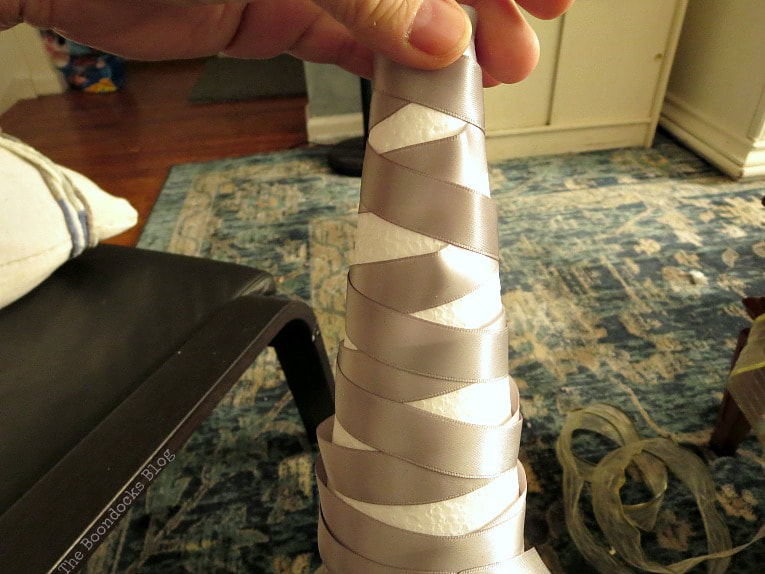
The How To:
It was a struggle! You can see my attempts below. No matter what I did, the ribbon would not conform. Even when I tried to scrunch it, it looked awful.
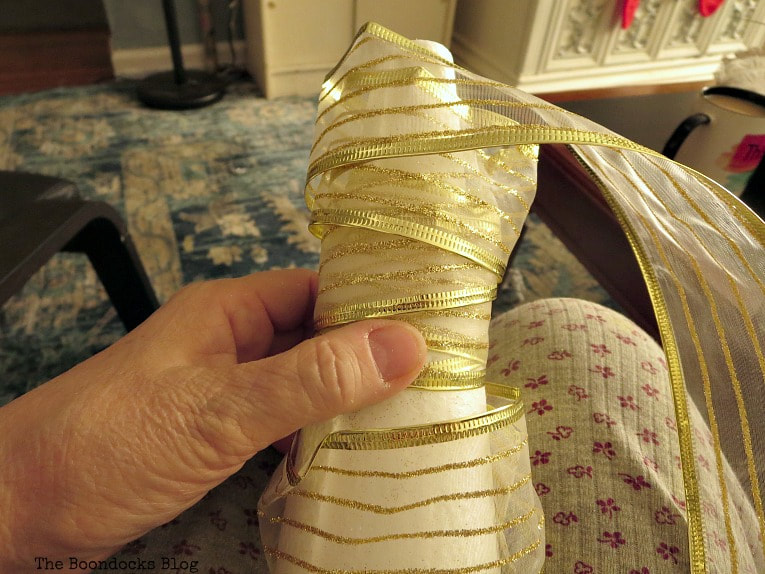

So what does a good DIYer like me do? Instead of giving up “gasp” I just tried using a smaller ribbon.
Again the same problem. It was even harder to work with this because it would not stay in place at all!
Did I give up?
I used a few pins on the bottom to secure the ribbon.

And for the topper?
The gold ribbon folded up like so to make a bow.
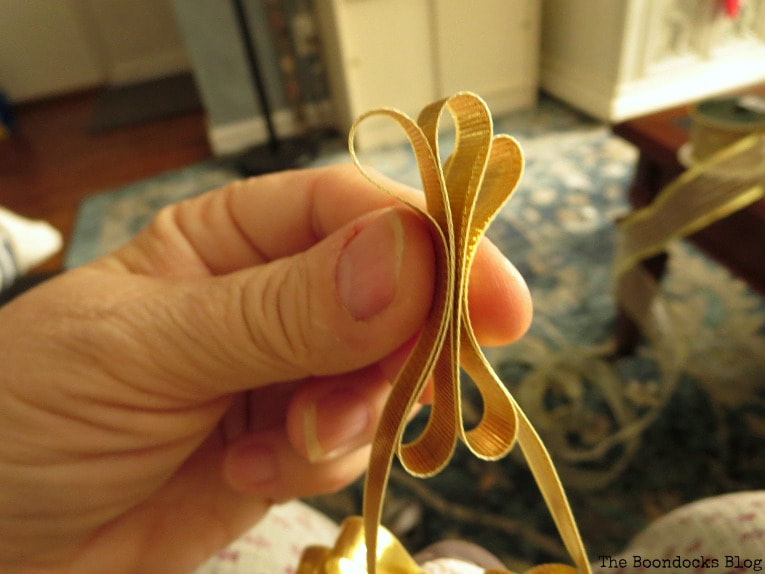
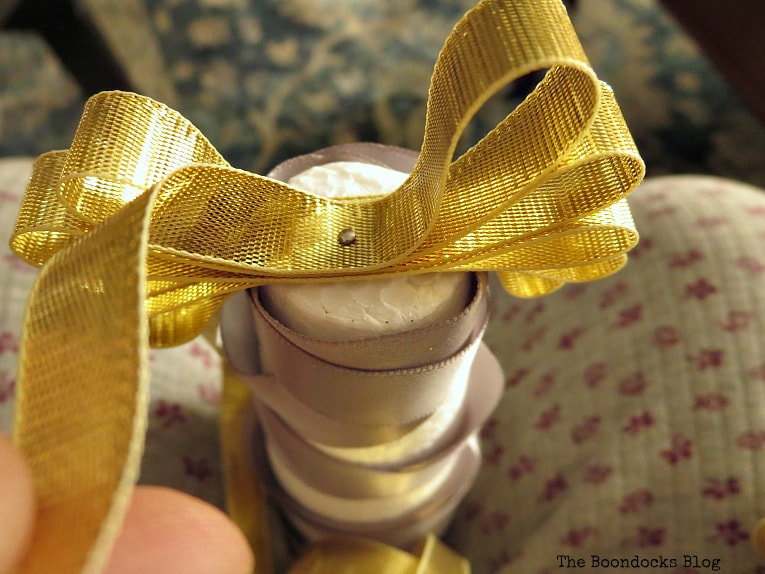
I made two of those toppers to give it more balance and let the ends drape down the sides.
And once I got over my ineptness all it took was a few minutes.
Jennifer of Busy being Jennifer also made a ribbon mini tree but she used a different method.
What is the lesson here?
Never believe what you see on the internet?
If it looks easy, it’s not?
Stay away from ribbons?
Go buy a mini tree already decorated?
Of course not!
Just think outside the box and come up with your own version. One that is doable for you!
And that is my version of how to make a Simple Mini Christmas Tree with ribbon.
Have you ever tried this and had as much trouble as I had?


Linking up to these Link Parties
This blog is for entertainment purposes only; my DIY tutorials are not professional advice. Read my full disclaimer here.
I love it when I get your comments and I will try to reply to every one of them.


It finally worked out great for you Mary – and you didn’t give up either. Bravo! It looks really pretty! Now about the first ribbon you tried – there are all sorts of ribbon for different projects. The gold sheer ribbon with the flat pressed wire was just not the right type to wrap the cone tree. That type of wire edge doesn’t gather so you can prettily wrap it around the cone. You need one with thin wire you can see sticking out the sides. If you pull on the wire, the ribbon will gather and you can then twirl it around the cone – like a little dress. You could have cut all of the ribbons you tried into loops and pin them on that way but I don’t think that was the look you were going for. In any event, you make a lovely looking cone tree! And that’s all that counts!
Gail I honestly had no idea that type of ribbon existed. It figures you would know since you are the expert on these things. I am curious what it would have looked like if I had tired it that way. I guess maybe a little like pleats. That would have been a nice look.
such a great idea. love it
I am glad you didn’t give up. The sweet tree became your own lovely creation.
OK — challenge or not, how the heck do you have time to pull this off? You must be WAY more ahead than I am! Bravo!
This is so pretty. Simple and elegant. Good job.
Lisa
Very cute tree, Mary! I haven’t tried making any mini trees yet – maybe soon! Love how you showed all the different approaches you took to get to the final product!
Looks great Mary! Us diy’ers are a pretty stubborn lot. If it doesn’t work the first time we keep trying different ways. LOL We may not be real happy how it turned out so we keep trying and don’t give up. I’ve been wanting to make a ribbon tree as well and thought that it would be easy as well. Glad you didn’t give up on your cone tree, it turned out lovely!
LOL Mary, I would be all tied up in knots if I had to struggle with the ribbon like that 😀 Good on you for sticking it out though and making it work too. Love your beribboned Christmas tree
Such a cute project and I have never considered wrapping the ribbon in a crisscross pattern. That makes so much sense now because I have had the same problem. Thanks for sharing the tip. #HomeMattersParty
Deconstructed is another big trend, Mary and you nailed that one, too. Your tree is a trifecta of Christmas craftiness!! I love it! Bravo!!
How fun! Thanks for sharing at Vintage Charm!