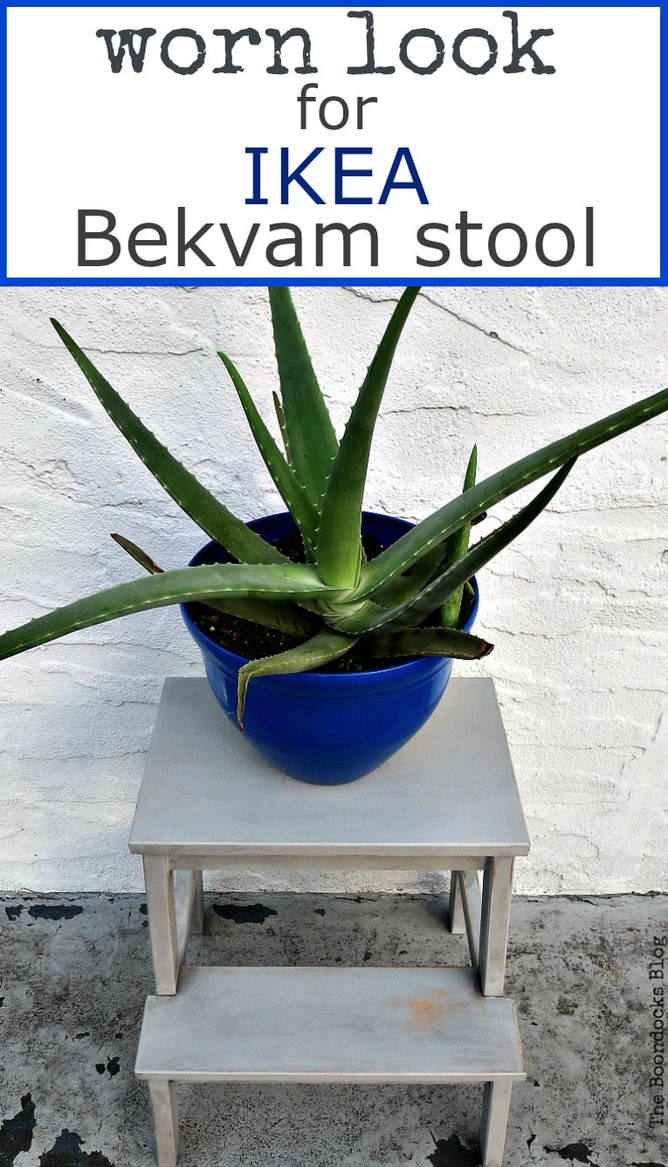
How to Hack an Ikea Bekvam Step Stool
If you’re looking for an Ikea Bekvam step stool hack learn how you can quickly and easily paint the stool to give it a worn look.
If you’re looking for an Ikea Bekvam step stool hack, you’ve come to the right place! Learn how you can quickly and easily paint this IKEA stool to give it a worn look. This simple DIY is easily adaptable and you can change your step stool to any color you want.
IKEA Stool Upcycle
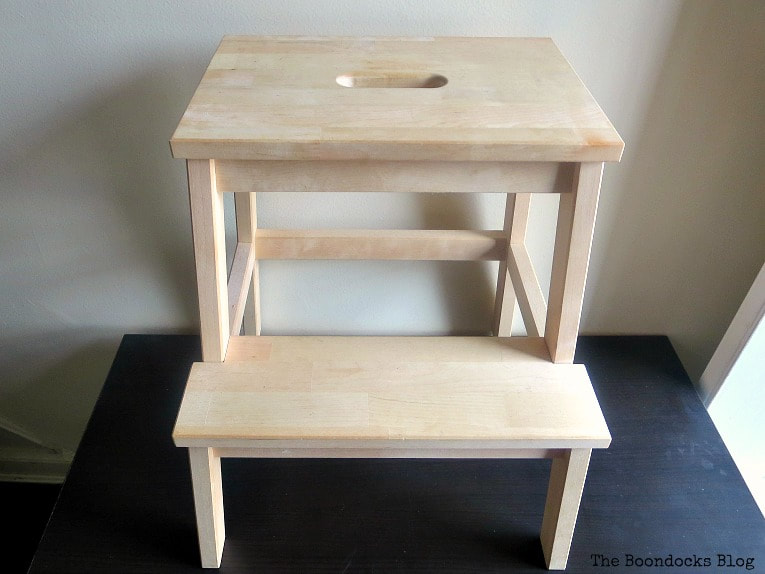
It’s always a good day when I go to visit Ikea. I have never come back empty handed. Last time I had gone I bought me a Bekvam step stool. It was a necessity because I’m on the short side, 5 foot 2 inches and needed it to reach all of my upper cabinets in the kitchen.
I let it sit there for a few months mulling over what I would do with it. Until this week when I had a brilliant idea.
I didn’t want it to look new, because you know I’d mess it up anyway with all the use. Instead I’d speed up the process and make it look old. But with a little help from my paints. And so today I will show you how to get an easy worn look for an Ikea Bekvam step stool.
Materials I Used to Hack This Ikea Bekvam Step Stool
Disclosure: This post contains affiliate links for your shopping convenience. If you purchase any of these products through the links, we receive a small commission at no extra charge to you. You can find our full disclosure here.
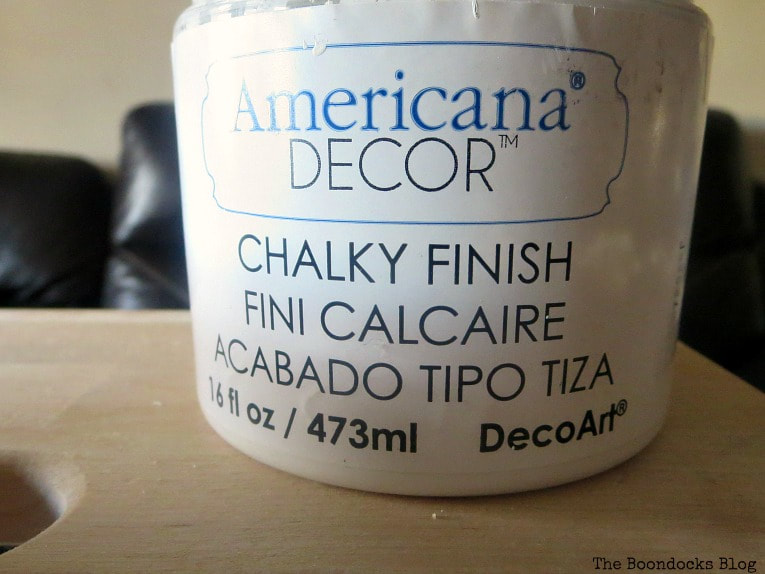
- DecoArt Americana Decor Chalky Finish in Everlasting
- DecoArt Acrylic paint in black and yellow
- DecoArt Americana Decor Cream Wax
- Daddy Van’s Decorative Wax in cafe Noir
- Round paint brush
- Clean rags for rubbing and buffing
- Sandpaper
How to Hack an Ikea Bekvam Step Stool
It’s made of solid birch, but I wanted to paint it with something so it would be easy to clean but at the same time have an old worn look to it. You know I use it all the time. Before starting on this project I gave it a good wipe down with a vinegar and water solution.
Disclosure: I was compensated for doing this post with product. However, all the opinions stated here are my own. I only use products I love and would recommend to my viewers.
I had Americana Chalky Finish in Everlasting white but wanted to go with a different color. So I added a tiny bit of black acrylic paint to make a gray color.
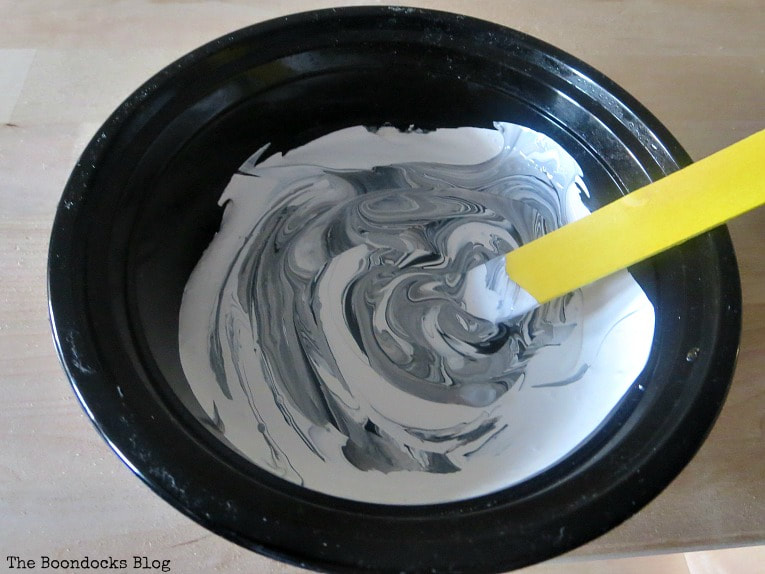
I was not happy and wanted to warm it up a bit so I added a tiny bit of yellow for good measure.
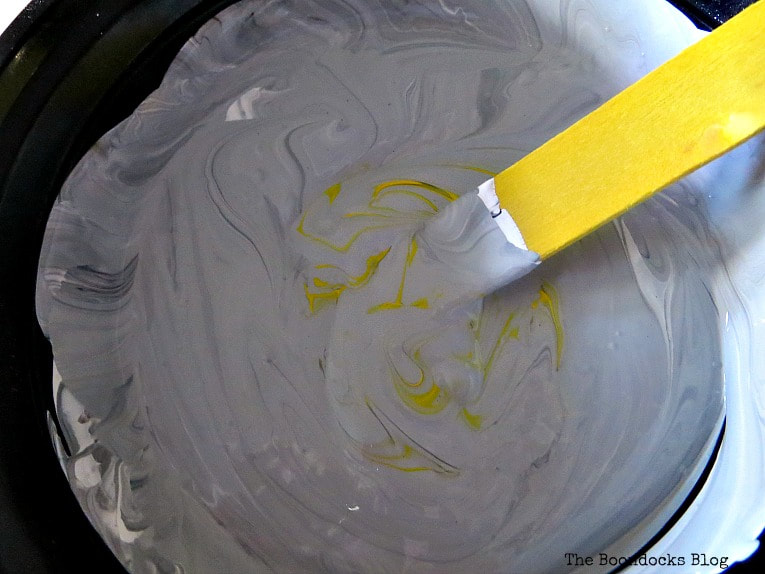
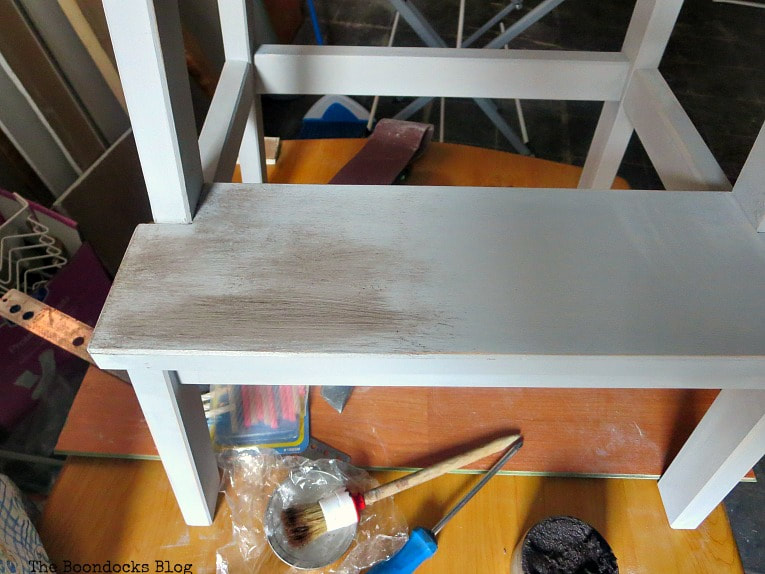
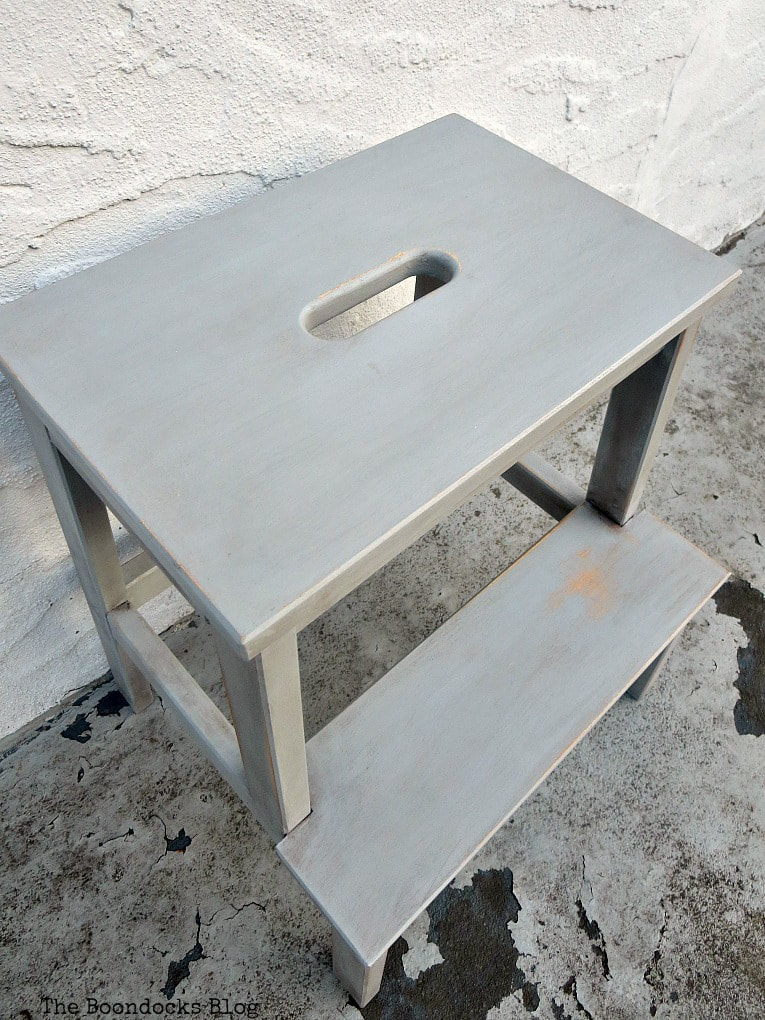
I then painted the whole Ikea bekvam step stool. I was really very pleased with the warm grayish color.
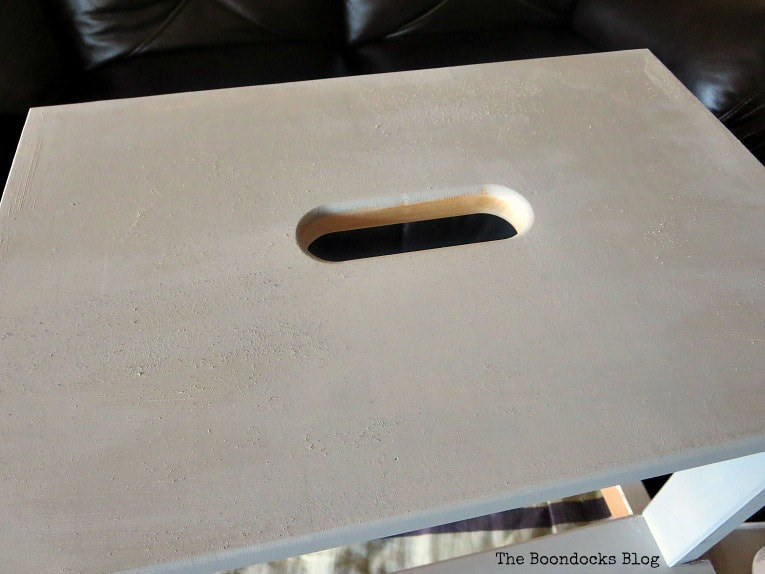
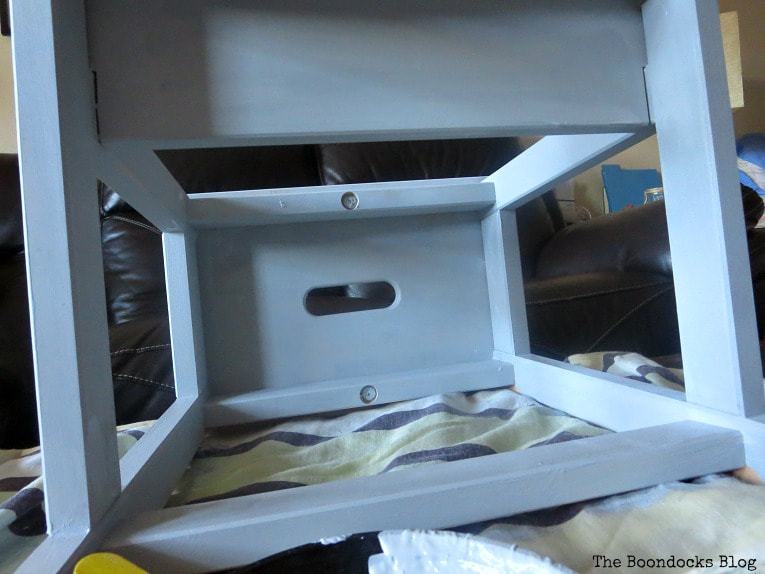
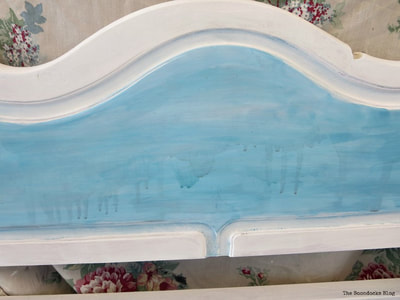
The whole thing was painted and then sanded down so it would be nice and smooth and the wax would go on nicely. The color looks a bit blue here because of the light but you can see that the entire Ikea Bekvam stool was painted.
At this point I was indecisive about how to finish off my Ikea step stool makeover.
Should I use a wax? Should I use a varnish to give it a hard finish? Which should I apply first?
I knew that I wanted to add a bit more warmth to it with a dark colored wax. But I had no idea if I could add varnish as well.
This went on in my mind for a while, till finally after speaking with a few friends – it’s always good to have blogger friends , I decided I would play it safe this time and not mess with the varnish.
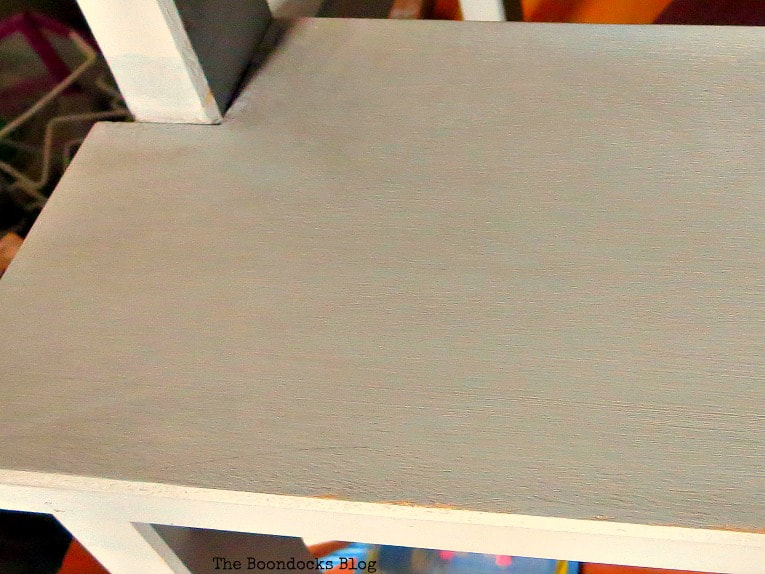
So I applied some Cream Wax first.
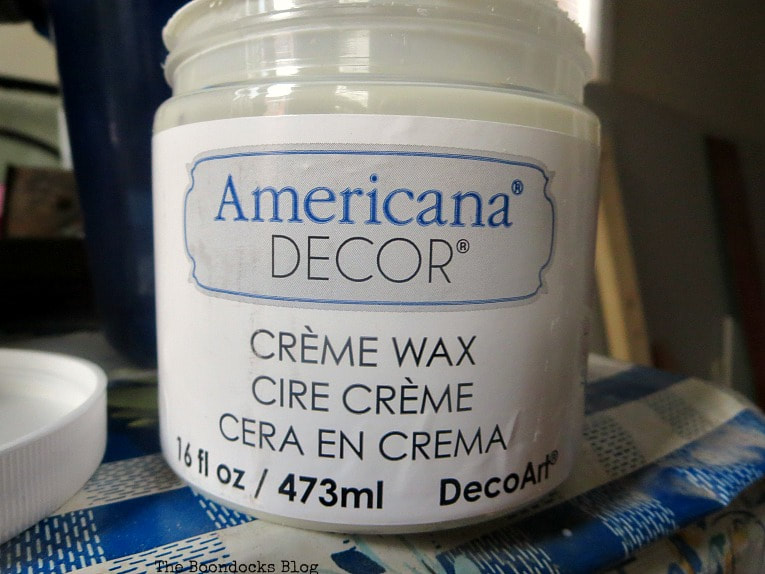
And then I added the darker wax, Daddy Van’s Cafe Noir. The cream wax serves to create a base for the Cafe Noir wax so that it will go on smoother and not penetrate as much. You can also not use the cream wax and just go with the darker wax, but I was so afraid I’d mess up I wanted as much control as I could get.
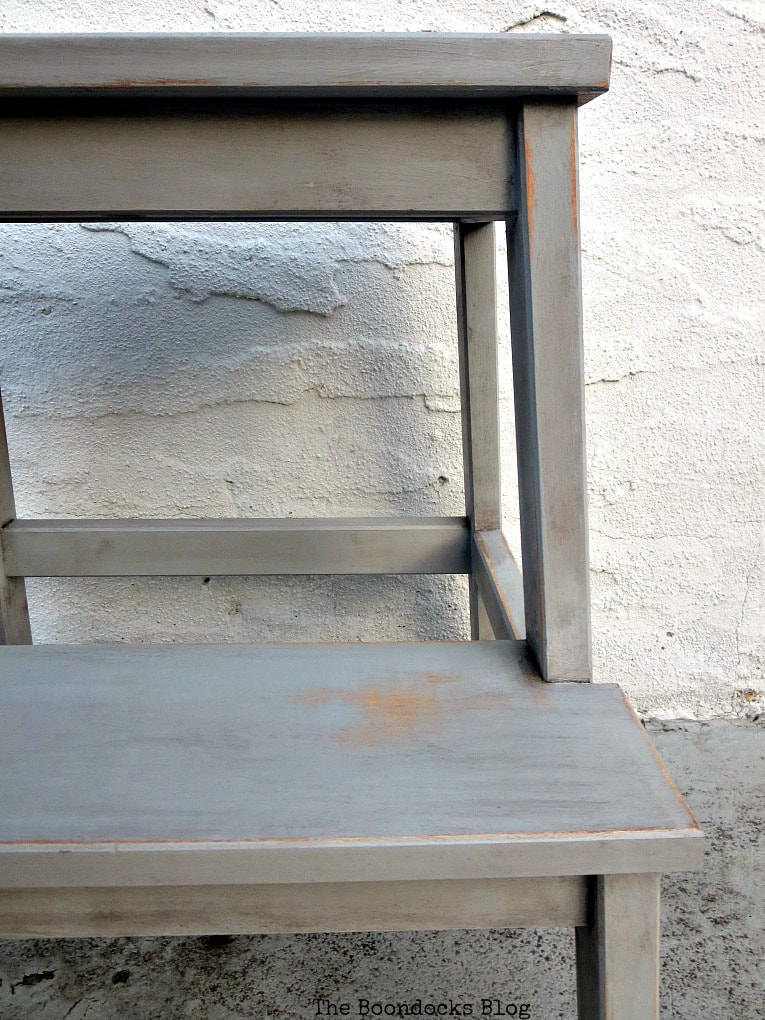
Below you can see how it has warmed up the left side of the stool step.
Next I used one of these round brushes which really helps to get the wax in all the nooks and crannies. Then I used the clean towel to rub the excess off.
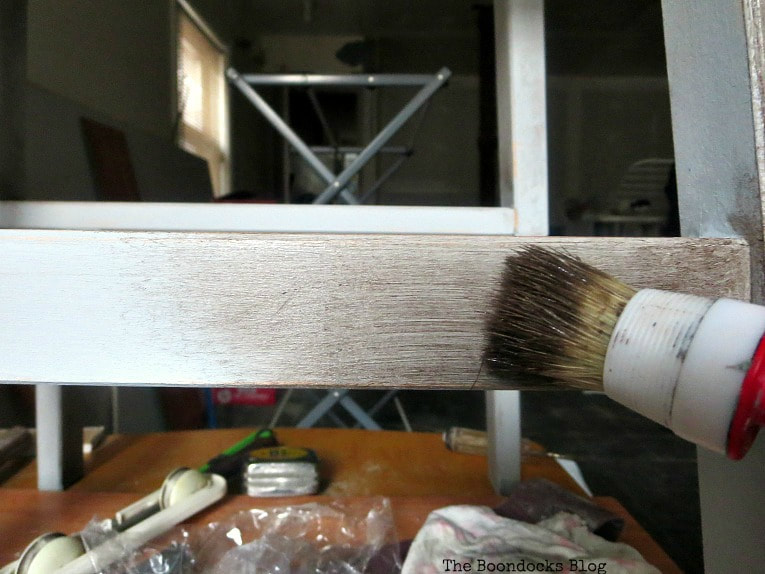
I even added some distressing along the way. I’m kind of sloppy like that. I know I should do the distressing first and then add the waxes, but things have a way of going the other way sometimes. That’s okay!
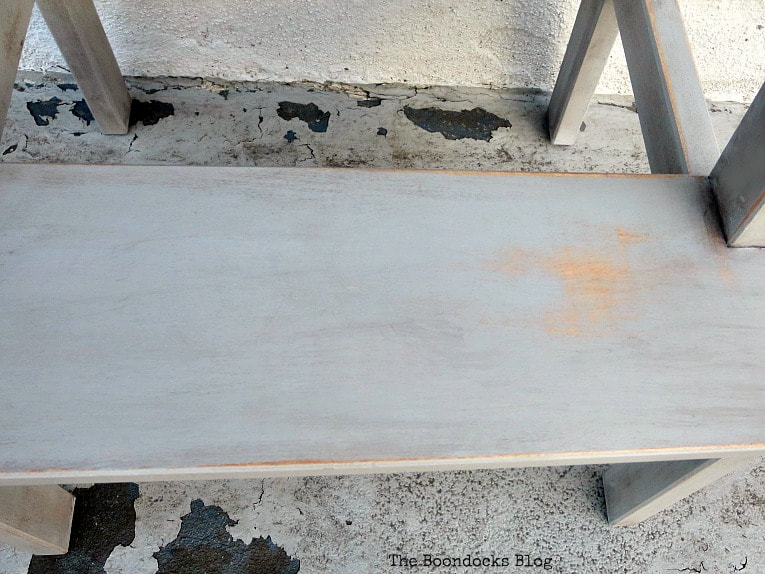
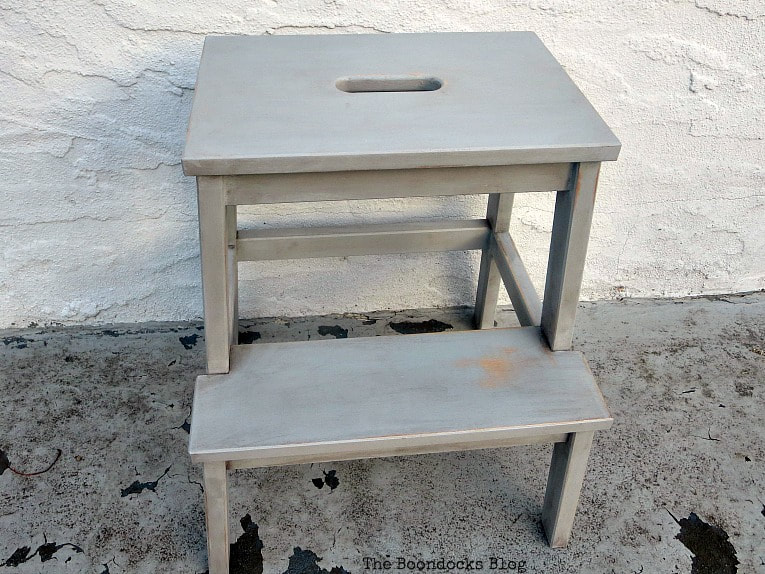
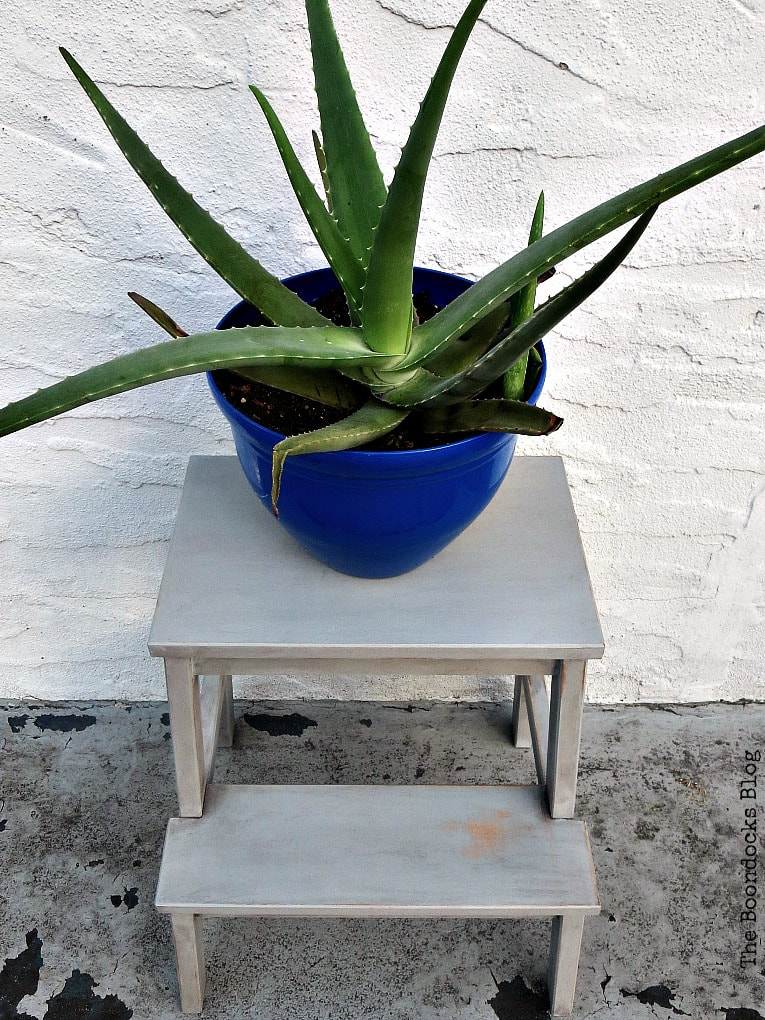
And here is my “old” new Ikea Bekvam stool.
I wish you could see it in person. The gray is really warm and along with the distressing it gives the wooden stool a cozy worn look that I love.
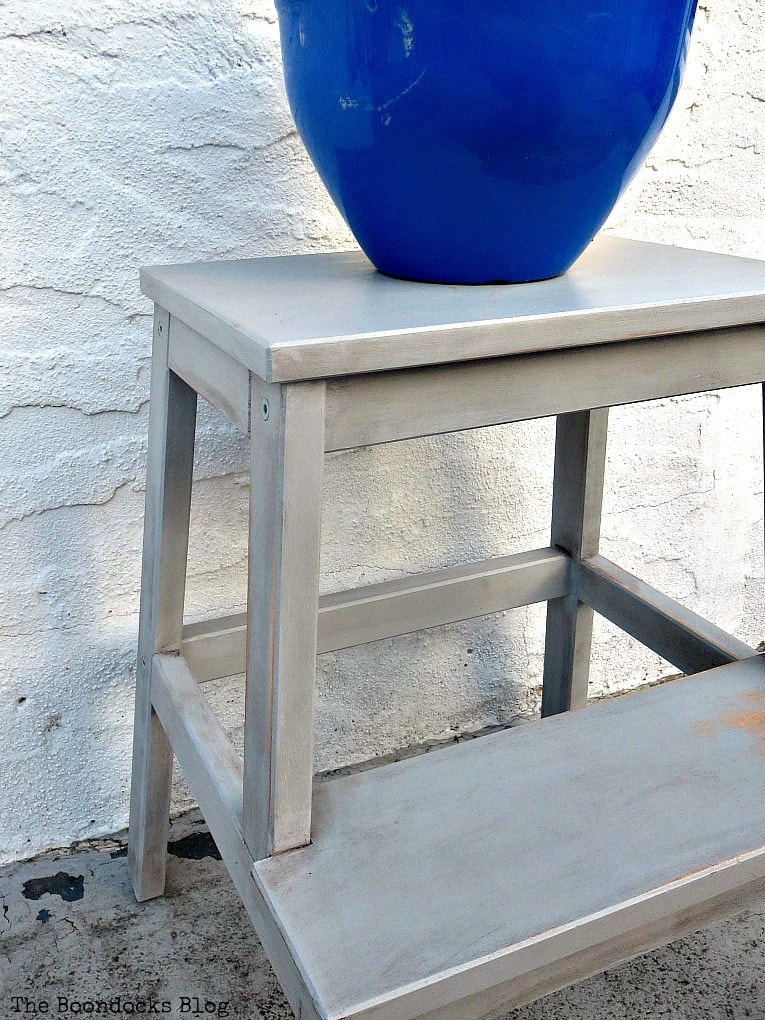
Now I’ll be able to reach the top cabinets in the kitchen in style!
Sometimes I like to put things on there too, because I have too much stuff right now and no place to put them.
In the future I will be trying out the other method with the varnish first and then the wax to see how it turns out. You all know I can’t help myself, I just have to try new to me techniques and products.
I hope you’ve enjoyed this easy Ikea bekvam step stool hack.
Doing things like this makes me learn a lot about myself. When I first started blogging I never liked this distressed look, but since then I have come to embrace these old worn pieces. And if you don’t have them, why not create your own? This is why I wanted to show you how to get an easy worn look for your Ikea stool, or any piece of furniture.
Now I need your help. Do you ever add varnish first and then the wax?

More Paint Projects:
Perfect! Love it! I’ll go and unscrew our Bekvam right away and send it to you… 😉
Έγινε πολύ ωραίο το σκαμνί σου Μαίρη .
Έχω το ίδιο και μάλλον θα το προσπαθήσω σύντομα.
Σωστά έβαλες πρώτα το διάφανο κερί και μετά το σκούρο.
Δεν μπορείς να βάλεις βερνίκι και μετά κερί.
Δεν θα πιάσει το κερί επάνω στο βερνίκι.
Καλή συνέχεια και φιλάκια πολλά .
I just love the way you kinda go with the flow when it comes to doing something Mary. There’s no fuss and big fancy words, just honest to goodness “hey I’m going to try this”. Was the distressing you did on the bottom step intentional, because it really looks like a well worn spot where your feet would go.
I’ve never used varnish then wax. I’m not sure what purpose that would serve, unless I’m missing something? It seems to me the main use for the wax would be to get a slightly different color if desired and a bit of protection, but the varnishes only purpose is protection.
xxx
I love it Mary!
It’s the perfect rustic, greyish, brownish finish. It has so much charm now.
It looks so much better, Mary! Nice work!
I can’t believe ho a little yellow brought up this beautiful shade! You are an inspiration Mary!
Mary, I love your old new stool! It looks like something you would find in an old farmhouse. It looks wonderful!!
Mary, this turned out adorable. You always make things look so easy. I wish I had your WANT too! I might actually get some things done. LOL! Hugs and blessings, Cindy
Mary it’s gorgeous! I too own a Bekvam stool and they come in so handy for all kinds of things. Yours looks like it’s been used over decades and has so much charm. I love what you can do with your paints friend! <3
I love your “old” stool. Looks great. And can I tell you how impressed I am that you painted that whole underneath??!!
🙂 gwingal
This turned out wonderfully! I love the character that the distressing added 😊
You and I are almost the same height – I have you beat by half an inch. lol The IKEA stool looks great and I love that your brave to play with custom colors. Don’t you just love dark wax?
The stool looks fantastic. Like it has been in the family for many years. The color is perfect, very warm. You did a great job making it look old.
Wow, nice job, I love it. Tans for saring
Love the warm grey color along with the distressing. Turned out really pretty! I get started on a project quite often and forget a step or change it up right in the middle. I usually just go with it and everything usually turns out ok.
It has turned out very well! How lovely.
Mary, The stool turned out wonderfully and does look nice and well used. Thanks for sharing your process. I’m always interesting in various painting techniques!
It just amazes me with what the power of paint can do! You gave your Ikea stool a lovely new look, Mary!! Love the colour you chose!
Mary I love this blogging world so much because I keep learning things all the time. I would have never imagined adding yellow to a grey would turn into that beatiful color, but adding the dark wax is the icing on the cake. Excelent job, love the distressed look too.
Love the paint job, Bekvam stools are fun to hack.
I love this Mary, so nice to see a finished product that would go perfectly in my style of decor.
Mainy
#bloggerspitstop
It’s truly amazing how you can transform almost anything with paint like this, Mary!!
XOXO
Jodie
http://www.jtouchofstyle.com
Just makes me wish we had an IKEA store here! Well, your stool turned out nicely aged. Really sharp looking now with all the colors you used. Like that you mixed in a little yellow.
I have never done anything like that, the gray does look warm and comfortable. You did a great job. I think I need a stool like that, I am a lot taller than you but there are always places I can’t reach.
Kathleen
Blogger’s Pit Stop
The color turned out great! Thank you for sharing at Vintage Charm!
You’ve achieved a lovely finish. I have one of these stools in our bathroom but just did a quick coat of paint on it. An aged effect looks really stylish. Pinned to my ikea hack board.
Really looks beautiful now. I love the distressed look. It is super cozy!
Congratulations! Your post was my feature pick at #ThursdayFavoriteThings this week. Visit me at https://www.marilynstreats.com on thursday morning to see your feature! All hosts choose their own features from the comments left on their blog so be sure to return to my blog to see your feature. I invite you to leave more links to be shared and commented upon. Please don’t forget to add your link numbers or post title so we can be sure to visit!
Thanks for sharing your adorable stool makeover at #fridaysfurniturefix Mary always a pleasure. A varnish or hard wearing topcoat for extra protection is a great choice for areas that get a lot of use. And yes you can add wax on top of any finish for an aged look. Just remember wax is always the last step.
I have this stool and years ago I painted it an ugly brown….I’ve been wondering what to do with it now….ideas ideas….Thanks!