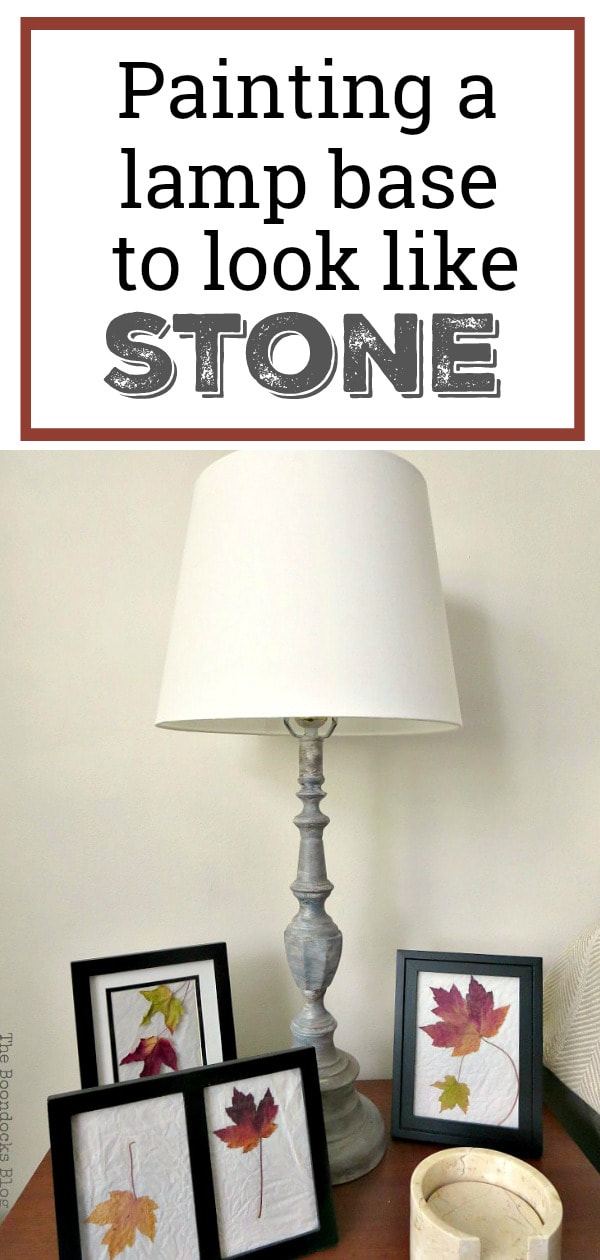
How to Paint a Lamp Base to Look Like Stone
Check out this simple DIY technique and transform your old, ugly lamp by painting the lamp base and making it look like a stone base.
If you’re looking for lamp painting ideas, check out this technique on how to make a lamp base look like stone. Give your old, ugly lamp a new and custom look.
There is nothing like the changing weather to get me motivated to paint everything in sight. And this lamp base was no exception.
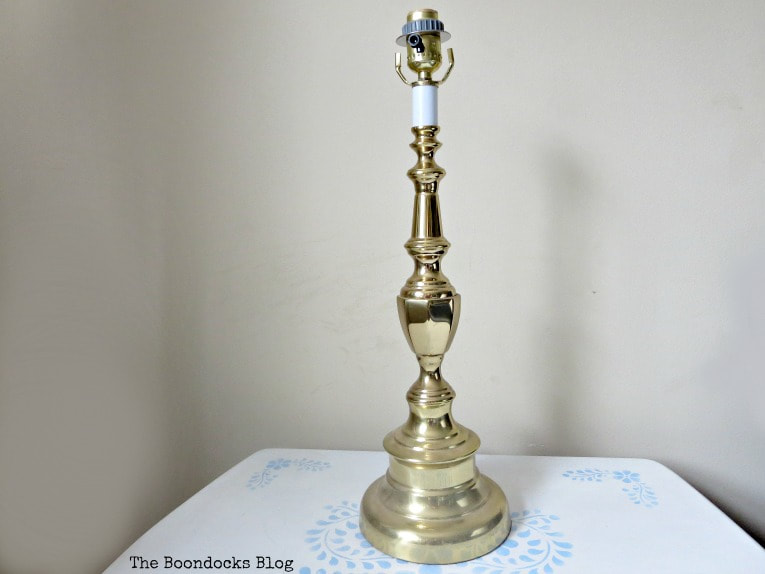
I had saved it from the garage sale we had months ago but knew it would need a makeover if it was to stay in my house. I did not like that faux gold at all! Today I’m going to show you how to paint a lamp base to look like stone.

Disclosure: This post contains affiliate links for your shopping convenience. If you purchase any of these products through the links, we receive a small commission at no extra charge to you. You can find our full disclosure here.
Materials Used to Paint a Lamp Base:
- Decoart Americana Chalky Type paint in Everlasting
- DecoArt acrylic paint in black
- DecoArt Americana Dazzling Metallics Pearl Black
- Chip Brushes
- Palette
How To Paint a Lamp Base:
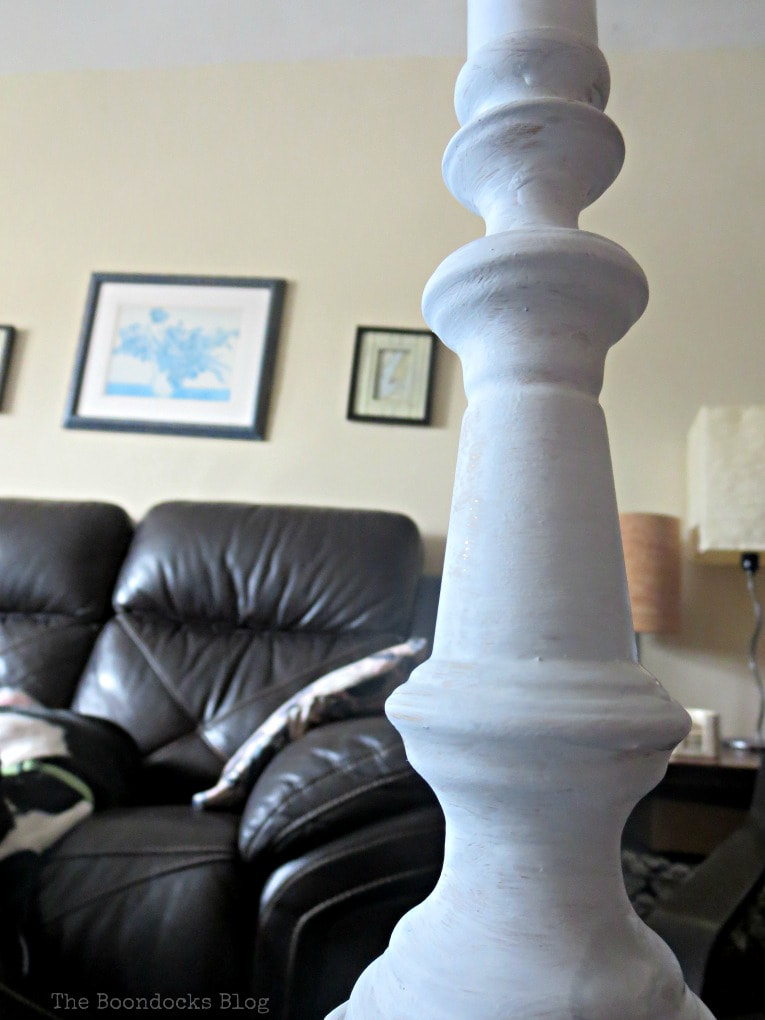
I started off by painting the lamp base with two coats of Decoart Americana Chalky Type Paint in Everlasting, which is white. This was to serve as my base color.
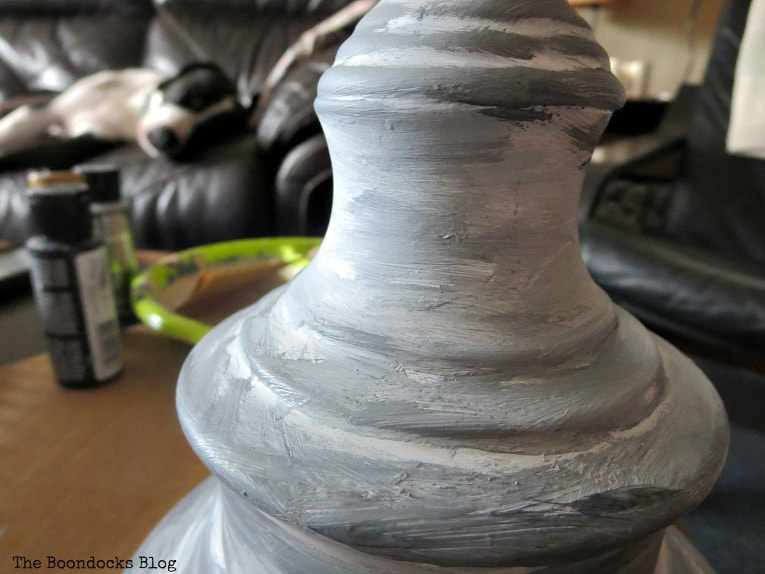
Then I mixed in a little bit of acrylic black into the white paint to get this grey you see below. I randomly brushed it on here and there.
You can see that a bit of the white had dripped and dried on the bottom. That was not a problem. Since I was trying to imitate stone it did not have to be perfect, like in this lamp project I did a while back.
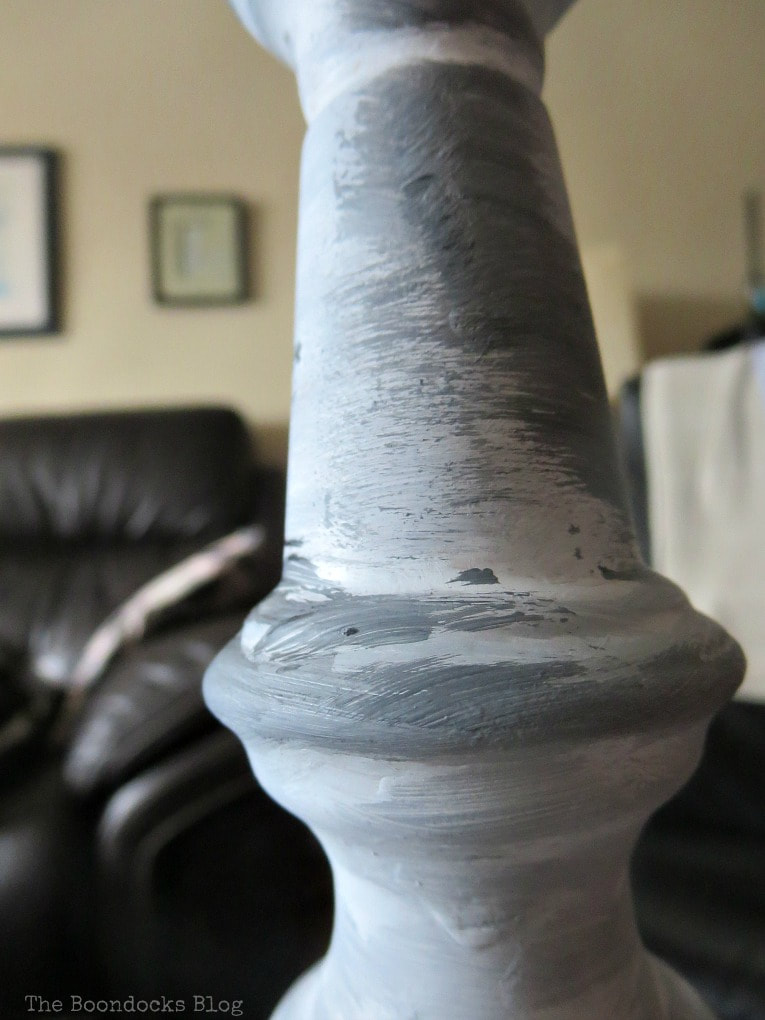
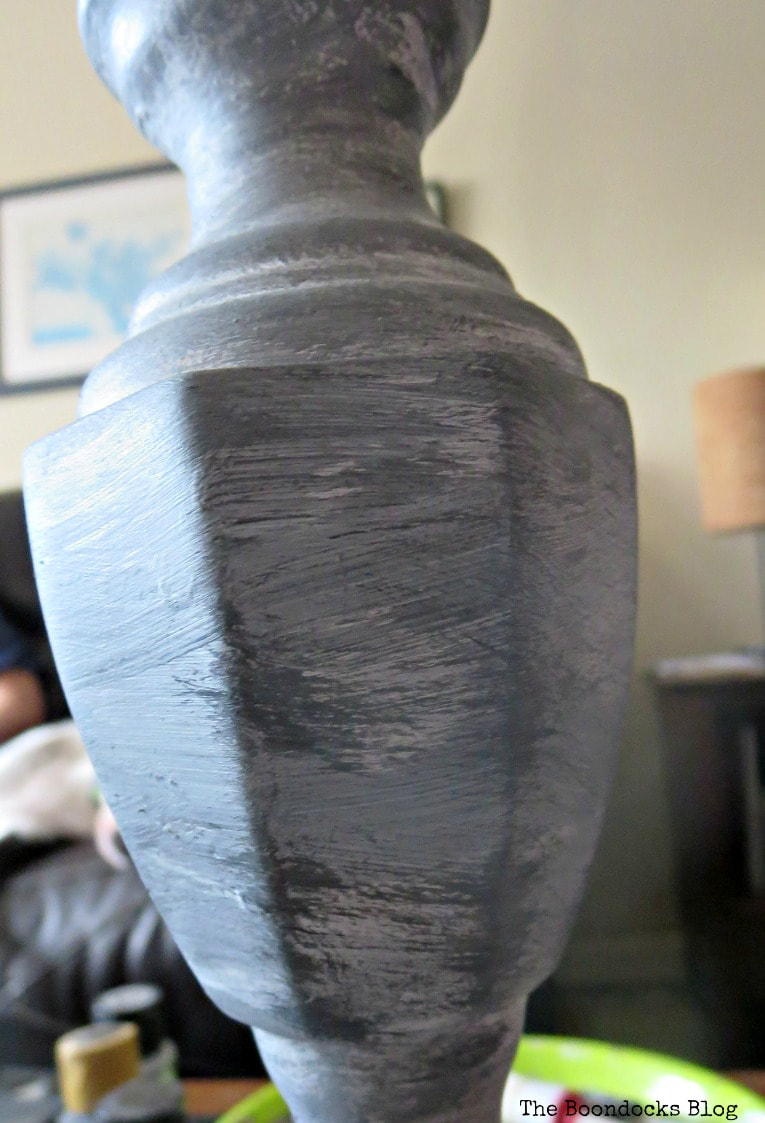
Next, I then created a separate lighter shade of grey by adding more white to the mixture and went over the lamp with this color. I also had a black metallic color that I threw into the mix.
Of course it is much easier if you just buy the colors but I am on a quest to use up my paints so I like to mix them myself.
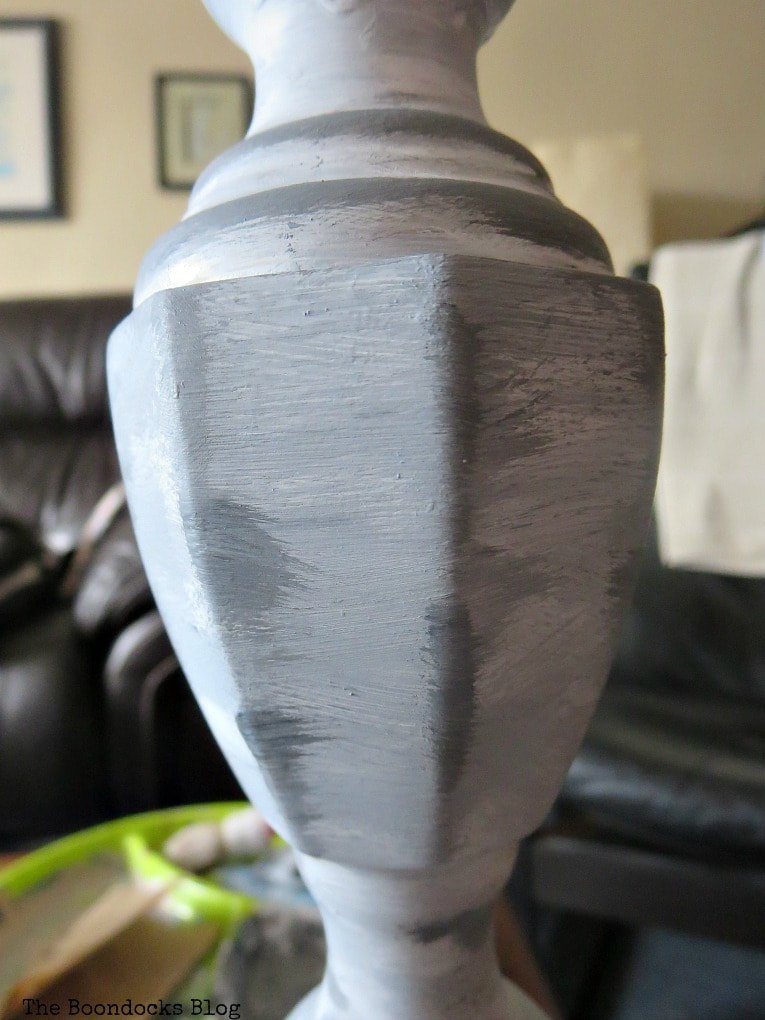
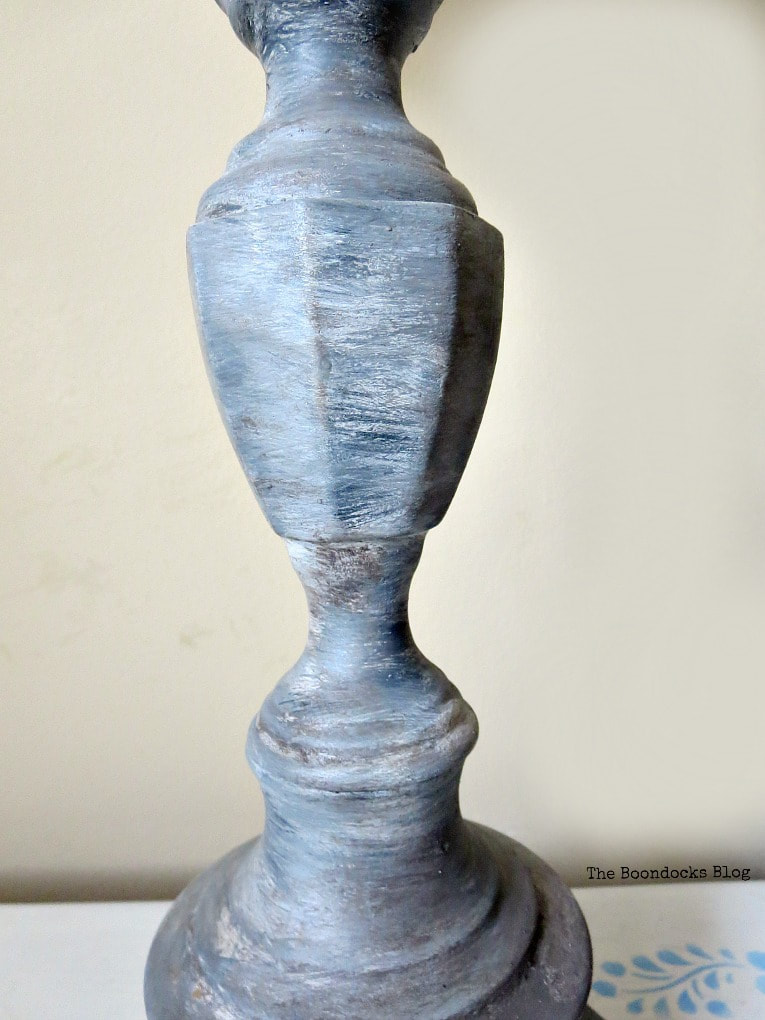
I continued on painting all around the lamp base with these three colors trying to create depth to the look. You can’t really go wrong with this. There are no hard and fast rules.
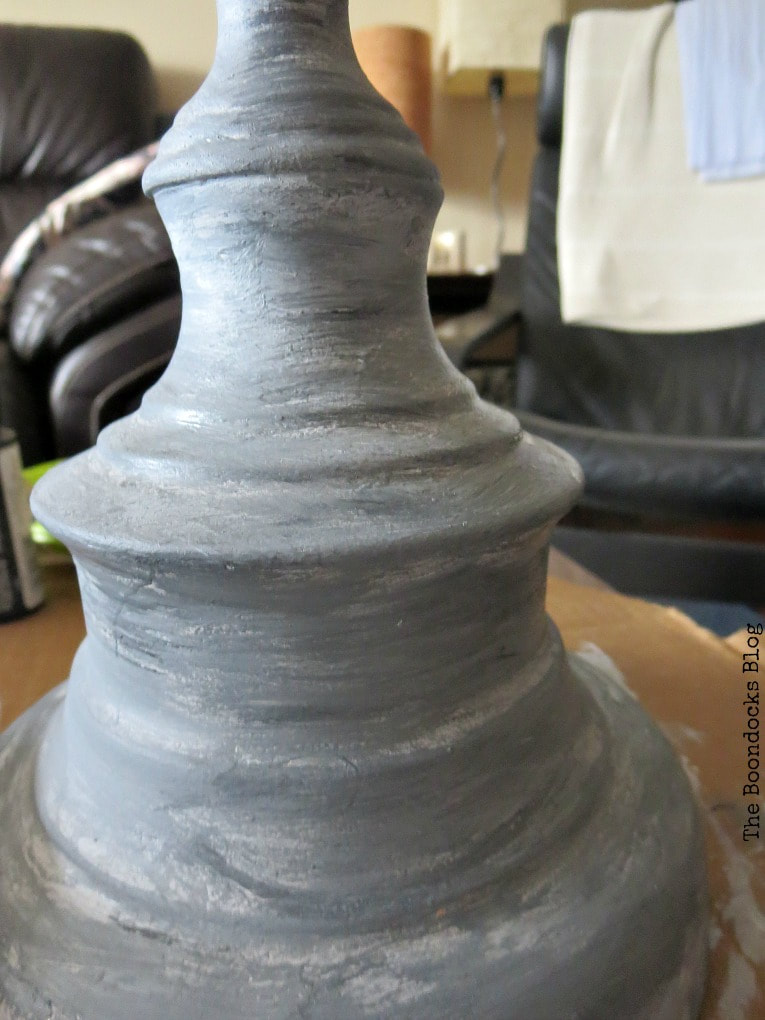
Towards the end, I used the dry brush technique. This basically means you put very little paint on the brush and before adding it to the lamp you dab off some of the paint on a paper towel or palette so as to just have a tiny bit of paint that goes onto your object.
It was a very sloppy process – intentionally to look like stone. I didn’t even have to seal it in since the top layers were all acrylic craft paint.
I took it inside my girls’ room to photograph it because the lighting is better in there, but quickly realized they better not see it otherwise they’ll want to keep it.
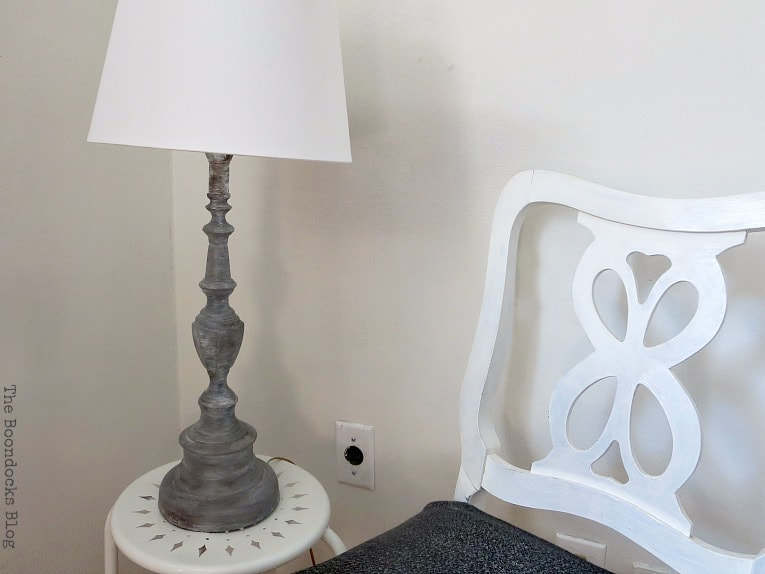
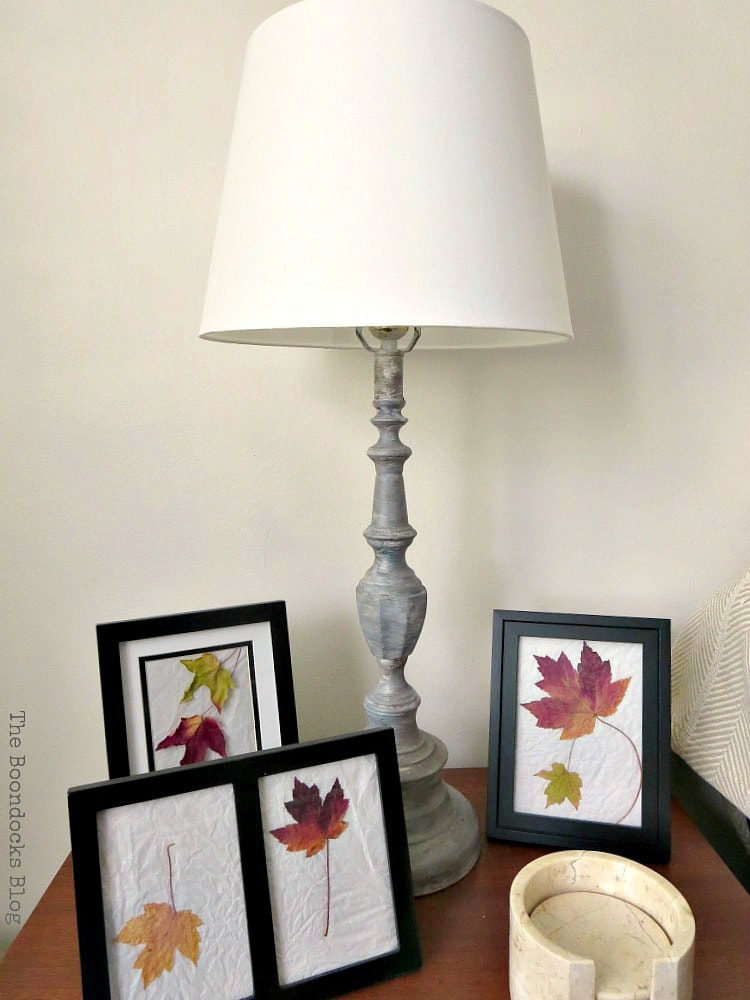
Now you tell me, doesn’t that look like stone?
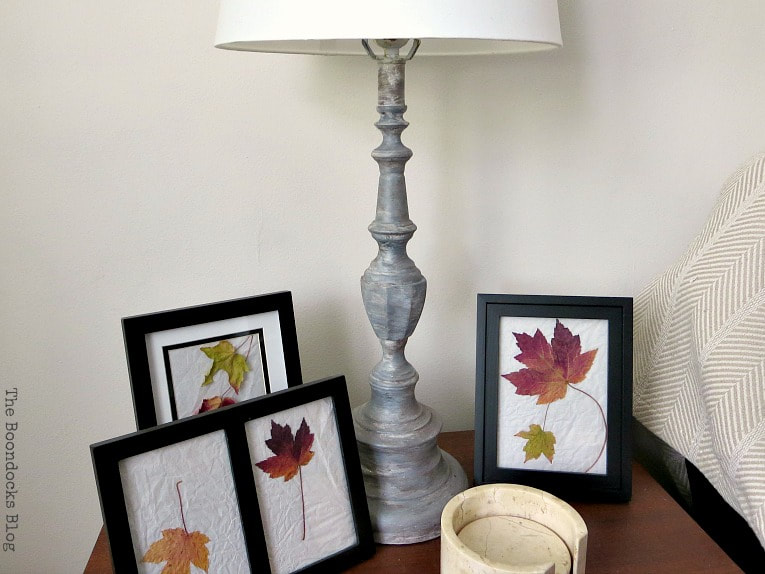
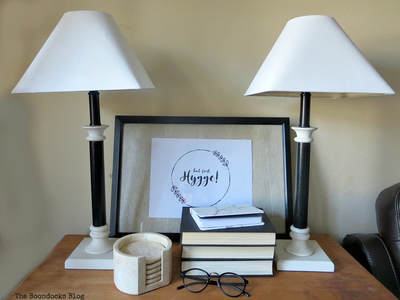
It’s been moved to the living room where it fits in perfectly along with the freshly painted walls.
One last look at the lamp base before I painted so we can appreciate the difference.
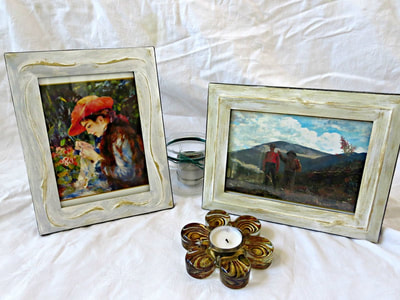
I don’t think it can get any easier than this, and let’s be honest this is so much more interesting and fun than the gold it started out with. You can check out my framed leaves here.
This was such an easy project it only took half an hour. I hope you’ve enjoyed my tutorial on how to paint a metal lamp base to look like stone. Now I have a brand-new lamp. It may be faux stone but at least it looks better than that awful cheap gold from before.
Want additional lamp painting ideas?
Check out these two options from Sustain my Craft Habit:
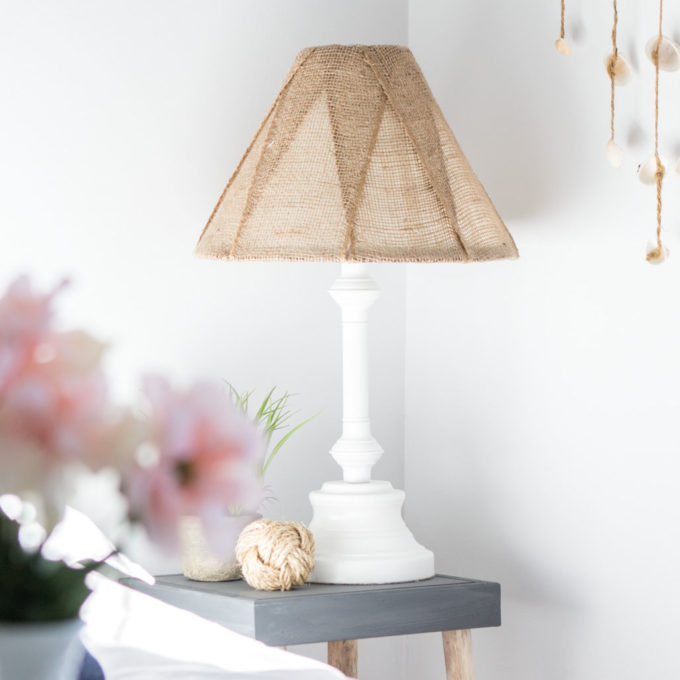
White Lamp with Burlap Shade 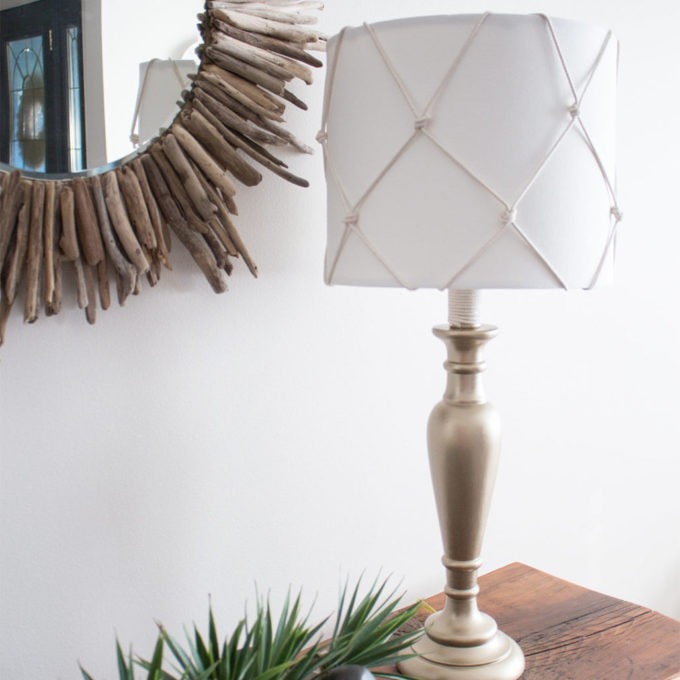
Gold Nautical Lamp
Which do you prefer, the gold or the new stone look?

More Paint Ideas:

The faux stone version wins, hands down 😀 It looks so cool Mary. I would never have thought that you could do that just with paint.
It was super easy and you can custom mix any paint at all to get the look you want. I love this new version!
Love, love, love how the lamp turned out! So clean and crisp looking to me. Girl, I will spray paint somebody if they stand still. LOL!
Hugs and blessings, Cindy
I always have bad luck with spray paint, I get so many drips I must be doing something wrong. I love all of your stuff and you do such a great job!!
I love how this turned out! I’ve been having trouble finding lamps that I like, pinning this one!
I am a strong believer in if you don’t like something just paint it! That faux gold was not for me.
Huge difference, Mary! Love the new look. I chuckled at the lamp in process photo with your shadow…ahem…puppy sleeping near your side on the sofa.
My little shadow is always near when I am working Marie, and more likely than not he has a bit of paint on him too!
What a huge improvement! And I love the leaf pictures also.
🙂 gwingal
Oh, Mary, this is just perfect! Random, no rules…I love to paint that way and your process did produce a very stone-like look…so much better that before. I have a similar lamp I sprayed with some textured spray paint, but I may just have to sand it down and give it another go like this. I love it!
What a pretty transformation. I have an old lamp just like that. Thanks for showing me what I can do to update it.
Great diy, Mary! It DOES look like stone/cement! LOVE it! And the tutorial is super, too! (Love Americana Everlasting… I did my whole dresser in it… and there liquid wax is amazing, too!)
Awesome! Great painting techniques. I love giving older things new life with a current look. I used bronze paint on all of our old brass fixtures and ceiling fans last year, saved a ton of money and they look great. Great post!
Lori Jo – 50 With Flair
http://www.50withflair.com
I say this every time but I never get tired of how paint makes a huge difference. The lamp looks great and coordinates so nicely with the wall.
Don’t you love paint?. If I don’t like it I paint first then decide to keep it. Paint is a miracle worker.
Super project
Enjoy your week
Cindy
Of course I prefer the stone look! I’m not a fun of metallic colors except of a tiny splash of copper here ant there. The stone effect is so interesting and full of character.
Such a great thrifty project and painting technique!!
I actually used this technique to make an outdoor waterfall which was made of resin look like stone. I did spray acrylic over it when I was done. That paint job held up for several years. Then we moved, and I left it in the old garden, so I don’t know if it continued to hold up or not. People always thought it was stone!
Mary I love what you did with this outdated lamp! I feel like going thrift store shopping right now!
Love how your lamp turned out, Mary! It does look like stone and the drips and thick paint in areas make it look better and much more realistic. Happily pinning and sharing. <3
Happy fall,
Barb 🙂
Love the way they turned out, what a transformation. Maria
Mary, I can’t believe how much better that lamp looks. I will need to keep this method in mind! I also love your framed leaves, what a great idea. Hope you have a wonderful weekend!
Great idea. I did something similar with a vase and it came out really great. It’s a great way to update a lamp.
Saw you on #snickerdoodle link up.
The faux stone is a winner for me Mary! I am not big on gold or brass. Your lamp turned out really pretty and yes it does resemble stone. Love it!
I love the stone look, you actually gave me an idea to do the same with some gold candle holders! Thank you for these great step-by-step instructions :).
Good Morning Mary, You are amazing. I love how you have totally transformed this lamp base.
Best Wishes
Daphne
I prefer the stone, it looks amazing and I can’t believe it only took 30 minutes. Thanks for sharing at Merry Monday
Yes, it looks just like stone! What a beautiful lamp! Thank you for sharing at Celebrate It!
I love the makeover. It looks amazing. Thanks for sharing on Sunday’s Best.