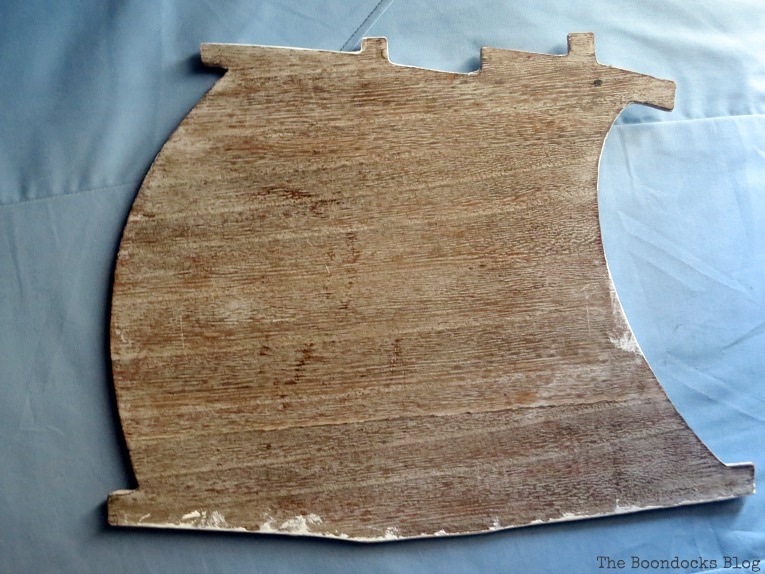
The other day I was cleaning out some of my stash (no, not from the basement) and came across this. Now you may be wondering what “this” is. It’s hard to explain but let me try.
When my girls were in elementary school they would have their school pictures taken. The school was very creative and one year decided that the photos should be plastered on this sailboat shaped piece of wood. Are ya following me so far? Years later my girls cringed at the sight of these photos. And so we peeled them off and were left with “this” wood piece.
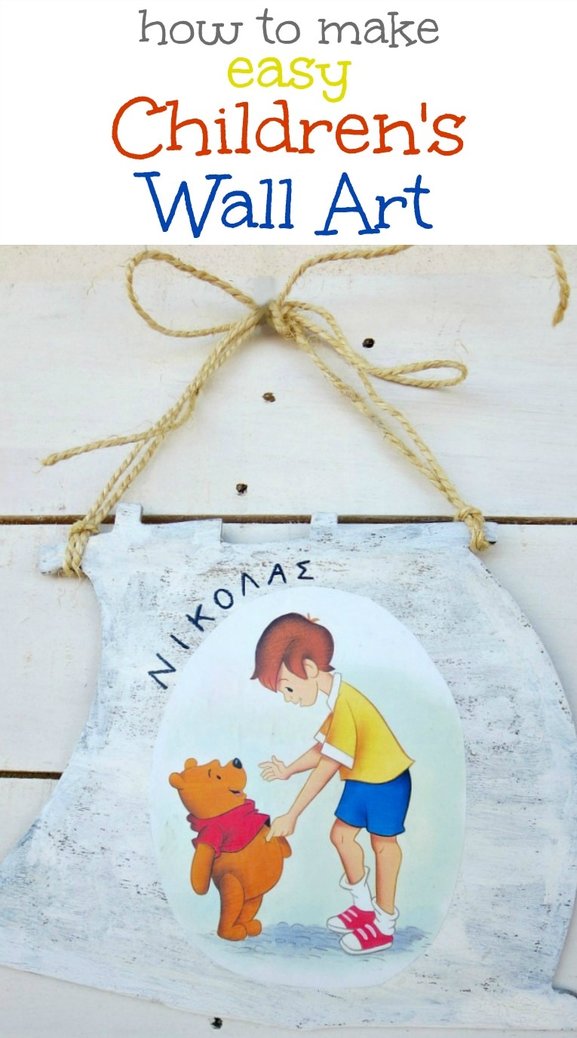
Now you know me I love a good challenge and so I wanted to repurpose or reuse it And repurpose it I did, into an easy children’s wall art. Today I’m going to show you how I did it. Nothing goes to waste in my house!
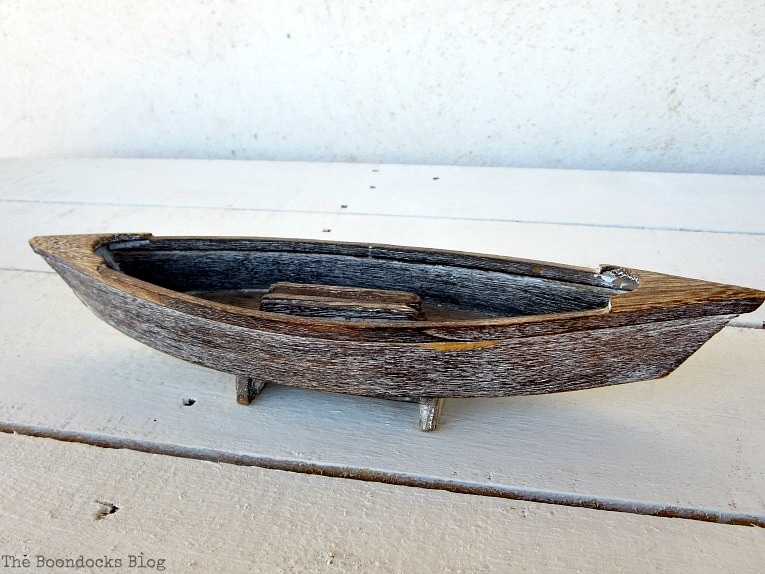
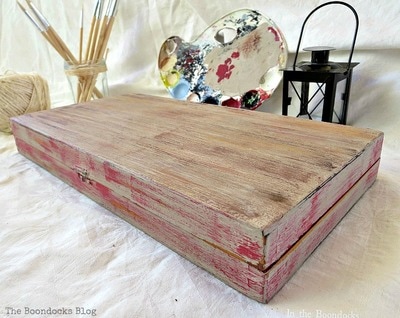
Just to give you a bit of context. The wood sail piece was placed on top of this sailboat base. See the two pieces of wood in the center? That was where the sail part was wedged in. There was also a tiny piece of wood at the bottom of the sail but I cut it off to make the sail more like a sail. You may have seen this boat on my seaside art project.
Materials Used
- wood sail or any wood scrap can be used
- acrylic or chalk paint
- an image that you like, I took one from a children’s book
-
sharpie marker
- Mod Podge
- twine
The How – To
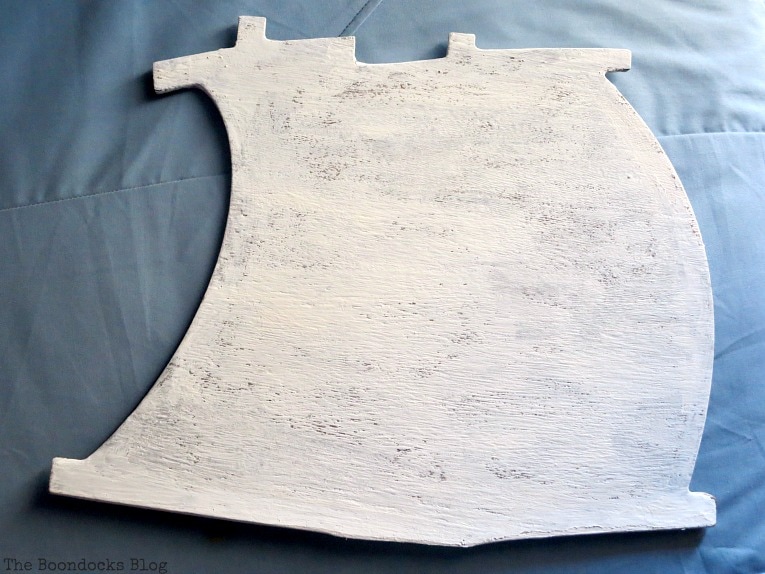
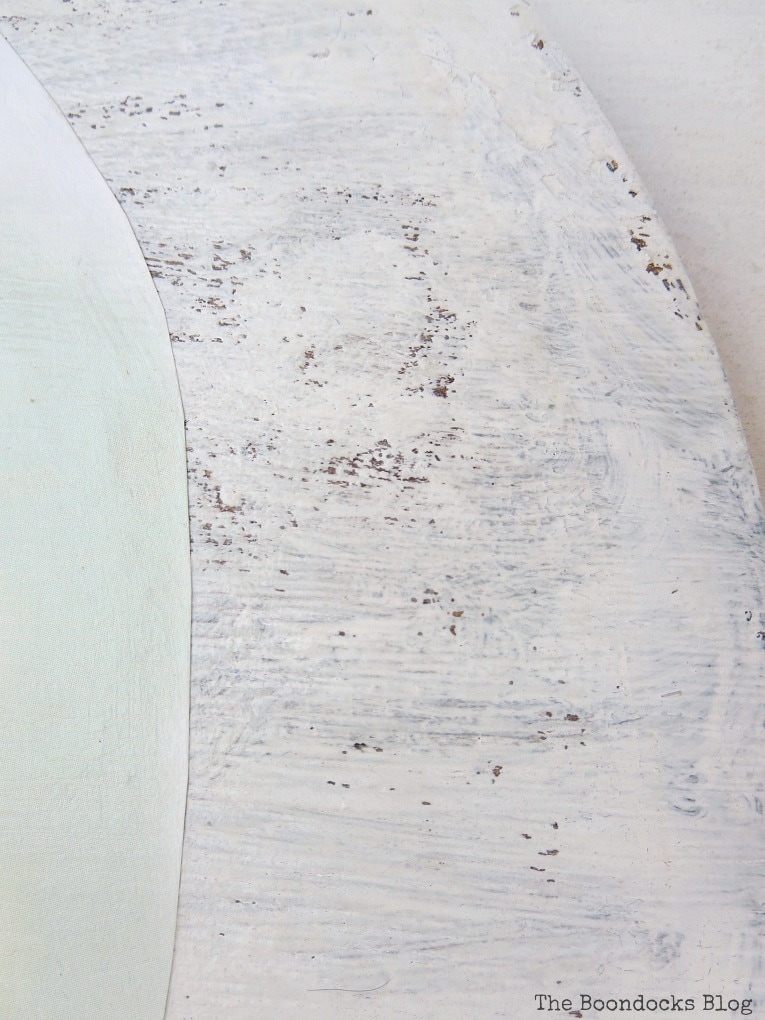
The first step was to brush the wood piece with some paint. Two coats of white chalk paint, and haphazardly at that.
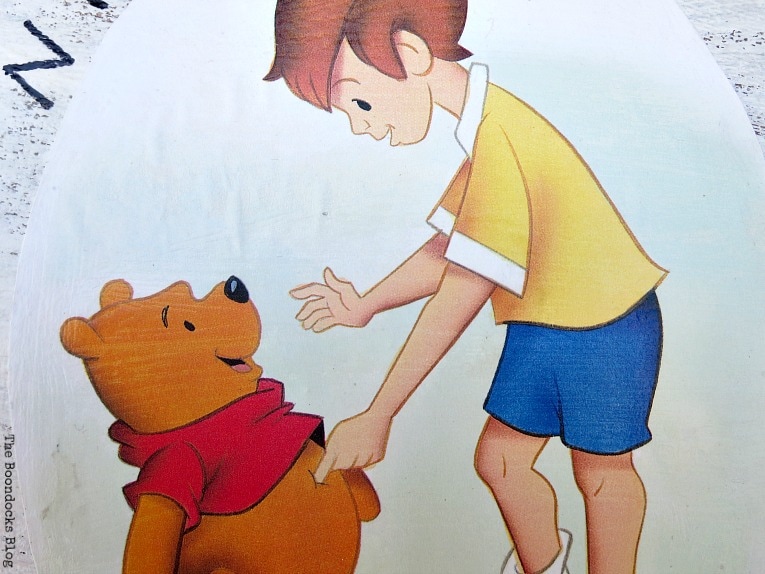
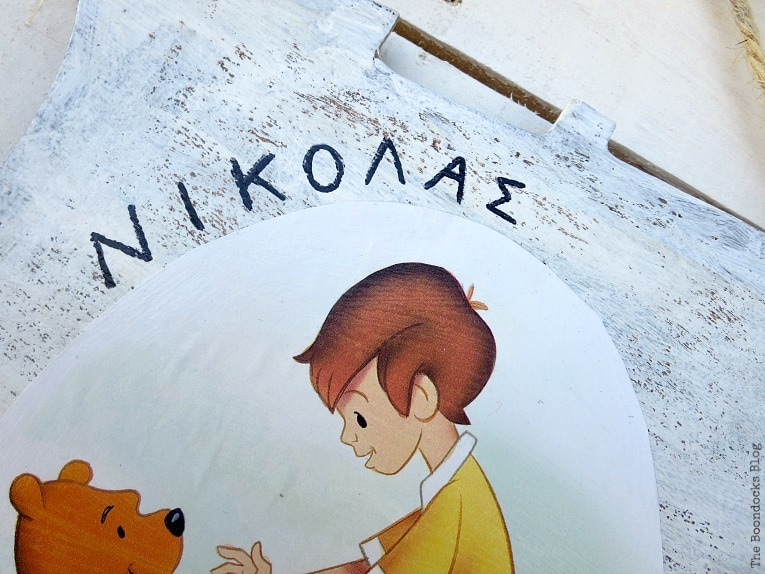
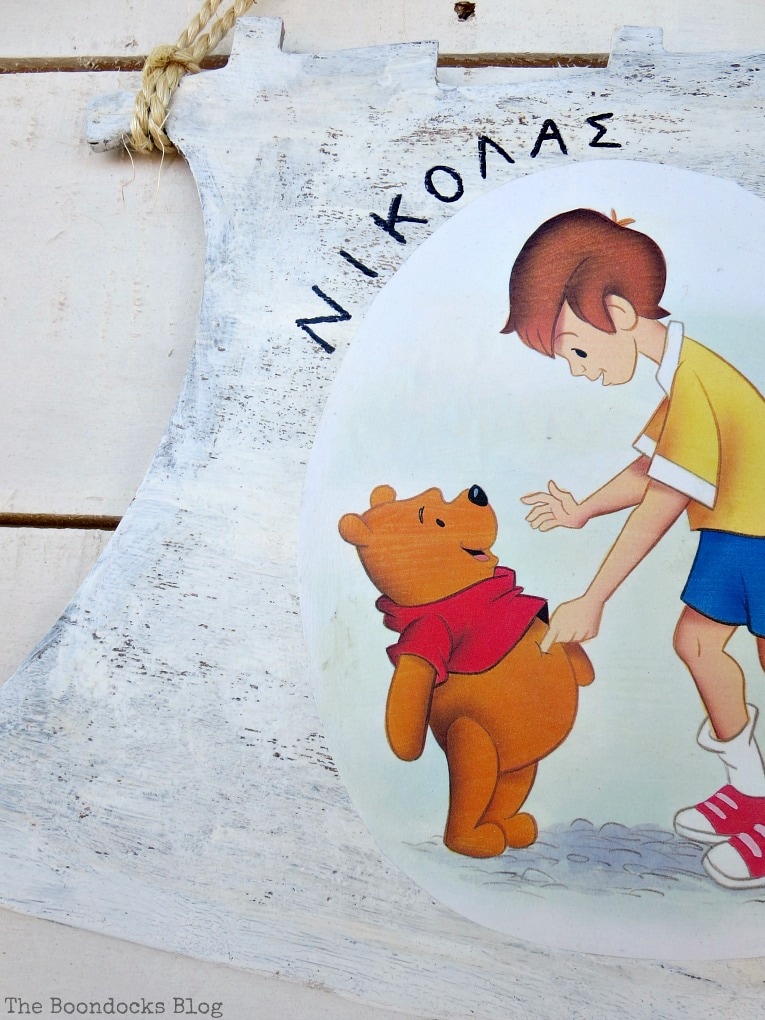
After the paint had dried I found an image from a Winnie the Pooh book I had that hasn’t been opened in years. I don’t know about you but sweet Winnie had won my heart years ago. Why I remember watching Winnie movies with the kids when they were younger. Some of my best memories.
Now back to the project. I cut out the image in an oval shape making sure it would fit on my piece of wood. And I glued it on with Mod Podge.
Since I was going to be giving this as a gift to a handsome very young fellow, I made sure to add his name in Greek. A simple sharpie did the trick. You can be as simple or as fancy as you want here. You can even use acrylic paint.
The whole thing was then brushed over with Mod Podge sealing it in.
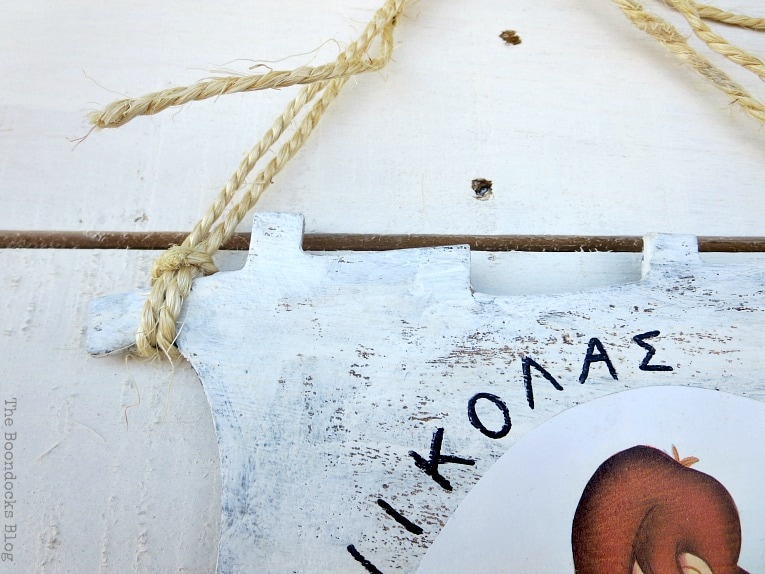
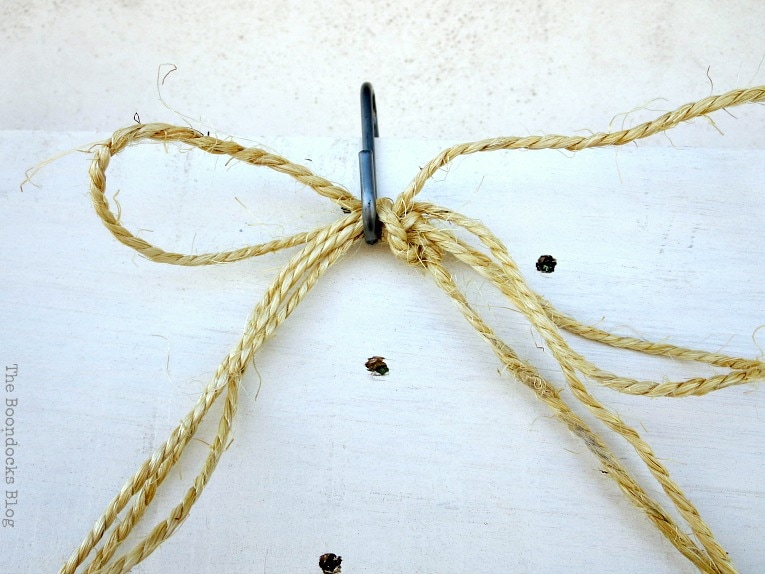
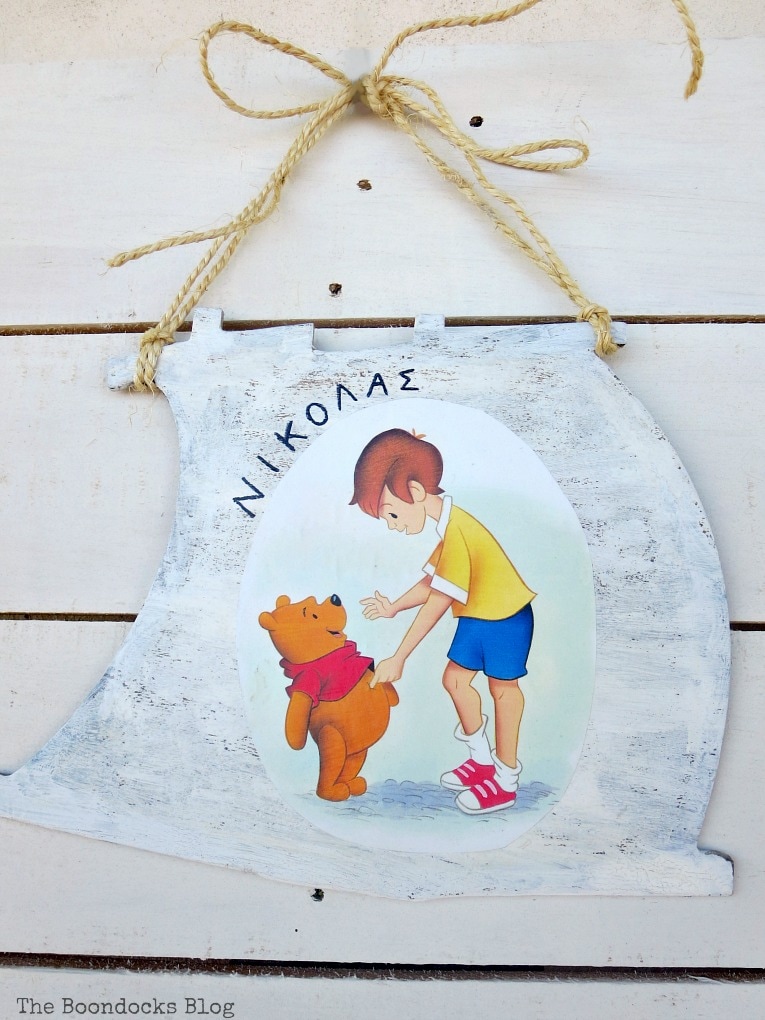
I wanted this to be a wall hanging so I just added some twine to the edges of the “sail”. If you have a simple piece of scrap wood, you can open holes in it.
A pretty knot on top to hang it and I was done.
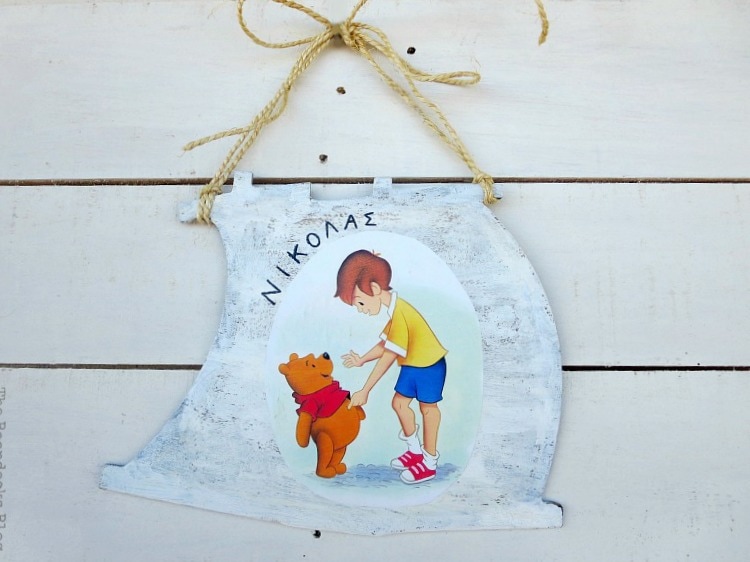
And we have personalized wall art for a very special young fellow! I do hope he likes Winnie!
Of course he will!
Everyone likes Winnie! Even Rabbit likes Winnie!
Disclosure: The items below are affiliate links and link to Amazon.com. If you purchase any of these products through the links, I receive a small commission, that way I can continue to provide you with lovely content. There is no extra charge to you for purchasing through my affiliate links.
Here you can see my haphazard brush strokes. I was going for the wind swept look. “wink” You know, as if I was relaxing on the sailboat! (Just so you know, I have never been on a sailboat in my life!)
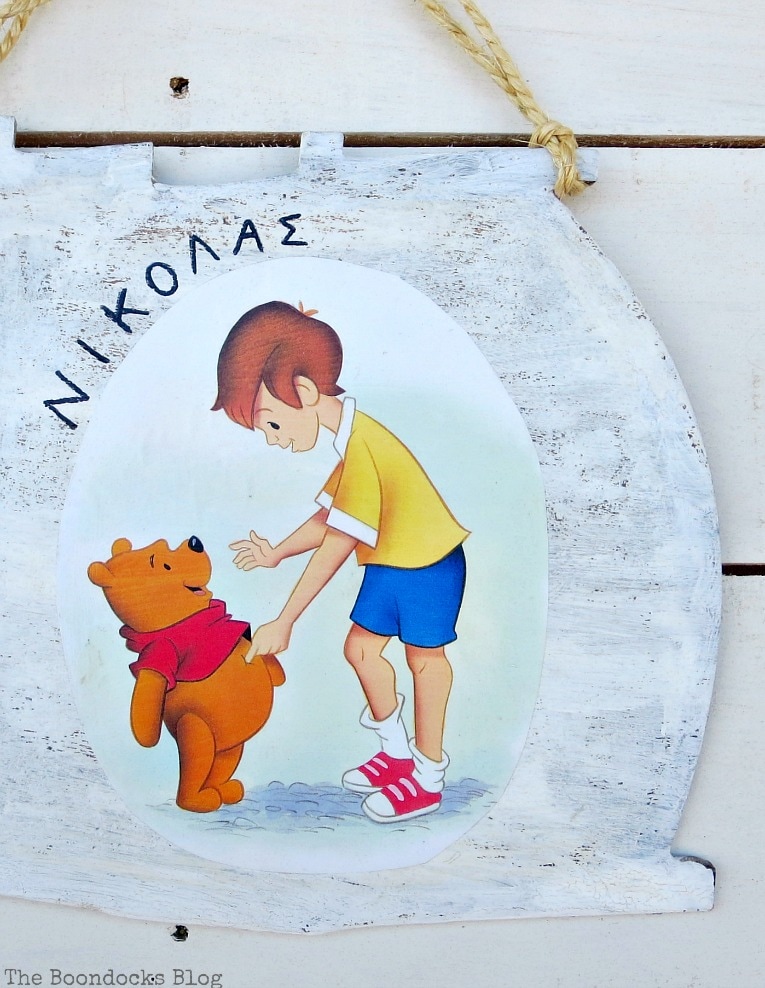
I chose to make it simple so it would not clash with the rest of the colors in the little fellow’s room.
Not bad for a 15 minute project. This of course was made as a gift. It was very easy to make and it can be personalized depending on the image you add to the wood.
So if you find yourself in a tight jam for a gift idea, you can always make an easy children’s wall art! It is Winnie approved! And most importantly, my girls are even happier that they don’t have to look at their elementary school pictures anymore.
I must admit this is the strangest thing I’ve ever repurposed. Have you ever found wood in strange shapes like this?
If you like what you see, share it with your friends, or save it on Pinterest. Above is a Pinterest worthy image!
If you really like what you see subscribe to my blog and get my adventures twice a week in your mailbox. The form is on the sidebar and your e-mail will never be shared with a third party.
More Gift Ideas:

I never would have thought to do that Mary! You’re the Queen of repurposing :).
Winnie was indeed a beloved character for me and almost everyone I know. I’m sure your little friend will love it!
xxx
I was planning on making a gift for the little fella and when I saw this it just solved my problem.
Girl, you are like me…I do not waste anything! My man tells me I am a pack rat and I always say to him, “YEP, I might need that one day for something”. Cute, cute, cute creativity. Hugs and blessings, Cindy
Cindy when I have to throw something out I have sleepless nights from the guilt! And would you know it, I think of a reuse for it the day I throw it out! Haha!
Dear Mary,
I’ve got a picture of my youngest dressed up as an angel, wings and aureola and all. Well, he was only 6 or 7 at the time and it was some sort of odd school project (why do these people often have such curious ideas?). He hates it – I love it. But as it’s not on a wooden sail and not on display either, he copes (and he would understand your girls perfectly)…
Have a great day,
Marjan
Marjan you are too funny. The things we put our kids through. My girl hates all her old school pictures.
Mary, what a fun idea and sweet gift! I’m sure the little guy will love this for his room. I actually recently repurposed a weirdly shaped table top, still trying to decide if I like what I did with it, lol. Anyway I love how you repurposed this sail!!
It’s fun to repurpose weird things every now and then. Gets the creative juices flowing. I want to see your table top Keri.
Well that young lad will be thrilled with his personalized gift I’m sure!
He was so happy, of course he is a little fellow, I’m sure he’ll appreciate it more once he learns all about WInnie.
This is such a cute and meaningful gift for a kid Mary. I am sure he will enjoy hanging it in his room
I hope so Pili. Winnie is such a favorite with many kids.
Really cute, Mary! I bet Nicolas was very happy to receive such a special gift from the heart 🙂
He’s a little fella but when he gets older I’m sure he will.
Without a doubt he is going to love Winnie and Christopher Robin after what you’ve done Mary. Such a cute idea and so uniquely different too. It’s a lovely way to honor the person who made the original sail boats for the kids photos. They’re legacy lives on through your makeover, which is stunning
You know me Michelle, I love a good challenge and when I can turn it into a gift it is even better.
Mary—you remind me of my mom (in a good way). She is constantly saving the extra material from her sewing projects to reuse in a different way!!
Jodie
http://www.jtouchofstyle.com
I am honored to remind you of your mom Jodie. I think she is a fantastic lady, so cool and modern in so many ways. And I always strive to be like her by saving my stuff. Now if only I could dress as hip as her! 😉
Mary, this is so sweet. I bet your friend really loves this special gift.
She does Debra, and when her little fella is a bit older I’m hoping he too will come to love Winnie.
I bet Nikolas is very happy with his new unique art!
I certainly hope so Katerina. And if not I’ll find something else to make for him.
What a cute idea… and it turned out to be adorable. 🙂
Thank you, I know it will make a great addition to the little one’s room.
This is adorable. What a wonderful idea.
Thank you Katie, it really brightens up our front entrance.
Love that nothing goes to waste. You can see a renewed purpose in anything.
Thank you Melissa, that’s what I aim for on the blog. Most of the time I succeed. Also it’s a great way to reuse stuff from your home without having to spend a dime!
Mary, I love how nothing goes to waste at your house! Cute idea to make that wooden sail into an adorable plaque. Maybe it’s because we are in the same age group (young and wise), but I love Winnie the Pooh too! Thanks for sharing!
Aww, thanks Laurie. Is there anyone out there who does not have a soft spot for Winnie?
Nothing goes to waste is an understatement! This is a really cute project and I can imagine that the young recipient will be overjoyed. Thank you for sharing with us this week at Celebrate Your Story, and I hope your week is going great.
Sandra I have become so frugal since starting this blog, it’s not funny. I never thought this way before at least not to this extreme level. I think I must be seeing everything as a challenge.
Your girls school were being very creative with the school photos back in the day! My kids had a proof they’d bring home & we’d order a pack of different sizes that would come with ugly card mounts and nothing else.
I love how you find a new life for everything, this is so sweet. And I agree, who doesn’t like Winne the Pooh, he’s just so lovely. Eeyore was always my favourite, so sad, but still up for an adventure when pushed into it my the others.
You know maybe I would have preferred the proof, then we could pick out which photo we liked the best. My girls were always complaining about how they didn’t like the pics. The boys didn’t care . I guess it’s good to get both sides of the story.
Julie my personal favorite was Tigger! Haha. That silly hoppity hop, he was more like a rabbit than Rabbit himself.
I love simple projects Mary! This is a cute idea, and everyone loves Winnie so I’m sure the young fellow will be happy to hang Winnie in his room.
I know how your daughters feel, my mother still has some of my younger pictures hanging. 😐
Haha! I have loads of baby pictures too. But they just look adorable not awkward!
This is a great idea, you have totally transformed the original sail. I like your clear photographs to make it easy to follow the instructions. #CraftyCorner
Thank you so much Kate. I always try to have nice images so that even someone who does not know English very well can still follow along.
What a great idea. Kids love getting personalized gifts and you are right, who doesn’t love Winnie the Pooh!
Ahhh, Winnie has such a special place in my heart!
I am a huge Winnie the Pooh fan and I love the finished outcome, such a clever way to repurpose this, I would never think of that. Thanks so much for joining us at #craftycorner, apologies I am late with my commenting. Hope you can join us again this month 🙂
Thanks so much Yvonne. I too love sweet Winnie and all the life lessons he gives us. I’ll be right on over to join up again!