I love painting furniture, I think it is one of the fastest ways to change or upcycle an old piece, plus you can mask any imperfections using paint. Most of the time I like to use beeswax on my furniture as a sealant. In fact I like it so much I make my own. Making your own beeswax furniture polish is easier than you think!
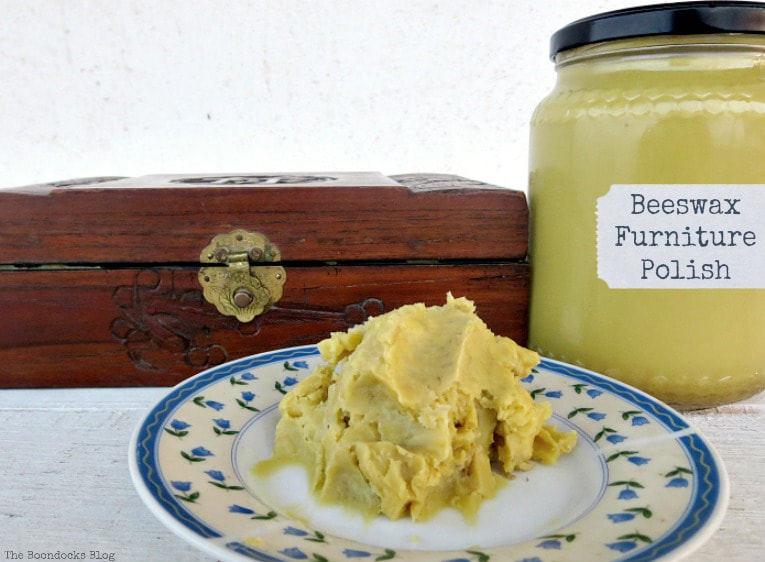
When I started the blog I knew nothing about any of this painting and furniture stuff. I found out that to seal in chalk paint I would need a sealant. Beeswax was the most common. Now many of you know I live in the boondocks and we don’t even have chalk paint here.
So when I had gone up to the big city I priced wax furniture polish. It was about 12 Euros for 500 grams (that would be about $15). This was way over my budget at the time because I didn’t know how to use it, I certainly wasn’t going to spend that much. So I came up with a cheaper solution, I decided to make my own. I found a recipe on the internet and proceeded. Forgive me if I do not remember where I got it from. The cost ended up being half of that for almost twice the wax.
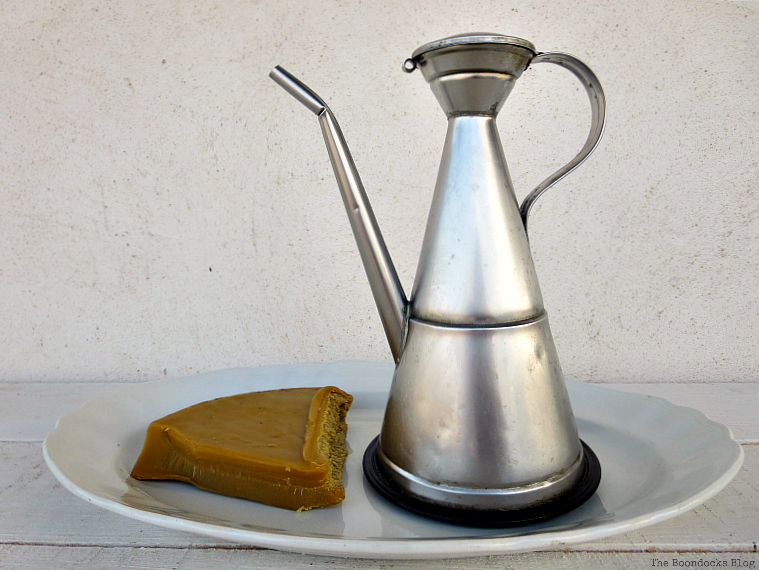
2 Ingredients Needed for the Beeswax Furniture Polish:
Disclosure: This post contains affiliate links for your shopping convenience. If you purchase any of these products through the links, we receive a small commission at no extra charge to you. You can find our full disclosure here.
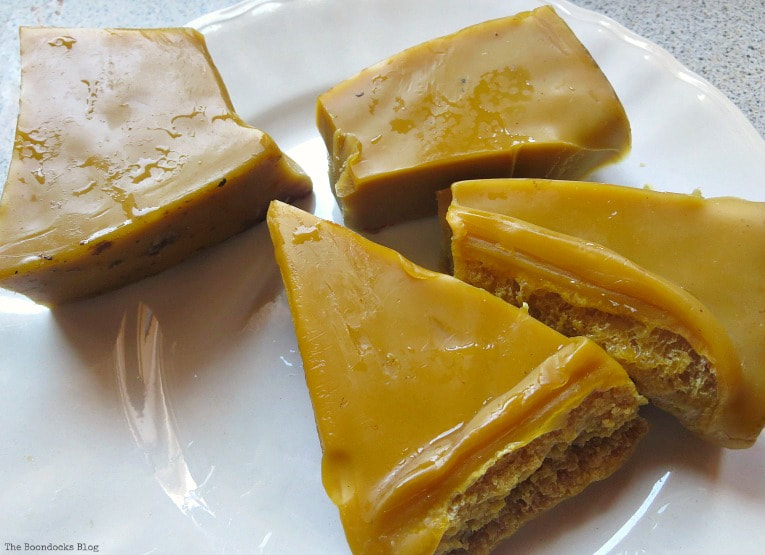
One part beeswax
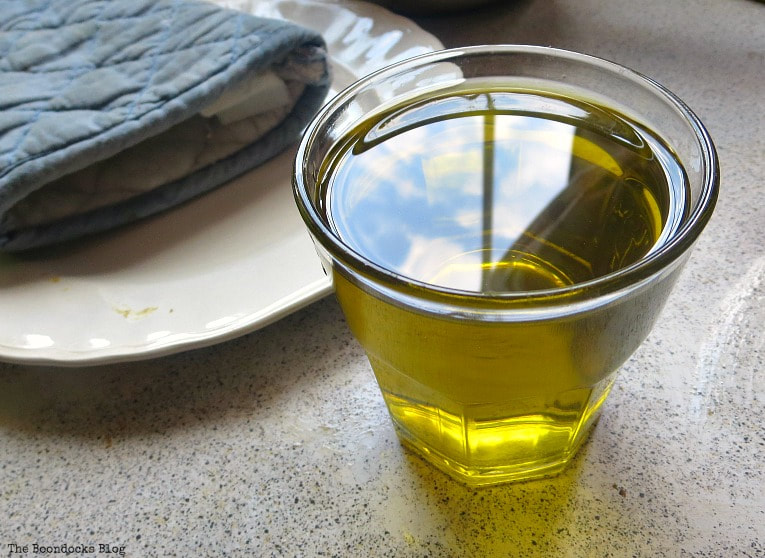
Two parts olive oil
I like to use olive oil from my farm but you can also use Extra Virgin Olive Oil. You can even substitute mineral oil.
How to Make Beeswax Furniture Polish
Place the beeswax in a pot and let it melt under warm medium heat. You can also use a double boiler.
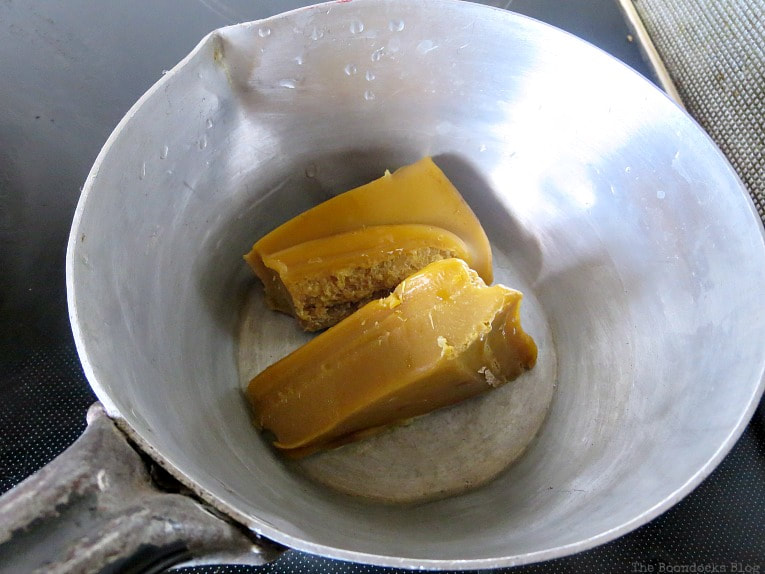
Keep on adding the wax till it all melts.
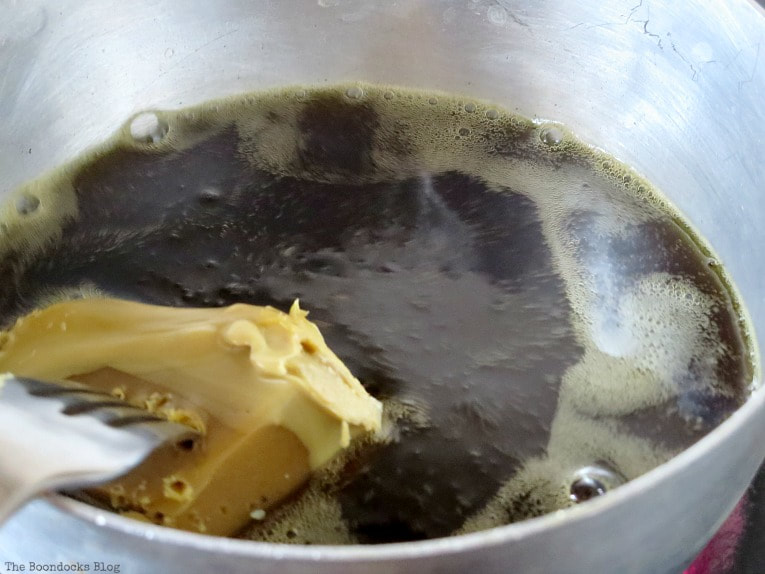
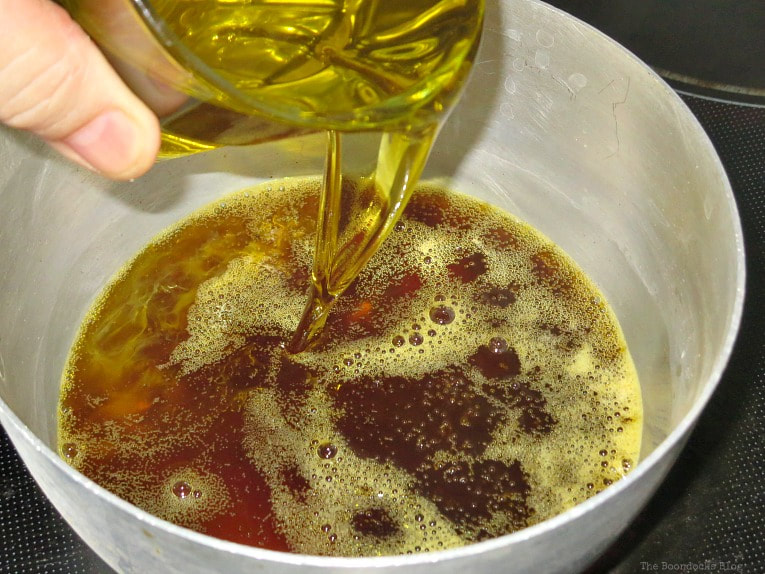
Add the oil of your choice. Stir it well and then remove from the heat. At this point you can also add any essential oils that you want.
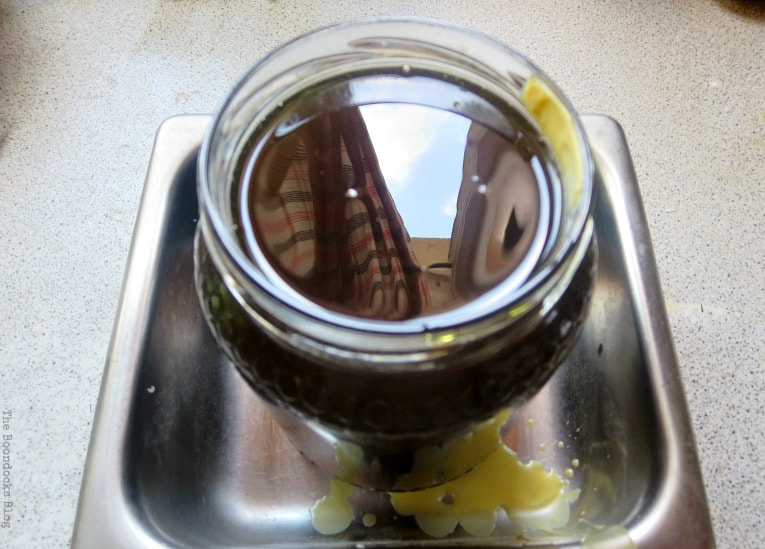
Carefully pour it into a jar or container of your choice. Be careful because it will be very hot.
You can see the spilled wax dries instantaneously. The jar takes longer to solidify, about half an hour.
And that is it. You now have a jar of homemade beeswax furniture polish!
How to Use Beeswax Furniture Polish
Using a clean cotton cloth take a bit of the wax and rub it into the wood.
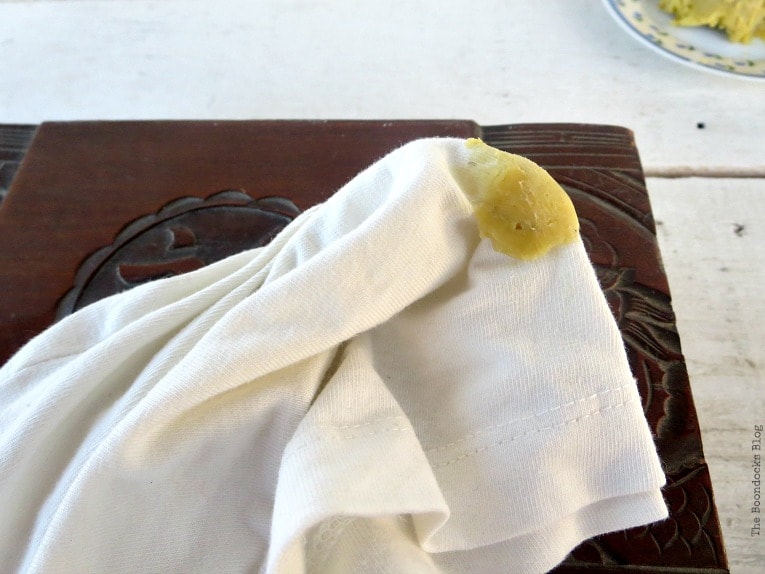
Below you can see that the right hand side has been waxed while the left has not.
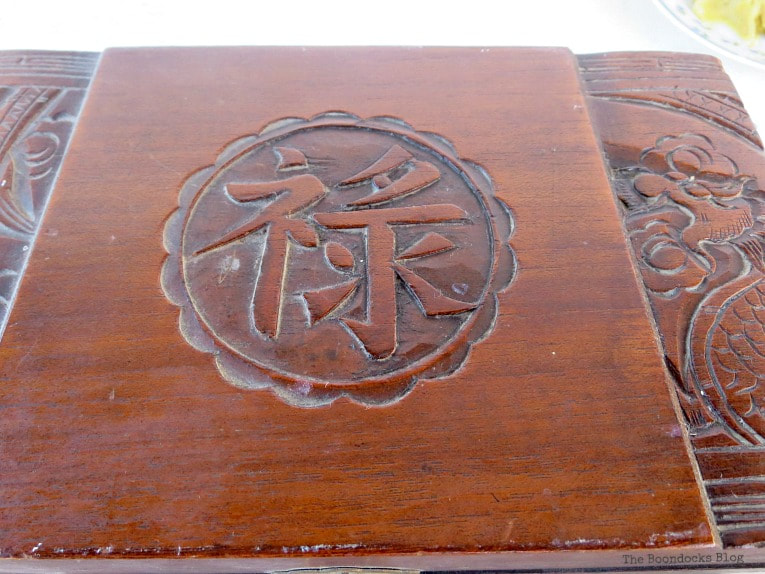
After a few minutes rub the excess wax off. Keep rubbing till you get a nice sheen. It is also very good for your hands since it is made of natural ingredients so don’t worry if you get some on your skin.
There is nothing like it for a soft, buttery smooth finish. The only drawback is that it needs to be reapplied once a year. And it should not be used on high traffic items, such as your kitchen table.
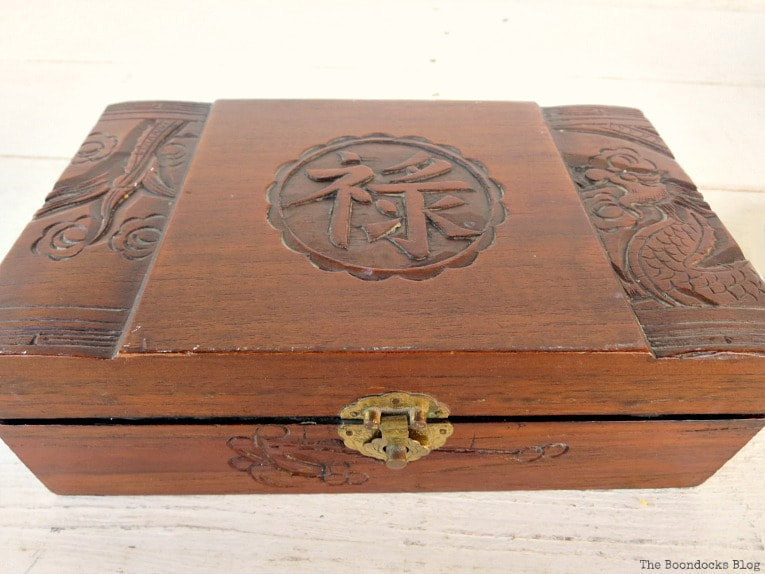
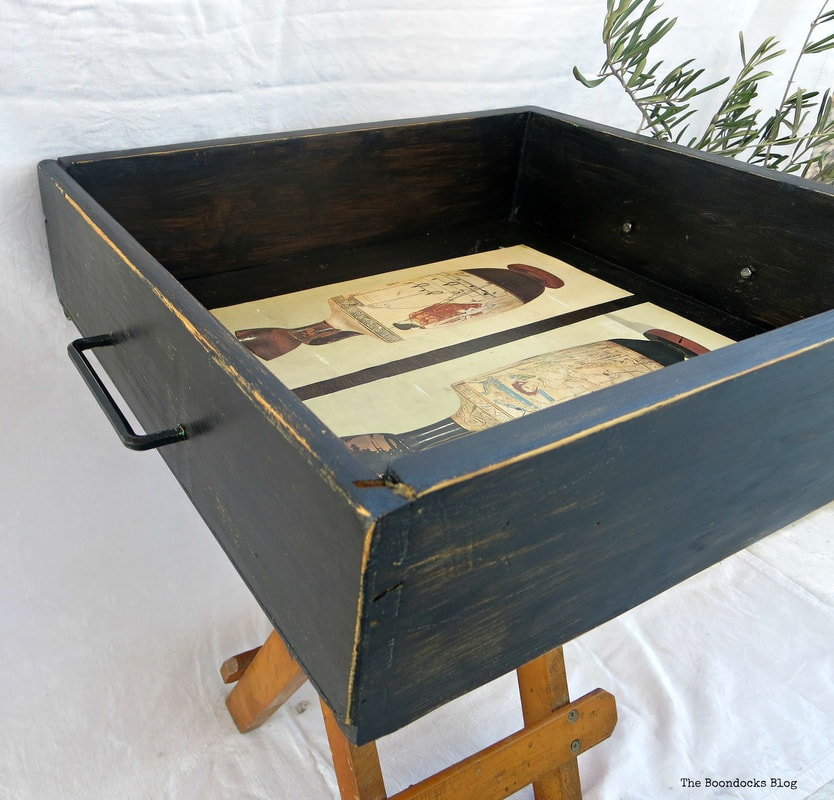
The first project I ever used it on was my table made from a stool and drawer. And this ancient tray which was painted in black.
I’ve even used it on metal painted with chalk paint in this vintage suitcase makeover.
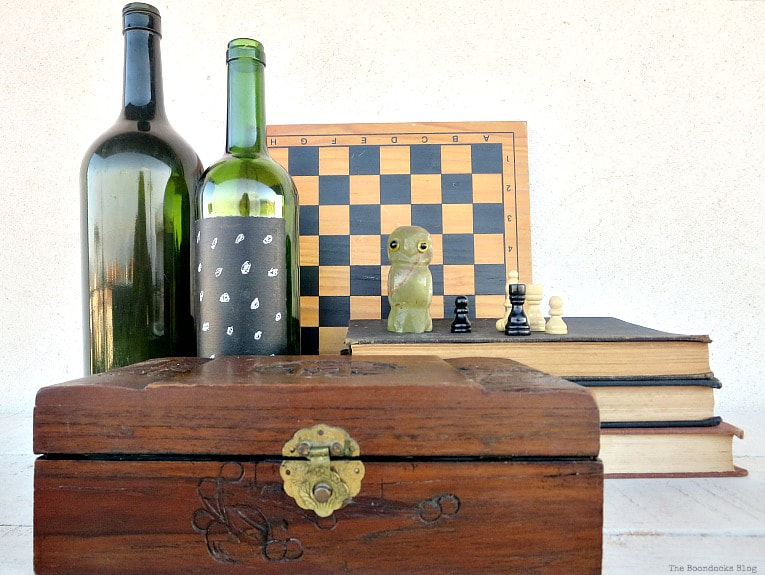
It goes without saying that you can also use it on unpainted wood. But it is especially good for chalk painted wood because it seals in the chalk paint.
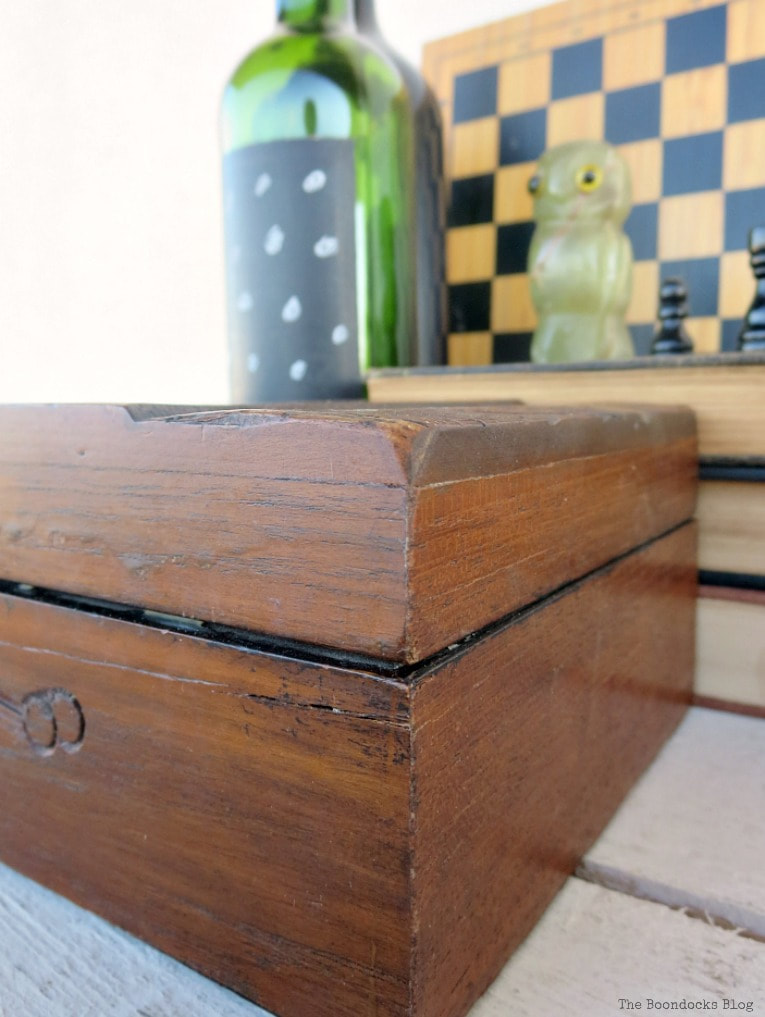
Not only is this good for your pocketbook and for your skin, but it is also green and good for our earth. I can’t see any reasons not to try this great recipe for making your own beeswax furniture polish.
Give it a try and let me know what you think, and if you’ve already tried tell me what your recipe is.

<< Sweet Inspiration Link Party #69 HOME Kefalonia in Brown >>
Lily
Wednesday 10th of June 2020
Hi Mary, I have some beeswax and I'm feeing inspired to give this a go. However my beeswax is yellow and I'm wondering if that plus the OO will discolour my powder blue chalk paint finish? What do you think? I don't know if applying a thin layer will leave a colour or not. Would be interested to hear your thoughts!
Best wishes
Lily
Painting a Vintage Metal Trunk - The Boondocks Blog
Wednesday 6th of May 2020
[…] The final steps were to add wax in order to seal the paint. You can even make your own beeswax furniture polish! […]
Florence
Monday 14th of August 2017
I'm all for using natural products, and also for saving money while doing it. Extra virgin olive oil is very expensive over here, so I might try the mineral oil instead. It looks like your wood is loving it! Glad to know of this. Thanks Mary!
Mary
Monday 14th of August 2017
You don't have to use the extra virgin since you aren't making a salad. Any oil will do I'm sure. Let me know what you think.
Angie ~ Ambient Wares
Monday 14th of August 2017
This recipe does look good enough to eat! It looks like pie slices in one of the earlier pics :D I've got some beeswax from when I made some lip balm a while ago and haven't done anything with it since so I'll have to give this a shot! Pinned
Mary
Monday 14th of August 2017
Haha When we bought it it came in the farm of a round pie. So I can see where that is coming from. Just don't eat it!
wendy robbins
Monday 14th of August 2017
I always love more homemade recipes for housecleaning! Enjoyed the post.
Mary
Monday 14th of August 2017
Thank you Wendy. If we are DIYers why not make our own products as well.