
Shabby Chic Wicker Basket Upcycle
The bottom of a laundry basket was salvaged and turned into shabby chic wall art with some burlap. Enjoy this DIY wicker basket upcycle idea!
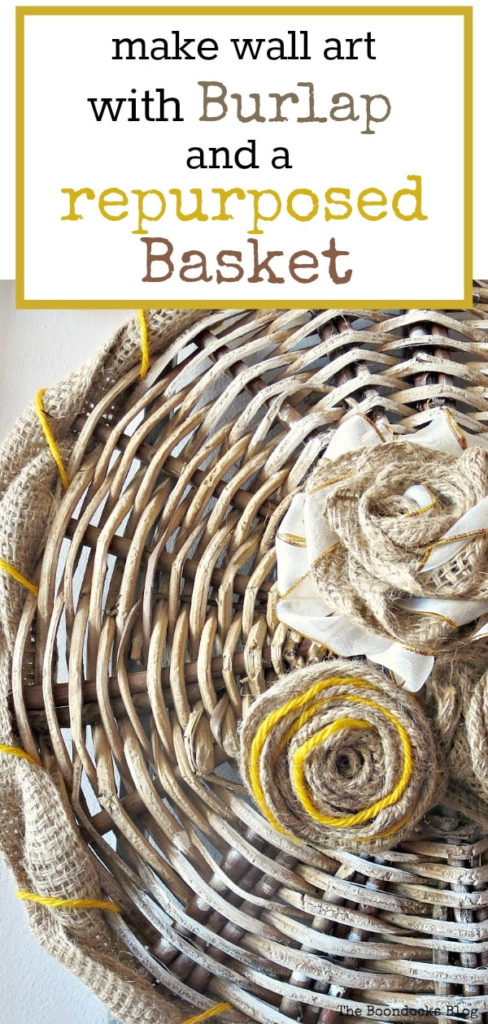
Wicker weave, even when old has just such beautiful texture and dimension that it’s great to hold on to whenever possible. See how you can create a beautiful shabby chic wicker basket upcycle with just a few materials!
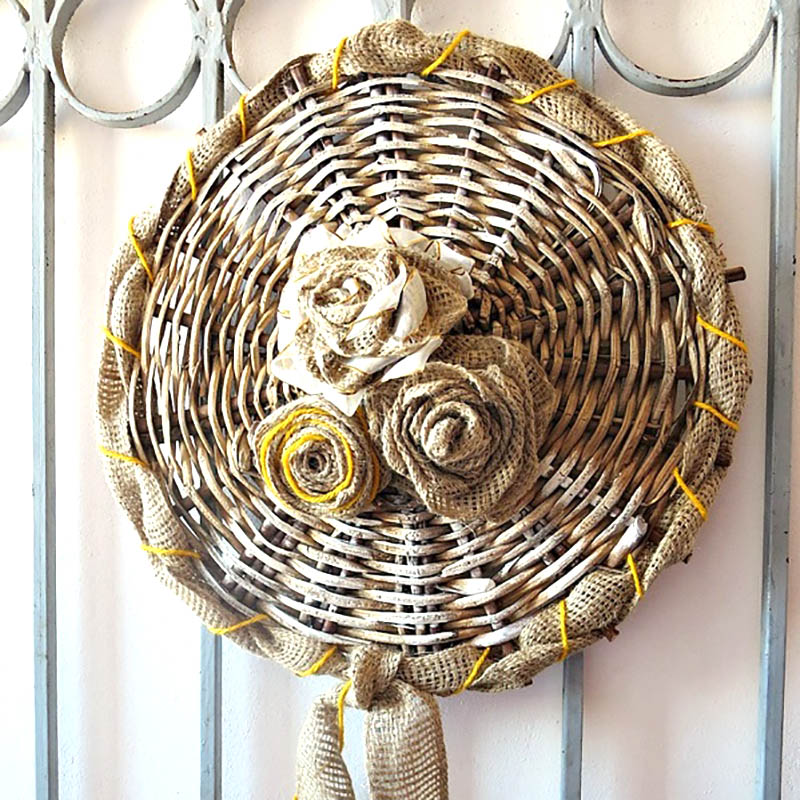
DIY Wicker Basket Upcycle
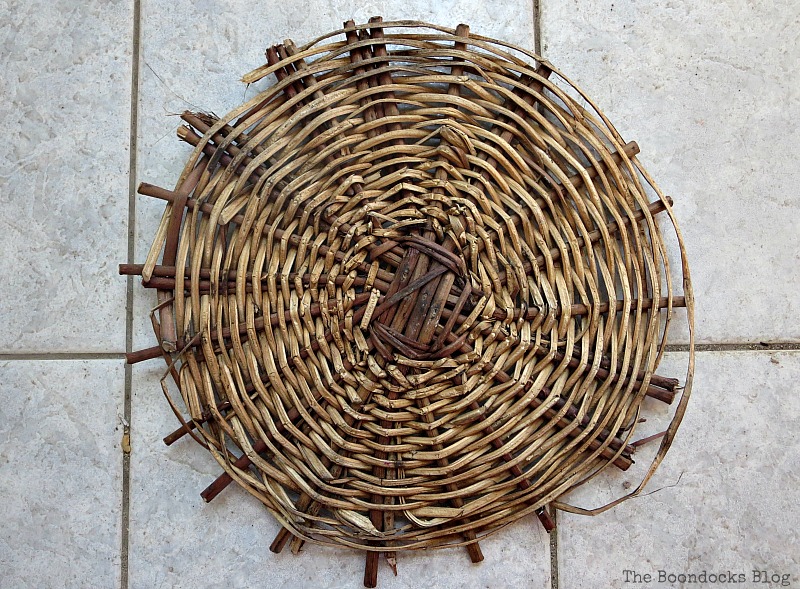
Do you all know what it is? It’s the bottom of an old basket. Yes, the bottom fell out of the basket.

Initially I was going to burn it in the fireplace but I liked the pattern so I kept it thinking I would do something… anything but let it burn.
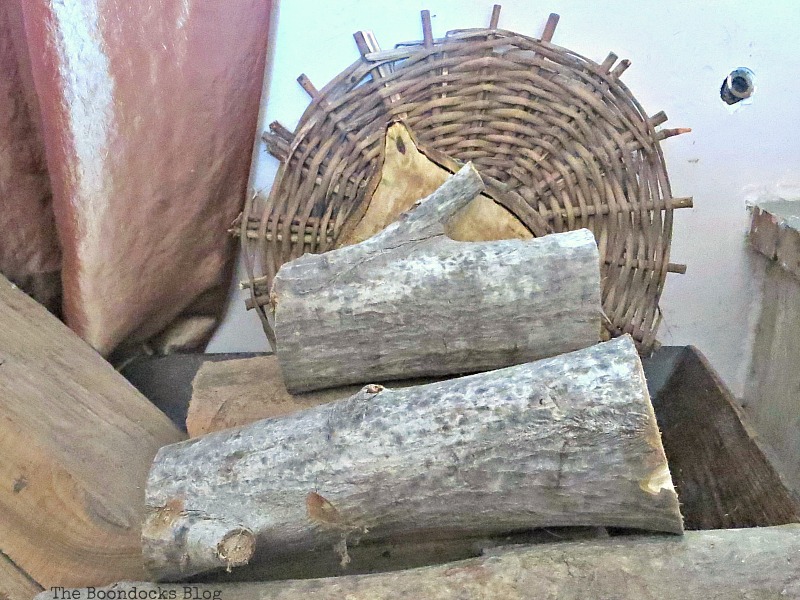
I went to my trusty paint stash and selectively added some white.

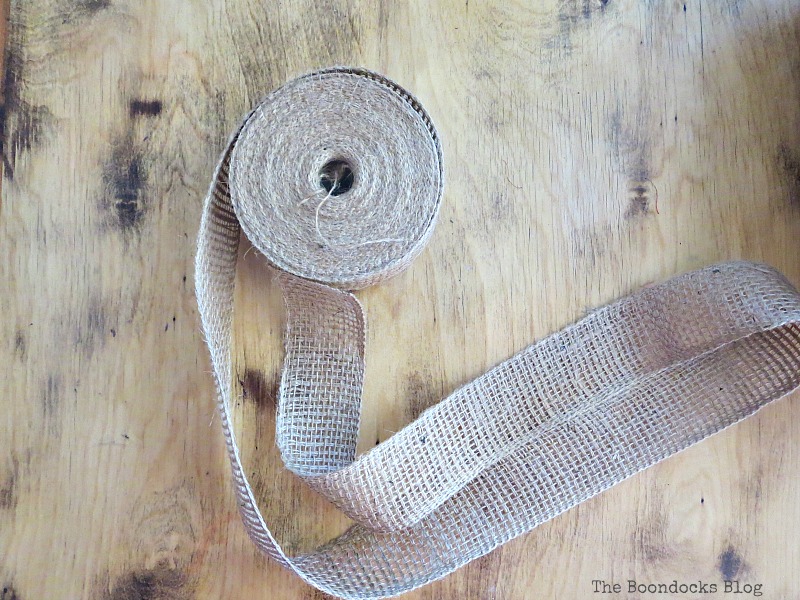
I had recently bought a whole big roll of burlap ribbon and was itching to use it somewhere. This was my chance!
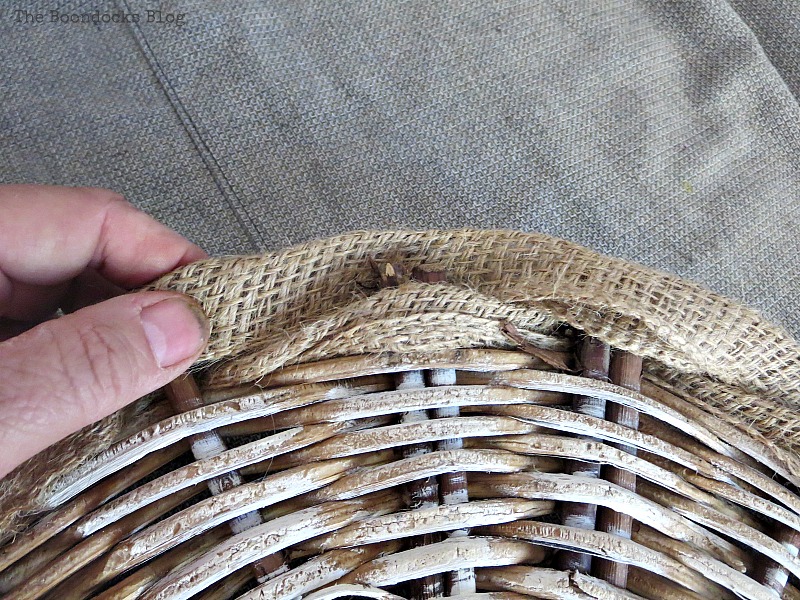
I folded it in two and threaded it around the edge of the circle, like this.
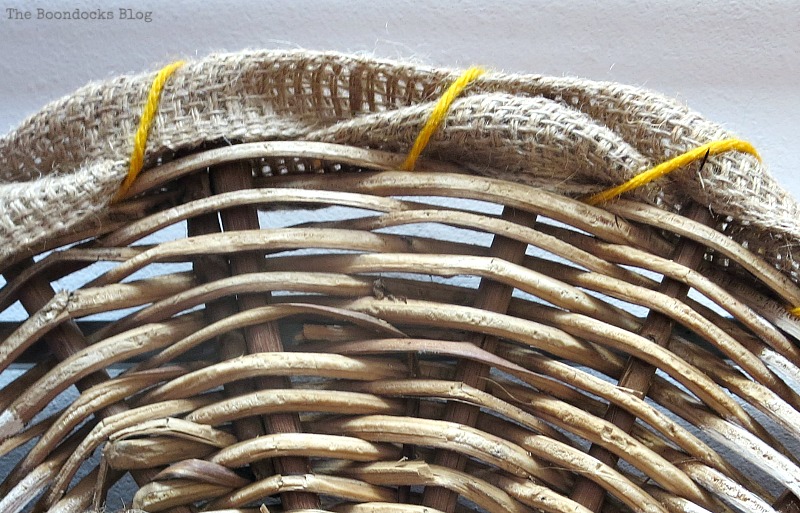
I then threaded some yellow yarn through the twigs and the burlap that way it will stay put! And it also gave it some much needed color.
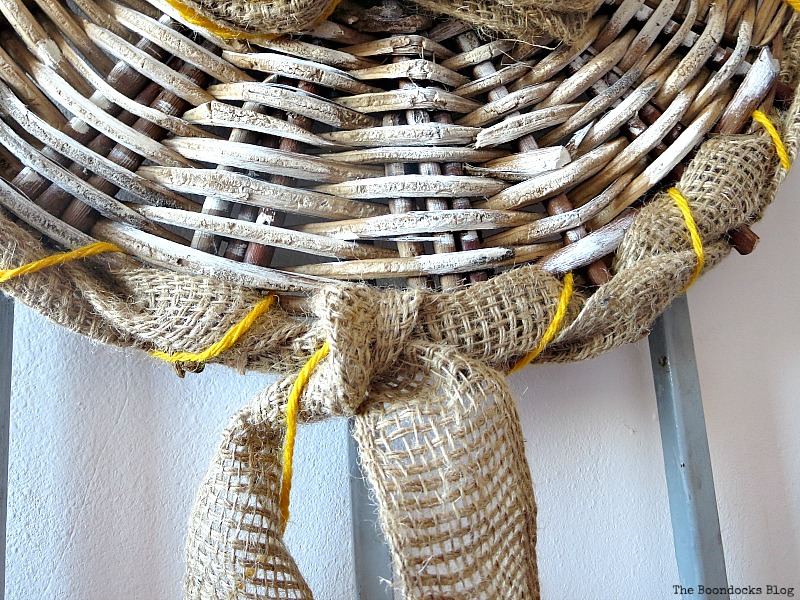
I tied the ends on the bottom and artfully arranged the yarn!
The last step was to add something special to the center. Since I had that great big roll of burlap I tried to create some burlap rosettes… this was an epic fail. I’m not going to show you how I made them. Instead you can go to You Tube and learn from the experts of which I am not! And the proof is here!
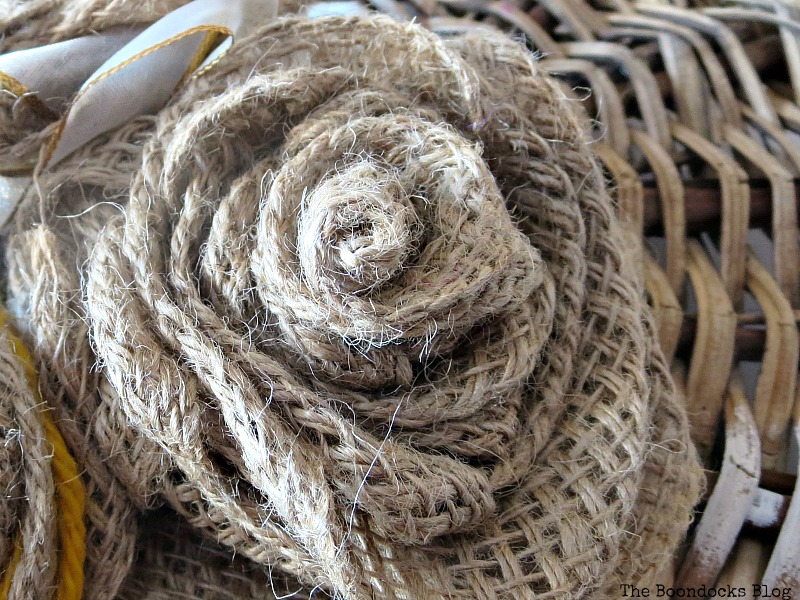
On this one I just threaded yellow yarn in the flower.
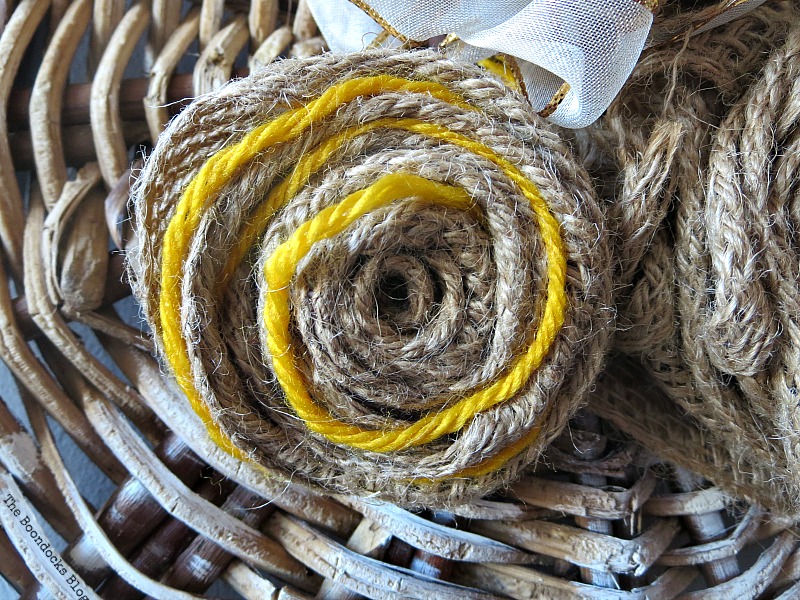
Here I attempted to get fancy and did the rosette with the burlap and a white and gold ribbon… because I’m so good I can afford to get fancy…lol!
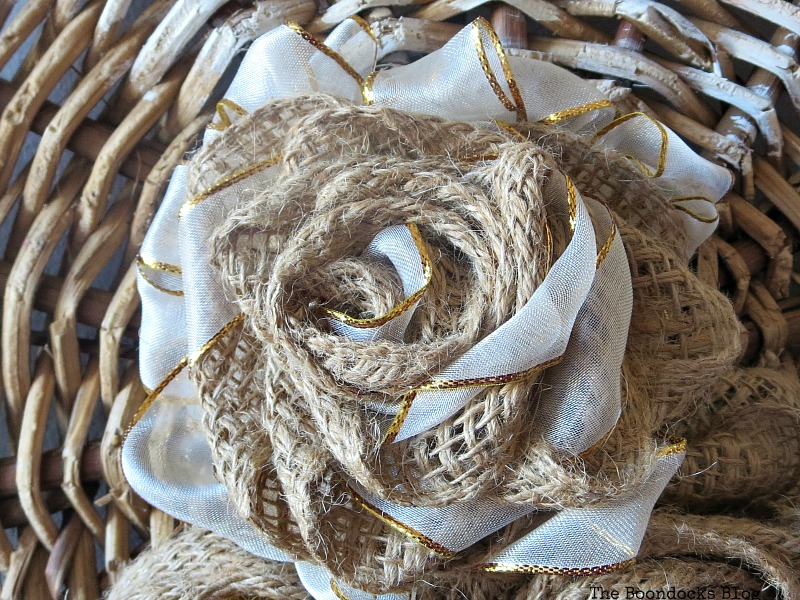
I tried to glue all these flowers to the basket bottom, which should not be called that anymore. It has been upgraded and is now … a crafty bottom! Not having the patience to wait for the glue to dry so I used some wire and attached them to the back.

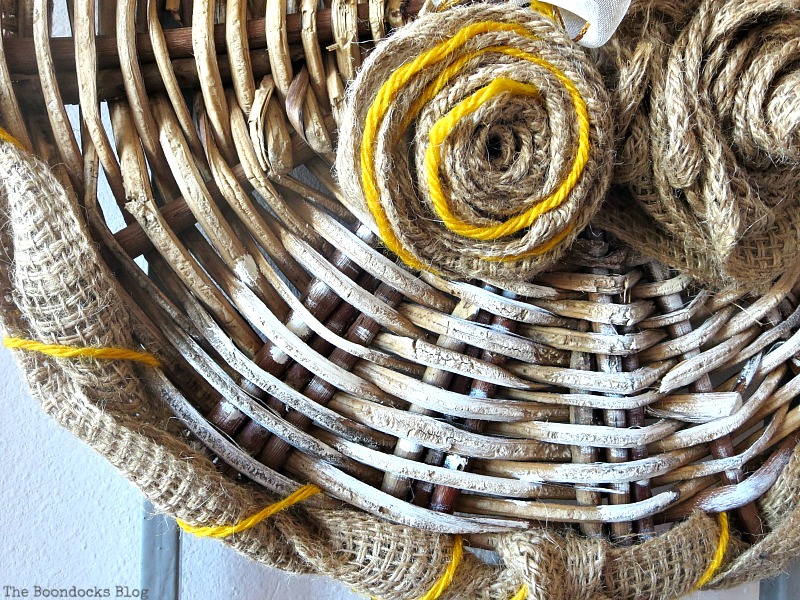
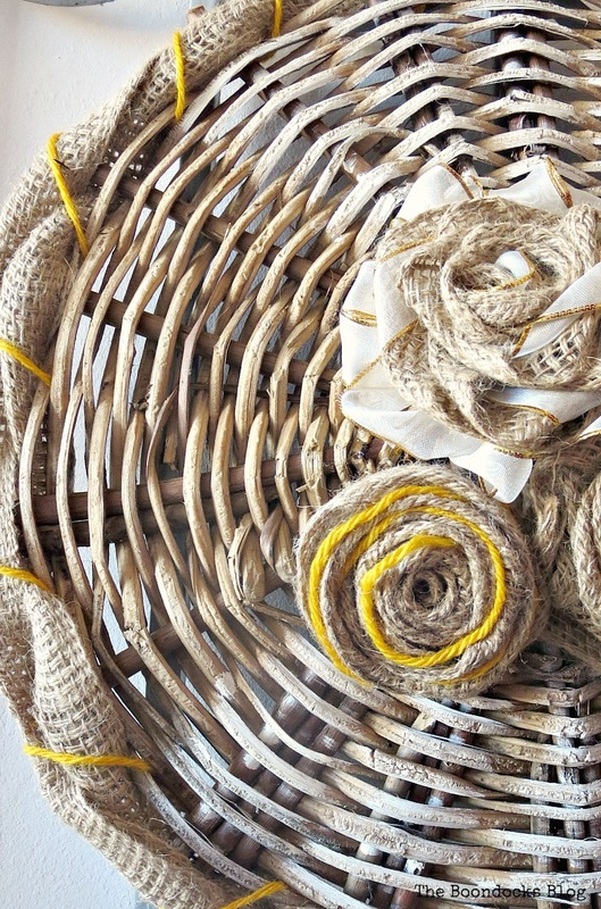
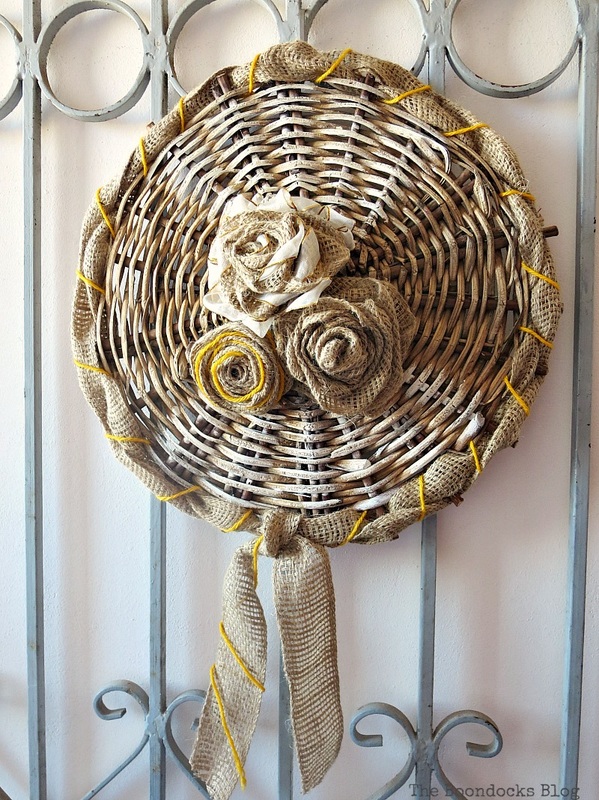
And there it is – my crafty Bottom. I don’t really know what you would call it. A wall hanging? I certainly would not go so far as to call it art…lol. All I know is that I saved that poor bottom and turned it into something pretty. I do believe this is the junkiest piece I’ve ever repurposed. What have you repurposed that you had considered to be junk?
If you like what you see, share it with your friends, or save it on Pinterest. If you really like what you see subscribe to my blog and get my adventures twice a week in your mailbox.


Wow! Brilliant! I love the flowers— I love the whole project!
Thank you so much Gigi, I love when you start something and don’t know where it will take you.
If YOU love it, that’s all that matters 🙂
Connie it was ready for the dumpster before, since I was able to save it, well it has taken on special meaning.
Beautiful recycle wreath
Thank you Anita. Sometimes all it takes is a little thinking outside the box.
This is like making a silk purse from a sow’s ear!
Beautiful recycle!
Aww thank you Ellen for your very sweet comment.
This is called trash to treasure! Hugs
Yes Sandy! That’s exactly what it is, thank you for your sweet comment.
Total win. Love it.
Thank you Michele, it was an inspired idea and I was able to save what I had originally thought was headed for the fire.
I love me a good upcycle. Slap on some burlap and it’s even better! I love what you did with an old basket bottom. So ingenious!
Thank you so much. You never now what can be saved.
I am so glad you didn’t throw that basket bottom away! They are very useful as you proved with your pretty makeover. Your burlap roses look great!
Thanks AnnMarie, those burlap roses took a while till I got the hang of them!
Love how you turned this into something pretty. Found you on Sunday’s Best Linkup.
Thank you something, even the humblest of things deserve a second chance.
I’m so glad you didn’t throw in the towel Mary! I love what you did! It’s really thinking outside the box, it’s repurposed and it’s different. All wins in my book.
Thank you so much Linda. Sometimes inspiration strikes with the most mundane things.
I had not seen this before, and I am impressed with how you consistently create something nice out of nothing. It looked like fire kindling until you created with it.
Now its so pretty and all the textures stand out, perfect for a garden or patio area, its very very nice.
Leanna I did not have a create bone in my body till I started blogging. It has opened me up to so much creativity and it feeds on my brain while I sleep!
Wonderful wall art! I would’ve have ever guessed that this was the bottom of a basket! I love the flowers you made. So pretty!!!
Thank you T’onna I managed to save the bottom and learned how to make the flowers so it is a win-win!
Hi Mary,
Very Pretty piece. Has a country girl feel.
Thanks Michele, I was so happy to be able to save it
Absolutely brilliant! I especially love the three flowers in the center! -Marci @ Stone Cottage Adventures
‘Featuring your post at Tuesdays with a Twist!
Thanks so much Marci, it had such humble beginnings.
Hola Mary me encanta tú trabajo…….una idea genial!!
Precioso….BESOS
Muchas gracias!
Thank you for sharing this on the Whisk It Wednesday Link Party At Carrie’s Home Cooking. Tomorrow when the new party begins you will be one of the featured links! Have a wonderful week! ~ Carrie @ Carrie’s Home Cooking
Thank you so much Carrie, I really did not expect this to be so popular when I made it. 🙂
This, Mary… this is a wonder! How on earth do you see all this potential? I love it. Such a good save.
Thanks Julie, sometimes I ask myself the same question. 😉