How to Get Two Unique Makeovers from One Chair
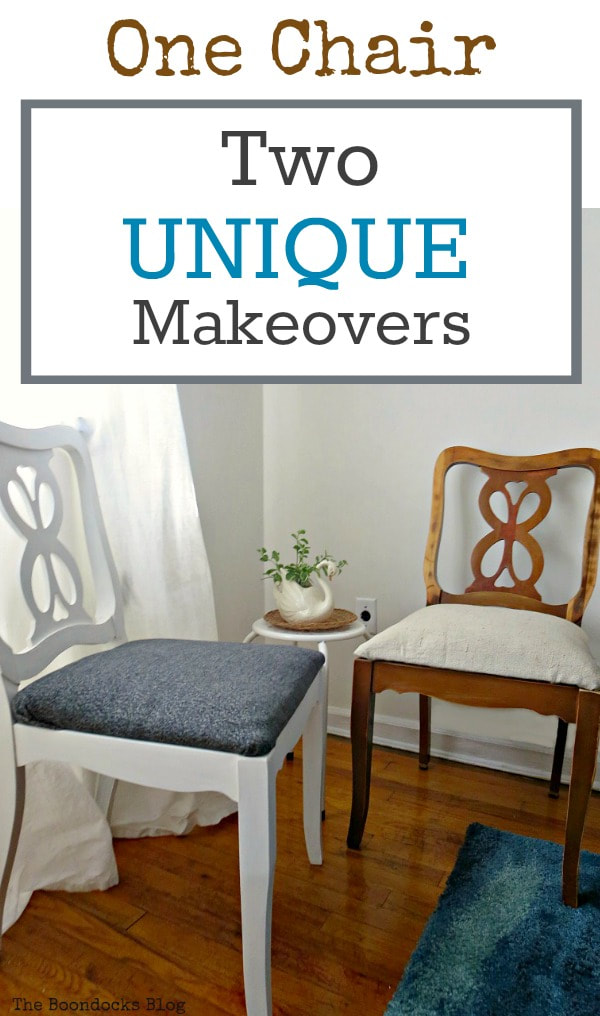
One style of chair gets two completely different makeovers with a little paint and repurposed fabric. Perfect for a home office or accents.
Last week I shared the reveal of my girls’ room with you. But I have a confession, even when a room is finished, there is always room for improvement. In this case we needed a chair for the computer desk, because that ottoman that my girl was using was just not cutting it. I needed to find a better solution pronto- that poor ottoman was getting squashed.
After a quick trip to the basement I found not one but four of these chairs. Well I only needed one, but thought I should redo two of them. Because you never know… And so I ended up getting two unique makeovers from one type of chair.
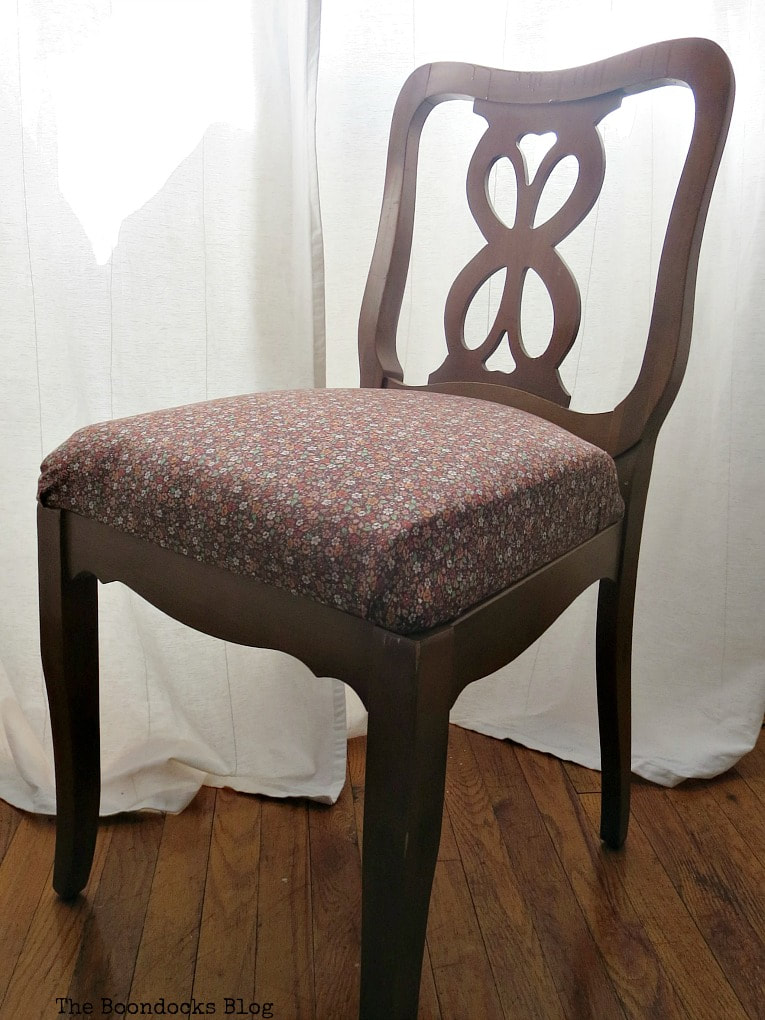
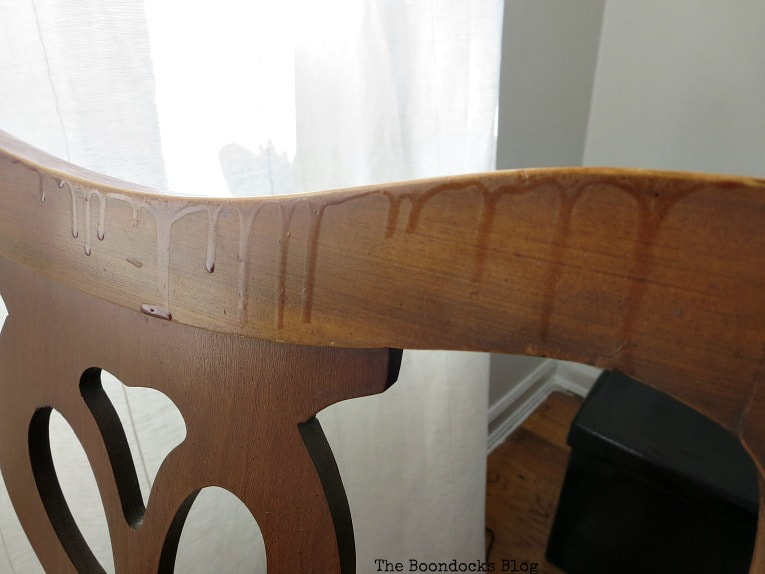
They may have looked alright in the first picture but upon closer inspection you can see the drips of dried stain that someone had painted a long time ago.
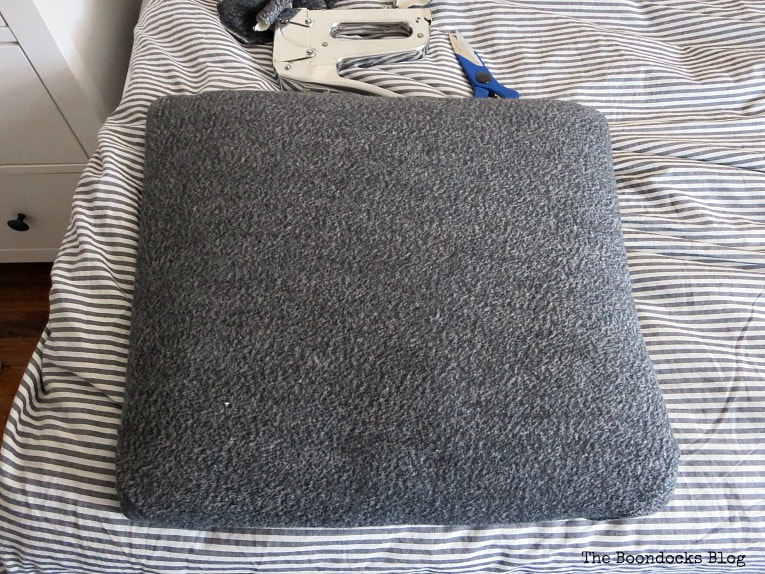
Also, those cushions were too high. I had added them a few years ago but they were not comfortable at all. So I had my work cut out for me – to redo the wood skeleton and remove the extra foam.
Disclosure: This post contains affiliate links for your shopping convenience. If you purchase any of these products through the links, we receive a small commission at no extra charge to you. You can find our full disclosure here.
What I Used:
- Power Sander
- Sandpaper
- Decoart Americana Chalky Type paint in Everlasting
- Decoart Creme Wax in Clear
- Hope’s Tung Oil
- Pieces of Fabric for the upholstery
- Staple gun
- rags for wax and for the oil
The How To:
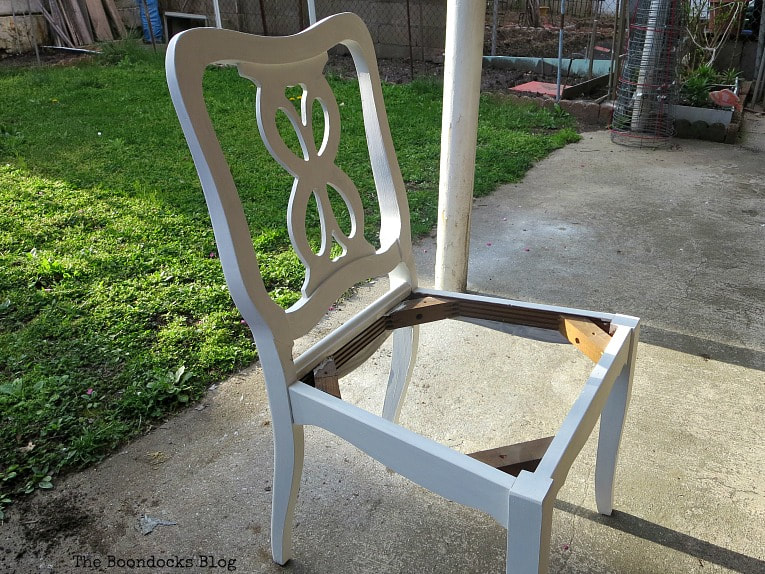
First and foremost, I had to sand away those drips that I showed you. Once they were out of the way and the surface was smooth I just painted the whole chair with the Chalky finish paint. Three coats covered the dark wood, and the paint dries in 10 minutes so you don’t have to waste your life waiting for it.
I didn’t have to sand the whole chair, please no! Chalky paint is very forgiving that way. To protect it, I added wax. You can see all of the products I used at the end of the post.
Then it was time to reupholster the chair. I removed the old foam that I had added years ago which made it hard to sit on the chair and just added a thin layer of batting.
Oh, and since I like to be thrifty, that fabric came from an old sweatshirt.
I won’t show you how to reupholster here but there’s a handy tutorial for how to reupholster a chair over on Sustain My Craft Habit. For my purposes I didn’t have to remove the bottom layers of stuffing.
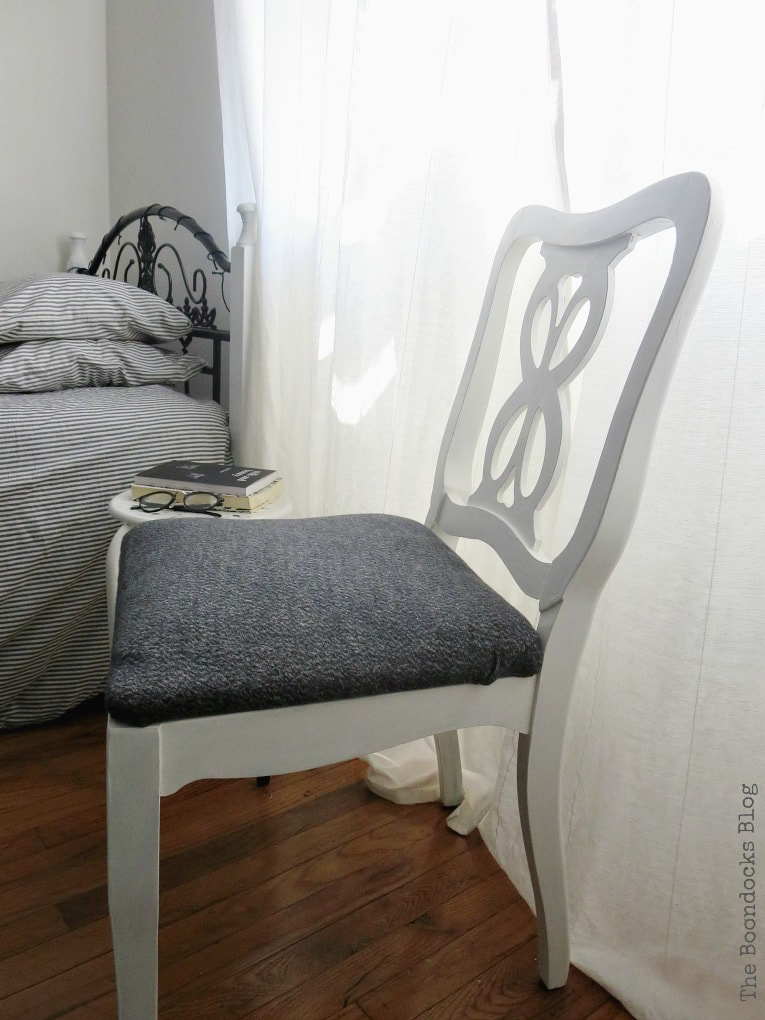
There it is, Chair No. 1. It is simple and just perfect for the girls’ bedroom, with the black and white theme.

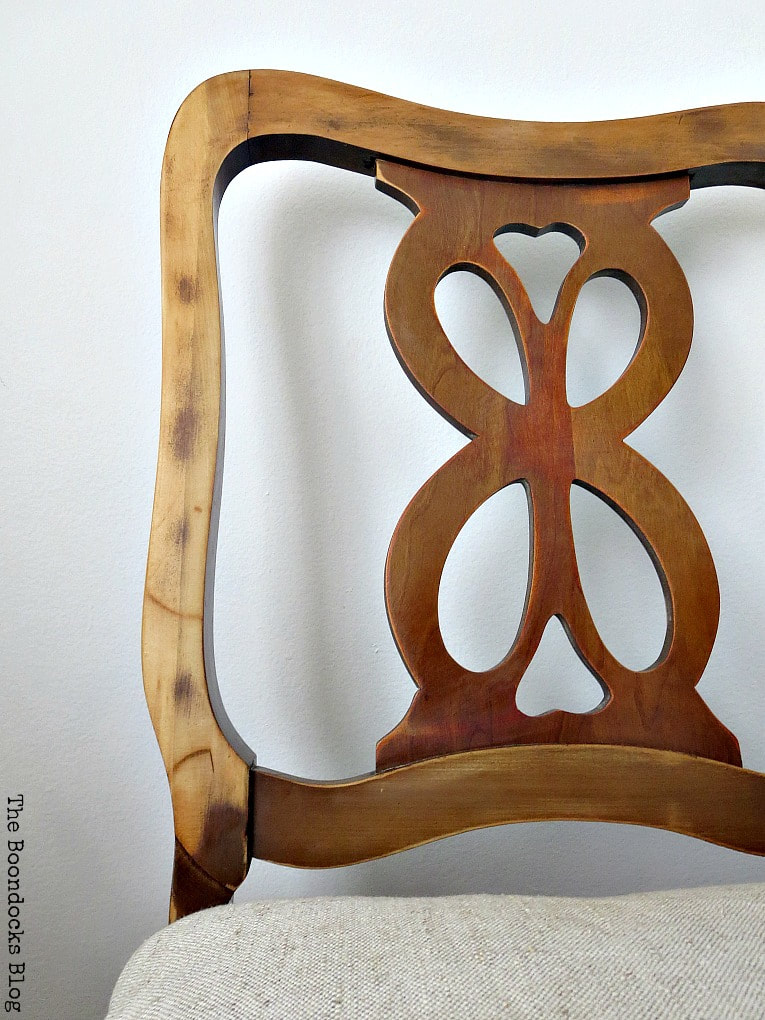
The second chair got a totally different treatment. It will be going in another bedroom which has wood tones so instead of painting it I decided to keep the wood…with a few modifications.
While I was looking for the sweatshirt to cover the first chair I also happened upon this t-shirt in a grey cotton. And being that I am a bit lazy sometimes, I just stuffed the seat into the t-shirt.
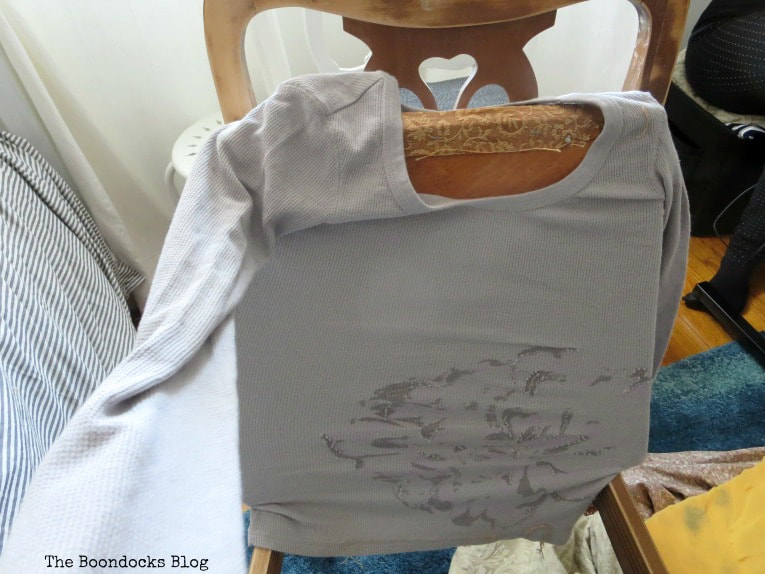
If it didn’t have that seam in the back I could have gotten away with using the t-shirt as I just showed you. I would’ve just tucked the sleeves underneath. Unfortunately for me, I didn’t like this look with the seam so I covered the cushion with a linen fabric.

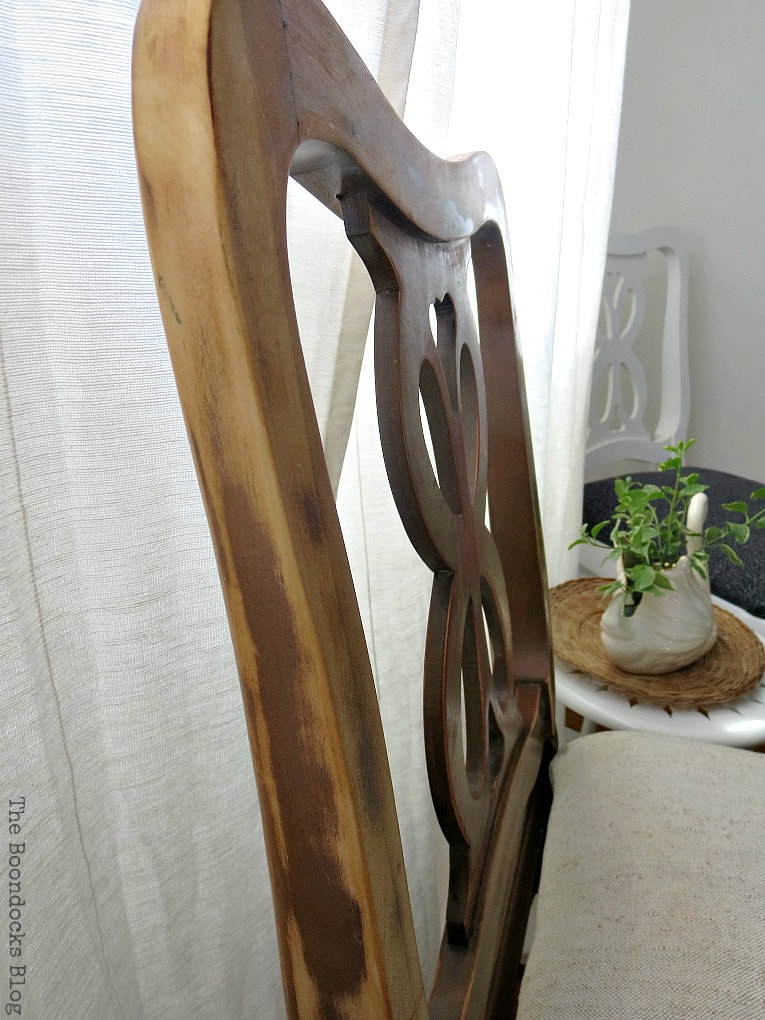
Now like I mentioned before, I was going for a different look with Chair No. 2. I wanted the wood to shine, so I sanded in certain places and not so much in others. After all a little distressing is good for all of us! There was no method to it, I just wanted to get rid of a lot of the dark wood stain.
Once I was done sanding I rubbed it with Tung Oil. I used a rag to rub it in, and then wiped it off. I’ve used this before on my Mid Century cabinet.
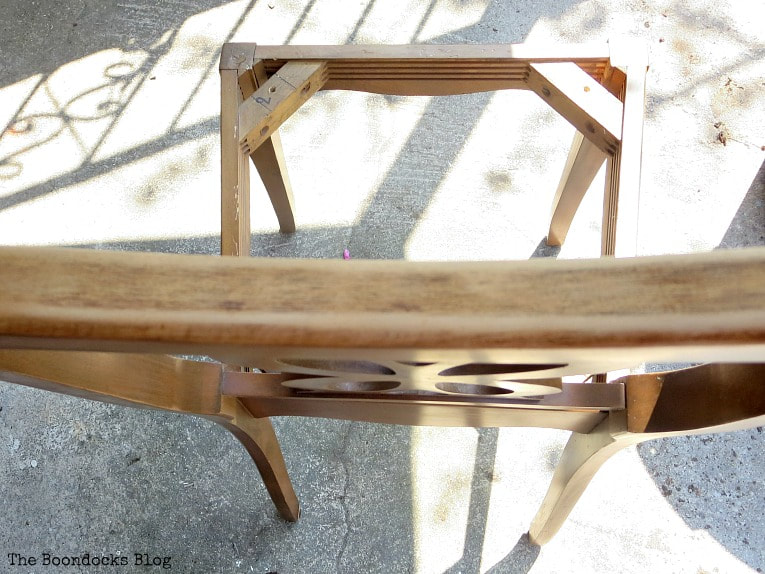
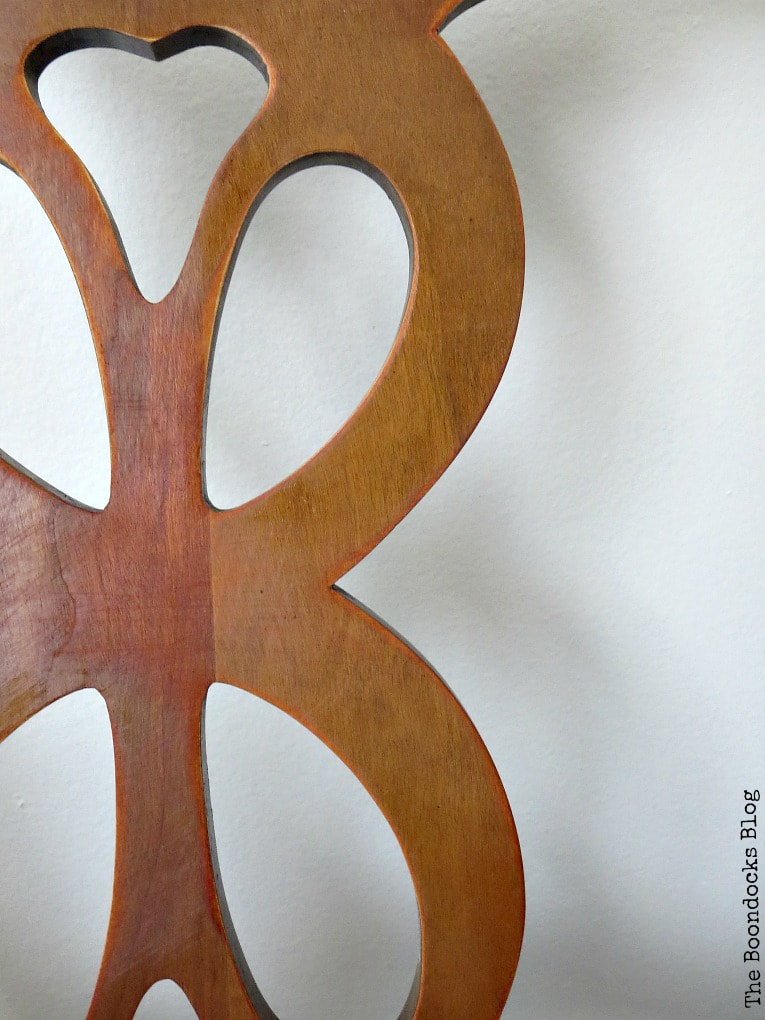
This piece in the center must have been made with a different wood. It did not distress easily as with the outer frame. And when I applied the Tung Oil it gave the wood an orangy finish. The outer frame of the chair has a sweet honey color to it now. Sometimes you just have to follow the furniture and not the other way around.
I also distressed it in random places on the legs. Hmmm… things you don’t notice till you see them in photos, it looks like I’ll need to tighten the screws on that seat. Keepin’ it real folks!

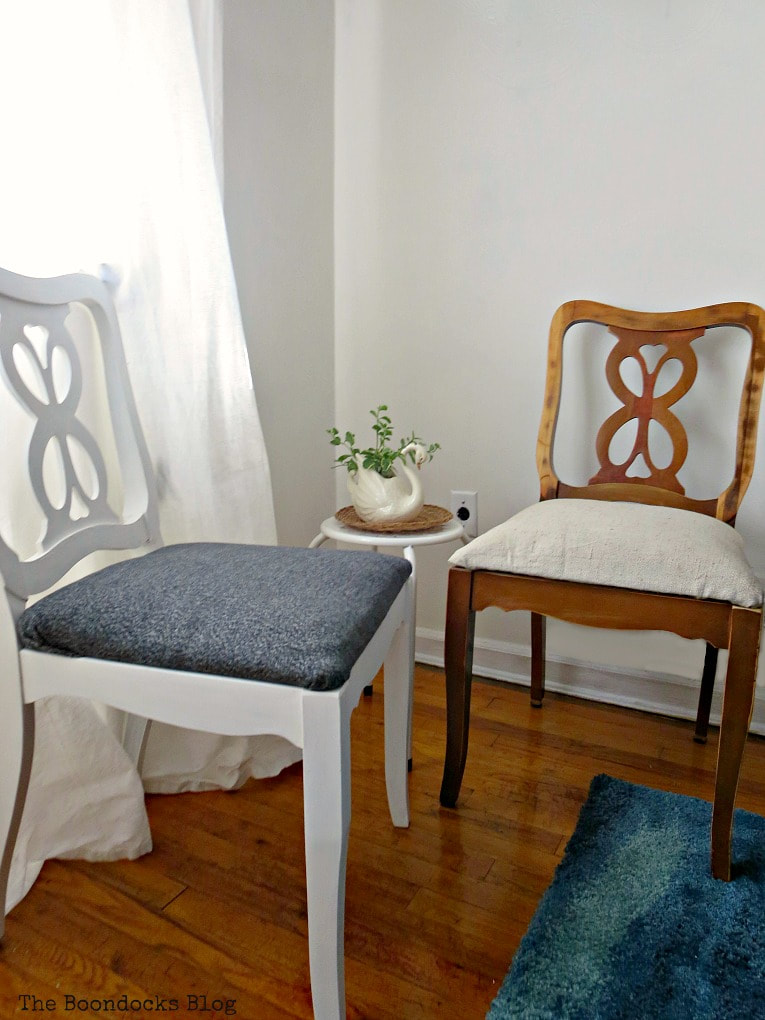
And here are both of the chairs. Totally different look from the same chair.
By coincidence my friend Christina of Art, Decoration and Crafting also transformed two French cane chairs into two different looks. She lives in Greece and I joke with her that we must be twins. Even if we had been neighbors we could not have come up with the same projects.
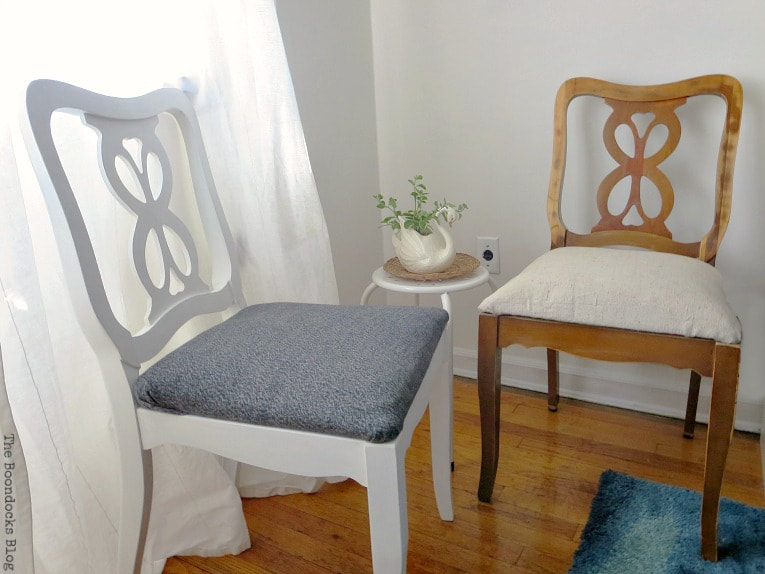
I think using solid fabric really shows off those curves on the chair frames. Before with the patterned fabric it was as if the frame had to compete for attention. We certainly don’t want that! Now that pretty design gets to shine.
Now my girl will be able to sit at her computer and not sink to the ground. You can see how well the chair blends in with the rest of the room too. I think the way it has been made over makes it feel very modern.
Sometimes you just have to follow a room… as in the case of the white chair. Or you have to follow the wood and let the chair tell you how it should look. And that is how I got two unique makeovers from one chair.
My daughter also thanks me for doing this because now she is sitting pretty. Which chair do you like better?


I like the white one best!
Oh it looks so perfect in the girls room. I am so happy I didn’t listen to them. When we started working on the room they told me they were happy with the black ottoman but it proved to not be up to the challenge.
Mmmmm I actually like them both Mary. The one is all rustic and farmhousey, while the other one looks all cool, calm and collected. Not sure if a chair can actually do that but there it is 😉
I like each one for its purpose. The white is perfect for the girls room. The other one which is more rustic is for my bedroom which is going in a different direction.
Oh. My. Gosh!! They are totally awesome! Did you catch a butterfly and turned it into a chair there??
Haha Gabi I never paid attention to that detail till I started work on the chairs. I guess you get used to certain things you just don’t see their beauty till its time for a makeover.
Another great makeover. I like them both but lean more towards the painted chair. Isn’t it amazing how the two chairs have such different looks depending on what you do to it.
I really enjoyed doing this project. It really shows how paint can transform a piece of furniture. And they are each perfect for their respective rooms.
It’s so wonderful when you can get two projects done with 1/2 the planning! LOL! I REALLY like the DecoArt Americana chalk paints and liquid wax. I used the Everlasting paint color AND the clear wax on my dresser and it’s one of my fave pieces I have done! Has worn VERY well, and it’s going on two years. 🙂 Thanks for sharing, Mary!
I also love their products Julie and have used them for years. Now if only there was a product that would sand for you without any work!
Girl, do you do something every single day with makeovers, rehabs, make from scratch? You really need to start teaching classes. Cute makeovers. I really like the painted chair. Hugs and blessings, Cindy
Thanks Cindy the truth is I’m trying to get this house to look like someone actually lives here who knows what she is doing! Haha! I think you could teach a class or two yourself. I really liked how you saved those hinges.
Sounds like you could open up a shop just with the stuff in your dad’s basement Mary :). Guess the apple didn’t fall far from the tree!
Doreen I need to get my house in order first. I sometimes wonder how I would have painted them if there were to be sold.
Love to see how you did them both. Bravo!!
Thanks Larissa, I still have two more I wonder how that will go.
Mary, you never slow down! Great job on both chairs. 🙂
Stacey I have a whole house to fix up, I cannot slow down!
Beautiful looks for these chairs! I haven’t used Tung Oil like this before…wowzers. That wood is amazing. Definitely a keeper! Thanks for sharing. Pinning to my Furniture board.. ~~ Susie from The Chelsea Project
I got it because I was curious to see how it worked and I have to say I was pleasantly surprised Susie.
I looove the white chair and it does blend beautifully with the room. Great job!
Thanks Karen, that little black stool they had was at the end of its life.
I love what you did with the chairs. What a transformation!
Maria
Anything was better then the drippy varnish that was on them before.
Wow, you are so lucky to have that basement! I can’t believe you got two more of these beauties down there! I love the chairs, in white and in wood, both beautiful Mary!
Thanks Katrin, maybe I’ll put the other two in two more rooms and get even more looks out of them.
Even though grey really isn’t my favourite colour, I have to admit I like the white one better…
It’s that clean look that can go with any color at all Marjan. Can you imagine it with one of your cool crocheted pieces?
Hi Mary, both versions are a vast improvement on the original chairs. I usually prefer a natural wood look, but I must say I prefer the white version. It looks fresher. Your girls are lucky to have such a handy Mum!
xx
Each look serves its purpose Debbie. My girls love that clean look of white and black while I prefer a more rustic look. I think with this house our tastes have really changed and now I actually have some skills so I can achieve what I want.
Great ideas redoing the two chairs!! I love the different looks ~ I did something similar with the four chairs I sanded and painted white for our dining room, but I kept two the original wood finish. 🙂
Glad your girls will have a better chair for doing their homework,
Barb <3
Barbara I am so over that idea of matching things. Now I just try to make everything fit in and functional.
Mary, I can’t believe how different they look. I don’t know that I would even recognize that they came from a set, unless I saw them sitting side by side.
They each look lovely, I can’t pick a favorite! But the white chair sitting in front of the billowy white curtains is a perfect picture!
Thanks Nikki. That white one is in the girls room which is mostly black and white. And the other one is in my room holding a pile of clothes. Lol!
You did a great job on both of them Mary! They both turned out beautiful, but my favorite is the chalk paint finish.
Ahh that white one seems to be a favorite. It looks so much cleaner now.
I love them both! I am an avid crafter and recycler myself!
New fan from the sharefest link party
It’s hard to choose one, isn’t it? They each look great in their rooms.
Love them both Mary! What a great makeover. Thanks for sharing with SYC.
hugs,
Jann
Thank you Jann. Let’s see what I will do with the other two.
Both are lovely but I’m especially liking the painted one as it goes so well in your girl’s room.
Thanks Julie, it really fits in great and that sweat top was the perfect material for the white chair.
They both look great, Mary! Thanks for sharing at Vintage Charm!
Thank you Cecilia, who says they all have to match!
Great job on both but I really love the grey! Thanks for sharing with Party in Your PJs!
Thanks Lynda, it seems everyone loves that one too.
Mary, I love the style of the chairs. Usually I would say keep the wood unpainted, but I must admit the white one looks really nice. Lucky daughter 🙂
Kathleen
The Blogger’s Pit Stop
Thank you Kathleen in her room the wood chair looked like a clunker. So that is why we painted the one and I kept the other which has a different look for my bedroom.
I am always so impressed with your DIYs, Mary. This post is no exception. I love them both…and where do you find your energy?
Hah! I wish I knew Kim. I was in a rush to do a lot before the puppy came so now my work has slowed to a crawl.
Both are great makeovers and I like them both. Very pretty. Thanks for sharing at #HomeMattersParty
Thanks so much Donna!