Turn a cheap, old, MDF board bookcase into a new upcycled bookcase. Read on to see my blunders so you can avoid painting mistakes, save money and transform your space
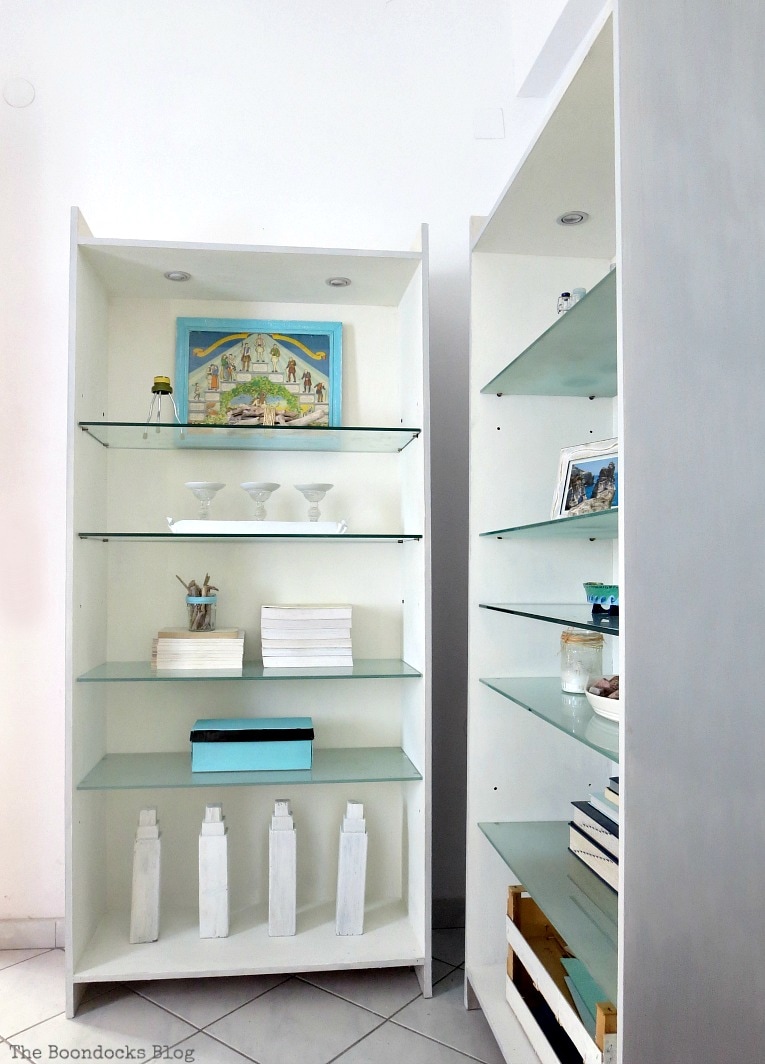
If you have been following me at all you, may have figured out that I am working on a space which we shall call “the small apartment”. We are in the process of downsizing a bit and we will make this space our main living area since it is less footage.
So far I’ve shared some areas of this space with you, the beach table, the trunk and the happy chairs just to name a few. Today I am going to show you an upcycled bookcase project using Old Fashioned Milk Paint, plus show you how to avoid mistakes.
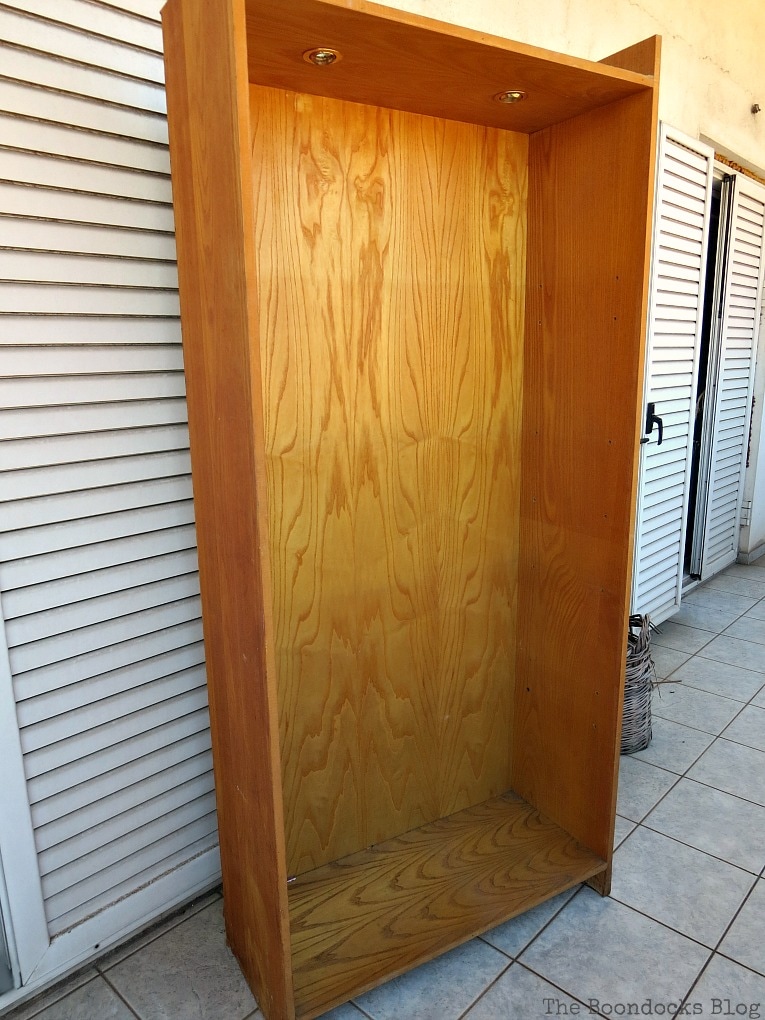
At this point you might be thinking, “what is she going to do now?” You know me and paint, we go hand in hand. Yes, I painted this and another one and I have my reasons.
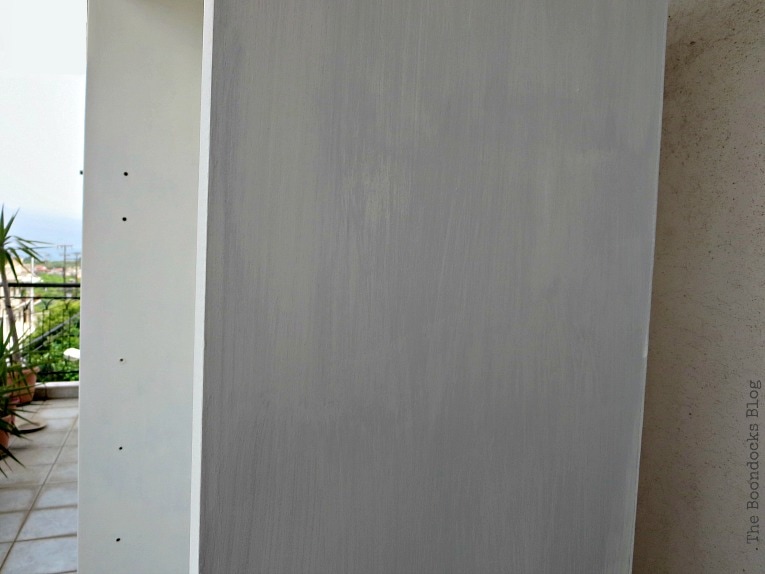
One, there were discolorations in the wood. If you look at the side of the photo below you can see that it looks like a stair with various shades of discoloration.
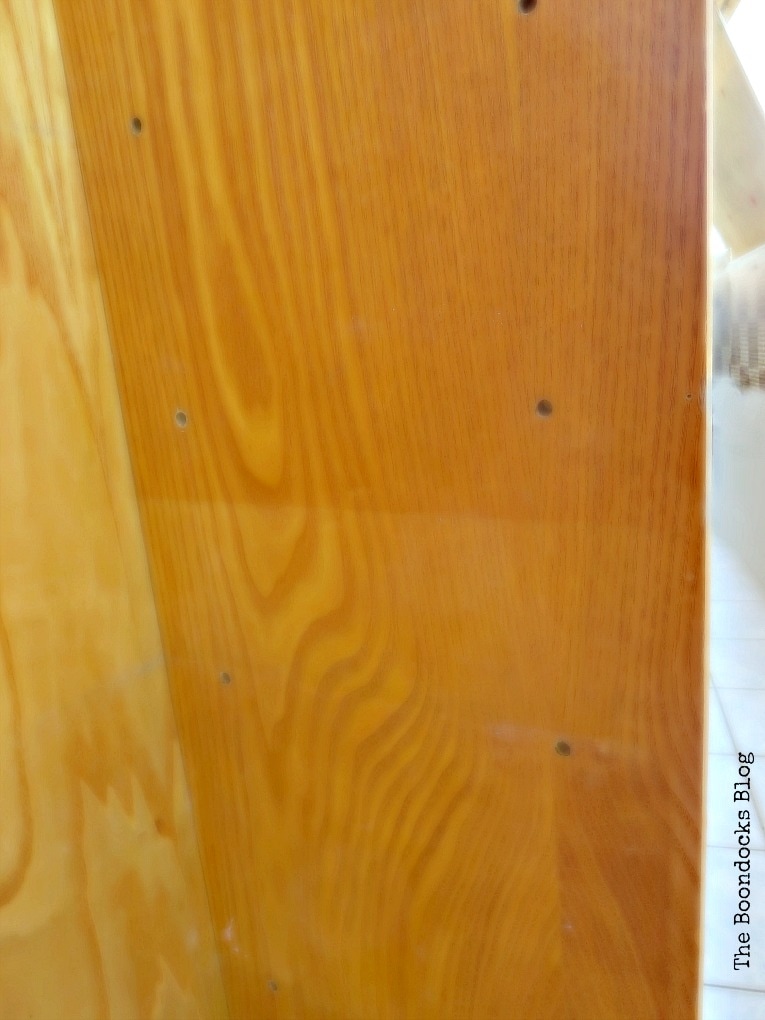
Secondly, this is not real wood. It is an MDF, Medium Density Fiberboard product, it’s more of a cheap bookcase.
And thirdly, I’ve talked about how I want to brighten up the apartment and add fun colors to it, just like I did with the happy chairs. The wood was making the room look dark and dreary if you can believe it.
I had two of these cheap bookcases and decided to put them together to make a unit in a corner.
Materials Needed For an Upcycled Bookcase Project
Disclosure: This post contains affiliate links for your shopping convenience. If you purchase any of these products through the links, we receive a small commission at no extra charge to you. You can find our full disclosure here.
- Old Fashioned Milk Paint in Snow White
- Old Fashioned Milk Paint in Pitch Black
- Daddy Van’s all Natural Beeswax and Lavender Furniture Polish
- Paint brushes
I use the Safe Paint version which does not require any bonding agent. In this way I do not end up with any chipping, something that is normally desired when we use OFMP. But in my case I was after a more modern, sleek look. Old Fashioned Milk Paint is very versatile that way. You can read more about my first Milk Paint experience here.
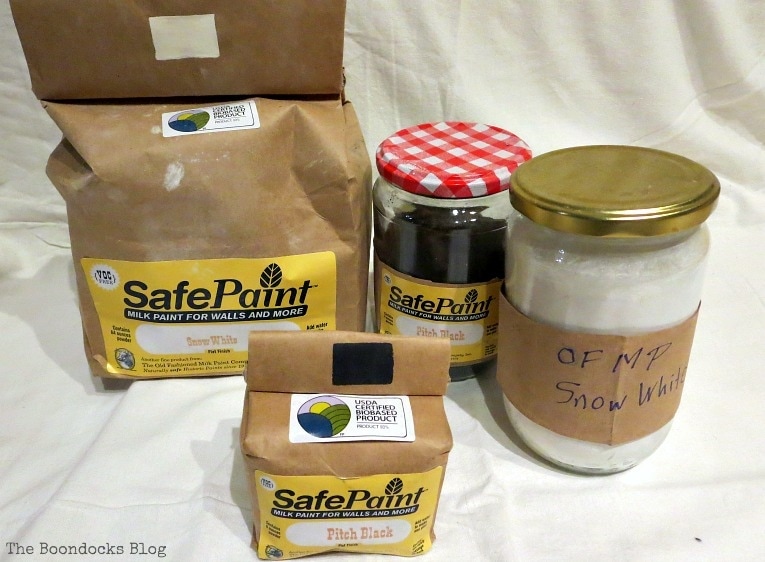
I started with my trusty Old Fashioned Milk Paint in Snow White. I mixed it with equal parts water. Here you can see it on the exterior of the bookcase. It went on nice and smooth.
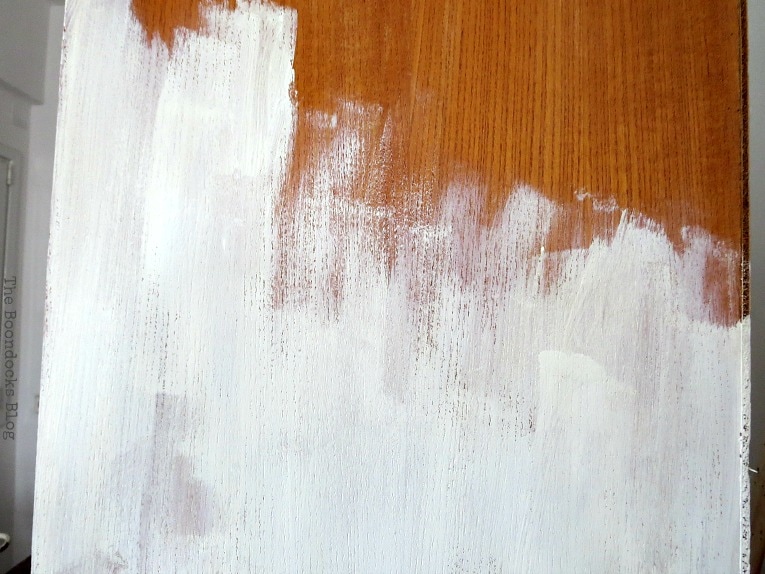
The interior of the bookcase was another story. It had a different finish than the outside so the paint did not take well to the interior. Maybe it was my fault. I think I should have had less water in the paint mixture. You live and you learn.
Now who would be so sneaky as to make two different finishes for a bookcase?
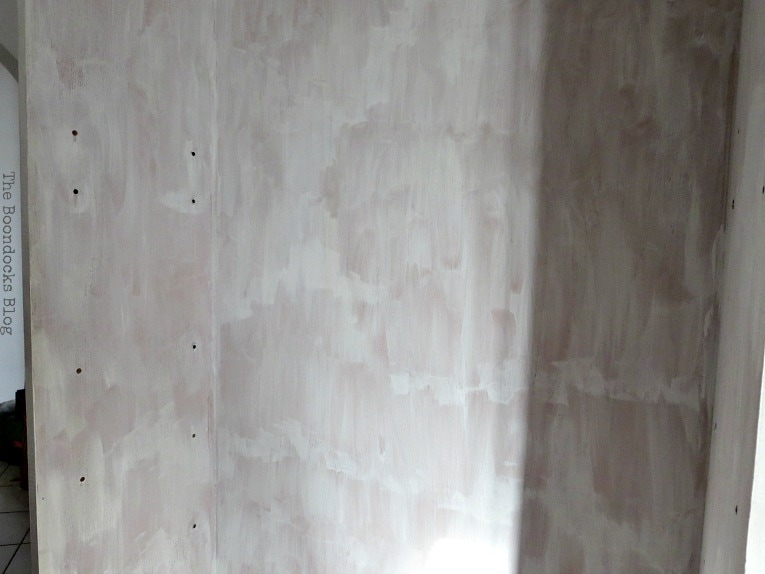
After the second coat it looked like this. Still not something that I was happy with. And so a little less water was added for the next coats of paint.
By the way, I should mention at this point that I had one bookcase on the balcony of the third floor and the other one in a spare space on the second floor, so you can just image me running up and down the stairs with my paint supplies. I painted each coat on both bookcases before proceeding with the next coat. Yes I got lots of exercise on this project!
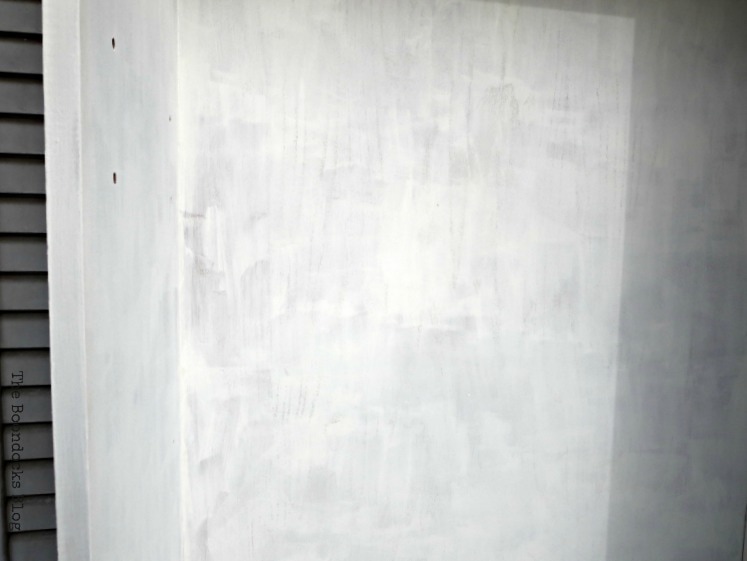
It took about 3 coats on the exterior and 4 coats on the interior but I was finally done. I was not able to avoid my mistakes, but at least I learned from them.
However, I didn’t want the exterior to be white. Do you remember my beautiful gray trunk? Well it will be sitting opposite these bookcases.
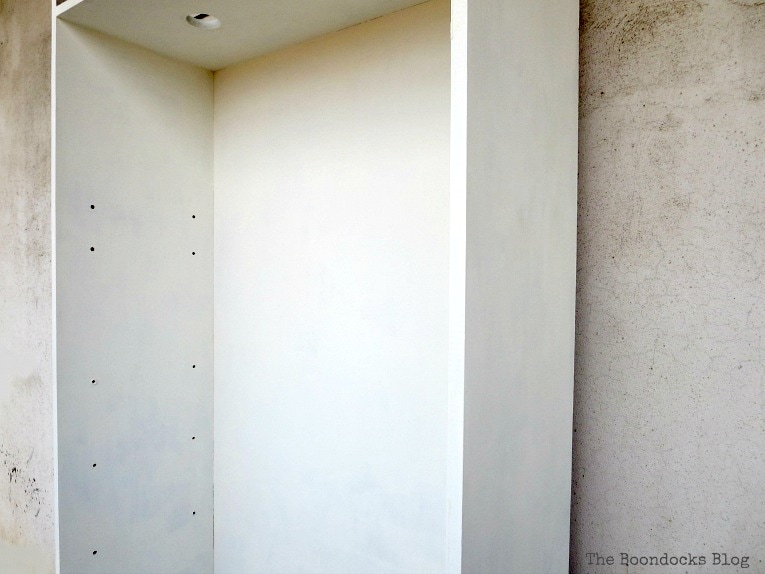
I decided to paint the exterior gray. And that’s exactly what I got, but in a much softer tone.
I wanted a soft gray so I added a bit of Old Fashioned Milk Paint in Pitch Black to the Snow White mixture and came up with this color. My own custom color. Isn’t it gorgeous? It is barely there. Just two light coats to the exterior only and I was finally done. No more running up and down those stairs.
Oops, let’s not forget the wax! The paint must be sealed in so I used my favorite Daddy Van’s all Natural Beeswax and Lavender Furniture Polish. Ahh that smell!
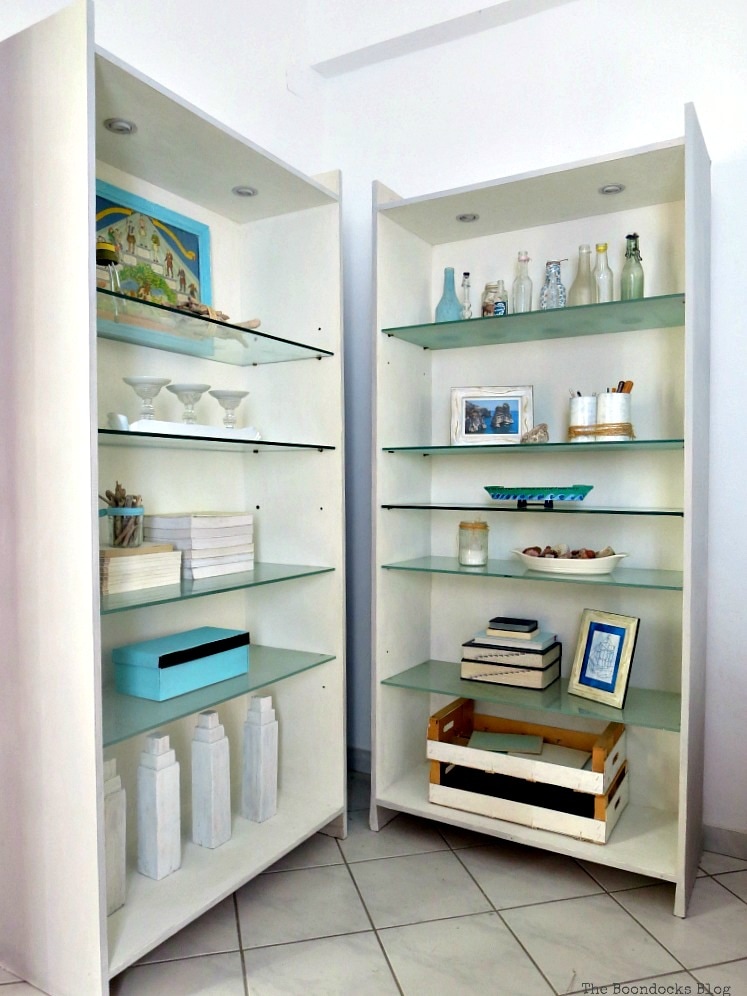
Of course the best part of the projects is the styling. I added just a few accessories to show off the upcycled bookcases. And more running up and down to find all the accessories from the third floor and bring them to the second where the small apartment is located.
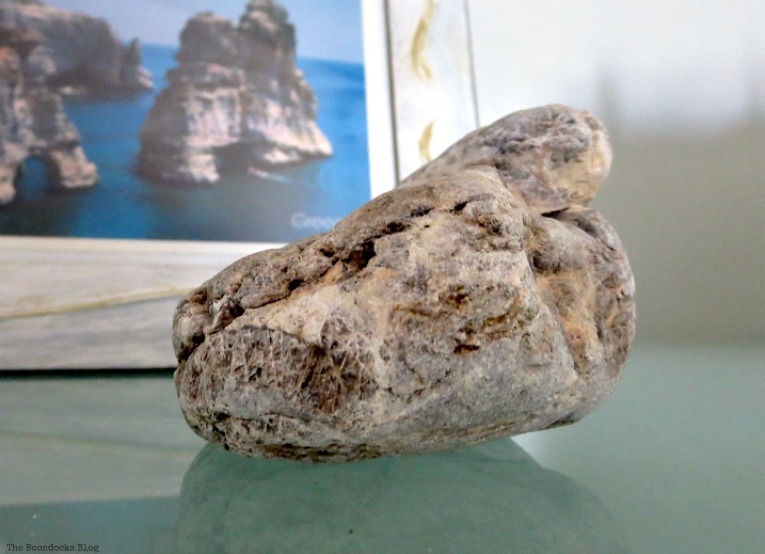
A rock picked from the beach to reflect the postcard rocks in the background.
Now remember this is styled sparingly so you can see the beauty of the bookcase. After today I will be filling this baby up with real objects. After all a bookcase needs to be functional as well as pretty.
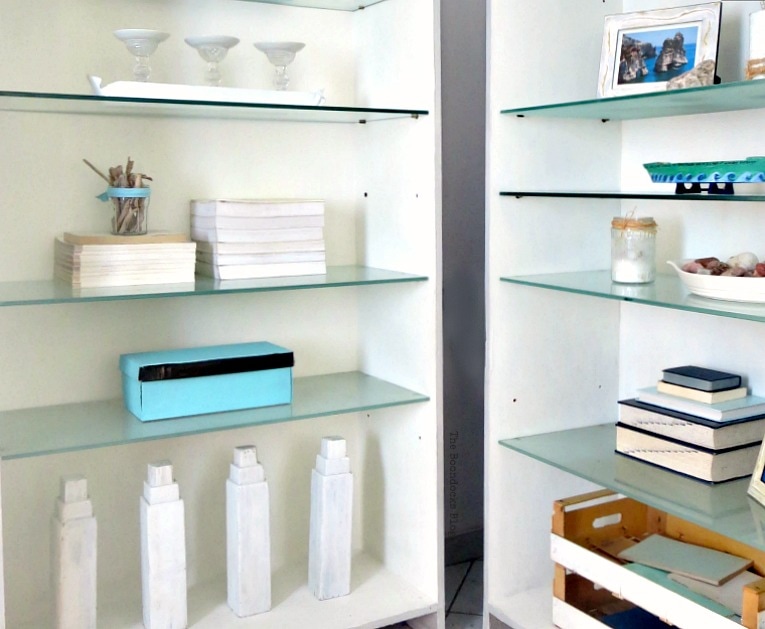
You can see I’ve got a nautical theme going on here. So easy to do, I just took a post card and placed it in an old frame which I had redone a while back.
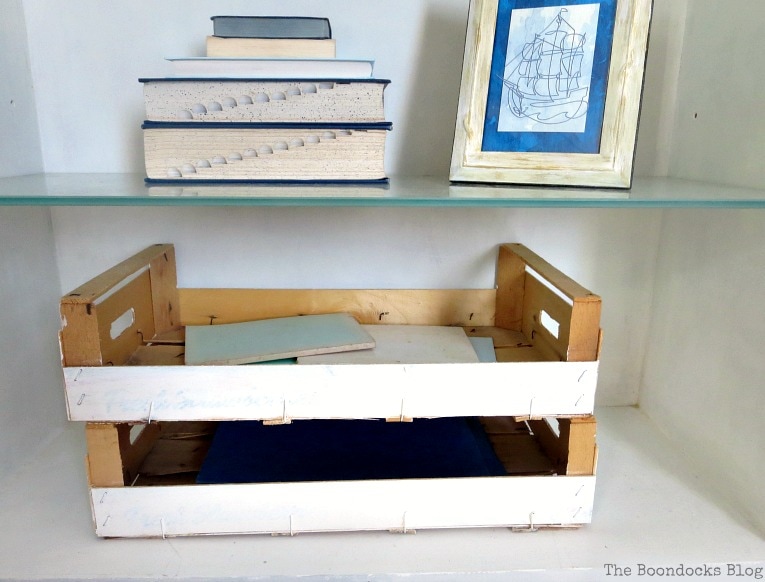
I also painted the edges in the same gray color as the exterior sides. It is a little hard to see that in the pictures but there is a subtle difference.
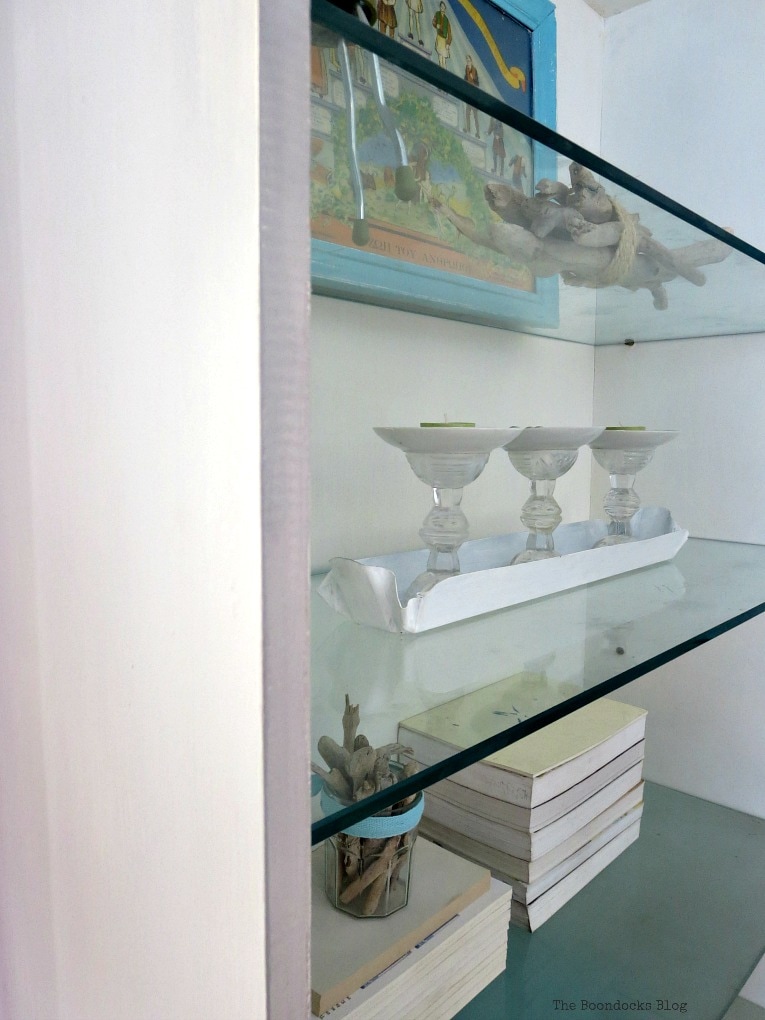
As you can see the bookcases have glass shelves. Some are frosted and some are plain glass.
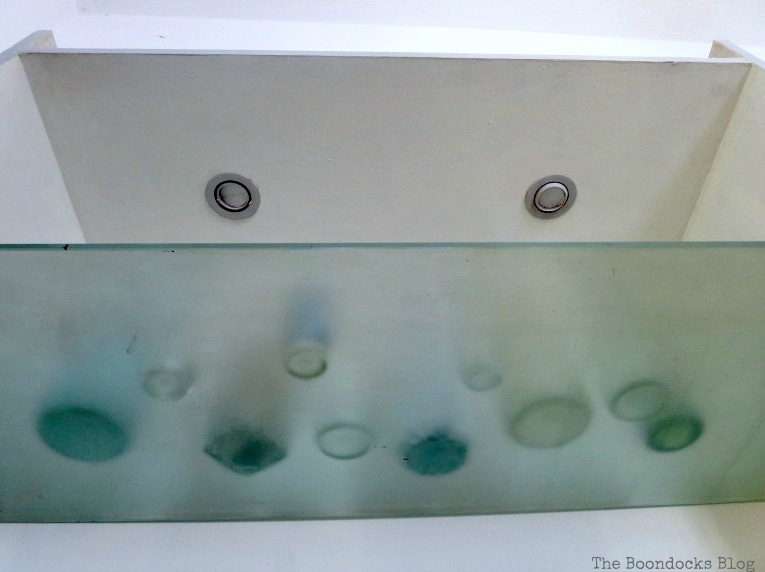
I even painted the spot lights on top using the milk paint for a more cohesive look. They were faux gold before… no! I may add lights in the future but for now they’ll stay like this.
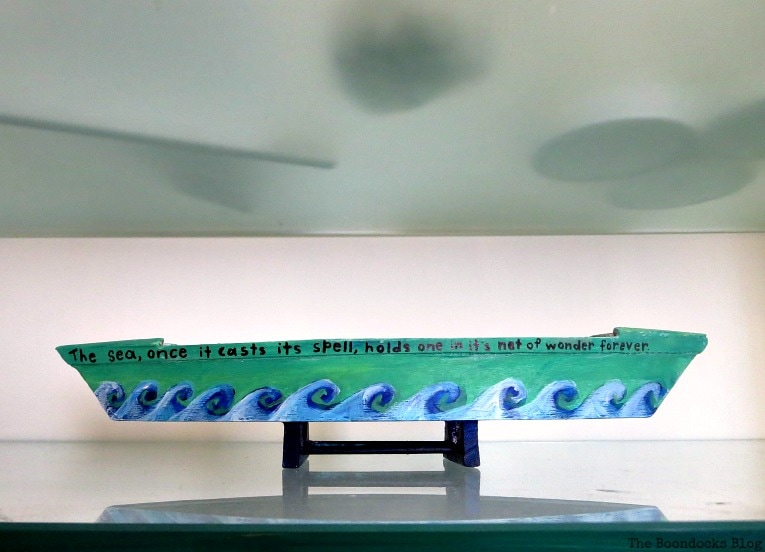
This tiny ship was the bottom half of the Winnie Art project. My daughter repainted the plain wood and gave it to her father as a gift.
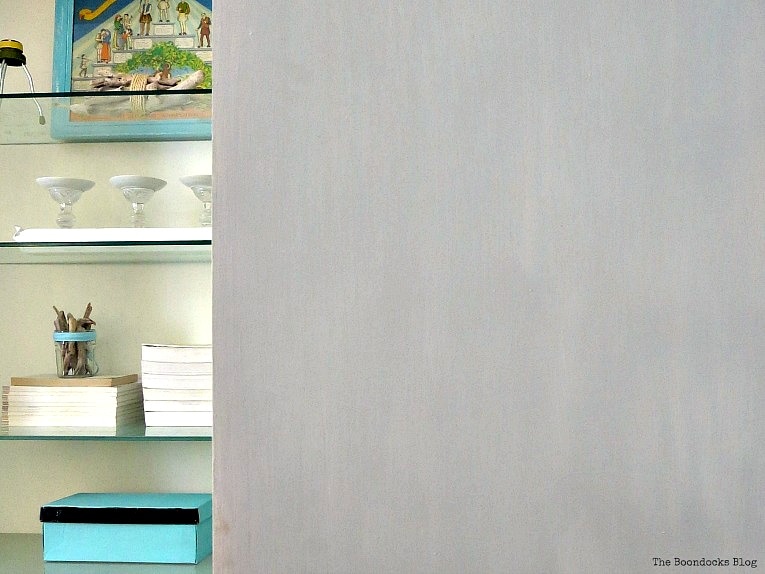
Can you see the subtle changes in the gray? The last two coats were added with a broad brush and I tried to get variations in there.
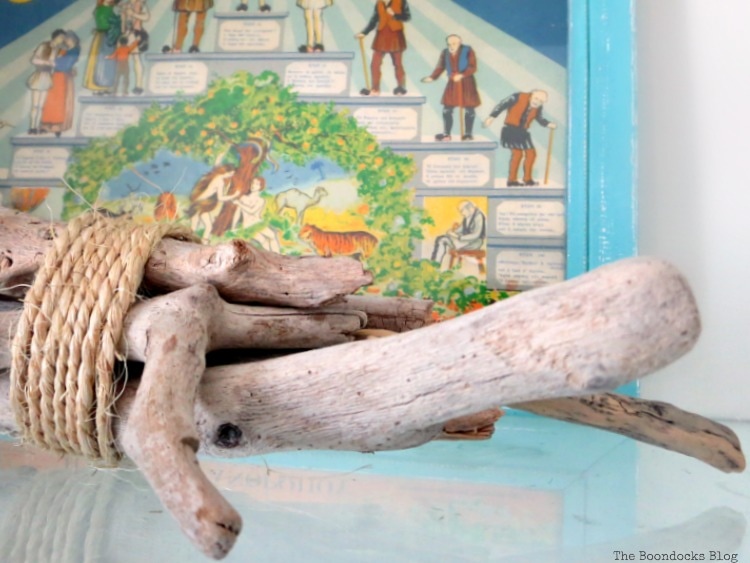
This pretty print depicts the ages of a man according to Greek lore. And of course I have way too much driftwood!
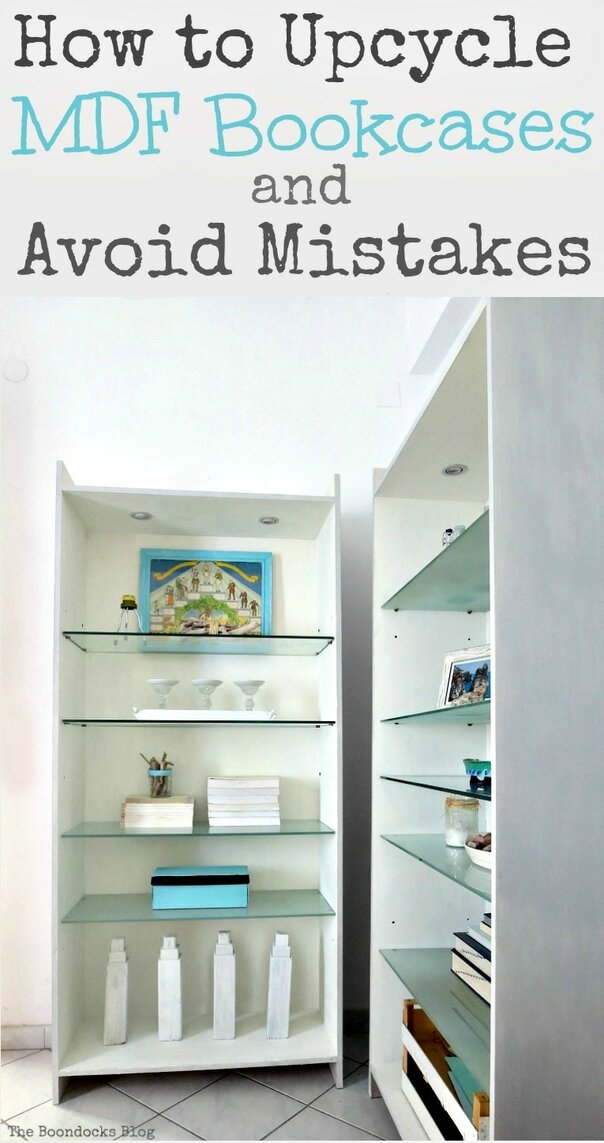
I have to say these two pieces in the corner of the room totally transform the space. They are bright and airy, sleek and modern. I don’t really know what the space will look like when I’m done, but I’ll share a reveal with you all. Even though I’m not a decorating blogger I think it’s important to see how paint can really make a huge difference.

I hope you have enjoyed reading about these upcycled bookcases. I also hope that by showing you my mistakes will we be able to learn and not make them. I’m more than happy to make plenty of mistakes for you.
And so that ends my running up and down the stairs for now. Do you also go to such drastic lengths to get a project done, or is it just me?

How to Revive a Vintage TV Cabinet - The Boondocks Blog
Monday 3rd of May 2021
[…] I painted the inside of the doors and the speaker covers, slate as well. And the hinges were done in a metallic deep grey. It is here that you can see the beauty of Old Fashioned Milk Paint. When painted it takes on a life of its own and adds layers and different shades, almost like a soft cloud brushing the furniture. […]
How To Improve An Ikea Hejne With Paint - The Boondocks Blog
Tuesday 1st of December 2020
[…] I had wanted a solid color of gray like in my upcycled bookcases. But this was a more interesting variation. After all I didn’t want all the furniture in […]
Katrin
Monday 22nd of May 2017
Mary they turned out beautiful and the whole corner looks so bright and summerly! I love what some paint can do to furniture and rooms! Trying to convince my hubs to paint our TV unit white... wish me luck! I have to show him your shelves!
Mary
Wednesday 24th of May 2017
Yay! Paint really does make such a huge difference. I was so sick of the wood, and it wasn't even that dark but it was still making the space look so drab. Good luck with the hubs!
Cindy
Monday 22nd of May 2017
You are not afraid to tackle anything are you? You amaze me! I wanna be like you when I grow up. LOL! Love the post and I appreciate you being so open about a mistake. Dang, I make so many of them till I'd be pointing mine out all the time! I enjoy looking at all your pictures. Have a great day. Hugs and blessings, Cindy
Mary
Wednesday 24th of May 2017
Cindy you are so funny. Necessity is the mother of invention right? That should be my motto. I need to change things around in this space but I am on a tight budget so this was the best solution. And you know what it's actually the best solution because there was no guarantee that I would have found exactly what I was looking for if I had decided to purchase. This way I can make it custom.
Gabi
Monday 22nd of May 2017
All your projects go along together so nice.. and they all breathe Greek air, at least for me :) Lovely re-do, as usual! :)
Mary
Wednesday 24th of May 2017
That is what I am aiming for Gabi. A true Greek look but with a bit of a twist! ;)