Make an easy DIY coffee bar with an upcylced glass tray that won’t take up too much space. This coffee station idea is practical and stylish.
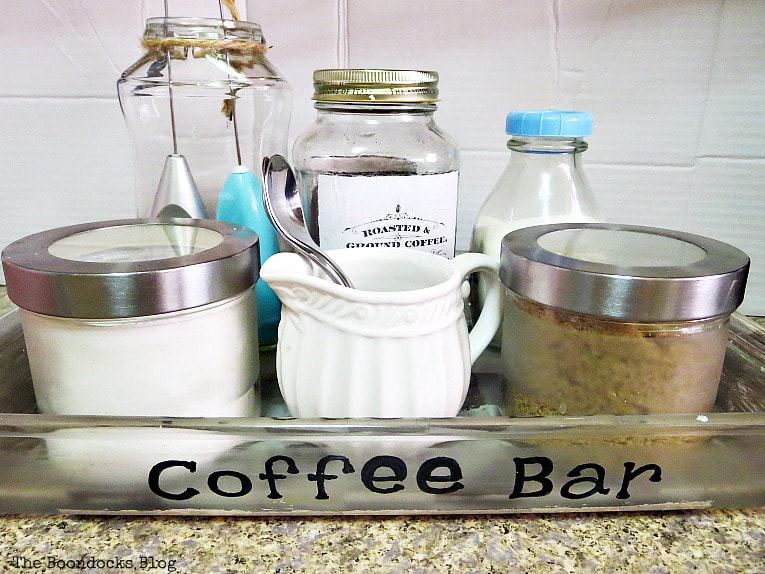
I am a coffee addict! There I’ve said it. I’ve had all my coffee stuff hidden away in the cabinets but when I get up in the morning I really don’t want to have to look around to find my coffee making stuff. Now I had seen lots of friends making coffee stations and coffee bars and I really liked this idea.
This is what my makeshift coffee area looked like… meh!
It was inexcusable for me to have this mess. I needed to make something pretty right away!
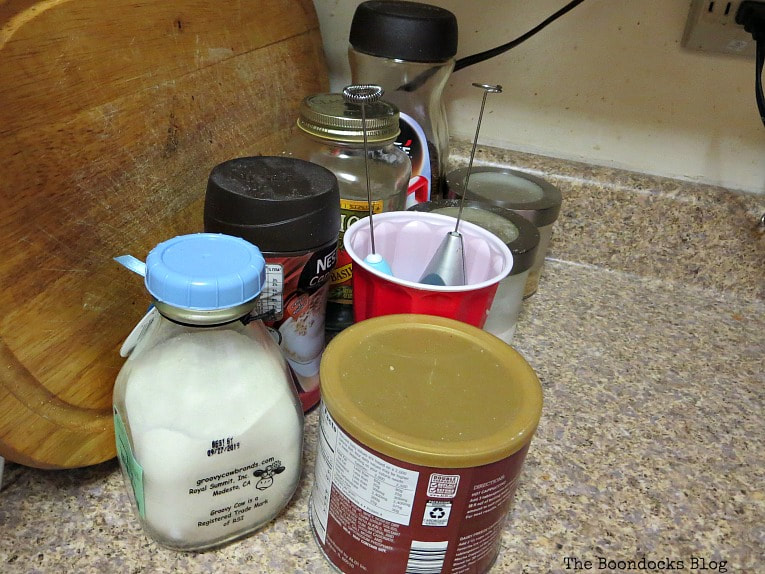
In fact I got the idea from a friend. I had seen her pretty coffee station and thought why not corral all of my stuff into one spot and make it at least a little pretty or at least a little organized.
What I used to Make a Coffee Bar:
Disclosure: This post contains affiliate links for your shopping convenience. If you purchase any of these products through the links, we receive a small commission at no extra charge to you. You can find our full disclosure here.
- An old rectangular glass dish
- Acrylic paints
- Masking tape
- Deco Art Varnish, 8-Ounce, Ultra Matte
- Permanent black marker
- Printable from the Graphics Fairy
- Mod Podge
- Printer and paper
How to Make a Coffee Bar
I had found this old dish in the basement. You see we are getting ready to declutter and I’ve discovered that we have multiples of everything in this house. How did that happen? Anyway there was nothing wrong with this glass dish except for the fact that we really didn’t need it. You can even use an old tray that you have sitting around to make a coffee bar.
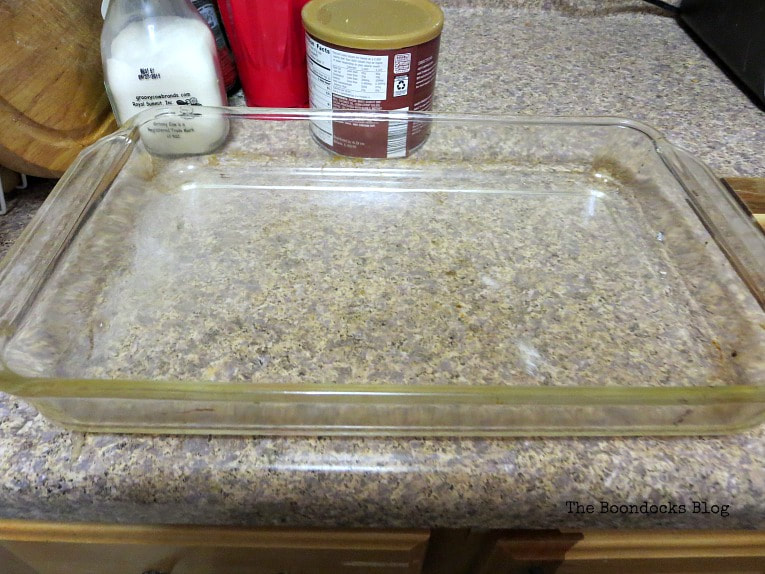
I gave it a good washing and then once it had dried, turned it over and started to work on the exterior of the bottom. This way the pattern would not be in contact with the items in the coffee tray. The plan was to make some sort of a pattern on there using the masking tape to define the areas.
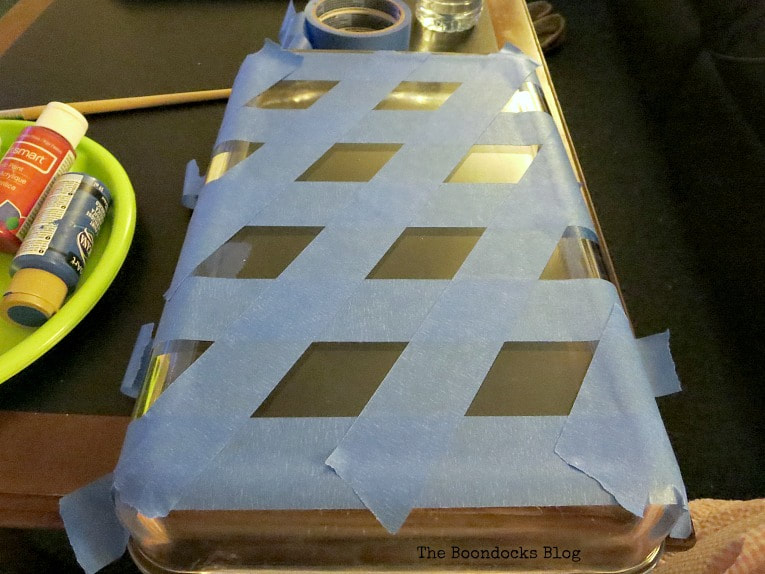
I wanted to do the pattern in the brown beige family to stay close to the colors of the counter top. Turns out I didn’t have any of those colors on hand so I just mixed up the primary colors, red, blue and yellow in different amounts and got brown.
I painted the diagonal sections in brown and then removed the tape. I then added white to the brown and painted those sections as well. It was all done while I was watching TV.
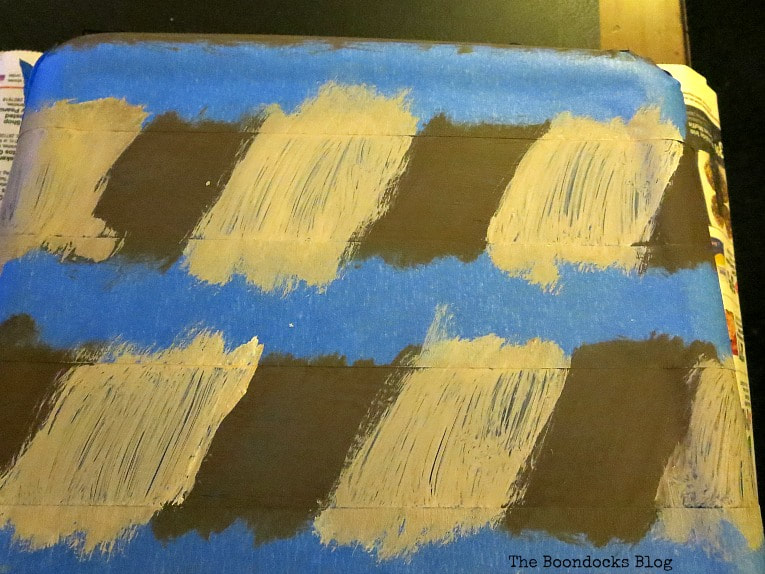
I was so engrossed in my TV show that I was doing a very sloppy job on the painting. After I pulled up the masking tape I turned it over to see how it looked (too soon) and I noticed that some of the paint was coming off. It looked worn out, like it had been around for ages. (That’s a nice way of saying I was very sloppy) 😉
I honestly didn’t want to start all over…After all I was too busy watching the show and I wanted to see how they were going to repurpose a bathtub into modern chairs.
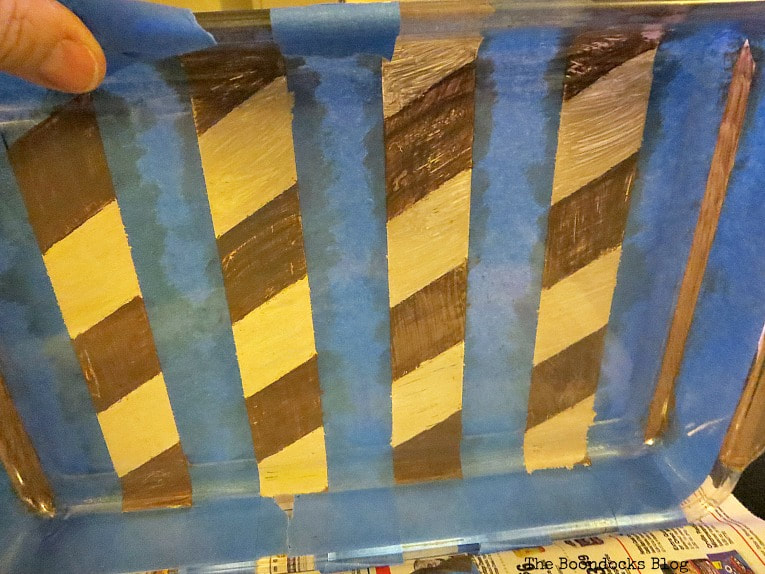
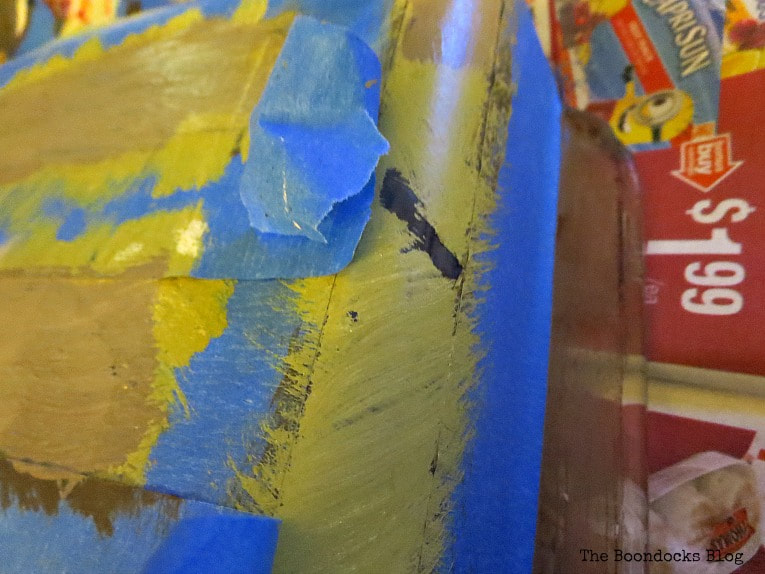
Can you see where the paint peeled off with the masking tape? Oh well! Everyone has bad days!
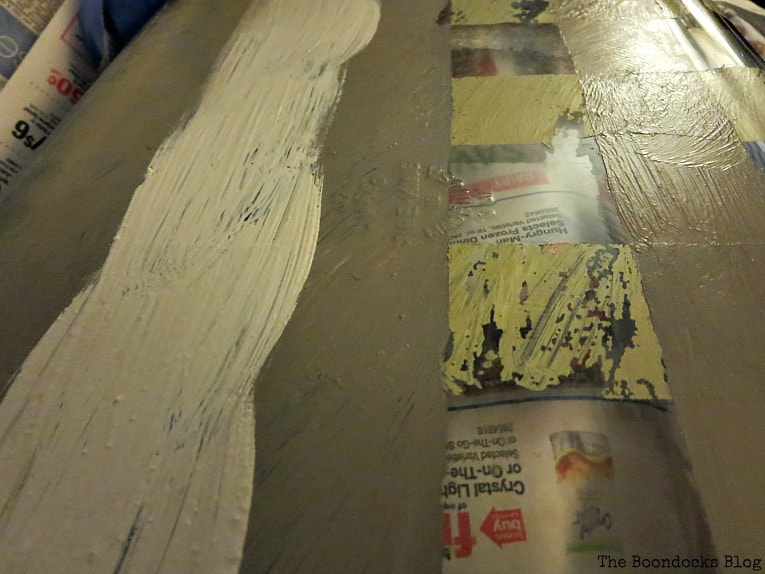
I was not about to start from the beginning so I decided to add even more age to it and sloppiness by painting over the mess with another beige color.
I was on a roll now! The coffee bar will be ready in no time.
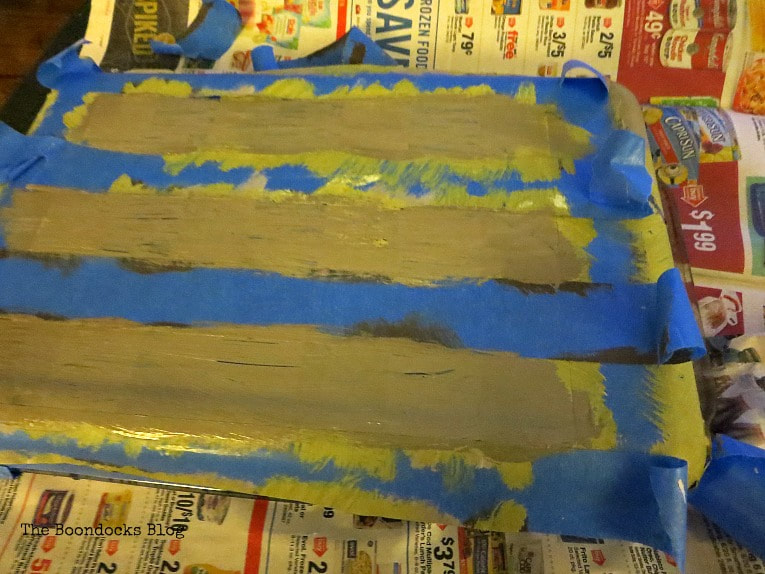
I even painted under the handles and the sides! It must have been the sloppiest job I have ever done and you know what? I didn’t care a bit.
I was having too much fun enjoying the show, mixing up all those colors and just not worrying about creating a master piece.
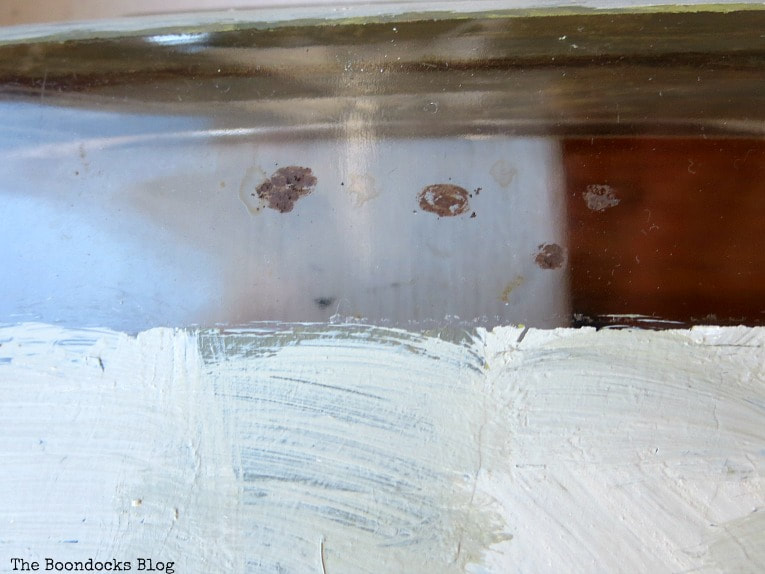
Now Back to my coffee bar station. Yes I was going all out sloppy. I even used my daughter’s eyeliner (shh don’t tell her) to make these drops of coffee on the bottom! I was going after that authentic look now!
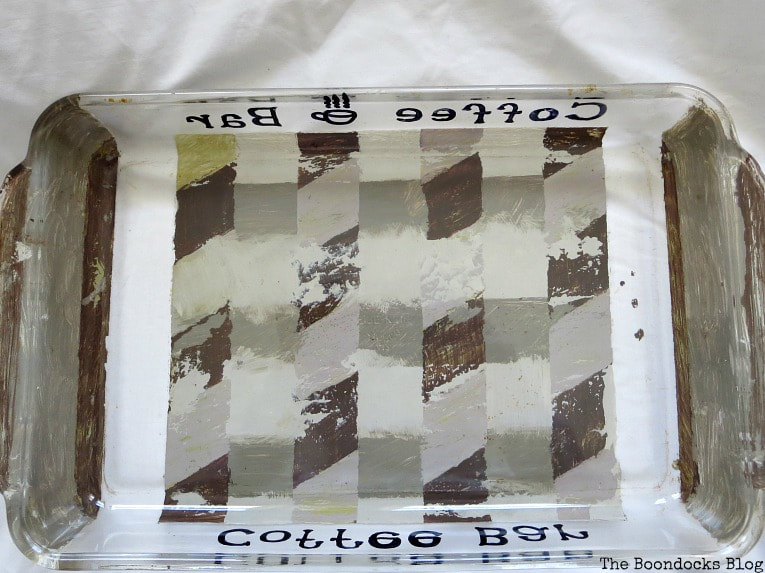
This is what the finished bottom looks like. I had added two coats of varnish to protect it because the counter does get messy and wet on occasion.
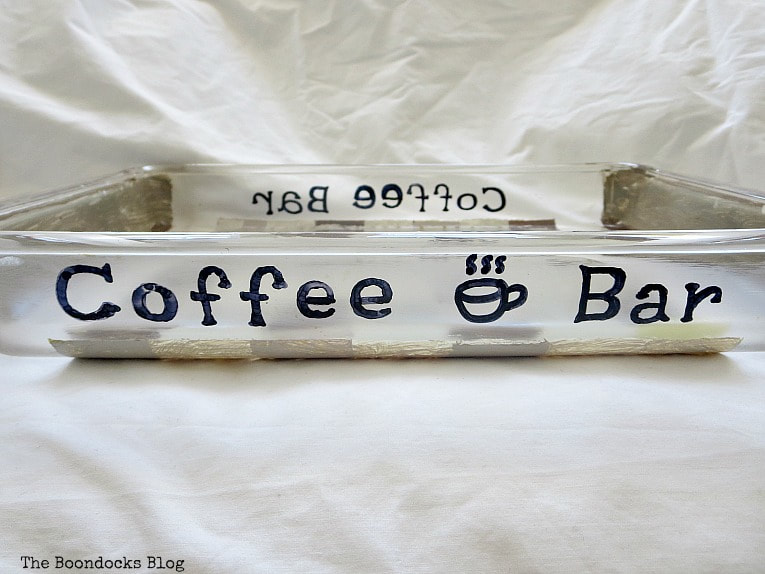
I even asked my sweet girl to add some writing on the sides. She used a permanent marker to write the coffee bar on both sides.

For the coffee jar itself I took a spaghetti sauce jar and painted the label using chalkboard paint. A few coats later and I was able to cure it with chalk. Just run the chalk over it and then wipe it down. It will have that beautiful blackboard look we all love.
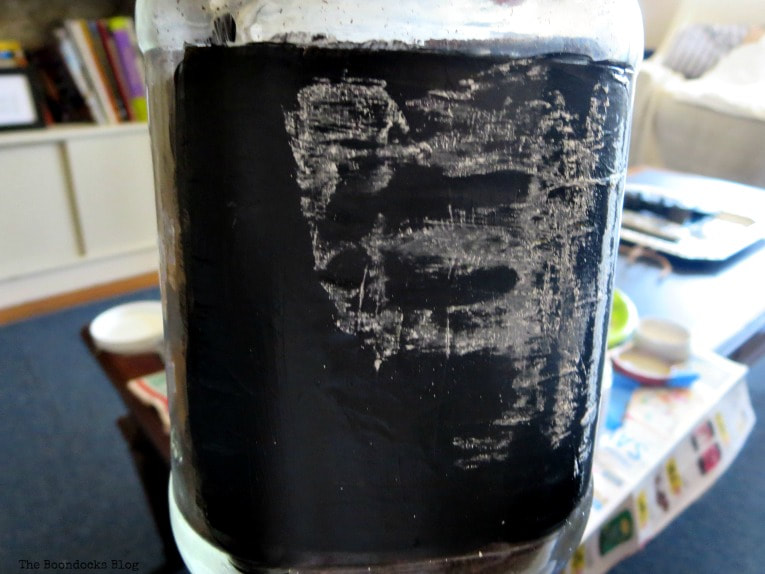
At least we love it most of the time.
This was an obvious fail. But I’m showing it to you because this is a warts and all coffee bar post! Just so you know that not everything works out … especially when your mind is on the TV.
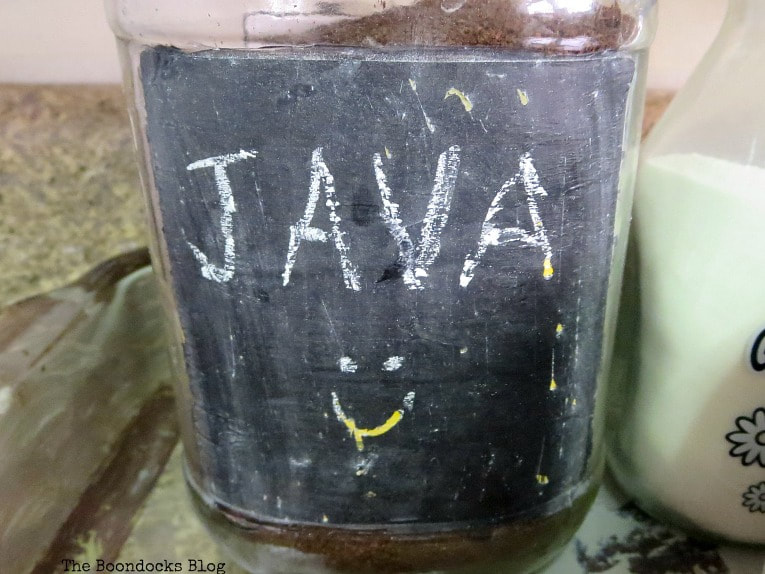
I left it there overnight and after looking at the photos I decided to scrap the chalkboard idea and start fresh. In fact I spotted this idea from Michelle’s blog, A Craft Mix, and borrowed it.
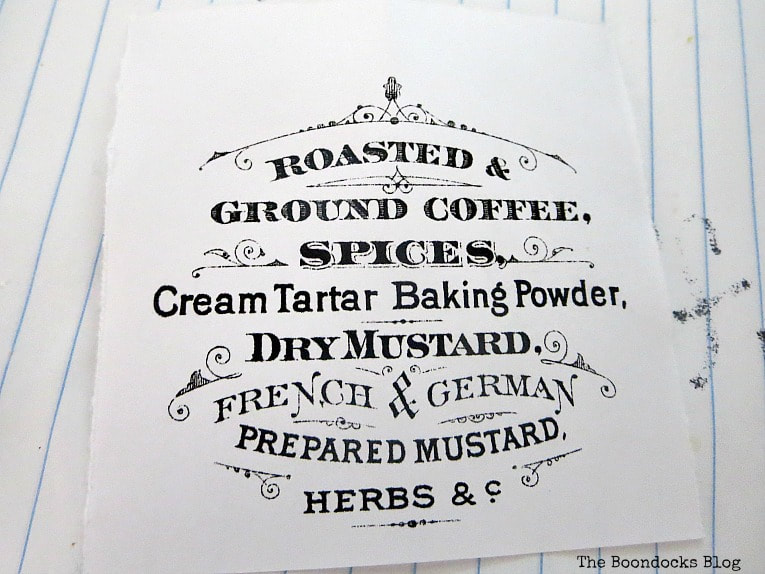
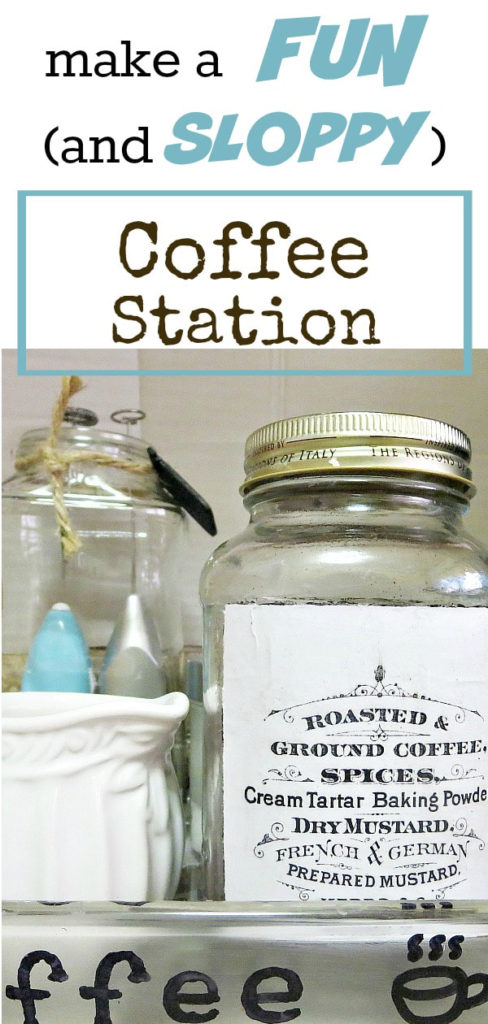
I printed out this image from the Graphics Fairy and then just glued it on the jar using Mod Podge. I then added a coat on top of the paper and I was done.
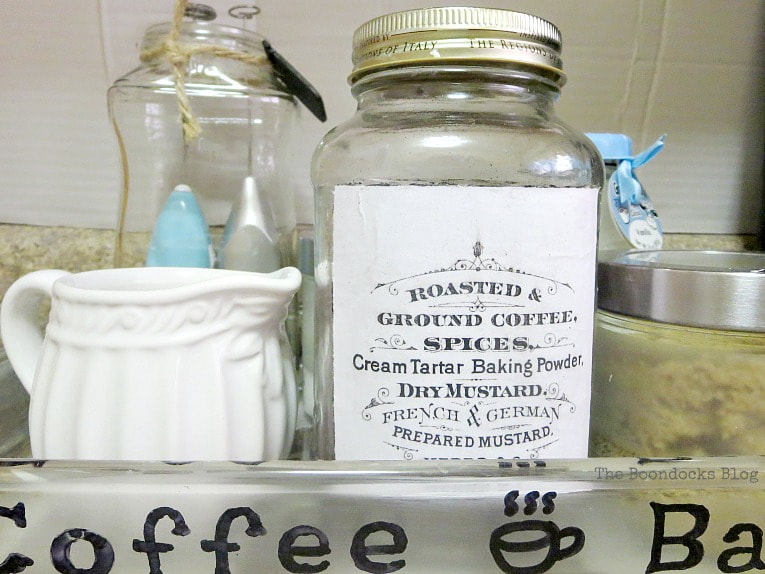
Simple idea – huge difference!
Plus it looks great next to my white pitcher.
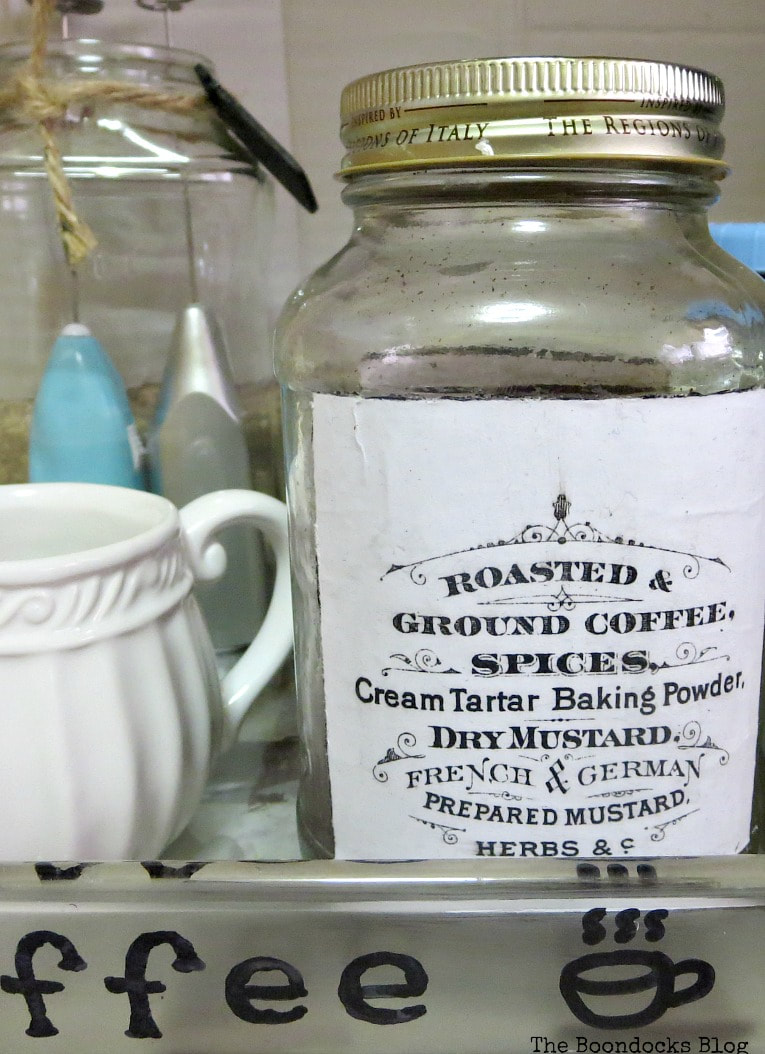
So now I have a great coffee bar station to keep all my most important coffee related things in one spot – cause you know I’m so grumpy in the morning if I have to look for stuff!
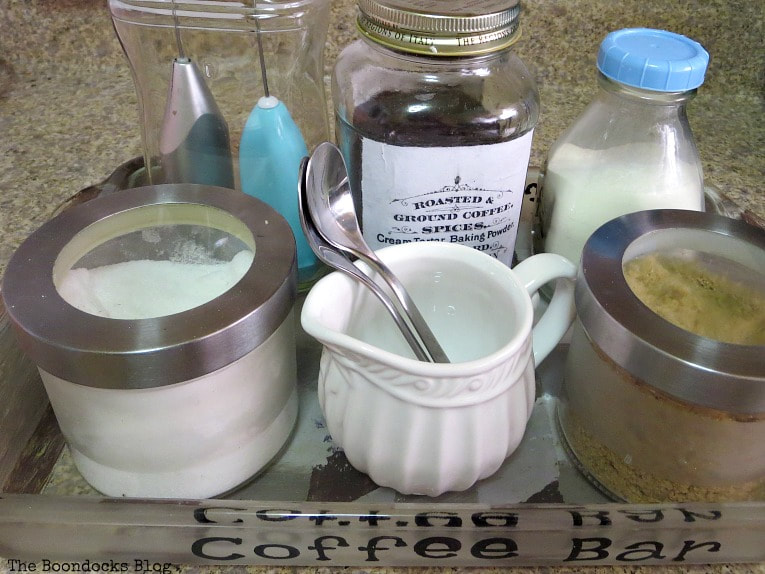
We have the sugars, the coffee and a white powdered thing my girl is drinking. And those mixers are for the Frappe that my son drinks. No tea here for us. The tea gets a whole shelf in the cabinet. If I were to put all the tea boxes on the counter they’d take over!

It doesn’t take up much space and now everything is super organized! And so ends the story of how to make a fun and sloppy coffee bar station. I had more fun than I should have with this project, even if it was sloppy!
Whew that was quite a tough project. I HAD to watch my show while finishing this one, and now that I’ve binge watched it I’m really suffering. Do you have any shows to recommend while I sip some coffee straight from my new coffee station?
More organizing ideas:
12 Cozy Ways to Organize Your Kitchen Coffee Station • Organizenvy
Wednesday 24th of March 2021
[…] can also repurpose items in your kitchen, like The Boondocks Blog did with this sweet homemade coffee […]
How to Create a Home Coffee Station and 10 Inspiring Home Coffee Bars - Amanda Seghetti
Tuesday 12th of January 2021
[…] The Boondocks Blog […]
Runningonempty
Tuesday 3rd of April 2018
Looks good!
Mary Kalpos
Tuesday 3rd of April 2018
Thank you so much, Now I am in coffee heaven!
Doreen@foxdenrd
Tuesday 3rd of April 2018
Keep these ideas coming Mary! I never heard of that show but you can bet I’m going to check it out. Thanks for the tip. Hope things are warming up a bit for you all! xxx
Mary
Tuesday 3rd of April 2018
You are going to enjoy the show Doreen they have lots of out of the box thinking on there. And I know you'll be finding lots of treasures to repurpose in your new location.
Kari Wagner Hoban
Tuesday 3rd of April 2018
Thank you, as always, for keeping it real. I can't do DIY I see on most blogs but this makes me feel like I could actually aspire to this. I probably won't but it makes me FEEL like I could. Thank you for that on this rainy Tuesday morning.
Mary
Tuesday 3rd of April 2018
I have no other choice Kari. Sometimes we see all those pretty pictures and become intimidated. But we need to feel as if we can make those project, right? I know you can too, just tape some shapes off and go at it. It is super easy and the sloppy look can be achieved by anyone! Go and watch that TV show too, it will really put you in the mood.