With the summer heat it has been hard for me to get motivated to do much of anything. Have you all heard about the legendary New York humidity? As many of you know, I am supposed to be working on making the bedroom look presentable, I even made a mood board. But so far things have been slow. It takes a lot to get me to paint these days with Tatou, our puppy, running around.
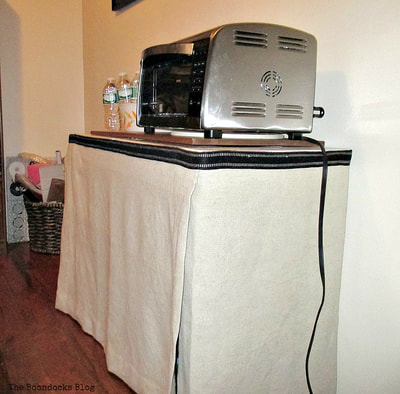
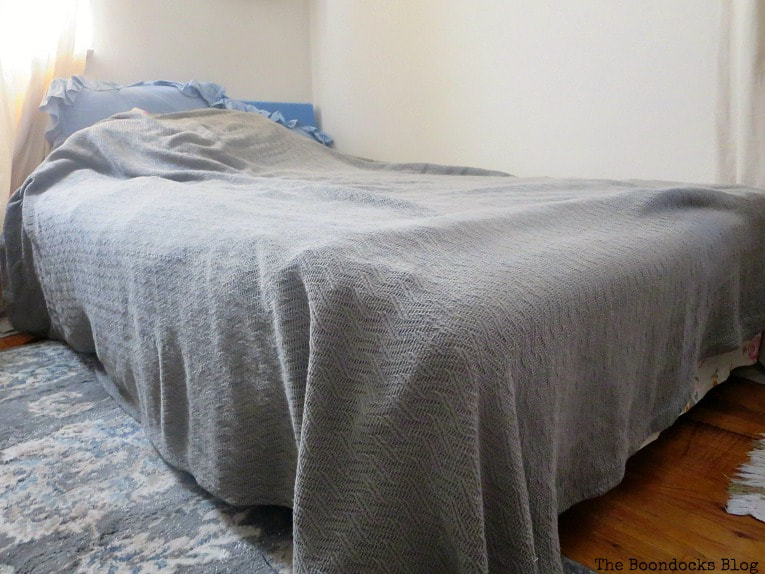
One thing I did manage to tackle has been the bed. This is how it looked before but I knew it needed a lot of help to look presentable. Today I am going to show you how to make an easy no-sew bed skirt with drop cloth. Along with some other tricks!
Disclosure: I was compensated for doing this post with product. However, all the opinions stated here are my own. I only use products I love and would recommend to my viewers.
When Melca sent me an e-mail saying they wanted to work with me, well, it was a wake up call for me to get my act together. You see they make canvas drop cloths. Yay! This is exactly what I needed to fix up that messy bed!
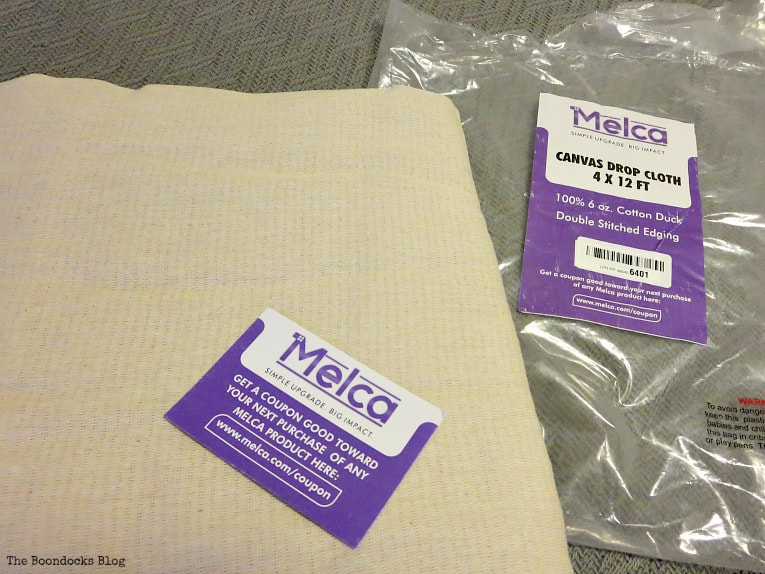
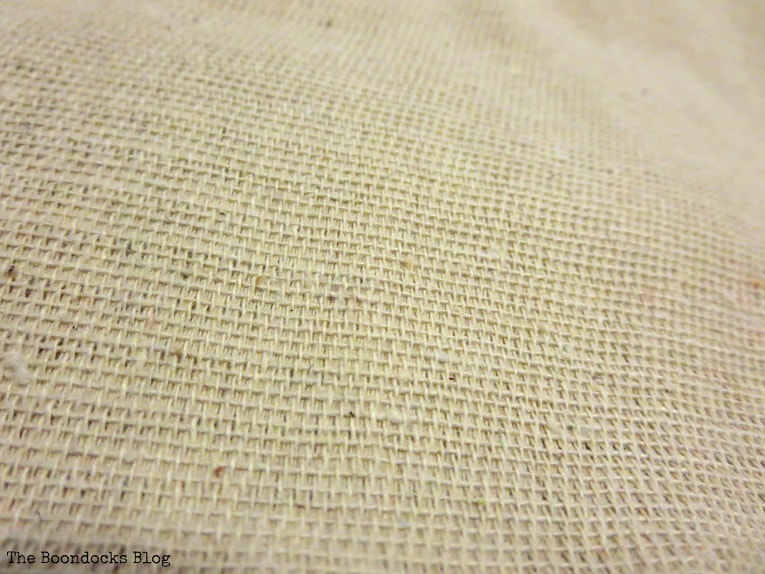
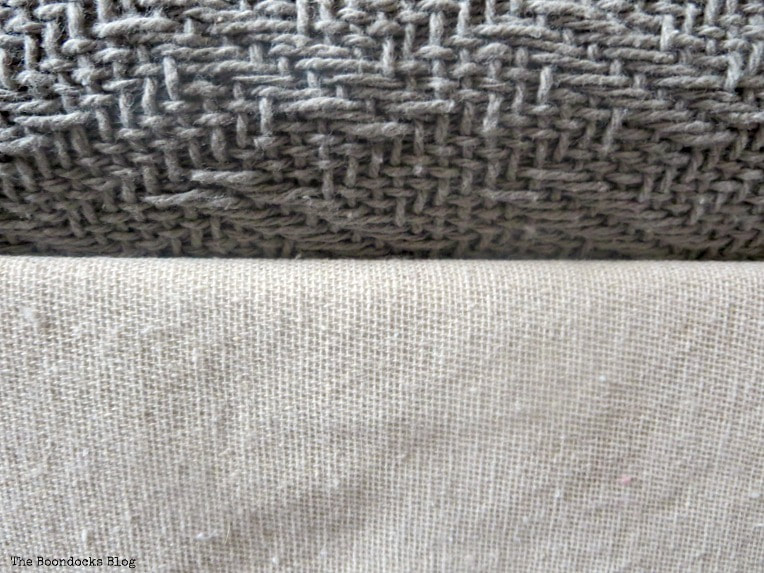
Before I knew it I had this beautiful 4 by 12 foot 100% cotton canvas drop cloth at my doorstep! It was stitched all around and the best part, there were no seams in the middle of the piece. I don’t know if you remember with my last use of drop cloth to make curtains. I was very happy with that one as well, but it did have a seam in the center which I had to work around.
Disclosure: The items below are affiliate links. If you purchase any of these products through the links, I receive a small commission, that way I can continue to provide you with lovely content. There is no extra charge to you for purchasing through my affiliate links.
What I Used:
The How To:
I gave this canvas a good washing and was ready to start on my project!
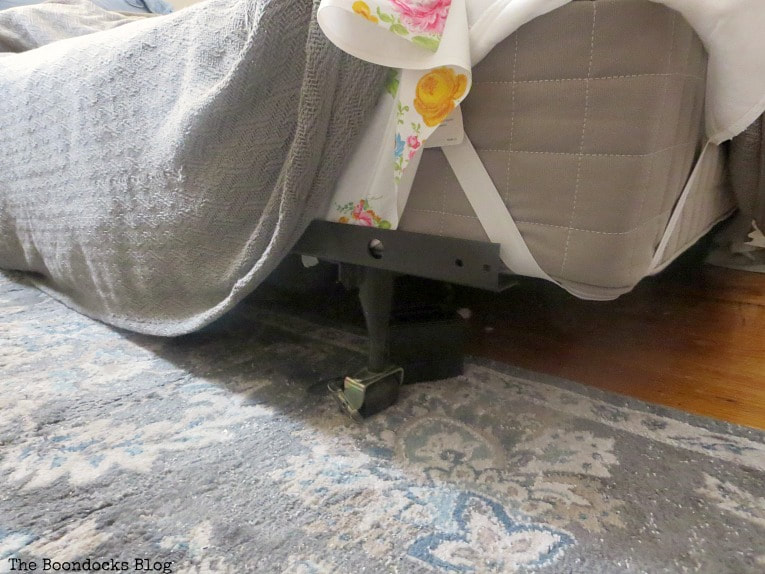
The bed is very rudimentary. A simple metal frame with a piece of plywood and then the mattress on top. That’s it. It worked for a while but it really did not do justice to the eyes. I also felt that it was too low, too close to the floor.
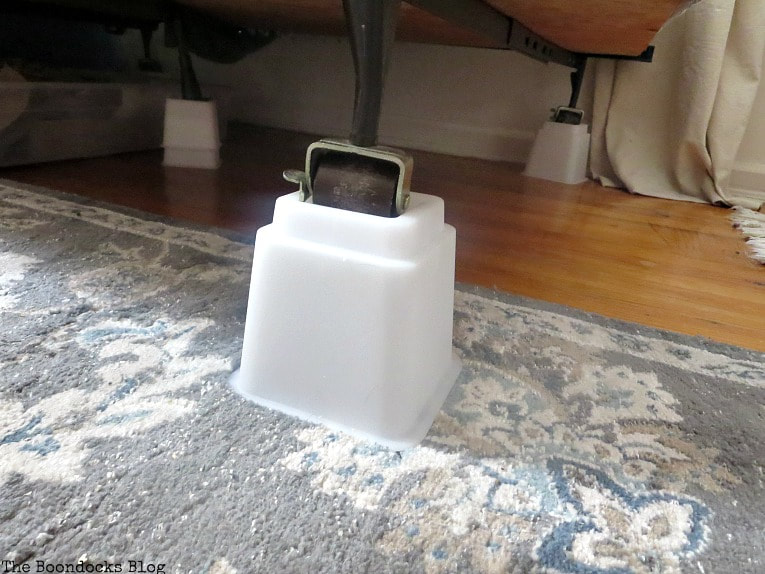
My solution was to buy these bed risers. There were 8 in a pack and I used 4 for the edges and two smaller ones for the center support.
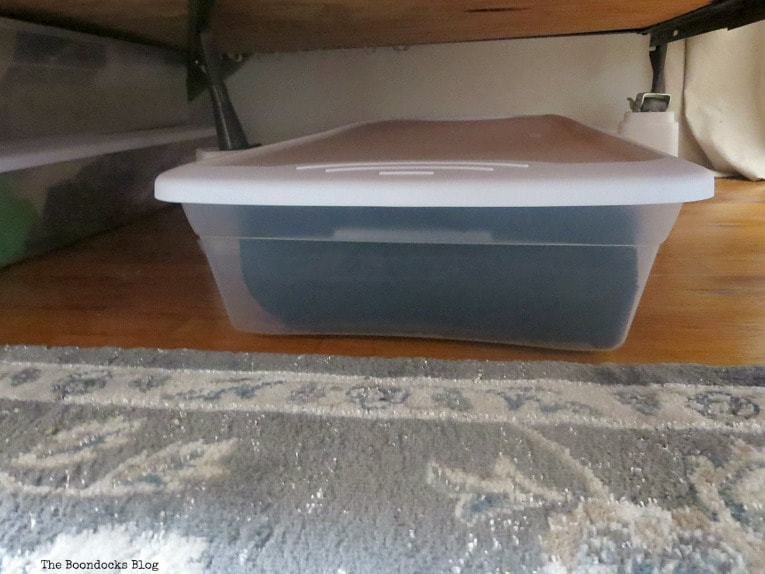
Once I had the height I was able to add a few of these plastic under the bed storage containers to hold all of my fabrics. I always end up with way too many of those, cause you never know where you will need them.
The problem was how to hide all this storage. Here is where the drop cloth came in.
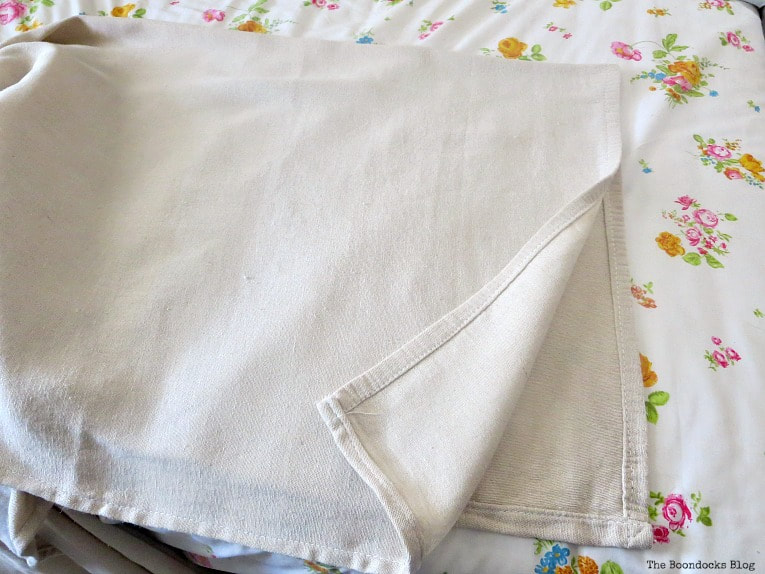
I had seen this idea a few months back on My Wee Abode. Julie had done a fantastic job of making a very pretty, pleated bed skirt. But I’m two lazy for that. Instead I came up with my own simpler version. I only needed to hide two sides of the bed because as you may have noticed the bed is pushed up against the wall. I started out by folding the canvas drop cloth in two lengthwise.
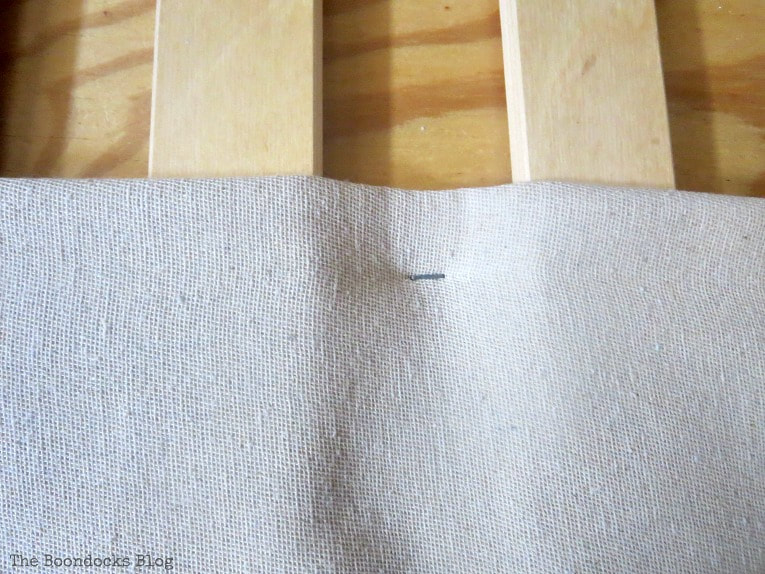
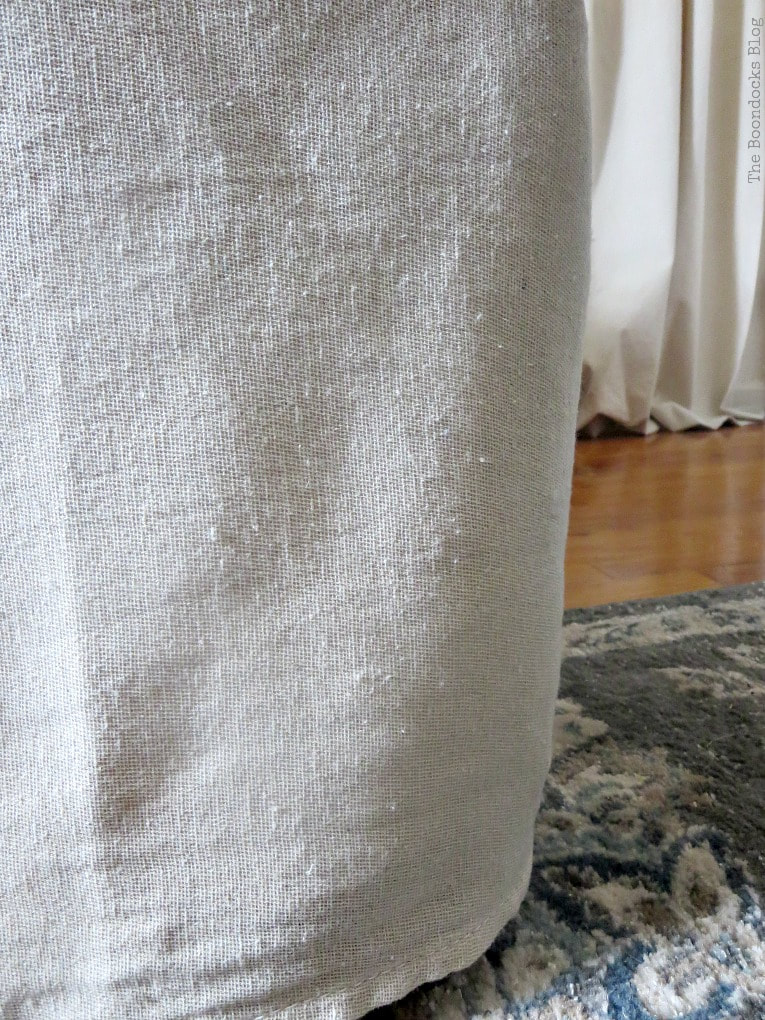
I then went along the length of the bottom of the bed and stapled the fabric onto the plywood. I made sure that the fabric would just graze the floor. Easy peasy, right?
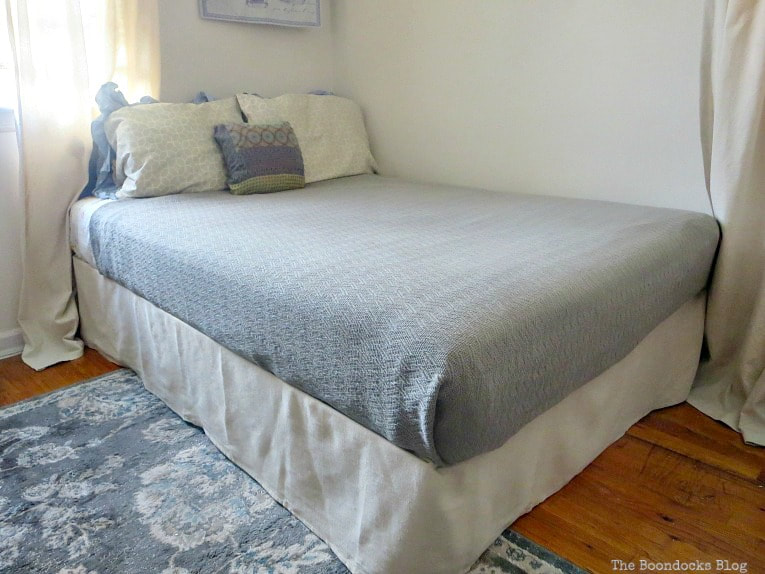
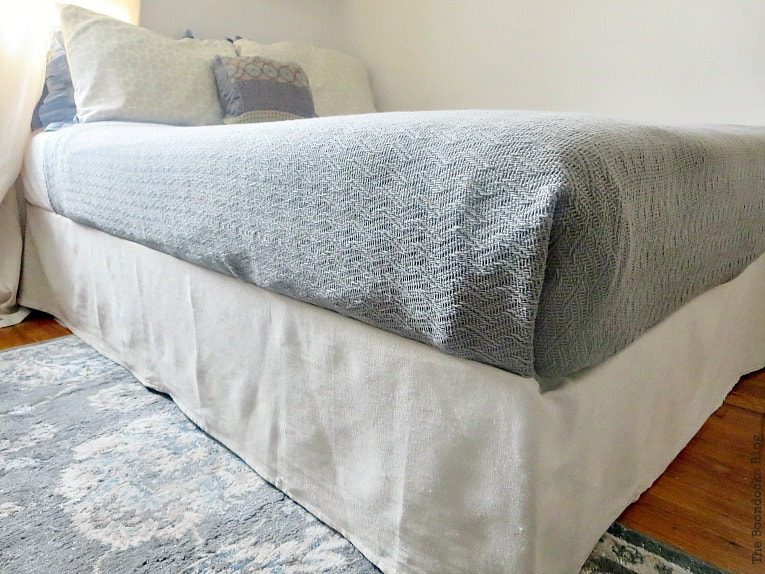
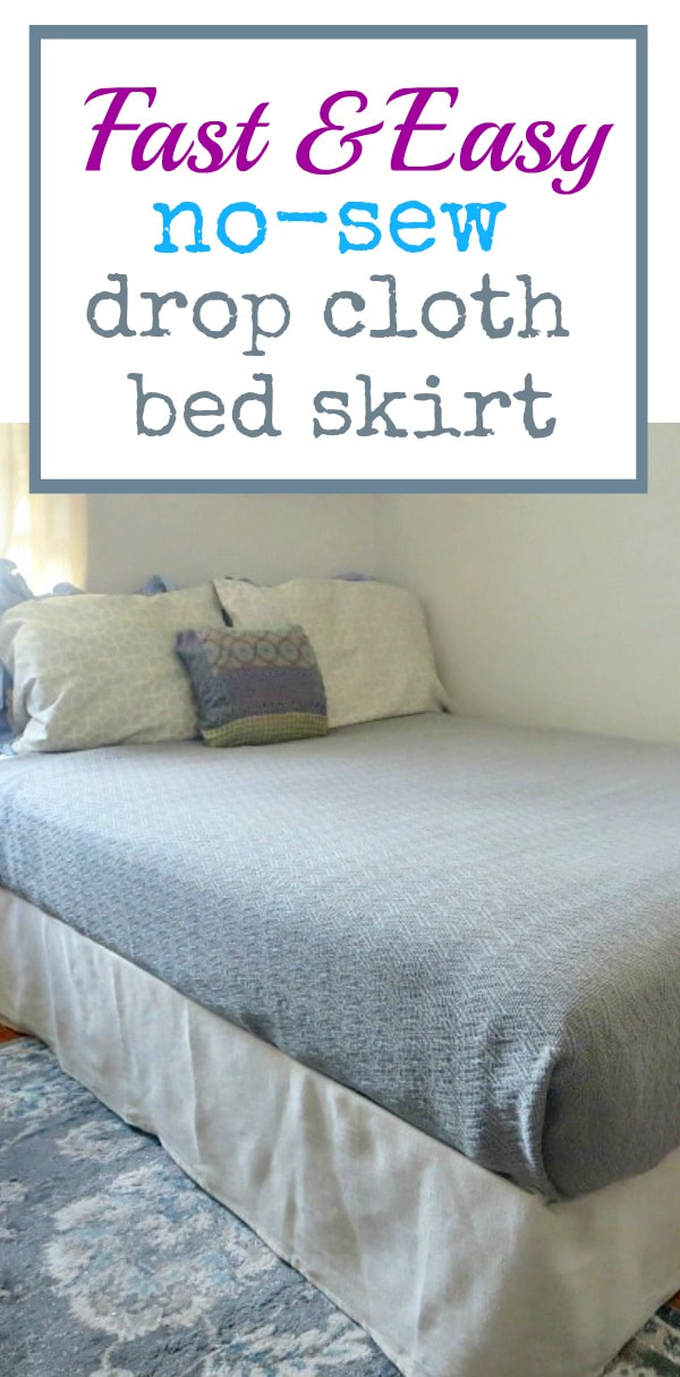
And here is the result. That 12 foot length was enough to cover the two sides easily. If I should decide to move the bed and expose the other side as well, all I have to do is cut the canvas lengthwise and use the other half (the other 12 feet that is now folded over) on the remaining sides.
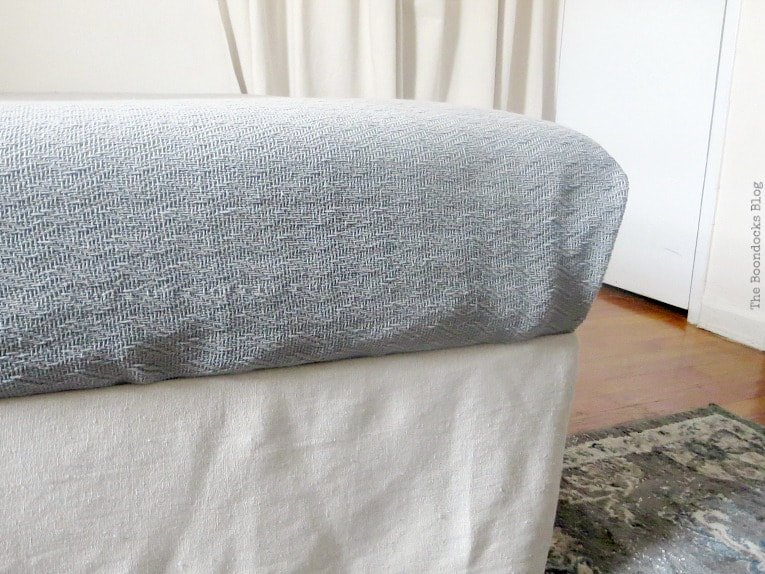
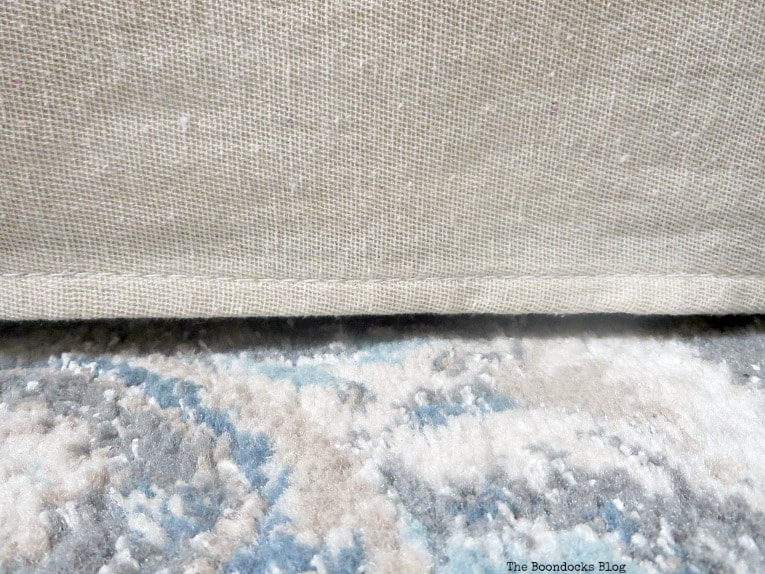
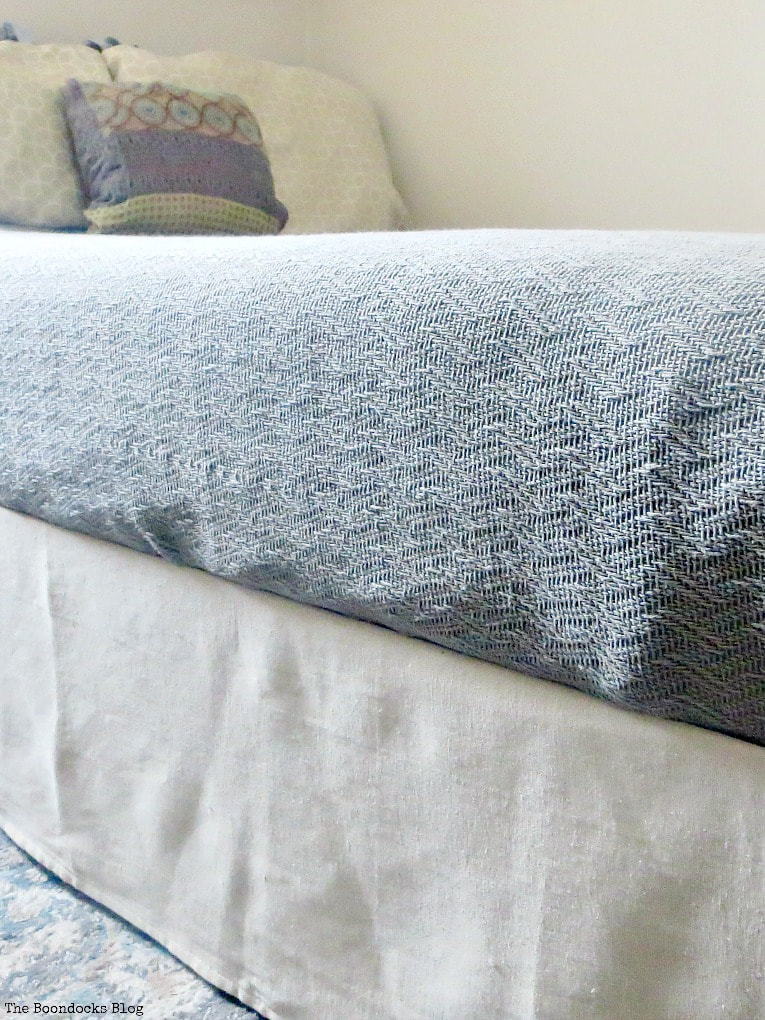
Here is a close-up. I think the soft neutral color looks great against the grey summer blanket.
Oh, and did I mention how soft they are after being washed?
This is so much nicer and pulled together than before when I was exposed for all the world to see what was underneath.
And it looks great with the rug (similar) that I purchased a few months ago.
Not only am I hiding my storage bins but I also added more height to the bed with the risers. The solid light color of the canvas drop cloth serves to visually make the room look taller.
And it was so easy! Why, the edges were already sewn!! I would say this project took me a total of five minutes to do!
I can honestly say I am over the moon happy with this skirt. It was super fast and easy! And now I have so much more room to store more junk, umm, more goodies! And the best part – I didn’t have to leave my house!
Now that I have made an easy, no-sew bed skirt with drop cloth I must say, it was truly a stroke of luck for me that Melca reached out to me when they did and provided me with such a great product. Not only do I now have a really pulled together bed but I also have lots more storage space!
Be sure to drop by Julie’s blog, My Wee Abode and check out her projects. She is an expert on small home living!
If you really like what you see subscribe to my blog and get my adventures in your mailbox. The form is on the sidebar and on top. To see my privacy policy click here.
More Fabric Projects
<< A different look at the beach in Greece HOME Stenciled side Table >>
Linking up to these Link Parties
This blog is for entertainment purposes only; my DIY tutorials are not professional advice. Read my full disclaimer here.
I love it when I get your comments and I will try to reply to every one of them. Please do not add a hyperlink to your comment, otherwise it cannot be published.
It looks like you bought another bed. I love these quick and smart ideas that change things immediately! And now you can hide a lot of things under your bed 🙂
I totally feel your pain with all of this oppressive humidity…ive been in a “dog days of summer” funk myself, but I am absolutely in love with how this tuned out. The texture is beautiful. xoxo
These days my motto has been the simpler the better. Just thinking about a paint brush makes me want to hide under the bed.
Great solution for anyone who doesn’t sew yet has ‘stuff’ to hide!
And I know we all have plenty of that!
Bed skirts are one of my favorite part of a bedroom and if there are as easy as yours even better! Adding one while raise the bed makes a whole difference to the room, and the extra storage is a bonus. You are making that house a home, Mary
Pili I am getting there one project at a time, But I want to paint the house and that is going to be the hard job.
I think it makes a big difference it looks so tidy and I love this idea
I couldn’t believe how easy it was to do. And here I was fretting over the work and heat. Haha!
Very impressed with how this turned out Mary! Who couldn’t use under-the-bed-storage? And I love how you made the dropcloth look so mod and neat now.
The simpler the better. That is the look I’m going for in this small room Florence.
I like this dropcloth, Mary! No seams ~ perfect for your bedskirt project and for making curtains… Your bedskirt couldn’t be any easier. If you DID want a pleat, it’d be easy enough to fold and staple in a few places for a different look.
Definitely pinned for when we get our next house {we are looking now}. 🙂 The dropcloths I find at the Big Box stores all have seams and it is tough to work around them on certain projects.
Enjoy your new bedskirt!
Barb 🙂
That is the same problem I had Barbara with the seams in the middle of the larger drop cloths. Good luck in finding your new home.
I wash my bed skirt every time I was my bedspread so I don’t see how this would work.
It probably wouldn’t work unless you don’t do it very frequently.
Wow! You totally rocked this project Mary! You did such a good job with your bedskirt. I loved how you attached it and used the hemmed edges as the bottom. Smart! Pinned of course!
I say we should not have to make our lives any harder than we have to Wendi, especially since we bloggers spend all our free time doing all that other stuff that has nothing to do with our beloved projects. Sob!! 😉
I want to use drop cloth to cover cushions, on my wicker dining room chairs. Should I wash it first?
Hi Joyce. I think you should always wash anything that is a natural fiber because it has a tendency to shrink a little. I washed this first and now am confident that it is the right size.
I didn’t wash my curtains yet and have just hung them but that means I cannot hem them yet since I don’t know how much they will shrink. Thanks for stopping by.
Wow Mary! That looks amazing! Great job working with a drop cloth! I never would have expected it to look so nice. You are so creative! And now you have extra storage too! How awesome! 🙂
I do and I am so so happy for that since the room needs all the storage it can get .
Great job! I was going to do this for our guest bedroom in the basement. Never got around to it and I finally bought one off of Wayfair. 🙂 Thanks for sharing with SYC.
hugs,
Jann
If you had seen my idea you would have only needed to get some drop cloth. I swear it was the easiest project I’ve ever done.
I love this no-sew option! Thanks for sharing at Vintage Charm!
The easier the better!
Very clever way to make the bed skirt. It is a wonderful transformation to raise the bed and create the bed skirt And to think it only took minutes. Another great idea.
And now I have all that storage, and the dog goes and hides under the bed instead of just lying on it. 😉
Another genius idea, Mary! A DIY bedskirt can’t get any easier than yours!
Five minutes and I was done Carol!
such a cute dog:)
He really is Sherry. He has us all in the palm of his paw!
Now that’s my kind of project! Five minutes without leaving the house! Bonus, you more storage options, gotta love that 🙂
Absolutely Marie, the only time I leave the house is to go grocery shopping these days.
Way to go Mary! It looks neat and clean and wow, how easy was that?!
It doesn’t get any easier Doreen, and it is just what I need in this heat. I don’t know why I complain so much considering that I’m indoors. Haha!
Mary, the drop cloth is a very clever way to make the bed look great and to hide storage bins as well. You did a wonderful job on this. I hope it cools down soon for you.
Thanks Keri. The whole room looks so much better now. Before the bed was too low and it looked unbalanced.
Any time I see “no sew” I take a look. Sewing isn’t my thing but I can hold my own with a stapler! Nice, Mary!
Haha Jeanie I can sew but if I don’t have to why put myself through the trouble.
Brilliant Idea Mary, both the no sew bed skirt and raising the bed up for more storage. That’s where I hide so many things too 😀
I got the idea from you Michelle. Remember when I asked for everyone’s advice on the bedroom and you mentioned it. Thank you, it was a brilliant idea. And now Tatou has a new hiding place.
Looks very nice Mary! I need to make a bedskirt for our guest room. You can see my plastic storage tubs under the bed.
It’s been so hot and humid here too where once I get off work I just go home and stay in the house. Friday suppose to be around 104 and August isn’t even here yet. 😥
Oh my Linda try to stay away from that heat. Sometimes even when you are in the shade you can get heat stroke.
That is a nifty way to make a bed-skirt, and I did check out Julies tutorial as well. Because of my husband’s lung issues, he needs to sleep almost sitting up, so we have a bed with a huge heavy base that lifts and adjusts the head of the bed. He spends most of the day in bed, so for him to be comfortable is a priority. The base is flat to the ground, so we are exploring ways to raise it for comfort and for storage. It is covered with a dark grey fabric, which is NOT my color choice. I have fabric that I bought to redecorate the bedroom, but my depression has kept me from doing projects for the last few years. It is hard when you had a outdoorsman robust husband that is now not able to do most of the things he would love to do.
Josephine I am so sorry to hear this. It certainly can be depressing for the both of you when you had been so active and now have to be confined indoors. My husband and dad are also outdoors men and they hate to spend time indoor. I personally am a homebody. But if you can fix that bedroom and redo the fabric it might brighten your mood just a little. I know that when my surroundings are pretty it does put a smile on my face. I wish your husband all the best and as little discomfort as possible and for you to try to lift your spirits a bit. Maybe you can try a craft project.
Very nice Mary. I have pinned this as I am in need of a new bed skirt and this is a great cost effective solution!
The simpler the better! And no need to break the bank!
Mary it looks fantastic! I love how you added those risers to make the bed higher, I had no idea these existed! And the bed skirt is just perfect and how you managed to whip it all together in minutes, well, I am a fan of those kind of makeovers, you know that.
Katrin if you can dream it then Amazon has it. These things were so easy to put under the bed and they make a huge difference to help balance out the room.
I love anything made from drop cloths! This is a great idea, and one I intend to use myself… thanks for sharing!!
Thank you Sondra. It was so easy how could I resist?
Oh… and thanks for the shout-out, friend! 😉
Thank you for the inspiration!! 🙂
Mary, you definitely made this even easier! The drop cloth is actually very pretty! Kudos!
Thanks Julie, the easier the better and me and my sewing machine are not speaking to each other right now! 😉
…HOT, man is it HOT!!! They say that global warming is fake news, can imagine how HOT it would be if it where real?
Haha, and that is why I have no motivation to finish my projects.
Look at you with your creative self! I have been thinking about doing to cover my benches (2) at my dining room table but haven’t mustered up the courage or the time! You always inspire me. Hugs and blessings, Cindy
Well I hope you find the time. Of course you cannot take time away from that wonderful family of yours but I’m sure you will squeeze it in and I’ll see it on your blog soon enough.
A very good result, solves storage, looks neat and contemporary.
You’d better leave the house sometime, or you’ll run out of food!
Cath
Cath who needs food when you’ve got projects to do. Truth be told, I am out much more than I used to be with Tatou needing his exercise!