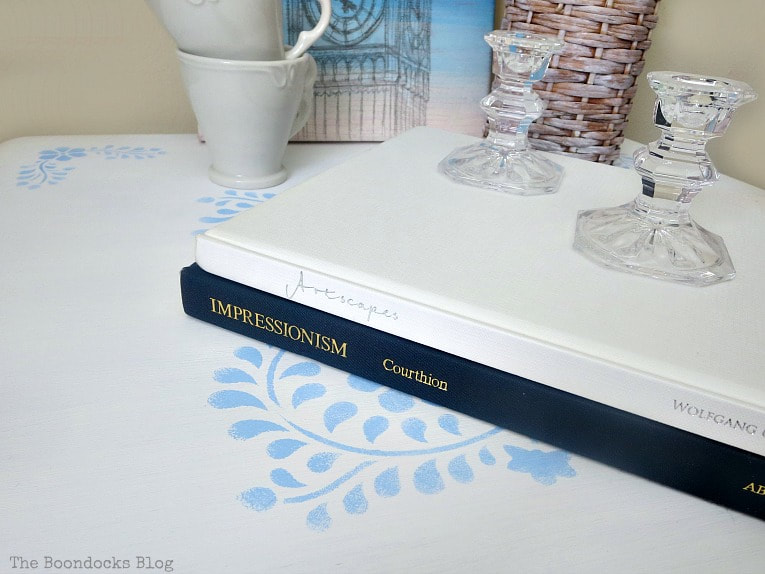
How to Give Your Old Table a New Look With Stencils
Here I am another week gone by that I am not working on the bedroom…
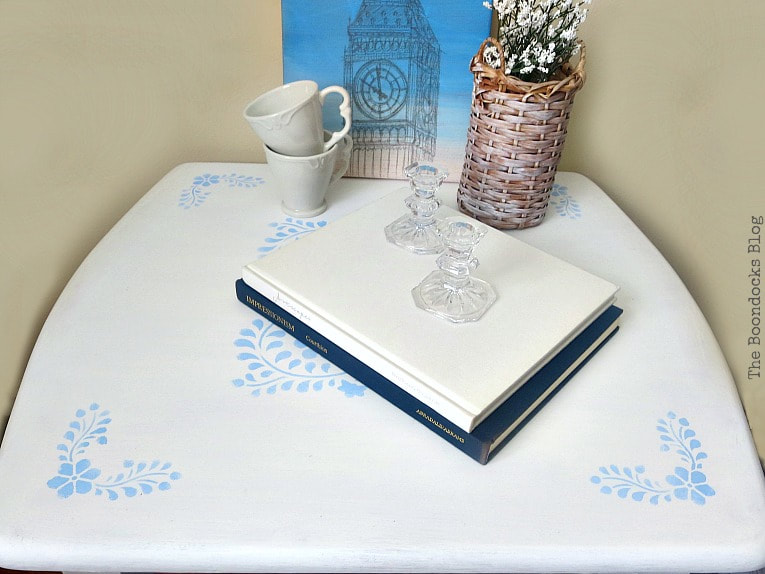
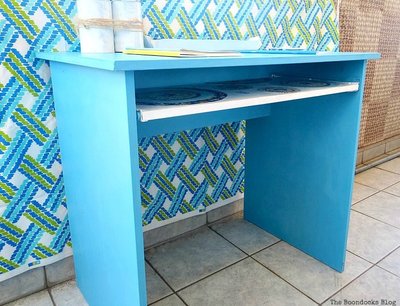
I tried to sell this table at the garage sale we had last month but no luck. So instead of donating it I decided to give this old table a new look with stencils.

I had thought of making it look very farmhouse-y but then decided a look somewhere in between was better.
The plan was to paint it and then use that stencil that I had originally bought for the bedroom dresser, which I have since reconsidered and decided not to stencil. So why should such a pretty stencil go to waste?
What I Used:
- Water and Vinegar mixture for cleaning
- Decoart Americana Chalky Type paint in Everlasting
- Stencil
- Masking tape
- Acrylic craft paints in blue
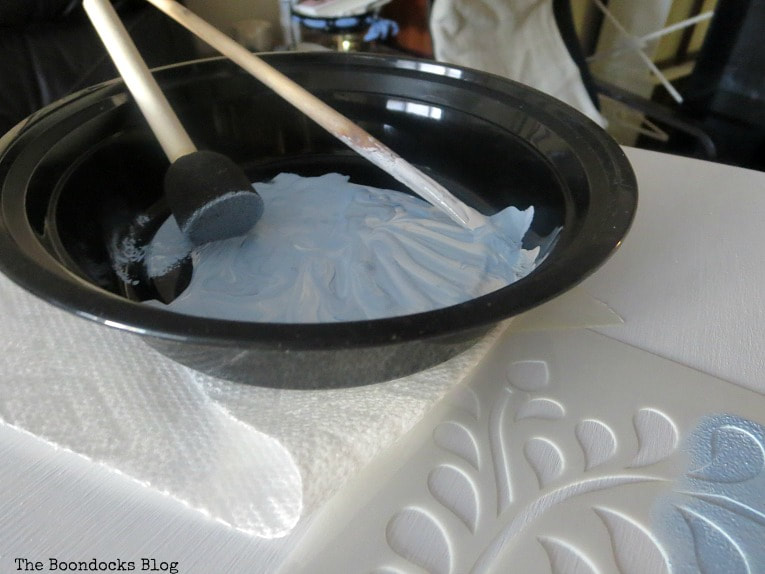
- Spongy round brush for stenciling
- measuring tape
- Decorative Wax in white
- round brush for wax
- rags for wax

The How To:
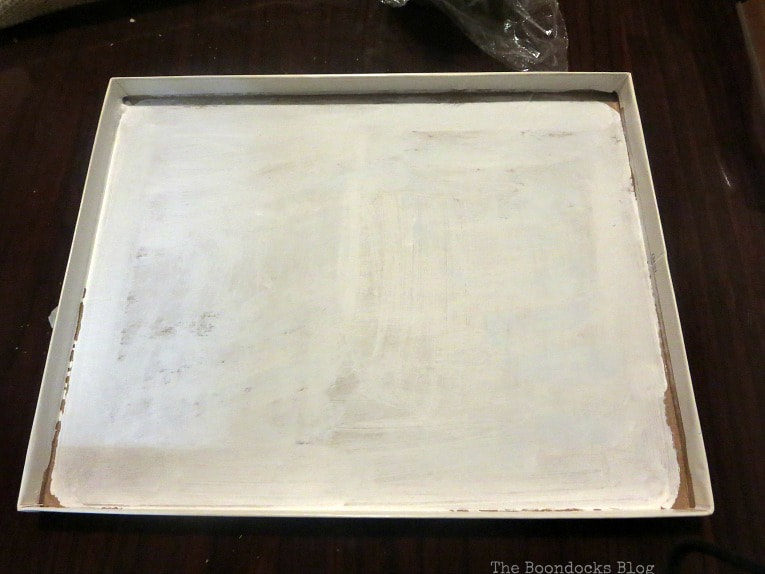
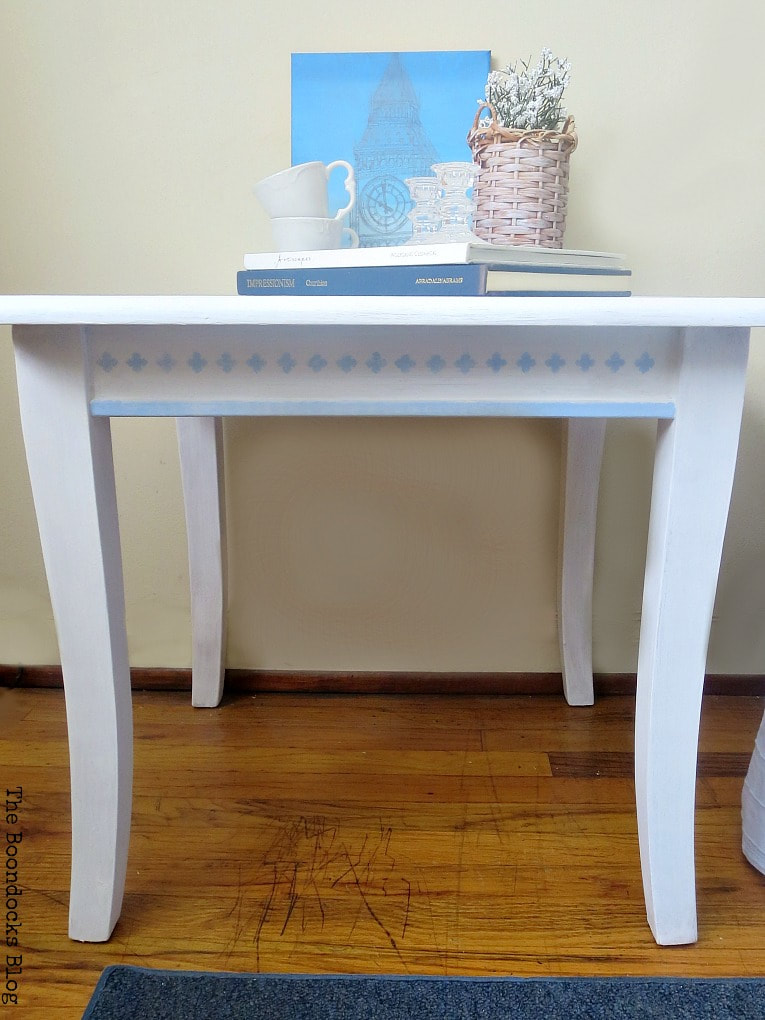
I then just painted it using the chalky type paint. Three coats was all it took and about half an hour. I didn’t even bother sanding it down cause I can be lazy that way.
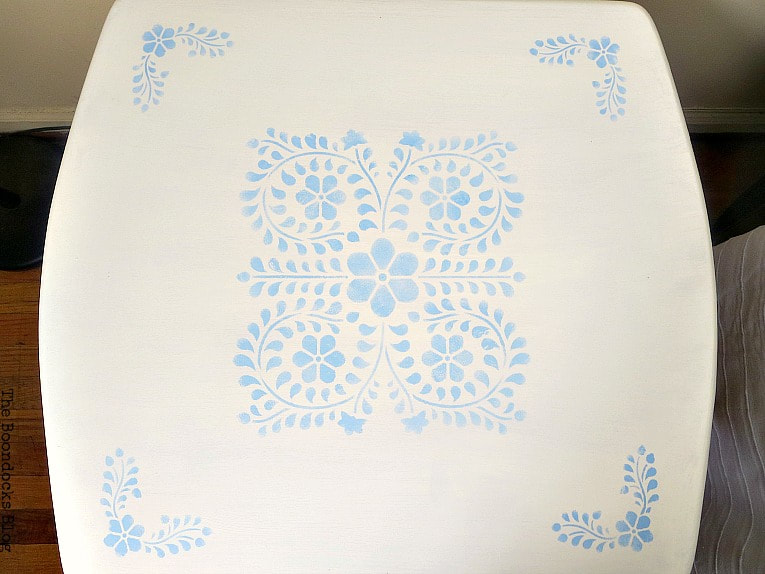
I then measured the table and centered the stencil, then taped it in place with masking tape. The table is not exactly square.

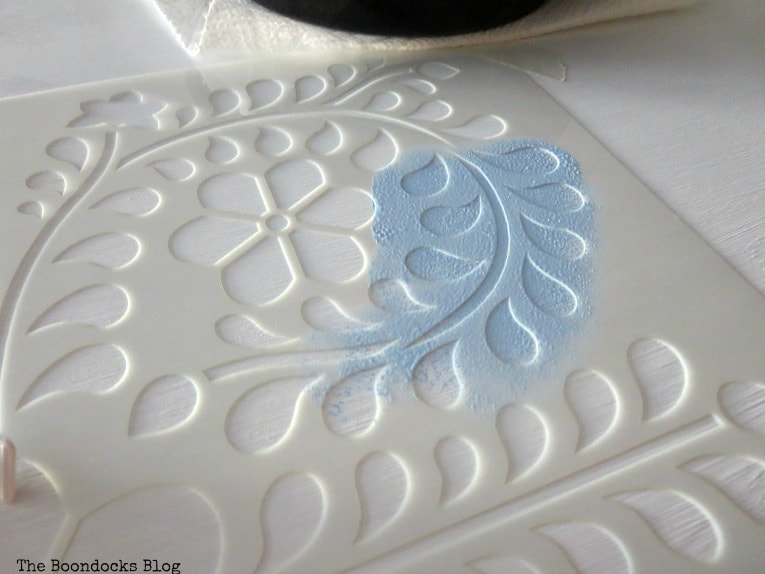
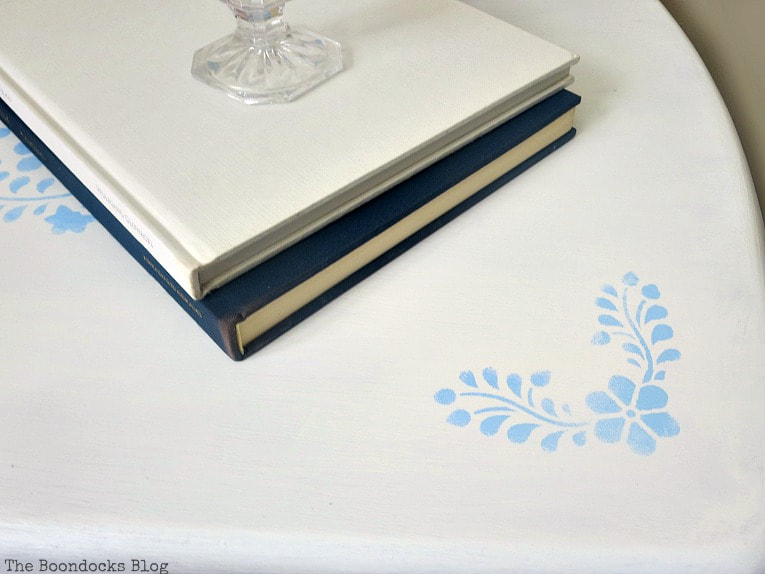
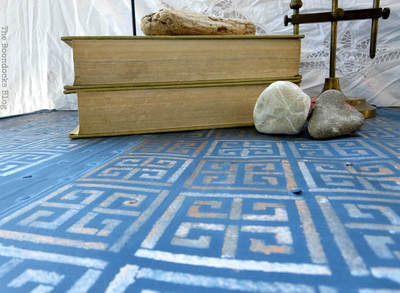
Now I have done stenciling before with mixed results but I wanted to try out this brush that my friends have been raving about. You see it below, it is round and spongy. Instead of painting you have to pounce on the stencil, but first pounce on a sheet of paper to remove any excess paint.

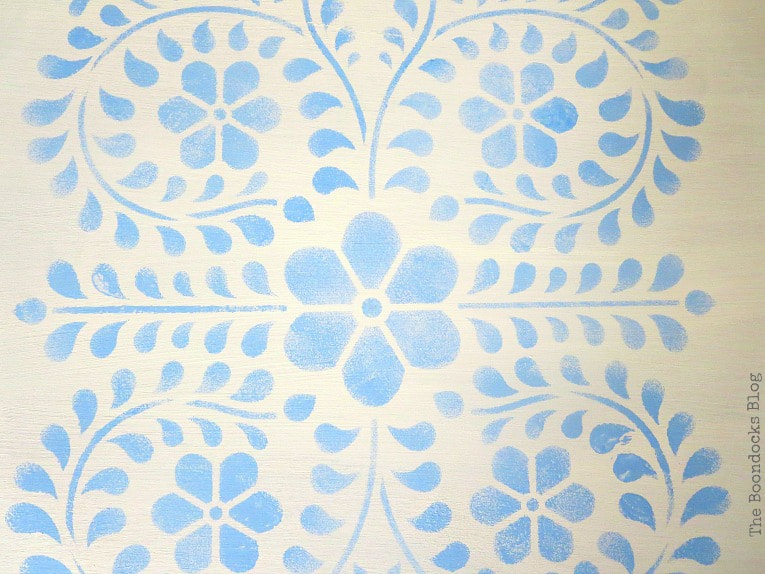
Here is what it looks like when you pounce on the stencil area instead of using a regular brush.
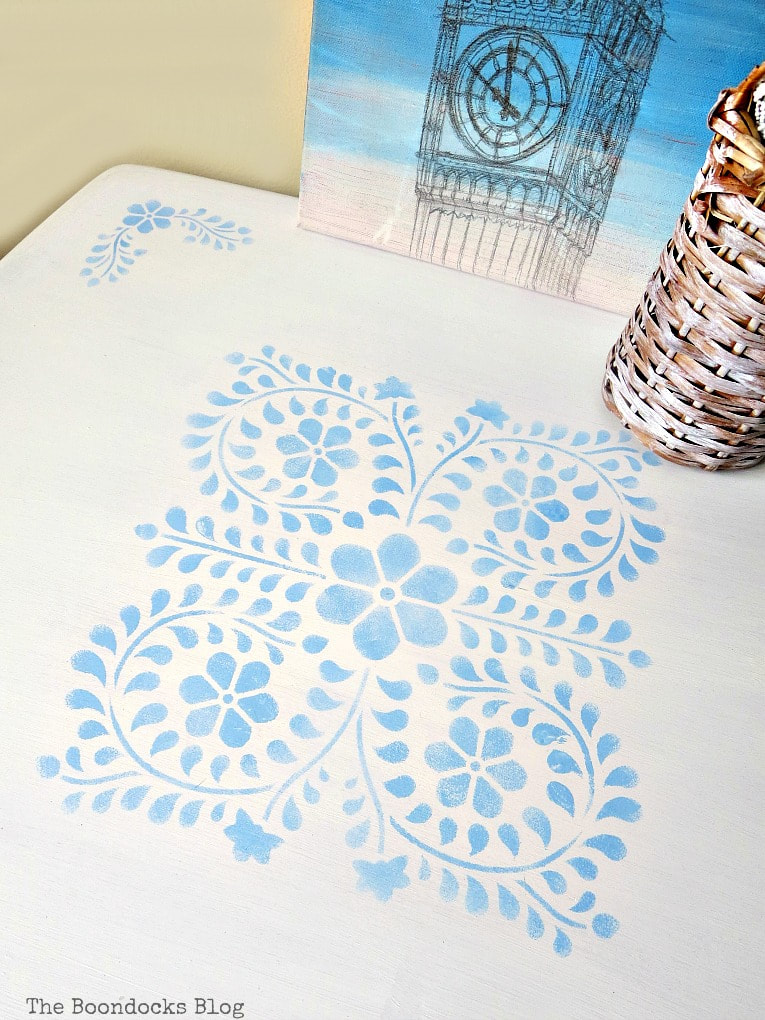
I bought this stencil set at Michael’s. It is by ArtMinds and while I have seen it used by other bloggers I have not seen it at Amazon so if you want to get it I would suggest going to visit Michael’s or you can click here. (no affiliate link I just really like this stencil)
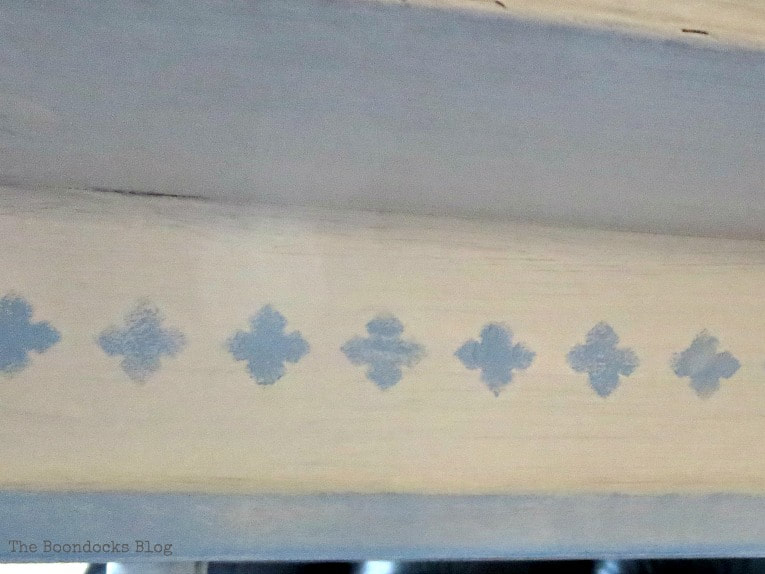
This turned out to be a very easy way for me to get an idea of what they would look like on the table.
Needless to say the black was way too dark. I think it would look great in another piece but not the farmhouse-y look I was going for here.
Maybe if I had added a clear wax underneath it would have looked better? That will be an experiment for another time.
The brown was in between and give a bit of color to the white.


I’m still at that stage where I am finding my new style and mixing and matching styles as I go along. Are you like that also?
What do you say, is it farmhousey or is it cottage-y?


Linking up to these Link Parties
This blog is for entertainment purposes only; my DIY tutorials are not professional advice. Read my full disclaimer here.
I love it when I get your comments and I will try to reply to every one of them. Please do not add a hyperlink to your comment, otherwise it cannot be published.
Because farmhouse style has changed, I’d call it cottage.
Great job!
Sounds good to me!!
LOL Mary, I had to smile when I saw that first photo. That’s exactly how our home looks only there’s a few more toys strewn all over the place. EeeeeDeeeee and Zia don’t like sharing their stuff. Love how your table turned out. The white and pale blue work so well together. It looks completely different now. I bet it would sell real quick if it goes into a yard sale again
Michelle the first month we bought a whole bunch of toys for Tatou and he ripped them to shreds. So now since he doesn’t care we give him plastic bottles to chew. He is happy and he doesn’t care if we paid for them or not. So I’m learning as time progresses. So far he hasn’t tried to bite the table. 😉
Wow, what a difference some paint and a stencil can make!
It looks gorgeous now, I really love the white and blue and the stencil is beautiful on it! I bet now you’re happy you didn’t sell it!
I am Katrin. I’ve been rearranging the furniture in the living room and now see that I have more room for some basic pieces. And of course I love that white and blue combo.
Mary I love your sense of adventure when you try new things. You are always willing to experiment. The table may or may not turn out to be your style, but it looks good!
Since starting on this blogging journey Michele I have come to learn that paint has power, but also it’s only paint so it is easy to change things up if I’m not happy.
It turned out cute Mary. What a great idea to paint a lid to test out the wax; I’ll have to keep that in mind!
Sara you’re gonna laugh at me but I love the way that lid turned out so much I want to hang it on the wall now.
Great save Mary! I think it turned out really pretty. I think that it’s a little of both farmhousey and cottagey. I find my style is a mixture of farmhouse, rustic, country. If I like it that’s all that matters even if it don’t match. 😊
Thanks Linda, I have to agree with you. Certain pieces speak to us and that is really all that matters.
Love this, Mary! The design and the color really transformed the table.
A little bit of sunshine in a room which is having an identity crisis right now Stacey!
Mary, that stencil is so pretty and your table is great!
I really love the stencil Michelle, it is so much more than what I just used. I can’t wait to use it again.
Isn’t it amazing the difference that a little paint makes! Lovely, just lovely!
Jeanie that is my motto! “The power of paint!”
Ha ha my whole house has kitty toys all over. I love the table top. The blue against the white is so fresh and pretty. The way you used the waxes brings out the personality you gave the table.
Oh Debra my baby cannot distinguish between his toys and the papers in the trash cans. He hauls everything out.
Definitely like this makeover… much improved over the brown! Stencil is quite pretty! Pinned!
Thank goodness I ordered it Julie, even if I don’t use it for the dresser I know I’ll get lots of use from it.
Yet another well done project Mary! Such a pretty color blue and I think your choice of white wax was spot on.
Thanks Doreen at some point I will have to try and pull it all together but that is going to be down the line. Who said decorating was easy?
Hi Mary, I love a good stencil too. Your table turned out great.
Thanks Clearissa wish I had done this before the garage sale then maybe it would have sold.
I’m going to say farmhouse cottage – LOL. Lovely no matter what you call it. Come on down to Florida Mary. I have some furniture I need help with!
That would be a dream come true Carol, I’d love to help with all your furniture.
Yay, for upcyling!! I think these kinds of projects are my absolute fave! It looks beautiful!!
Definitely an improvement over the before!
Aren’t you glad you kept it! Looks lovely.
I certainly am! Nothing beats crisp white.
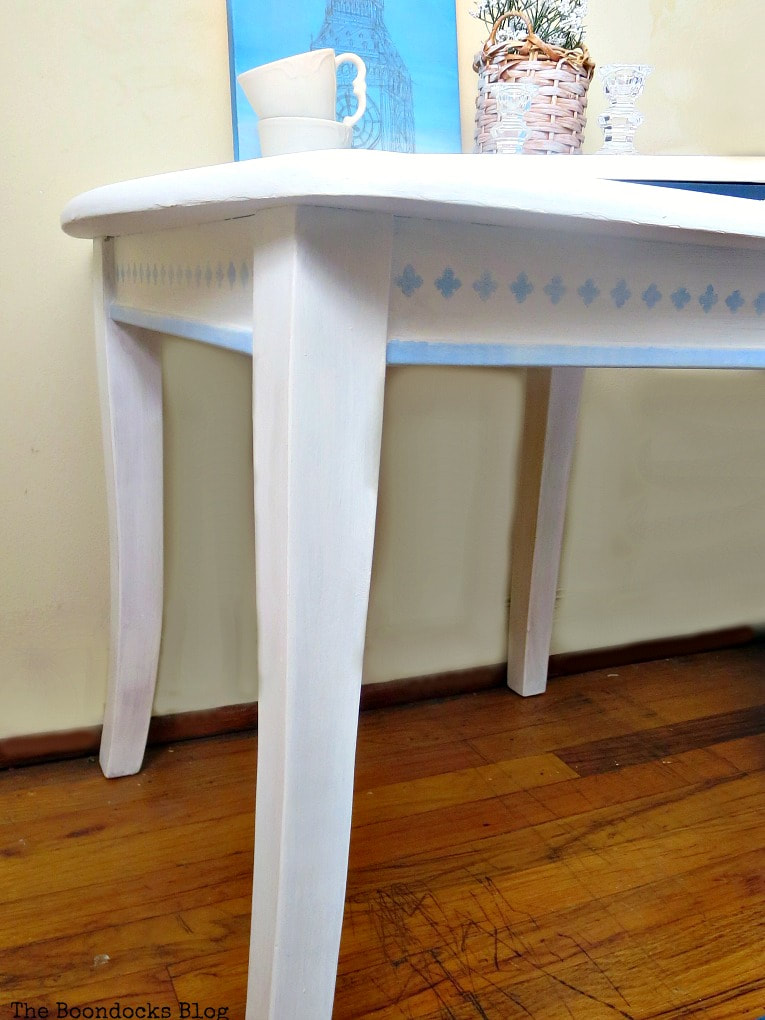
I think it’s both farmhouse and cottage style. The cottage style especially stands out with the teacups and books on top. What a nice touch! And I think some fresh flowers could look really nice! Lovely table Mary!
You are so right Mandy, it was the fresh flowers that were missing.
You totally redeemed that table! Perhaps it not selling was a blessing in disguise. Love the soft cottage vibe you’ve given it.
I think its a blessing and a curse this talent we have for upcycling. Especially you Marie, I think I would be tempted to keep everything you makeover.
This is beautiful Mary and I would say cottage style, but then again, what’s in a name? I say call it what you like!
Ok Kim since you own a cottage I will have to defer to your expertise because I am clueless. haha!
Mary, you’re speaking my language with the stenciled table. I love how it turned out and you did a marvelous job on it. The stencil is pretty and I like the corners, how you added the flourishes to them.
Thanks Keri, I figured after all these years it was time to get over my fear of stencils and go for it.
Oh Mary, this table is stunning! Great job! Thanks for sharing at To Grandma’s House We Go!
So pretty! Pinning this treasure!
Love the table. I’m a mix of cottagey/shabby chic, and mass clutter! I’ve had one successful stencilling project so far and want to try more. Your system looks easy!
Oh so pretty. What a great save
Oooh, Mary! I like the light blue stenciling on your “new” table!!! Really pretty and I like how you shared the test runs in the photograph… I’m so visual that I need that to really decide if I want to jump into something or not. Happily pinning and sharing to my FB page.
Glad your table got a new lease on life,
Hugs,
Barb 🙂
What a fabulous transformation Mary! The blue stencil makes it really stand out and gives it a bit of a Scandinavian feel!
This is gorgeous – such a pretty, fresh look. I acquired a little sewing table recently, and I think doing something like this would look amazing.
Hi Mary,
I love how your table came out! I’ve spent the past few days cutting stencils to use to stencil on flour sack towels with fabric paint so it caught my eye. Now I have another use for them . . .furniture! Really enjoyed this post!
Cheryl
What a beautiful transformation!!
Absolutely stunning! Fortunately it didn’t get sold at the garage sale! Would have been a real loss!
The table is beautiful! Stencils are so pretty. Thanks for sharing at Merry Monday,
So pretty, Mary! I’m not good with stencils, the paint always leaks beneath them. A brand recently offered me free stencil for my blog, but since I don’t DIY anymore I told them you might like it. Hope that’s OK. 🙂
It always amazes me what a little paint can do! We’d love for you to come link up at Wall to Wall DIY Wednesday over at R&R at home!
Mary,
I love how this table turned out and the tips. I have stenciled one piece of furniture and really liked it. Stop by Thursday Favorite Things since you are one of my features.
Hugs,
Bev
What a pretty new look for the old table, Mary. I love using stencils, too. Thanks for sharing at Snickerdoodle. Pinning.
This is really cool! I really love what you’ve done with the table. It turned out very beautiful
Mary, you know how I love a good stencil! This turned out great! So fresh and pretty! Thanks for sharing! You are one of the fan favorites at The Sunday Showcase from the last Make it Pretty party. Here’s the link to this week’s Showcase: http://www.thededicatedhouse.com/sunday-showcase-make-pretty-monday-8-54/ Have a lovely Sunday! Toodles, Kathryn @TheDedicatedHouse
Mary, you know how much I love furniture transformations. This is a simple but yet so chic makeover. I am not a stencil person but I think that stenciled details go this old table to another level! Congrats my friend 🙂