
How to Upcycle your Christmas Tree on the Cheap
I have been yapping for the last month about my Christmas tree. I was going…
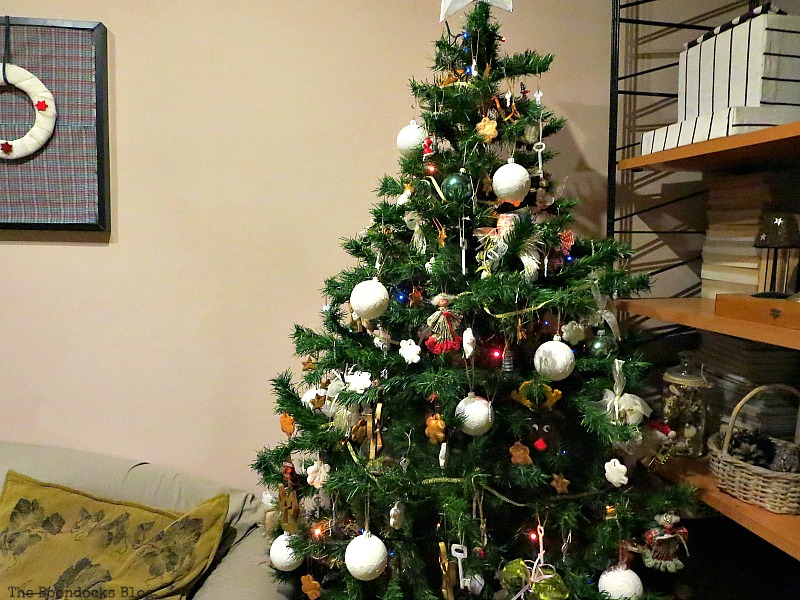
Well enough of my bluster, I am done and am happy to show you how to upcycle your Christmas tree on the cheap!
And now for the back story. Last year I had decorated the tree with everything but the kitchen sink. It was nice and very sentimental but I realized many of those ornaments were in tatters. It was time for a change.
Time to become selective!
Time to turn over a new leaf… er, a new color!
And so I opted to remove as much red as possible, and do the Christmas tree in white, metallics and green. Because I am not someone who follows trends! Who’s with me on this one?
I also needed to do it on the cheap because who has money to throw away every year on new ornaments? And who decided that we needed to have a new look each year anyway?
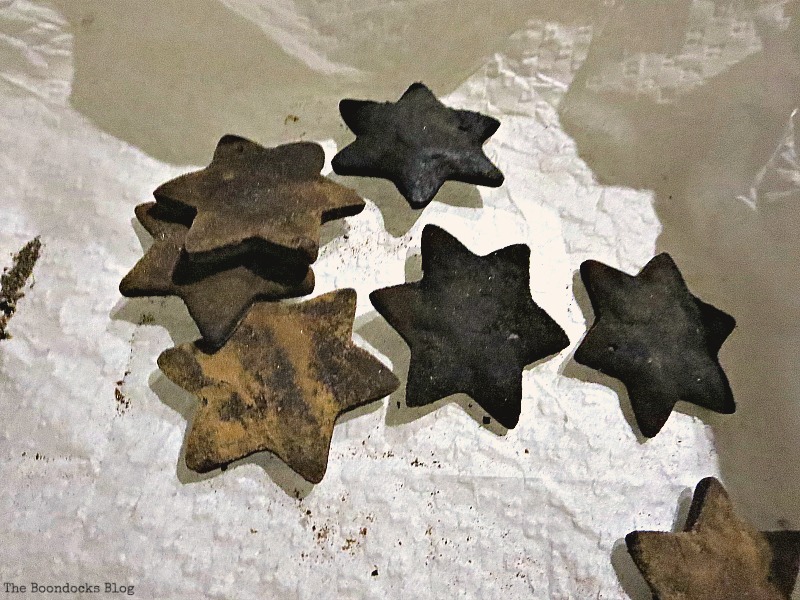
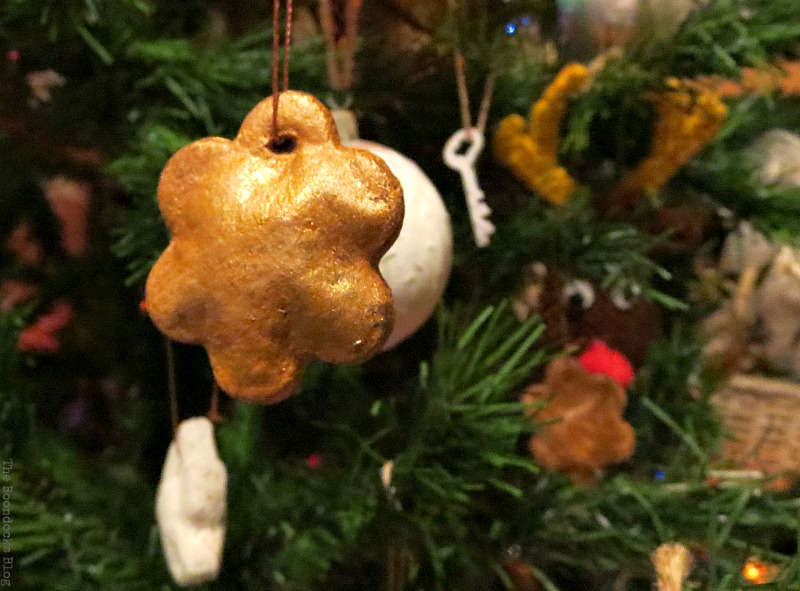
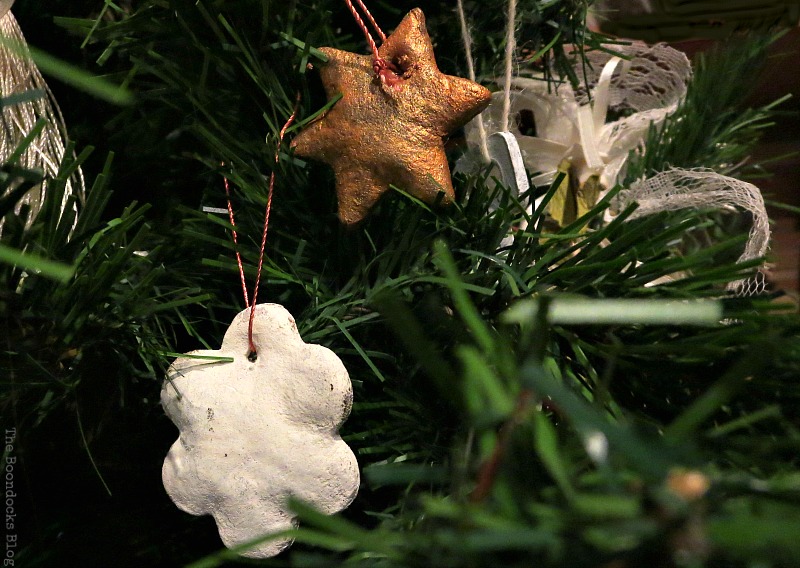
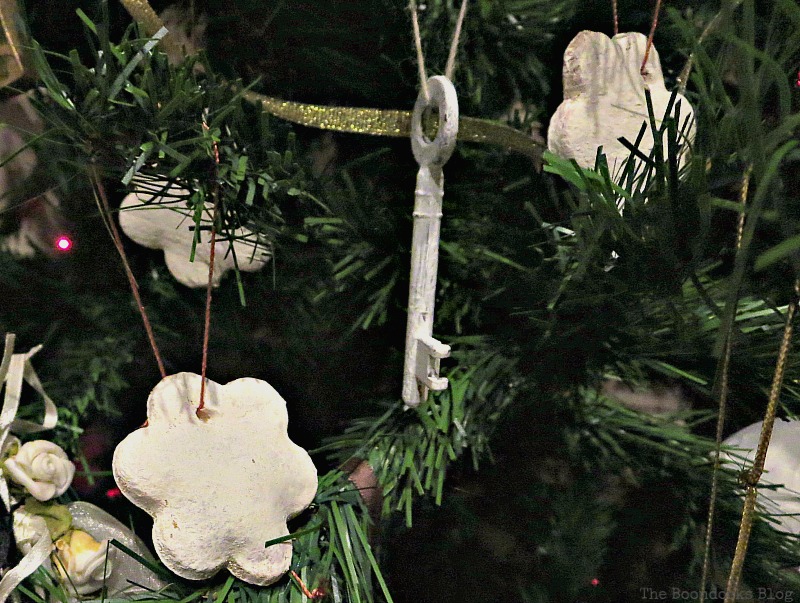
I had seen an idea over at my friend Leanna’s blog, Of Faeries and Fauna Craft Co. where she had made a garland out of salt dough. Her ornaments came out beautiful. Sheer perfection I tell you! I was so enthused I decided to make my own…
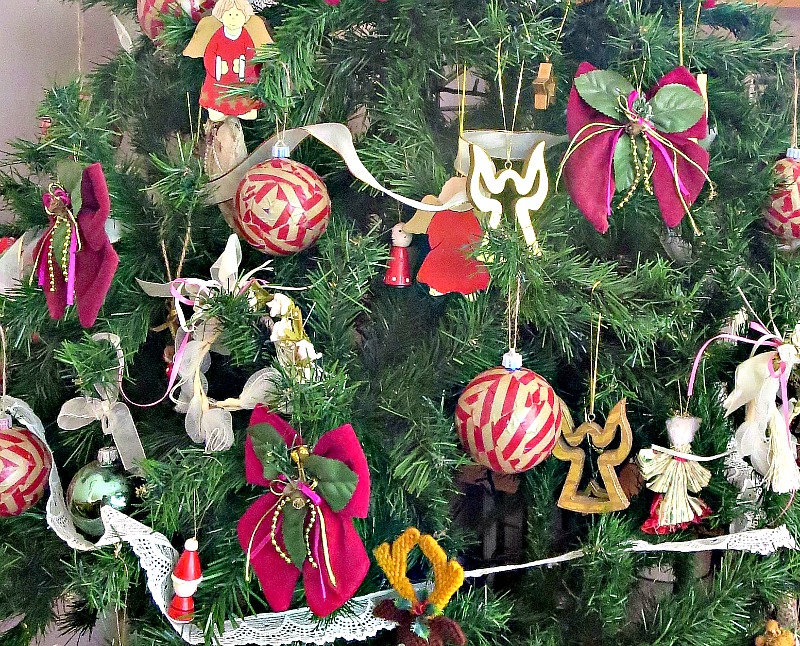
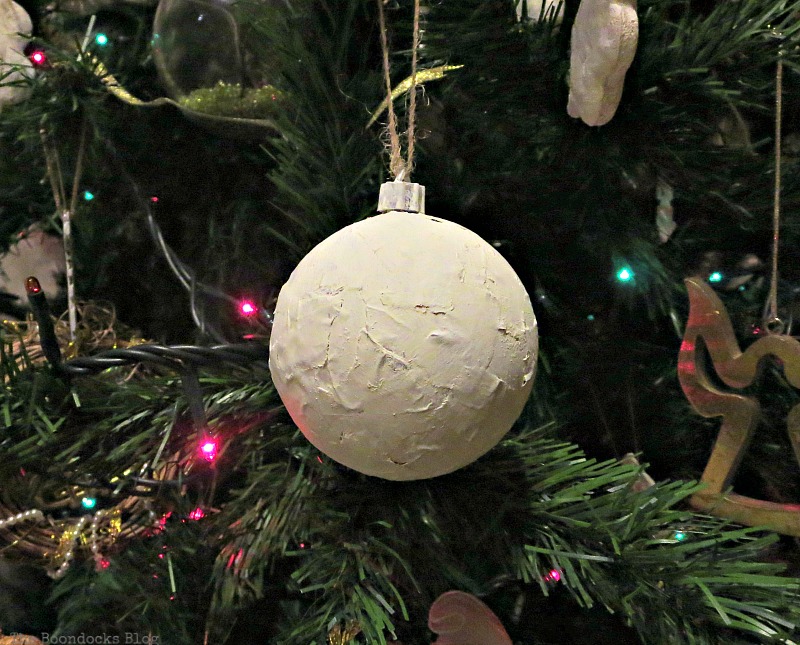
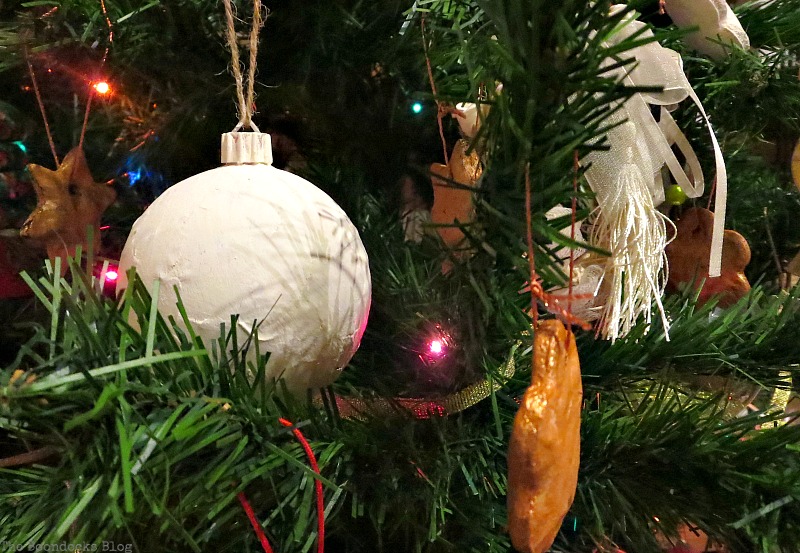
The next task was the globes. I had these for years in shiny blue and pink colors. Did I mention that I would put everything but the kitchen sink on my tree? To rectify that situation, last year I had decoupaged them with paper in red and beige. Here is a picture of last year’s tree. I was very happy with the way the globes had turned out but this year I was going for a more toned down look. Less red.

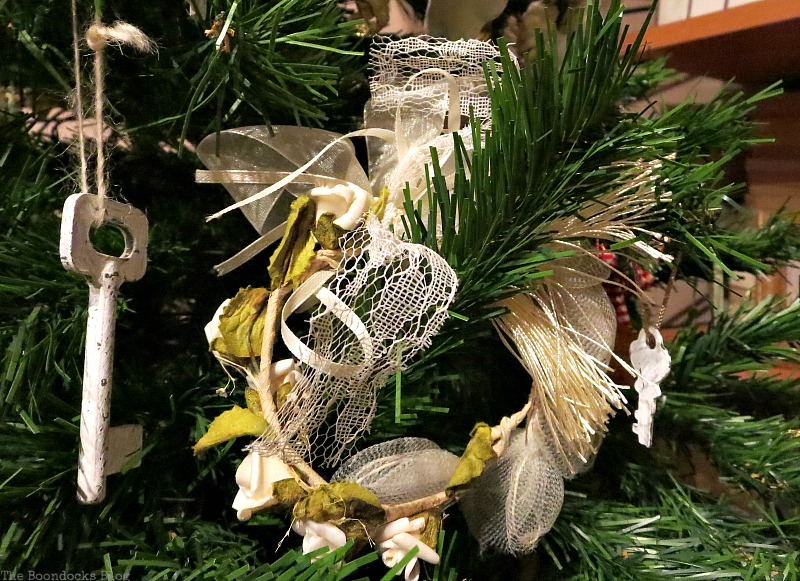
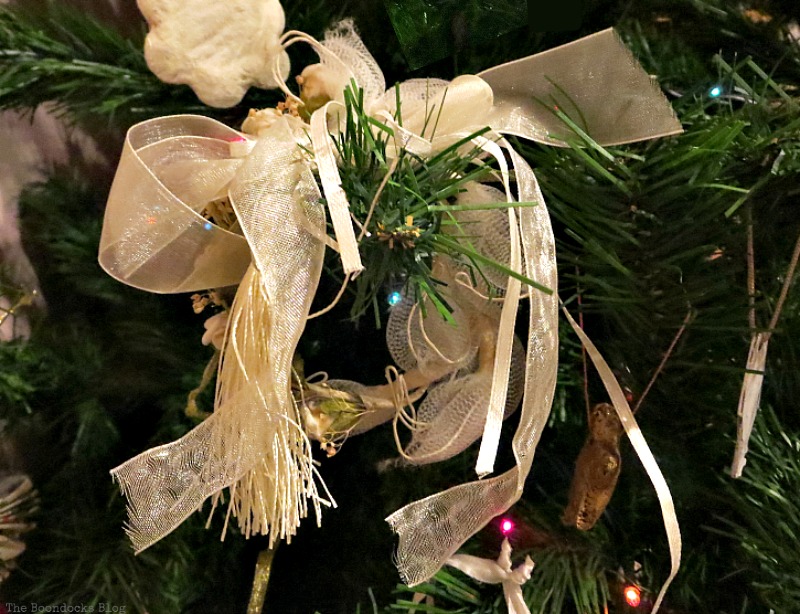
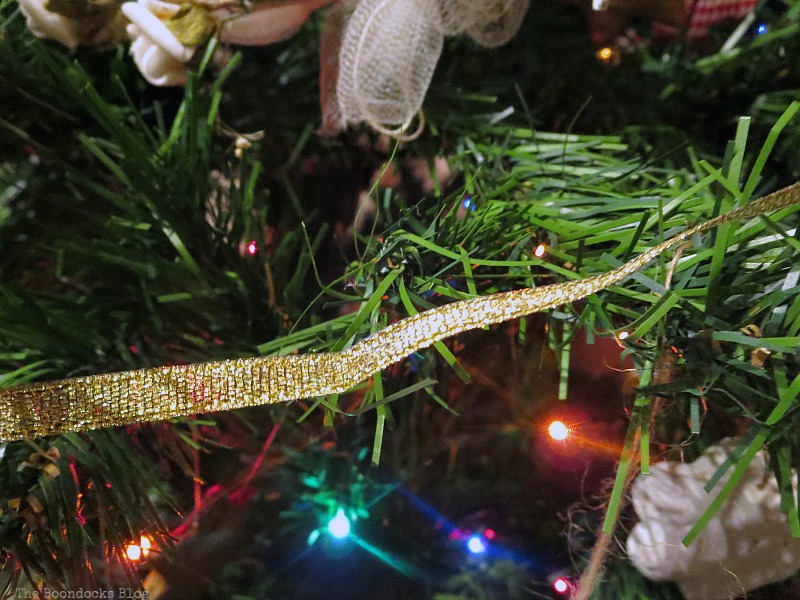
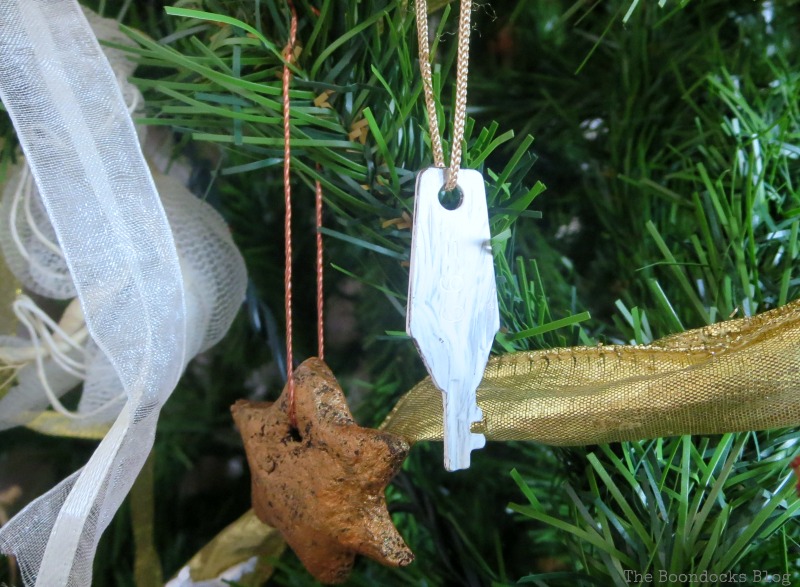
I used thin and thick gold ribbons to go around the tree.
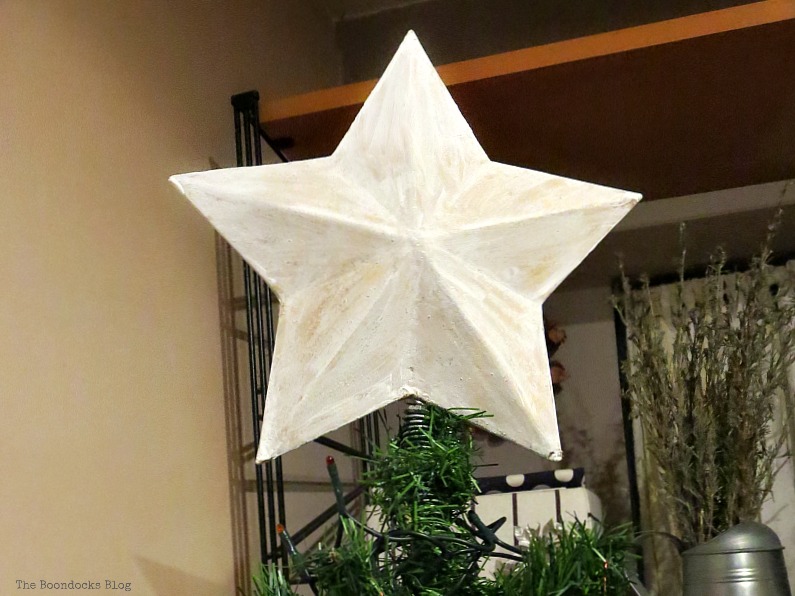
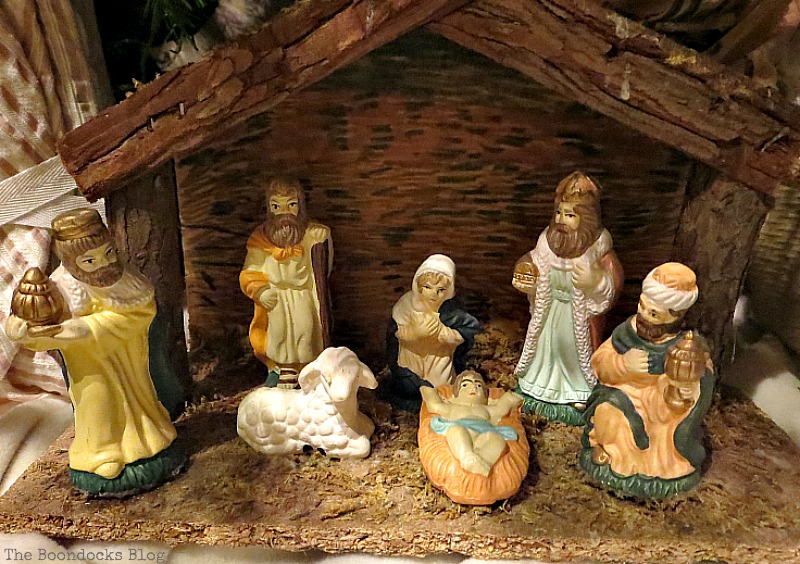
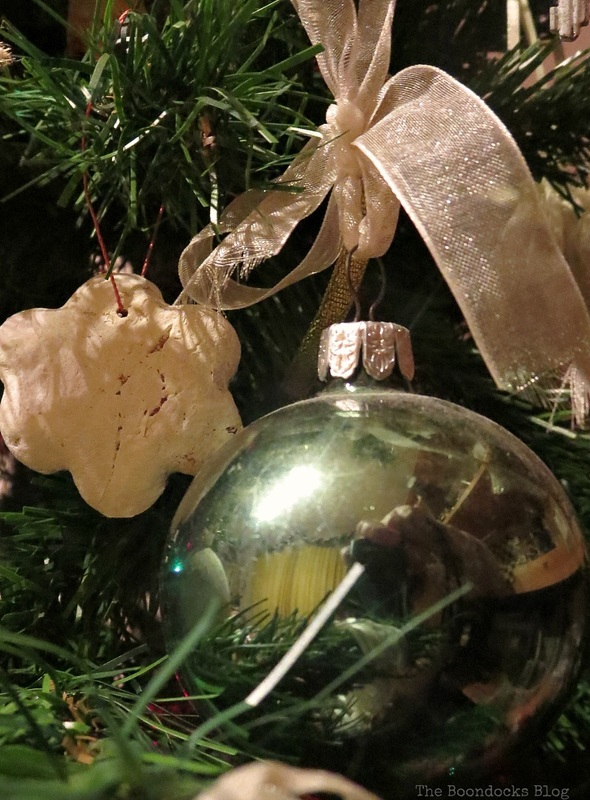

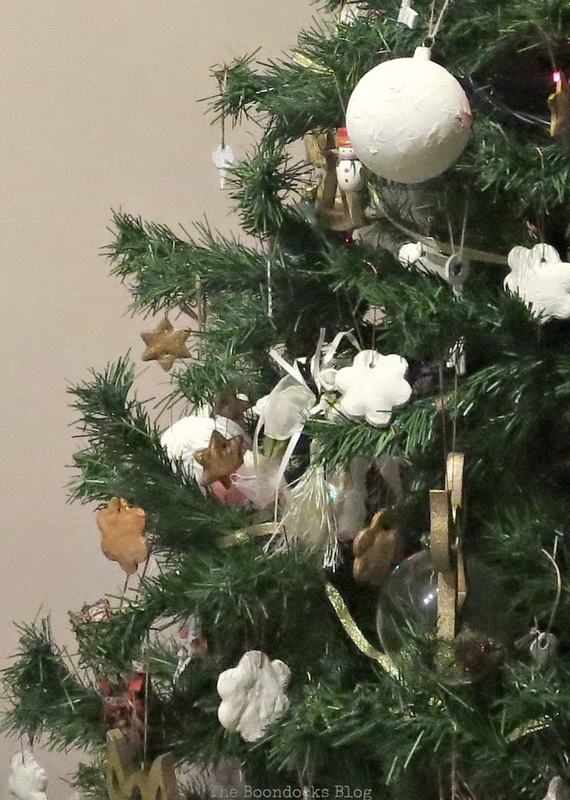
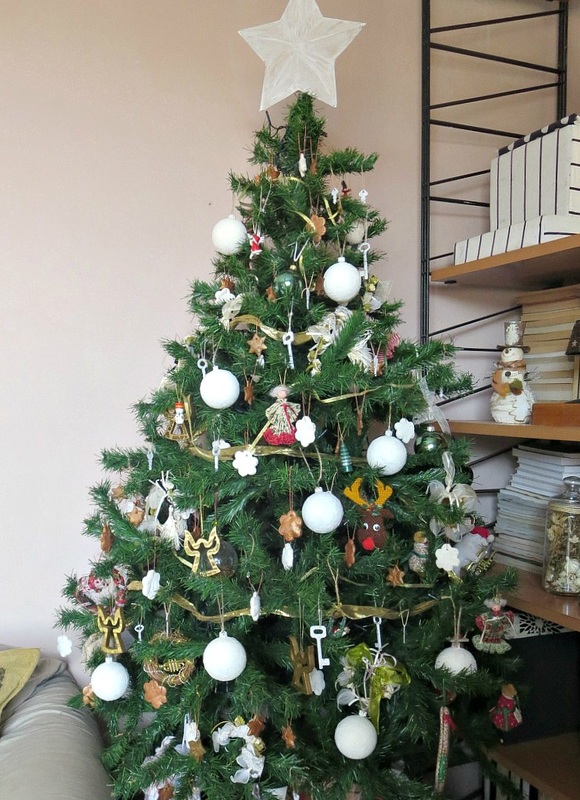
I am learning to downsize and work with less color. I don’t know if this is the right direction. Perhaps if the lighting was all white it would have looked better. Either way I had a budget to work with and those lights are in next year’s budget.
So what do you say? Did I pull it off, or was this metallic and white idea an epic fail? Don’t be shy. And tell me what you decided upon for your Christmas tree. I need fresh ideas for next year.
Merry Christmas everyone!
If you like what you see, share it with your friends, or save it on Pinterest. Above is a Pinterest worthy image! If you really like what you see subscribe to my blog and get my adventures twice a week in your mailbox. The form is on the sidebar and your e-mail will never be shared with a third party.

This blog is for entertainment purposes only; my DIY tutorials are not professional advice. Read my full disclaimer here.
I love it when I get your comments and I will try reply to them or visit you on your blog. Please do not add a hyperlink to your comment, otherwise we cannot publish it.

They look great Mary. I love white and metallics in the tree. The white ornaments just pop out!
And the best part Zografia, they cost nothing! I’d rather spend my money on presents for the kids.
Oh yes you definitely pulled it off Mary. I can only see the barest hint of red and it matches the silver, white and golds you’ve baked, re-purposed or blown up 😉 Christmas decoration can be so horribly expensive and you’ve used what you had a flipped the tree into a new chalky cookie dimension.
I tried really hard Michelle. I think this may have been the hardest thing to do, hide the red at Christmastime.
Hello Mary,
your tree looks great! Now you can have a cup of tea, put some soft Christmas music on, put your feet on, relax and enjoy the Christmas Season!
Have a lovely day,
Marjan
P.S.: I like the copper biscuits 😉
P.S.2: Glad you didn’t put the kitchen sink on the tree!!!!
Yep, you pulled it off, Mary! And it looks great! It’s always fun to make your own ornaments! I need to take my own advice and make enough for my trees, but I’ve had my mostly purple ornaments for over 30 years and don’t want to go to the expense of replacing them. So I take comfort in making a few here and there each year. Hope you continue to enjoy getting ready for this holiday season!
Are your purple ornaments ball shaped? If you like a silver look, try using Krylon mirror spray paint on those purple ornaments to upcycle them. Or gold, silver, or copper paint would also work. Once painted, you can add sparkle with a simple pattern of glue lines dipped in glitter.
My daughter Liesel made salt clay ornaments also, but hers were not baked, just air dried. She cut hers with a circular cookie cutter, then pressed shells or leaves against the clay, making an imprint. After they dried she left some plain and gave others a thinned paint wash to emphasize the patterned areas.
White is my fav color, especially against a dark green tree, so yes, you pulled it off!
So, I’m of the opinion that all Christmas trees are beautiful, but what makes them really special is the individual touches each person/family puts on them. There could be no tree int the world that says ‘Mary created me’ more than this one. this tree epitomizes your crafty/recycle nature and is the perfect reflection of you. I actually like that the colors peek out from under their new coats of paint…reminding you of their history.
A very lovely tree Mary, thanks for sharing.
Hugs, Lynn
The tree is beautiful. I love what you did to change the look and it only took some paint and your skill.
It turned out great! I loved the way you saved the baked ornaments with paint! Good thinking…I might have just cried. The white painted globes have great texture. You are very creative – I love to see what you will come up with next.
You know me and my buddy “white”, Mary! So no need to say more! Love your tree and how you did sneak in some reds and copper tones, it looks really beautiful and I agree with Lynn, it’s so you and I really like you! Have a wonderful Christmas time and enjoy sitting next to the tree in front of that cozy fire, I wish I could join you!
Hurrah for paint to save your ornaments from the trash can.
Mary, I like the ornaments…the ones with texture and the ones your stove “ruined,” but aren’t ruined at all. For a first attempt, looks like they came out looking nice. You did good with recycling your tree. From your title, I thought you were going to give us early advice on how to recycle the whole tree, or something. LOL.
Mary, I love your salt dough ornaments!! I’ve always wanted to make some of those. I like how they got puffy and no worries about the color, that’s what paint is for right!? I remember the keys on your roasted Christmas tree, such a fantastic touch! We have a different tradition when it comes to our ornaments. Our tree is full of lots of different color and it suits our family, just like your tree suits you and yours. I don’t think there is a right or wrong way to decorate a Christmas tree, whatever you think looks pretty and however you want to make it special for you and your family . 🙂 I love your Christmas tree, it’s soooo beautiful!!!
Oh, my! I was literally laughing out loud when I saw the ornaments after they came out of the oven! I can totally relate to such diy fails but you turned ashes into beauty! I am with you on the trends, ect. I love to look at them but when all is said and done I still want to see my old favorites that invoke happy memories of places and people. Maybe I need two trees! Thanks for sharing. It all looks wonderful and Christmas cozy!
First of all Mary, I love your determination to make the burned salt dough ornaments work – very clever! I also love how you repurposed the wedding favors into pretty little wreaths. Your more neutral colored tree is very nice and that says a lot coming from the girl who loves red and has it splattered all over her tree!
Your Christmas tree is gorgeous, Mary! And great save on those salt dough ornaments. It’s amazing what a difference a little paint can make! There is definitely no reason to spend a ton of money on something from the store when you can easily make it at home!
Very good Mary! Christmas tree is beautiful! I support the idea that not buy new decorations every year! That makes no sense!! 😉
You are so crafty Mary and did a nice job with this!
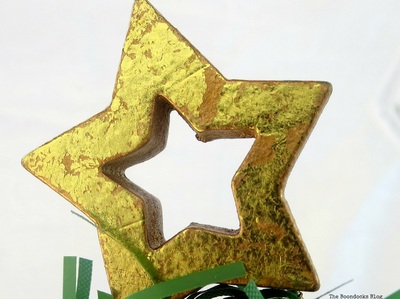
Congrats on the little star ornaments. I especially enjoyed the gold metallic ones. Thank you once more for the reference Mary, so glad we met.
It turned out really beautiful Mary, you did a great job!
A beautiful tree and great tips, well worth stopping by, Mary 🙂
Amalia
xo