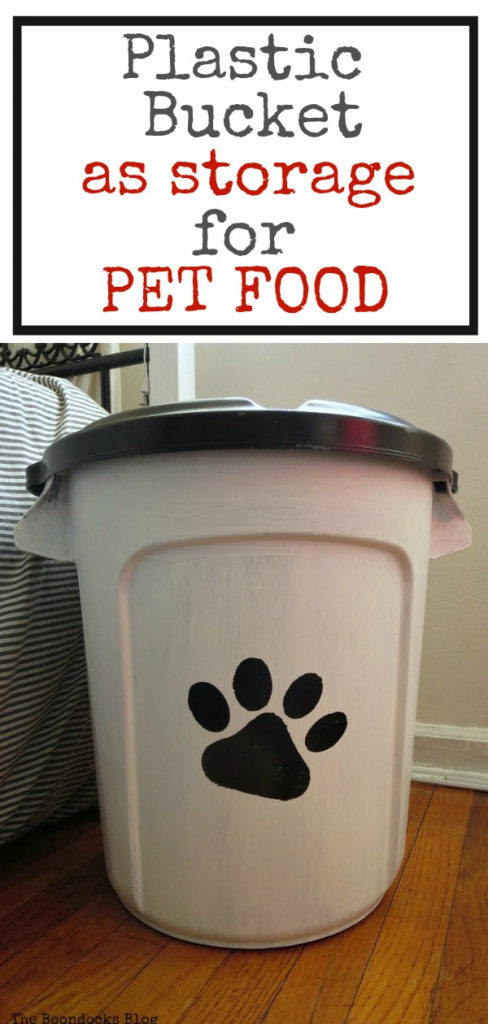
DIY Dog Food Storage Container
Keep your dog food organized, accessible and fresher for longer with this easy DIY dog food storage container idea.
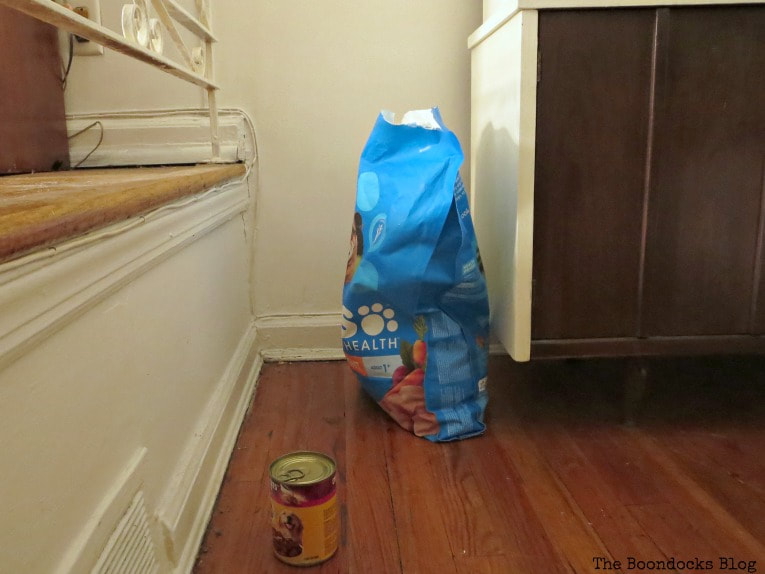
In an attempt to get my life in order I have been organizing everything in sight. One particular eye sore has been the dining room which over time had collected all sorts of things that didn’t belong anywhere else. Like bags of dog food and lots of cans. So it’s time to get organized and make my own dog food storage container.

Disclosure: I was compensated for doing this post with product. However, all the opinions stated here are my own. I only use products I love and would recommend to my viewers.
It was really cluttering up the room and making it look very unfinished. I’m going to share how I easily made a dog food storage container using a bucket, and in plain sight no less!
And now I hear you saying why not put these things in the pantry or in a cabinet in the kitchen? Have I ever mentioned just how tiny my kitchen is? When I stand in the middle with my arms extended I can touch either side of the cabinets. Both ways! And with a big family to feed, you know each and every inch of that storage space is valuable. So it was not going to be wasted on dog food, as much as I love my pupster!
I had seen this idea by Inspiration Made Simple on the internet and wanted to copy it. I went to Home Depot looking for that bucket but no luck! What they had available was either too big or too small.
Yes, I could have gone to another store to look for that perfect bucket but I was in a hurry! I was a woman with a mission. I had to get the house in order fast, because we were expecting company the next day! Do you ever get motivated to do serious tidying up when you are expecting company? And then realize it is all too much?
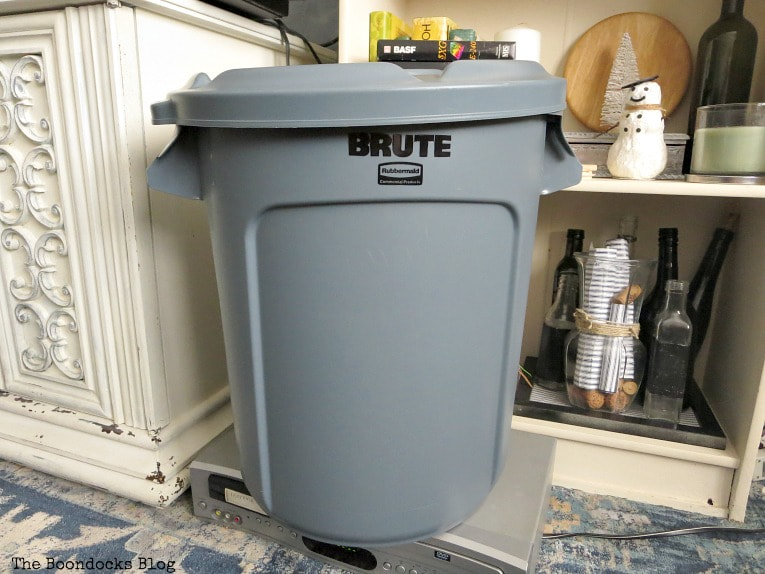
Instead I found this alternative. It was a plastic bucket that closed really well in a 10 gallon size.
What I Used:
Disclosure: This post contains affiliate links for your shopping convenience. If you purchase any of these products through the links, we receive a small commission at no extra charge to you. You can find our full disclosure here.
- 10 gallon plastic bucket but I recommend a steel container
- DecoArt Americana Satin Enamel paint in white
- DecoArt Americana Satin Enamel paint in black
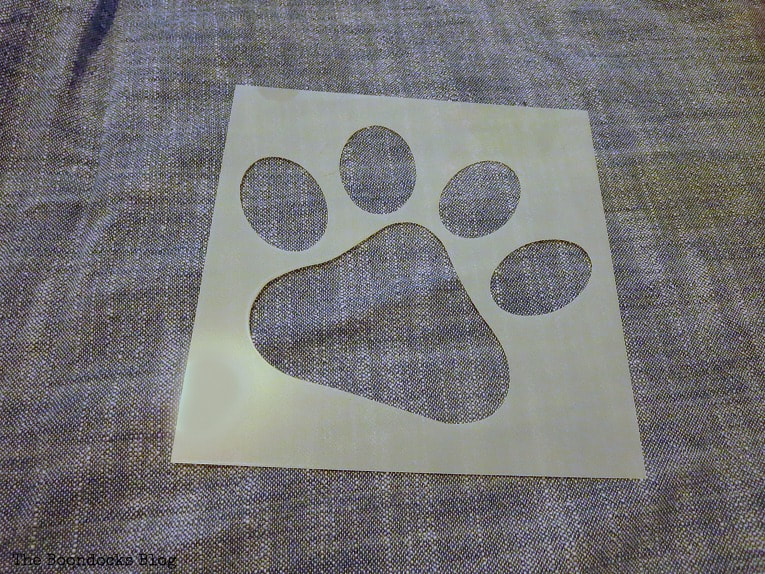
- Paw stencil from Stencil Revolution
- Pounce sponge brush
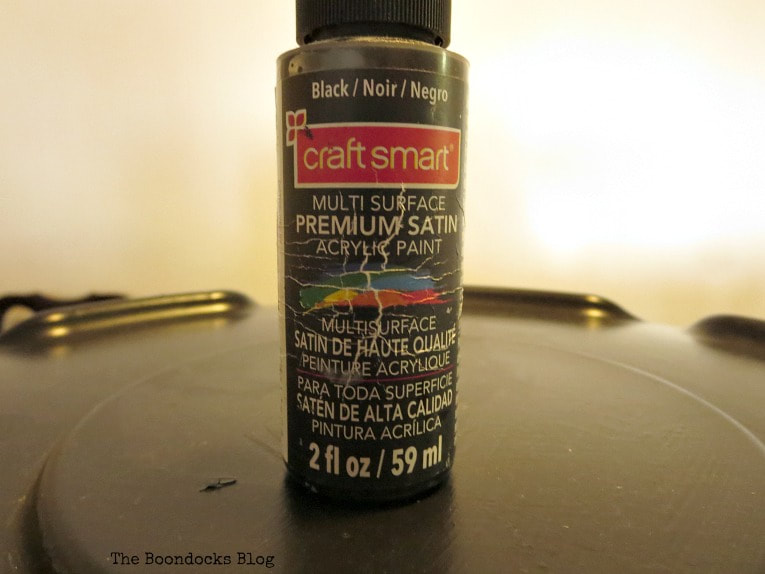
- Acrylic Multi Surface paint in black
How to Make a Dog Food Storage Container
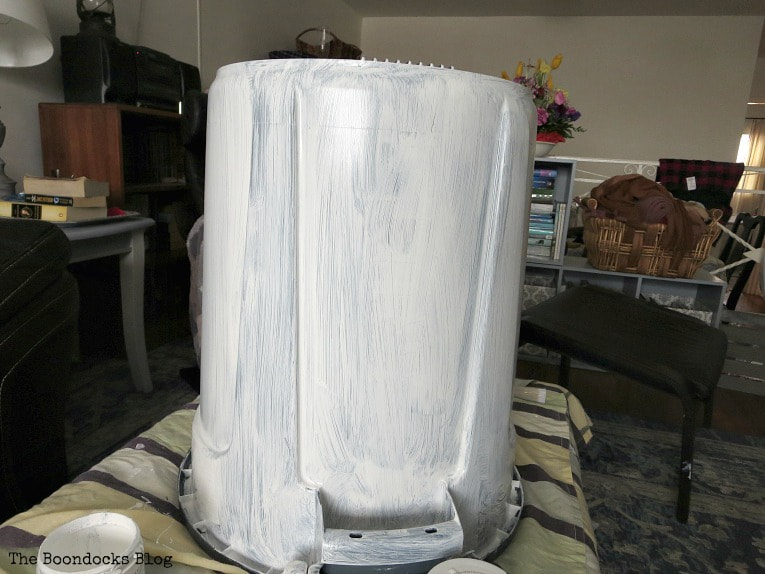
I grabbed my favorite paint and started painting it! After half an hour I went to paint on a second coat but the paint started peeling off. Gasp!! What was this? What did I do wrong?
Mortified, I reached out to my favorite paint group on Facebook and was told that plastic is really hard to paint over. Why didn’t I know this? I’m supposed to be a seasoned DIYer by now, right? I may have needed to sand the offending plastic first to get a better grip for the paint or even used a bonding medium such as this one if you have already added the paint. But the best suggestion was to start off with the right paint. They recommended Multi surface satin acrylic paint which is good for hard plastics.
Now I didn’t have the time to do any of this so I just waited an hour between coats and that really helped. No more peeling. I guess my favorite trusty paint just needed time to cure.
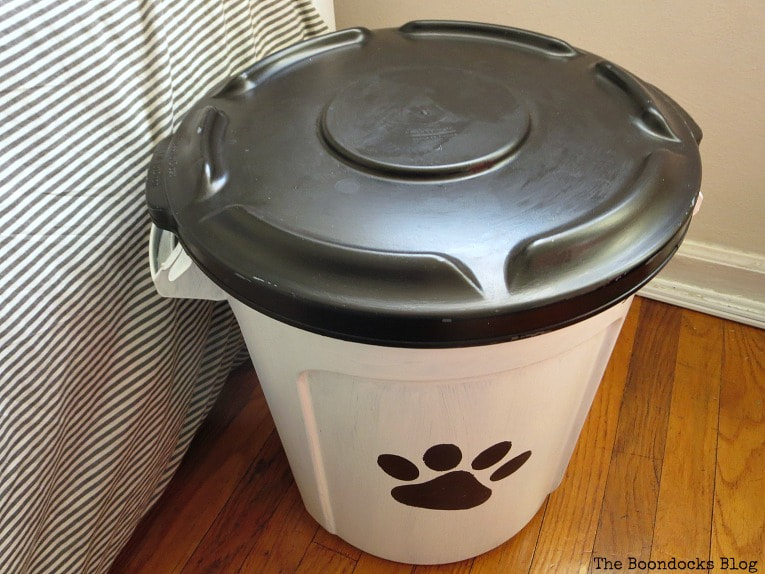
I painted the bottom white and the lid black. Two coats with touch ups did the trick.
And then I wanted to add a little something else so I used this stencil that Stencil Revolution was kind enough to supply me with.
Not wanting to make any more mistakes, I found this multi-surface paint in my stash and used it to paint the paw stencil.
That pounce sponge is really the best for stenciling.
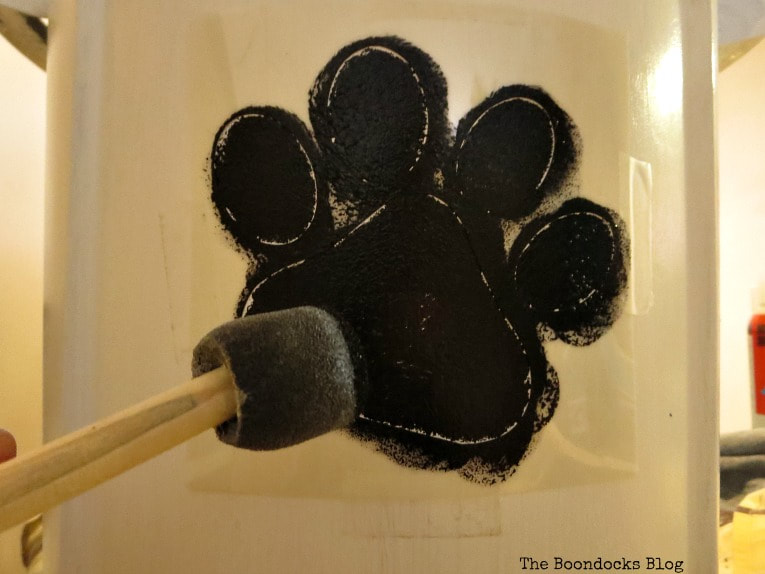
One paw on each side of the bucket so that everyone would know what was a dog food storage container!
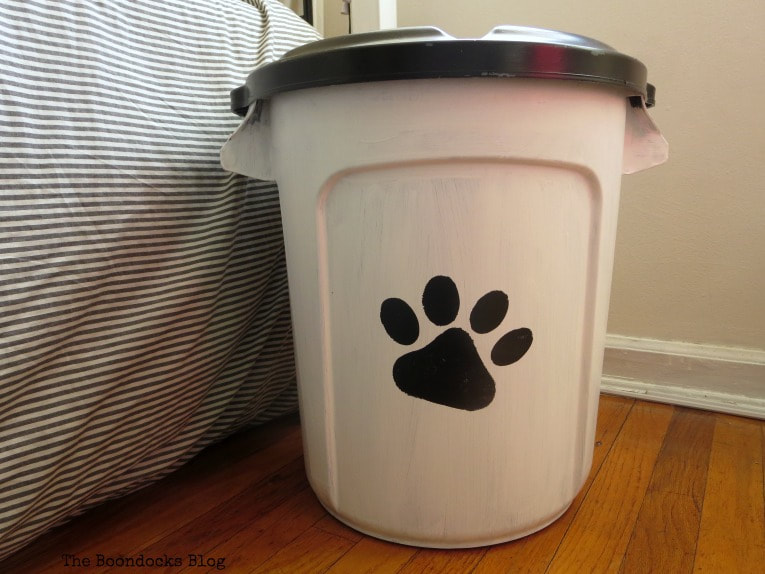
And my dog food storage container was finished. So much better than having the dog food out in the open like before.
Stencil Revolution has lots of different designs even for cat lovers!
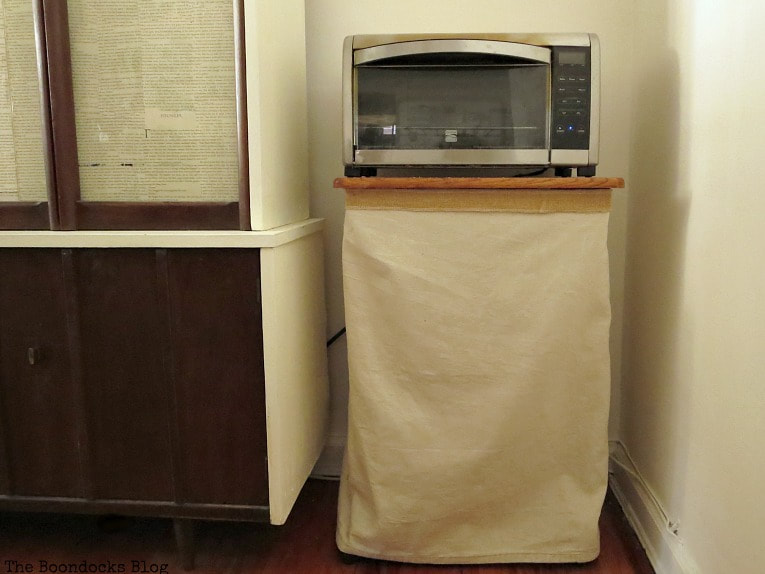
And while we’re on the subject of tidying up, I took that opportunity to also add a little bit of fabric to a rolling cart I had which looked way too cluttered for my taste.

A bit of burlap on the top finishes it off. It actually took me five minutes to do this. The bottom hemming was already there, I just folded the fabric lengthwise and stapled it onto the cart. Next I then glued the burlap on the top of the staples. I’ve also done this in the past but fancier.
If you are a dog lover like me and you’d like to see more Dog Hacks, Andrea of The Cottage Market has got a ton of them!
In hindsight, I should have waited to find a metal bucket but like I said before, I was really pressed for time. This is how I easily organized the pet food with a bucket. And I think it looks pretty awesome too!
Where do you keep your pet food?


More Organizing Ideas:


This project turned out great, and the stencil is perfect! We will face this dilemma when we move to our small condo in a few months. It remains to be seen where we will store our large bags of dog food, but where there’s a will there’s a way, right?
It is so much nicer than a bag of food and a bunch of cans. And it also has a bit of a whimsical look. My bucket is actually big enough to hold the medium sized bag of food and 12 cans of dog food. So it might also be an option for you.
Aaai Mary, I feel your pain. With four fur babies and four purr babies our pet food is threatening to take over the whole house, never mind the kitchen 😀 And they all have specific food requirements. Yup, they’re spoilt rotten just the way they should be. Love your idea of using a bucket to store their food. It’s so much neater and more fun if you can add stencils for that personal touch
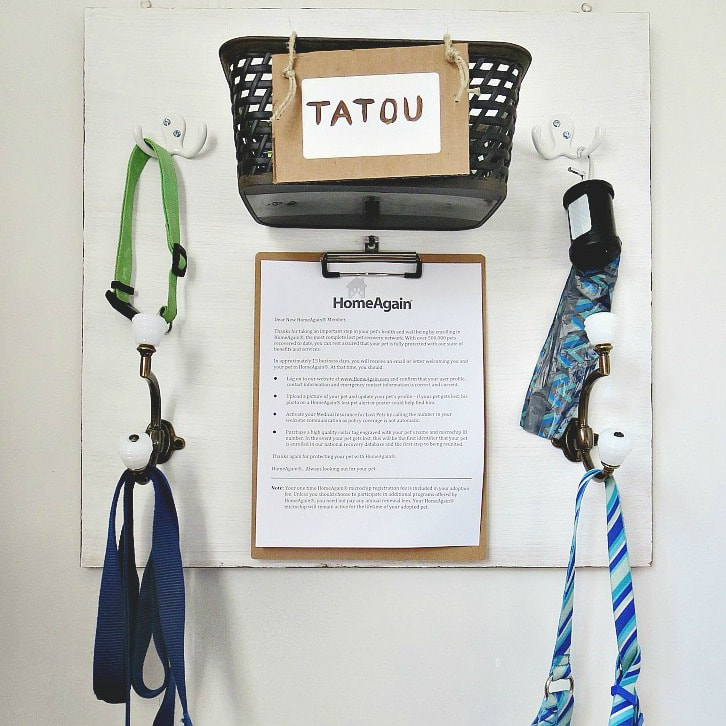
Michelle your home is filled with love but I’m afraid you are going to need a whole special room just for fur baby things in your house. I am lucky that Tatou fits in well and he keeps his things in a basket so no worried there. And did you notice the black and white touch to match with his fur?
Such a nice idea. I love the paw stencil. I’m sending this post to my father asap. Our dog’s bucket deserves a makeover!
Yay, we have to take good care of our pets they give us so much back in return!!
We’re so lucky to have a basement with plenty of room for storage. So, all the cat food immediately wanders down the stairs as soon as it’s brought home. The few bits we have for daily use are in the stairs (there’s a rim at the side – absolutely perfect for something like this). I have to admit, your bucket is a genius idea!
Thank you Marjan. We have storage downstairs too, but there is no way I am going up and down those stairs for the dog food twice a day. It’s bad enough I have to do the laundry!
This is so cute! Love a good storage redo.
With space so tight, it was the only reasonably pretty solution.
I LOVE your solution for the dog food. The bucket is soooo cute! Your cart looks much better with the addition of burlap. Clever idea!
Yes the cart needed to have all that stuff hidden. I am now thinking maybe it’s time to get rid of some of that stuff underneath too.
Super cute, Mary! I have a few of those Stencil Revolution stencils and they really are darling. And I’m an impatient crafter, too. I would’ve done the same thing…with that same bucket.
Kim they have such a huge selection. There is something for everyone. There was no way I was going to go all over the city looking for the perfect bucket! haha!!
The idea looks grand Mary! I like the paw the best!
I was desperate to hide those cans and the bag Maya and this was the best solution.
I am loving your dog food bin! It turned out so very cute, and I love that paw!
That paw makes all the difference, thank you!
So, so cute !!! It is a clever idea Mary for all those dog-parents who have not enough space to keep the food. The stencil is such a beautiful detail 🙂
I think it works well in the limited space we have and I like to keep the food close at hand too.
What a great idea, Mary! We don’t have a ton of pet food sitting out, but we do have our bag of cat food sitting out in the open in the laundry room. This is so much better to look at. Love it! Thanks for the idea!
Amy, the thing I like about the buckets is that they lock and so nothing can get in to mess with the food. Aside from pretty storage it is good to keep the food sealed, especially the bags.
That’s the cutest food bucket now Mary! I feel like giving our bunny food container a makeover now 😉
Yay, your bunny will thank you for it Katrin!!
You did a great job on the Pet food bucked. I am surprised that it pained up so well and the stencil looks super.
We will feature this post on the next Blogger’s Pit Stop.
Kathleen
Thank you so much Kathleen. There were some glitches along the way but if you use the right paint it can be an easy job!
Cute and so handy.
The best for my dog! 😉
Yep..plastic is not really the easiest thing to paint but stash this thought away if you even need it again~ use spray paint that is made for plastic. I don’t buy my dog food in more then about 5 lbs at a time but I used a big protein powder mix as a food holder. I covered most of it with scrapbook paper and wrote DOG FOOD across that. I have a cat also so I wanted to be sure that I gave the dog its food and the cat its food…its easy for me to make a oops!
Good to know Pam. Spray paint it is! It is big enough to contain the bag of dog food and about 10 cans of wet food too. And it is all hidden! Keep those pets happy!!
Super cute idea. I keep my pups food in a large tall garbage can as well, but have never considered painting it for him. So cute, with the big paw print.