
How To Make An Easy And Thrifty Halloween Vignette
By now you must all know that fall is my favorite time of the year. …
So it is only fitting that now that we are in the States we will be going all out and celebrating. And what easier way to celebrate then by putting together an easy and thrifty Halloween vignette that is created with re-purposed items.
Today I am also joining some very special friends for a Fall/Halloween blog hop, so be sure to check them out at the end of this post.
What I used for this vignette:
- A Himalayan Salt Lamp
- One plastic jar
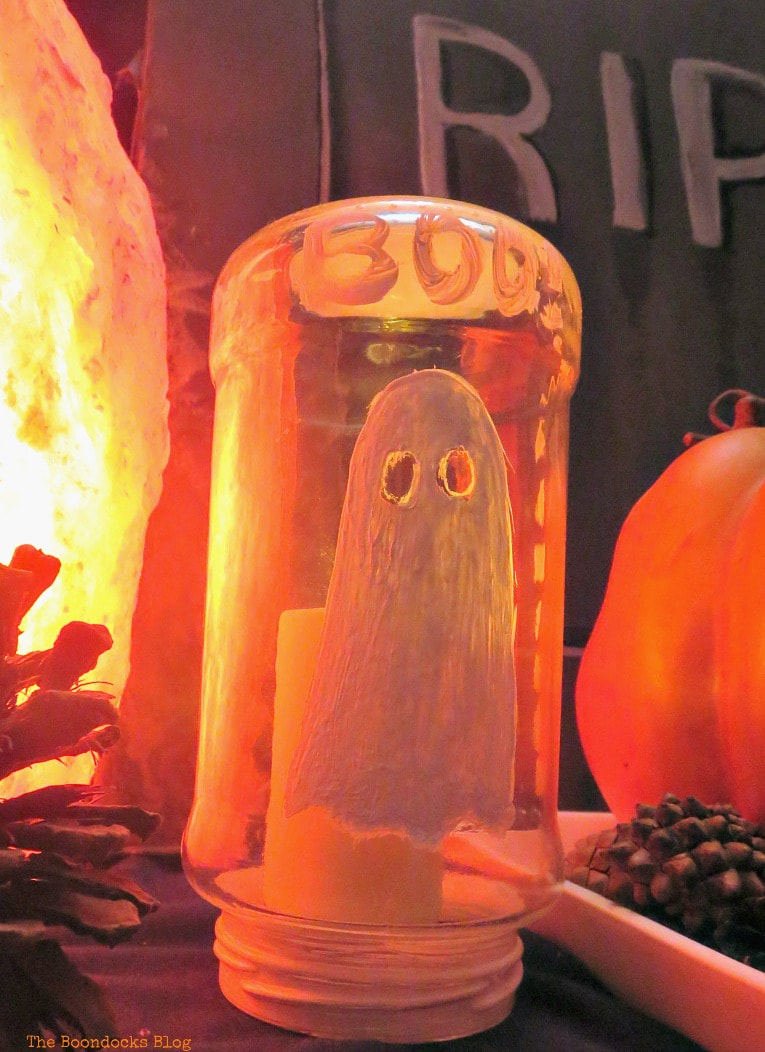
- One glass Jar
- A set of fairy lights
- One battery operated candle
- An old ceramic plate
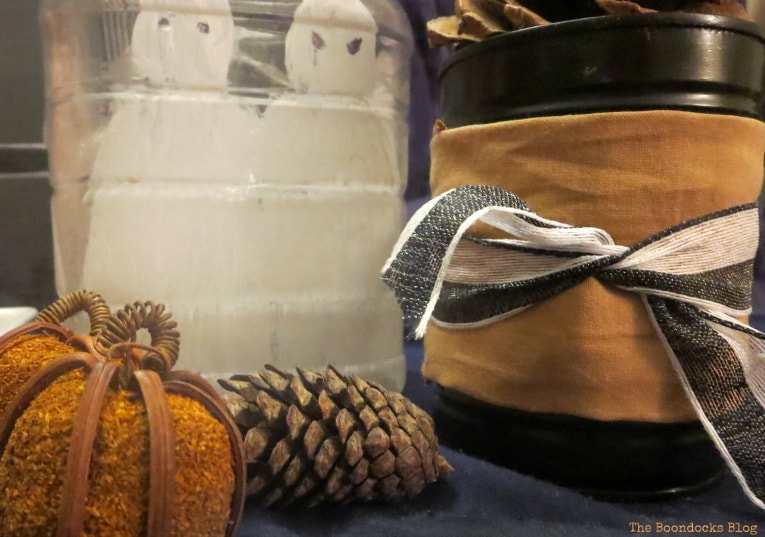
- Two tin cans
- Various ribbons
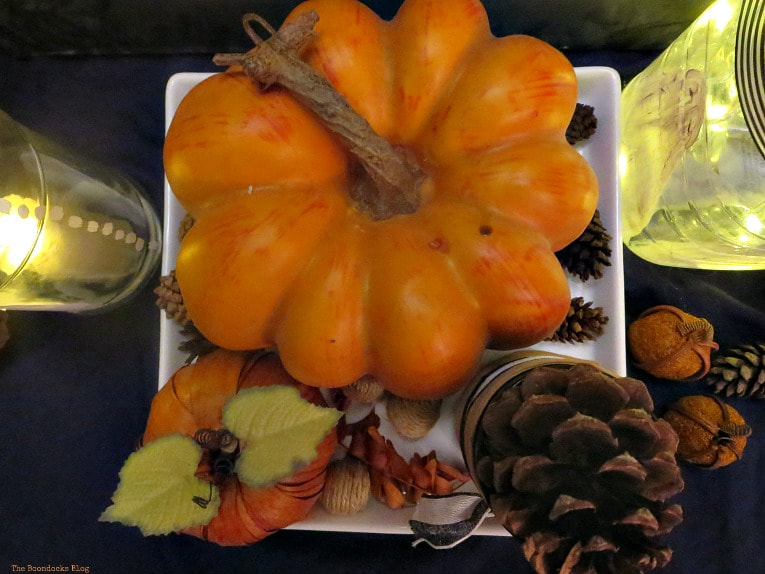
- a few fake pumpkins
- pine cones
- A cardboard box
The How -To:
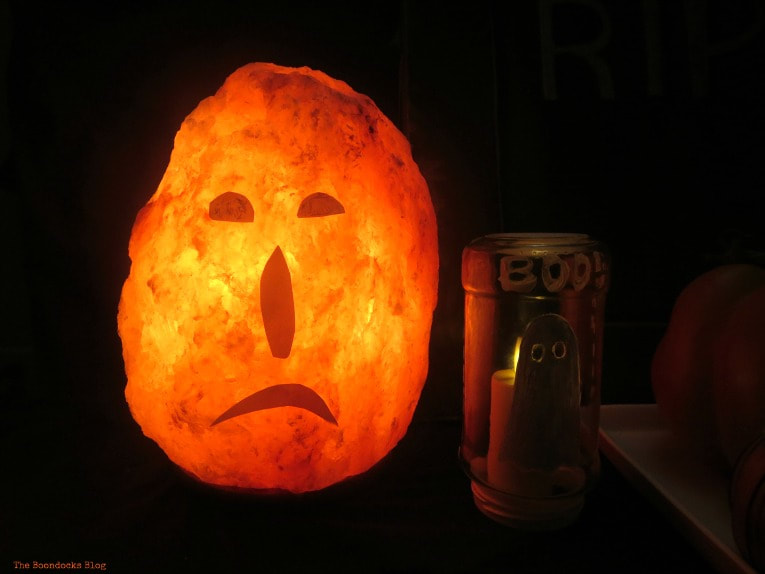
Let’s start with the obvious. Can you guess what the above photo is? No? How about now? In the photo below?
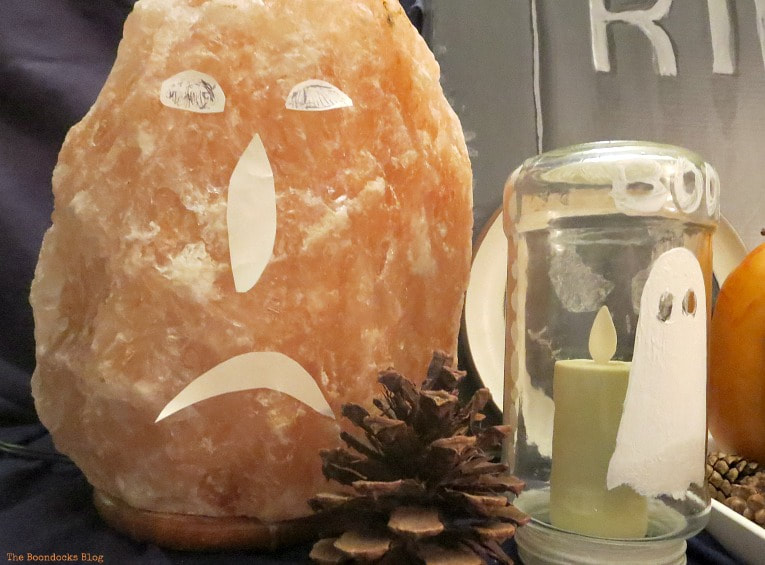
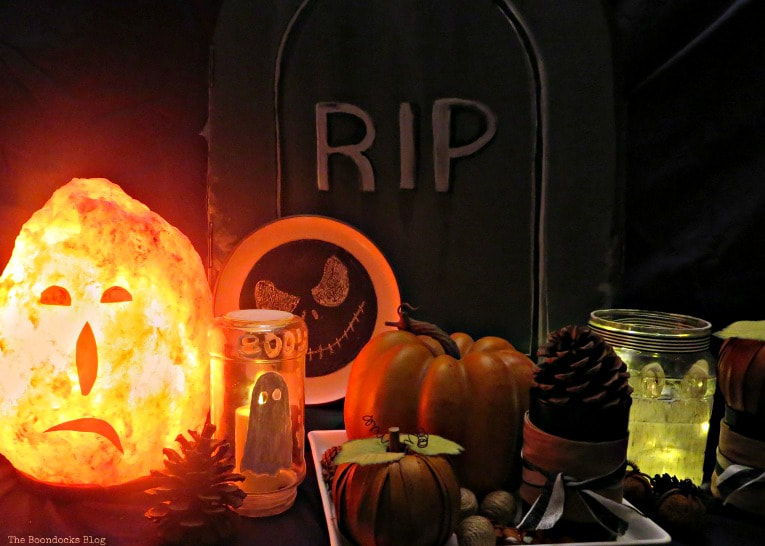
Yes that big ol’ blob is a Himalayan Salt Lamp. My son has a few of them and well… it is orange! I just couldn’t resist! Do you think I should have asked him first before turning it into a pumpkin?
I cut out a label into eyes, a nose, and a mouth and added them to the lamp. I don’t really care what they look like in the daylight because the magic happens when we turn the lamp on.
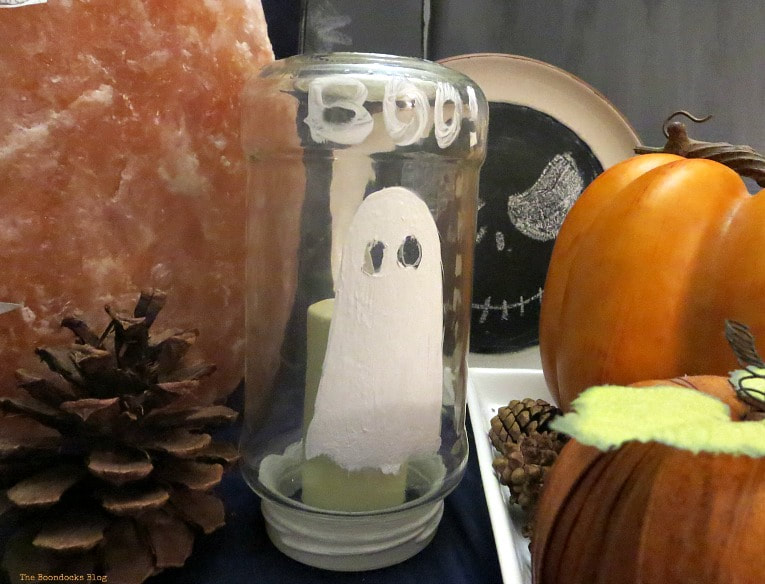
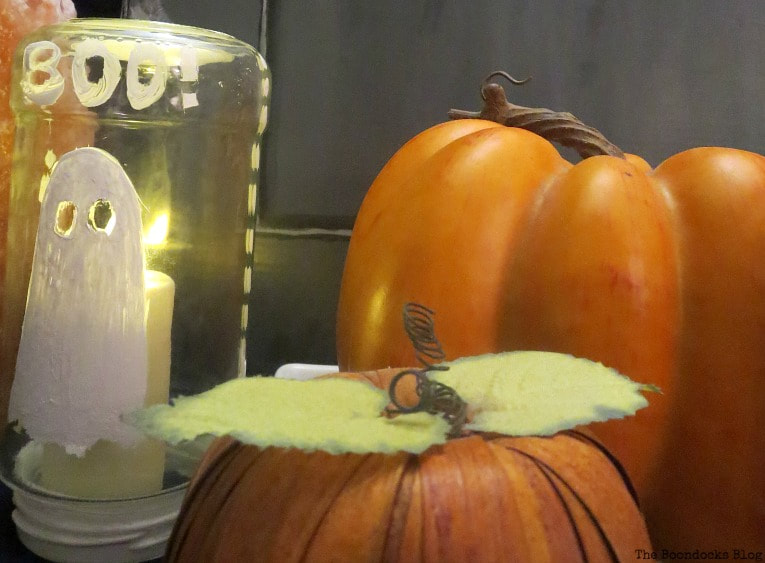
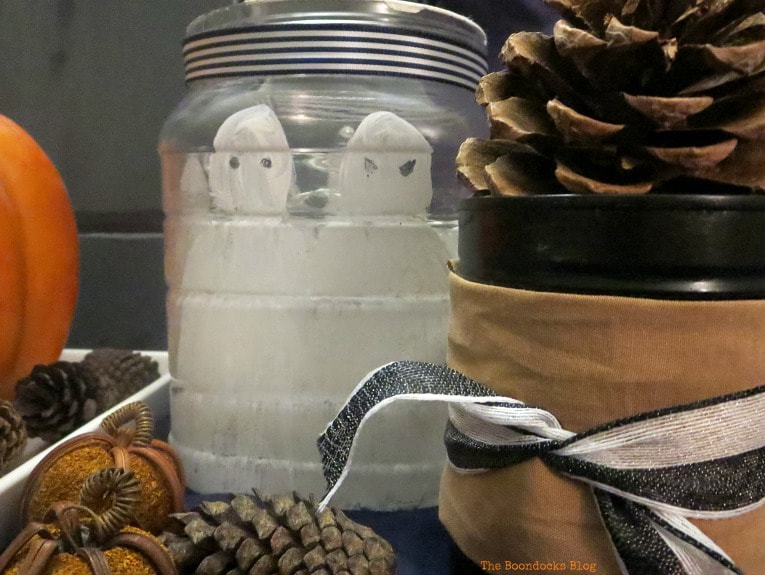
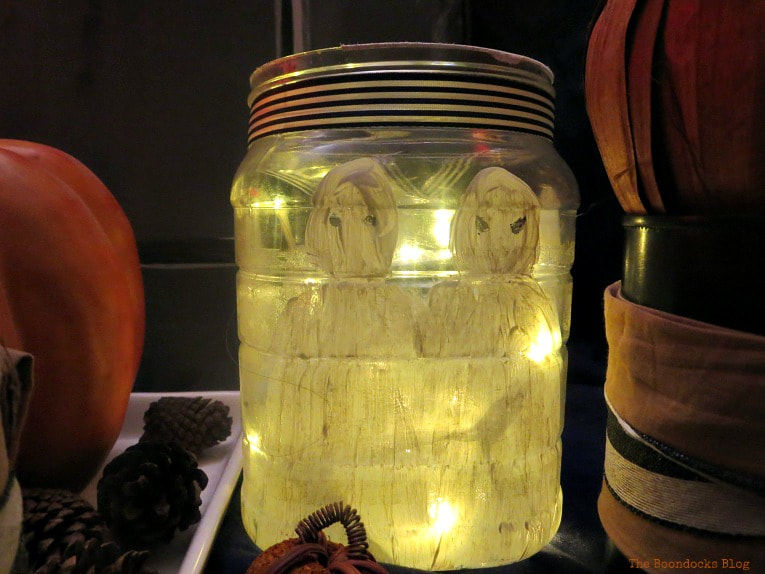
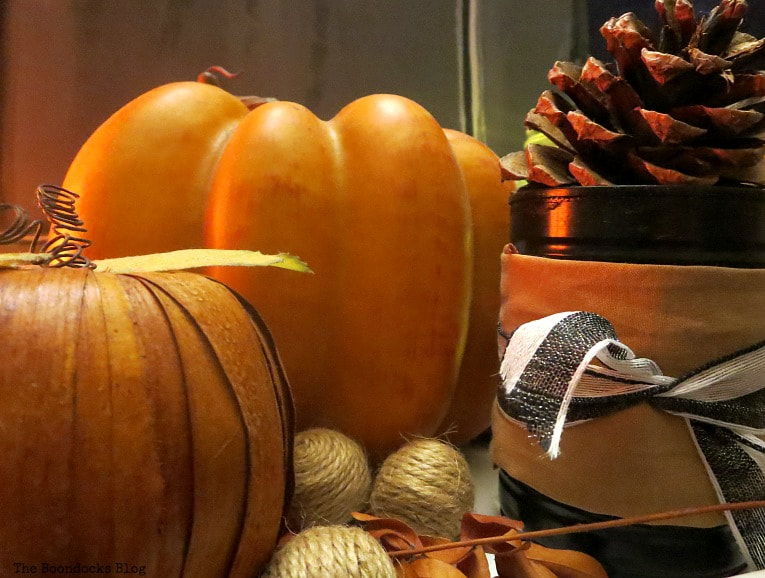
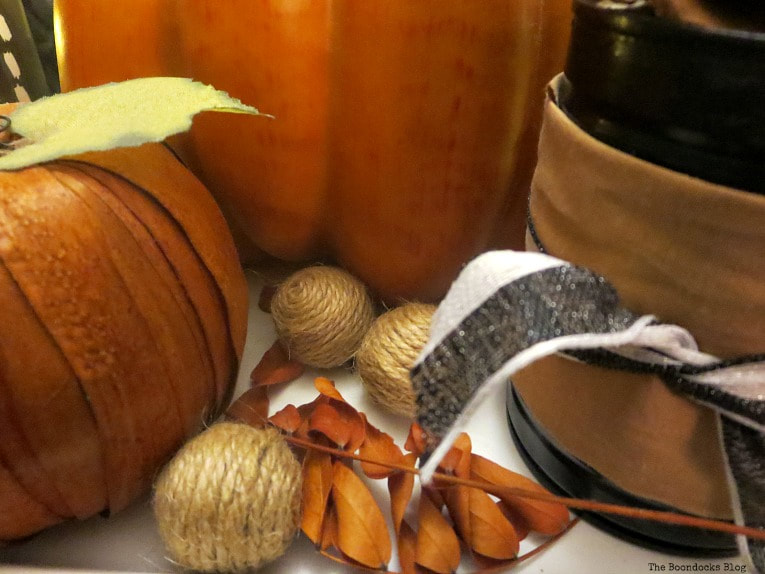
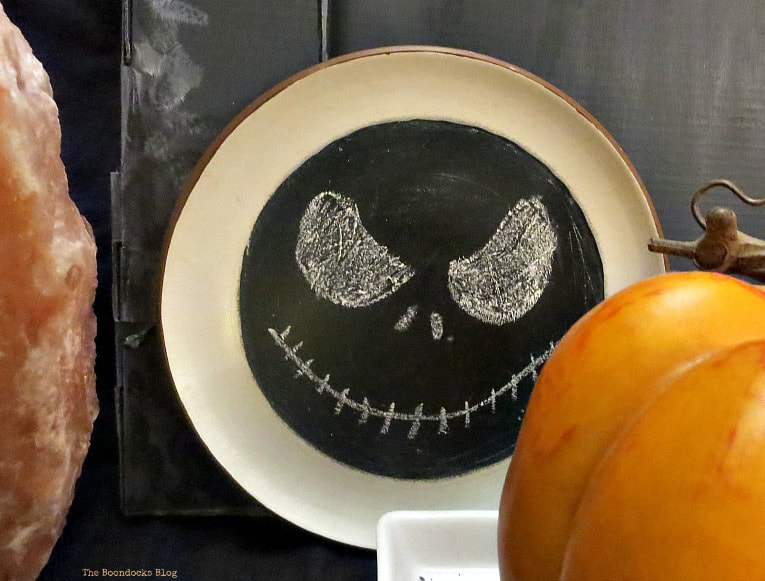
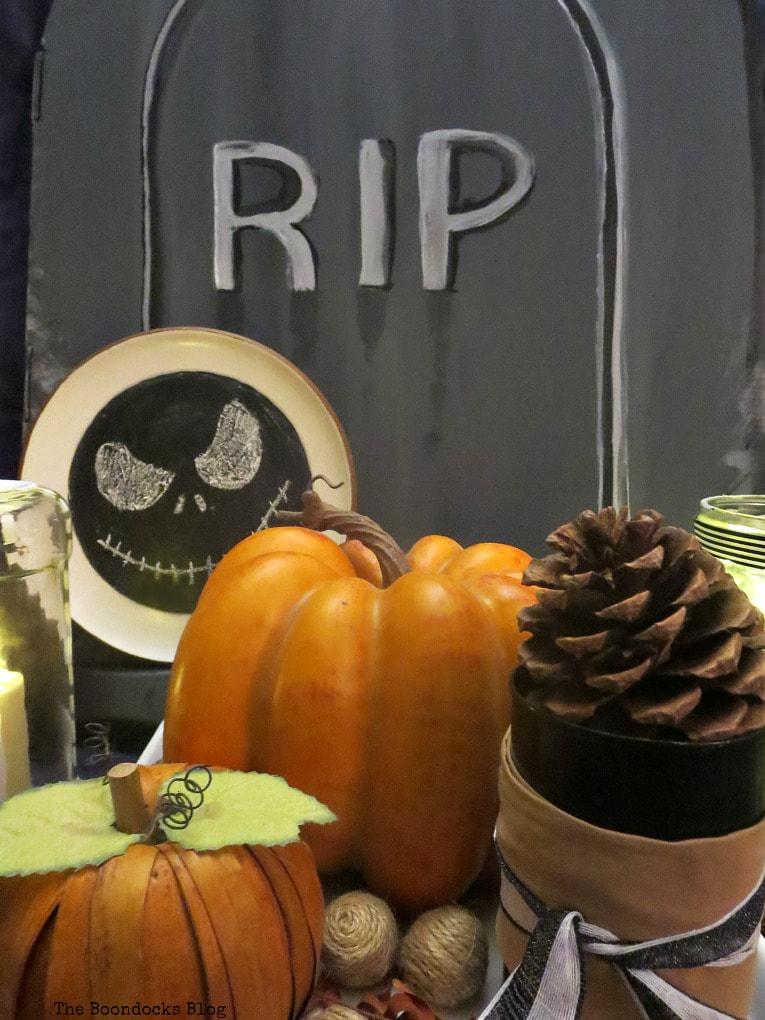
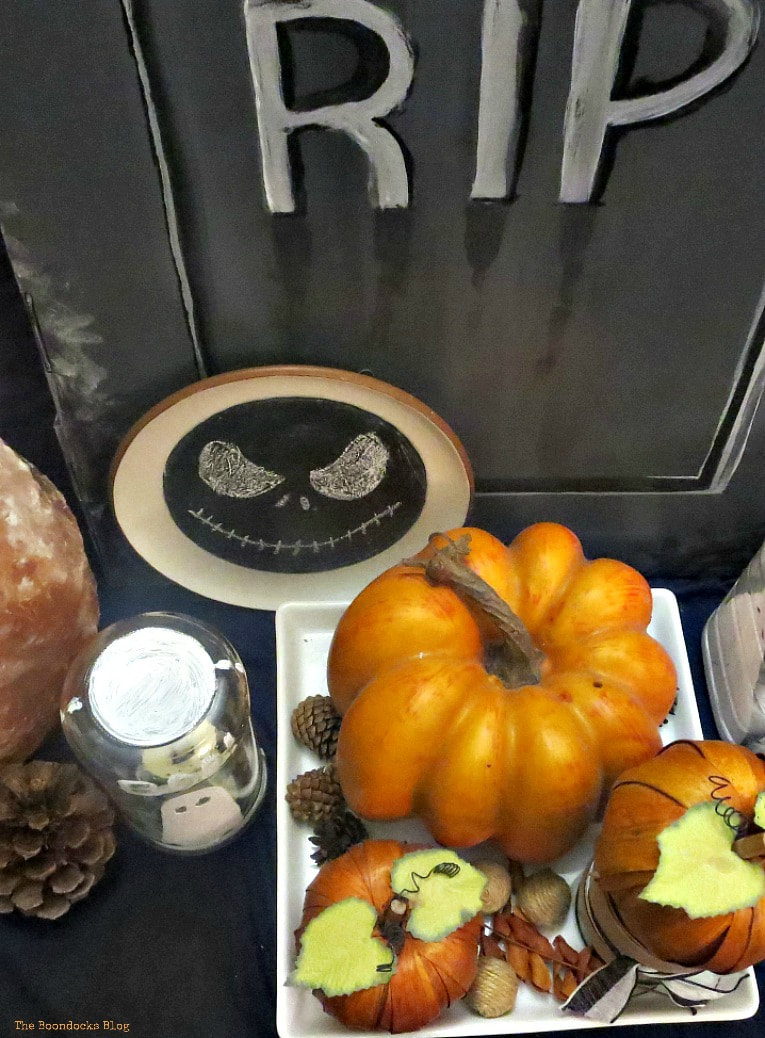
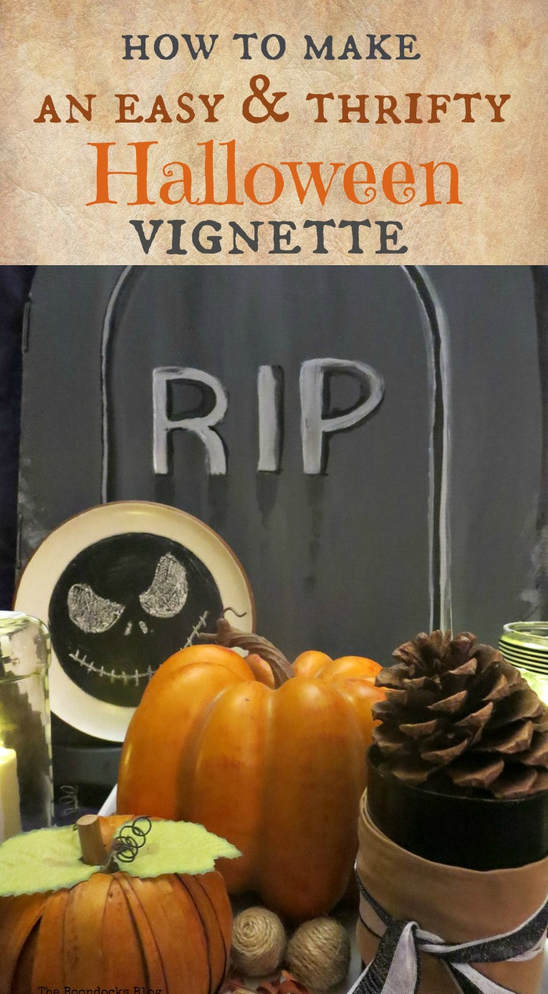
This chalkboard dish was another easy re-purpose. I found this dish in my dad’s basement …(shhh he doesn’t know that I took it). It had one of those generic fall landscape scenes on it. But I wanted it to work harder for me. So I painted it with 2 coats of chalkboard paint and then prepped it using chalk. I then wiped off the chalk the next day and was ready to use it. My daughter grabbed it and drew Jack Skeleton on it.
Of course all it takes to change it up is a good wipe down and it will be ready for next month’s holiday!
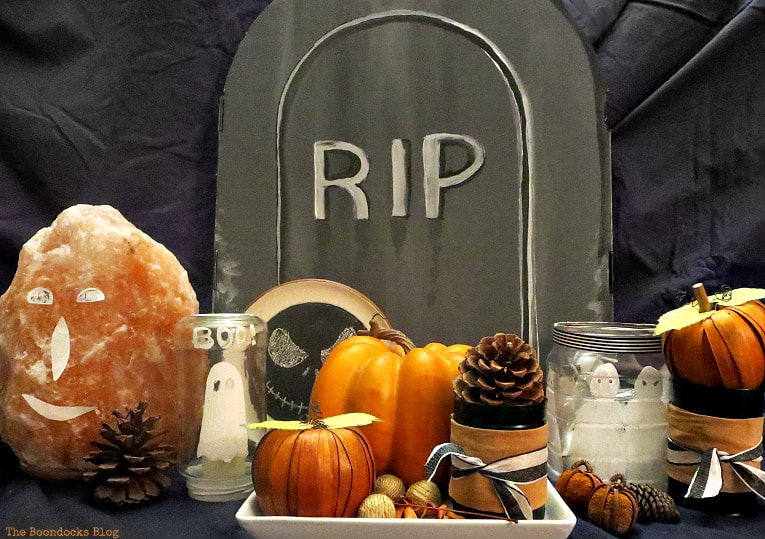
I hope these simple ideas can inspire you to make your own easy and thrifty Halloween Vignette. And if you have a Himalayan Salt lamp, well, that’s even better!
If you really like what you see subscribe to my blog and get my adventures once a week in your mailbox. The form is on the sidebar and on top. Your e-mail will never be shared with a third party.

Welcome to our monthly Creative Blog Hop!
This month it’s all about Halloween/Fall Projects where you’ll find lots of inspiration to keep you DIYing for months! Meet your hosts
Tammy @ Hey Fitzy | Mary @ The Boondocks Blog Janine @ Happy Happy Nester | Carolann @ Sassy Townhouse Living Norma @ Paint Me Pink | Sarah @ Creative Ramblings Tara @ Lehman Lane | Michelle @ Our Crafty Mom Sam @ Raggedy Bits | Amanda @ Life On The Bay Bush Leanna @ Faeries and Fauna | Ashly @ Modern Glam Katrin @ KreativK | Jodie & Julie @ The Design Twins Kellie @ Gratefully Vintage
Grab some Halloween/Fall Inspiration
Linking up to these Link Parties
This blog is for entertainment purposes only; my DIY tutorials are not professional advice. Read my full disclaimer here.
I love it when I get your comments and I will try reply to them or visit you on your blog. Please do not add a hyperlink to your comment, otherwise we cannot publish it.

I love the way your little vignette turned out. Such a sweet and easy project that created a fun halloween spot.
This halloween hop was so fun! So many great ideas!
So much creativity Tammy I was in awe of all the great ideas.
Love your Halloween vignette, Mary! I’ve heard of Himalayan salt, but never as a lamp. Very interesting.
Carol I had no idea what it was till my son bought a few home.
I have never heard of a salt lamp but I sure like what you did with it. The whole vignette looks spootacular!
Thanks Debra. I hadn’t heard of one either but my son has eclectic tastes.
Turning the salt lamp into a pumpkin is such a super cool idea, Mary! This looks so fabulous and I love it so much. I certainly wish we hadn’t thrown out our salt lamp years ago. Bummer!
Julia my son has an extra one , I’ll send it over to you!!
Oh, so festive! And such good ideas — it really puts me in the seasonal mood. Very clever, easy and tons of fun! Loved every photo!
Thanks so much Jeanie, we don’t need to spend a ton in order to have fun with this sort of holiday.
Hi Mary, a wonderfully spooky display indeed! I can imagine that Halloween is a fun occasion in America. Enjoy your time there!
xx
Thank you Debbie the stores are full of candy a month before . My son had to hide the candy we bought otherwise we would have eaten it all.
So lovely and thrifty! I’m also a fan of creating decorations with stuff I have lying around the house. No need to go out and spend a fortune on things you’ll just store or throw away a few days later.
I’ll be pinning and tweeting this.
Greetings from the Blogger’s Pit Stop linky!
A kindred spirit. Fabiola this is so true, why spend money on things you will throw out?
Thanx for showing us that Halloween needn’t be all expensive decor that is used for 3 weeks of the year, then relegated to storage! It takes a little time and some imagination! This year I have been making poison/potion bottles using an upcycled spice rack and bottles from my recycle bin! My cloth pumpkins were made from $1 clothes from Goodwill and remnants along with twigs from the yard, silk flower leaves (70% off @ ACMoore), jute and acorns from Dollar Tree!
And that is the right way to do it Kathy. Not only is it good for your pocket it is also great for your crafting skills.
How I’m going to persuade my mother to give me her salt lamp for a few days? I’m gonna blame this post of course! Great work Mary! Thanks for the inspiration!
I hope you’ve got it ready Katerina! And I will happily accept the blame.
Now I just have to find a Himalayan salt Lamp b/c I love the look! Wonder where your son found it? Pinned again!
Florence my son hates to go shopping but he loves his Amazon. He gets everything through them.
What fun ideas. An extra bonus is that they are thrifty! Thanks for sharing with SYC.
hugs,
Jann
Always thrifty Jann, that is the idea behind this blog.
I see so many different items here, but they all make a wonderful Halloween vignette. I love the Himalayan salt lamp!! And the best of all is that you can use them again if you want! Excellent ideas Mary, thank you for the inspiration 🙂
That’s what it’s all about Christina. Using what we have and making sure it lasts and not in the garbage.
I love the Himalayan light idea- how clever!!
Thanks Judee, it is fun and so easy.
Mary, it’s so good to see you and the family having fun with the holiday. I bet the girls will have a blast this year, Halloween in the states!
I love all of these upcycles! Even more I love the fact that you can use these items again and again. I am a huge lover of anything chalkboard, that bowl is the coolest!
Nikki as I am writing this my little one is telling me how she is going to dress for tomorrow to hand out the candy to all the little kids. Nuff said!!
Mary you can literally make something out of anything you Lava Jack o-latern is great
Amber it was literally an afterthought. Haha!
Mary, what a fun way to decorate for Halloween! You’re so clever with your repurposes!! It sounds like your dad has a similar treasure trove of a basement like you, can’t wait to see what you repurpose from it. This is a spooky and fun vignette! Nice!
Beautiful vignette, and I love that you used things you already had! Beautiful colors too! Thank you for sharing at Celebrate It!
Yes, ghosts do come in all shapes and sizes!! Thanks for sharing with SYC.
hugs,
Jann
I love your use of a himalayan salt lamp for your vignette. You’re always so creative!
I would have never thought of decorating my Himalayan Salt Lamp for Halloween – you’re so clever!