
How to Make Pretty Pleated Drop Cloth Curtains
Learn how to make easy DIY drop cloth curtains with pleats. A simple, budget-friendly decor option for any style of living room or bedroom.


Need new curtains but don’t have a big budget to spend? No problem! These easy DIY drop cloth curtains are the perfect way to add privacy and style to any room.

Making Curtains from Drop Cloth
I decided that I needed new curtains for my room. As you can see, the curtains in there had seen better days. They were worn and fading from the sun at the edges.
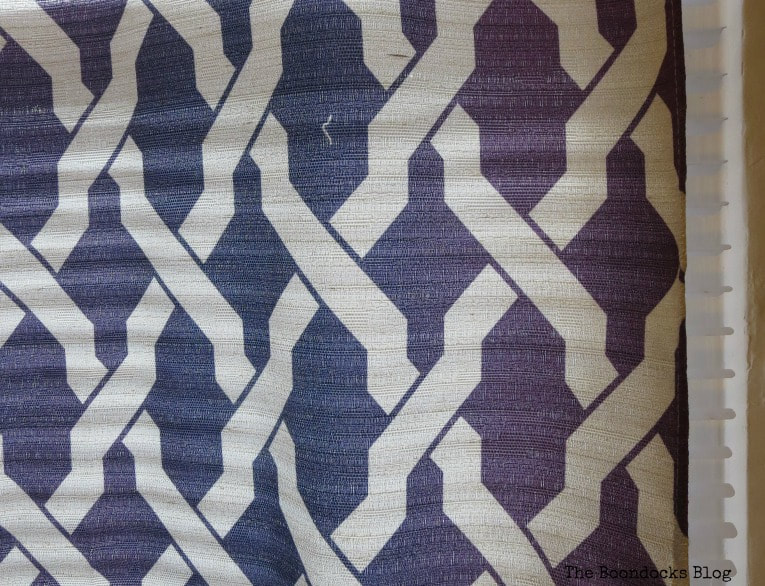
But I didn’t go to the store to buy fabric. Instead I chose to order canvas drop cloth online to make pretty, pleated drop cloth curtains.

I had heard so many great things about drop cloth from Lisa of The Purple Hydrangea but I was really hesitant to buy it for anything other than painting.
After all how do you know that what you’re getting is the right weight or the right density? Well Lisa made it so easy for me because she included a link to Amazon for her personal choice.
Well I took a leap of faith and ordered not one but two packages of the drop cloth from the same manufacturer. I figured better to have too much then end up with not enough.
Supplies Needed to Make Drop Cloth Curtains
Disclosure: This post contains affiliate links for your shopping convenience. If you purchase any of these products through the links, we receive a small commission at no extra charge to you. You can find our full disclosure here.
- 2 packages of Canvas Drop Cloth approx. 9′ by 12′
- measuring tape
- iron to smooth out those wrinkles
- fabric scissors
- needle and thread or iron-on fabric tape
- one package of clip rings in black, 20 rings in a package
How to Make Curtains with Drop Cloth
Once I got the package from Amazon, the first thing I did was to give them a good washing. The reason for this is because they are 100% cotton and will shrink in the wash.
The next step was to figure out the measurements for my curtains. KariAnne’s book DIY Home Planner was great at helping me figure out all those measurements. I knew that I needed a width of about two and a half times the width of my windows. I also knew that I would need four panels.
I was just going to cut the two panels the same way. And so I measured each drop cloth separately and guess what, they were not exactly the same.
One had a seam in the middle so I chose to cut at the two ends and use the center piece (which had the seam) for another project. The second drop cloth had the sewed borders on the width instead of the length. This made me stop and realize that I could not cut up this piece as I had done with the first.
My advice is to know your measurements first and then look at each piece individually before you start cutting.
I began by folding the edges and pressing them with an iron. This really makes it so easy for you to get straight edges.
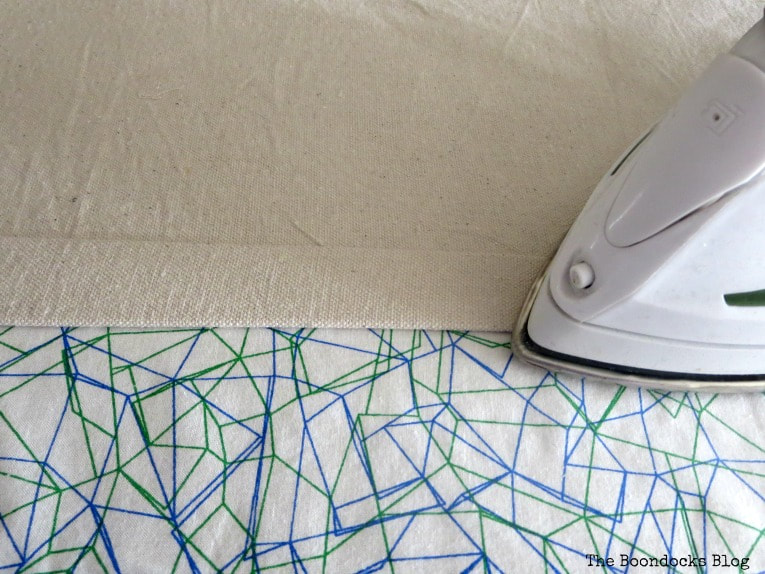
At this point you can use an iron-on fabric binder or in my case I like to hand sew them because it gives me a crisper look without any pulling. And the thread does not show. I’ve also seen them glued together with a hot glue gun. The choice is yours.

I only had to hem the bottom of one of the sets since the other set had the binding already sewn. Remember when I mentioned that the two panels were not identical.

Once the bottoms were hemmed and the sides were sewn it was time to place them on the rods. I had purchased those clip-on rings, but I was not just going to clip them onto the fabric. Instead I got an idea to fold them and then clip them to create pleats!
I folded the fabric as you see below.

Then pushed about an inch of the fabric inwards to get the shape you see below. It looks like a “W” shape.

I clipped this whole section of the fabric. Like I said this was the center.

The sides were just turned inward and clipped like a “V”.

And finally I added two more clip rings to make it a total of five for each panel.

Here they are hung up in the room and matching the wall color perfectly. I couldn’t have been happier had I gone to the store and picked the fabric out myself. Yes, I’m one of those that has to touch the fabric before I buy.
At this point I should mention that I had in fact gone to a fabric store and was flabbergast by the prices they were charging for this type of fabric weight. They were over $20 for a yard. At that price it would have cost me over $240 for these curtains. Instead I paid $40! Can you see the big smile on my face??
I now have instant pleats without the hassle of sewing or gluing. And if I want to change them out I simply have to un-clip them. Easy Peasy!

A close up of the fabric and how densely it is woven. Not all drop cloths are made the same.

I chose to leave lots of fabric on the bottom because I believe that cotton shrinks even more. So I decided to go for the puddle effect this time and when I wash them again I can hem them to the length I want. (That’s just an excuse for me because I was in a rush to put these babies up!).

I should also mention that when placing the rods you should always opt for high and wide or up and out. This creates the illusion that your windows are much larger than they are in reality. It’s as if the curtain is framing your window when the curtain is opened. And when shut it looks like mine, because I used enough fabric width so the curtains don’t look skimpy.
Below you can see that my window is small but because of the placement of the curtains it looks much bigger.

And since this is the International Blogger’s Club I want to take a minute to discuss the curtains of Greece. The most common way to hang curtains there is either with a valence hiding the track or with a band of fabric which incorporates loops. This is sewn onto the back of the curtain. The little hooks on the curtain rings are then attached to the loops. Once you pull on the threads they bunch up and create a pretty pleated effect.
I actually did a little sleuthing and had a hard time finding plain curtain rings. I guess the versions with the clips are much more popular now and so much easier to use.

I am so glad my girls over at the Int’l Bloggers Club suggested fabric for this month’s challenge. I didn’t realize just how much I needed these curtains till I made them. The actual pleats themselves took me about a minute to make! I hope you can take away some good tips on how to make pleated curtains with drop cloth.
Be sure to head on over to Lisa’s blog The Purple Hydrangea where she gives us five very good reasons why we need drop cloth in our lives.

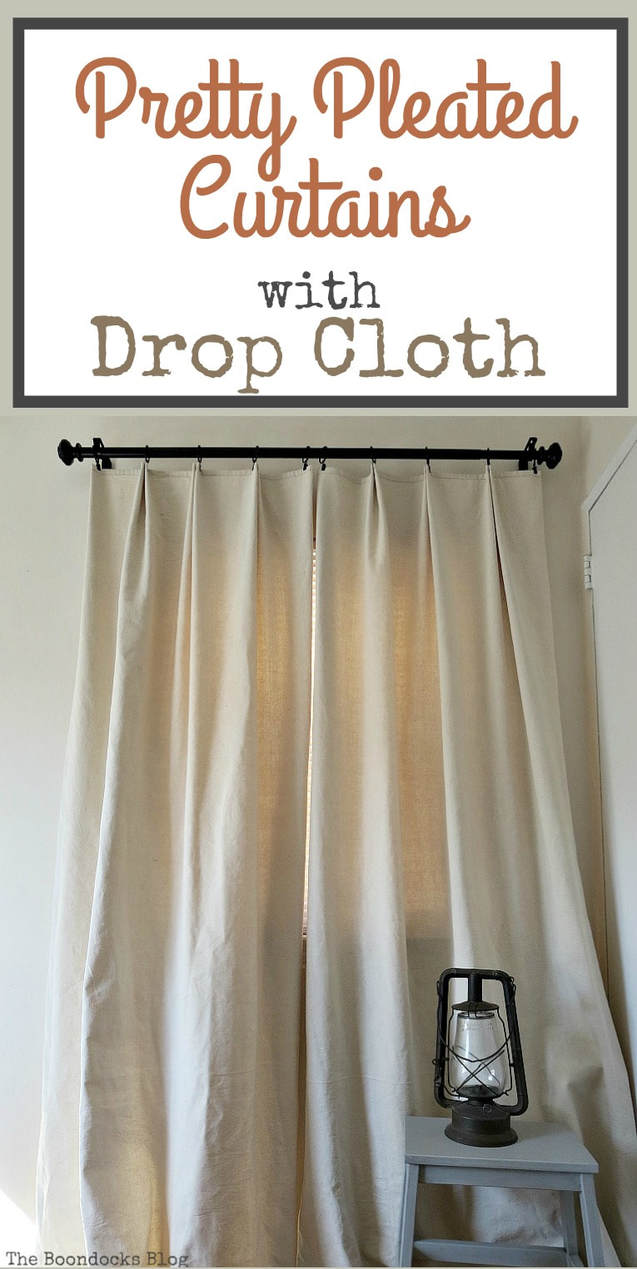

When you see prices in fabric stores then you see the price of drop cloths it really makes you wonder what’s up?! Whoever invented drop cloths deserves a noble peace prize ;).
There are so many ways to dress up windows without spending a small fortune, and you found one of them. Good job Mary!
I agree with you Doreen, I was beyond impressed with the finished curtains and cannot believe I waited so long to try this.
These turned out so beautiful Mary, love them!!
Thank you Tanya, I honestly did not expect them to turn out so well.
I’ve been thinking about doing that for one of my bedrooms – and I love how it looks- and the texture! Definitely going to try it! Thanks for such helpful directions! Just lovely!
Thank you for stopping by. I was really hesitant to try this but after Lisa gave me the link to the drop cloth she used I just took the plunge. And am so glad I did!
Never heard of cotton drop cloths before – all plastic here in good ol’ Germany… You made me curious thow, must have a look at Amazon (who knows what I can use the cloth for…)
BTW: those curtains are absolutely stunning! Could do with new ones in the bedroom too (still haven’t got that tree on the wall though)…
Really Marjan, perhaps if you go to a paint store or the hardware store they might have them? I went with Amazon because my friend Lisa had bought that brand and used it. I’m also going to use the leftover to reupholster some chairs. Good luck.
Lisa is full of great ideas, Mary. I agree! Your curtains look great and as someone who loves easy DIY, your pleats are genius!
Those pleats make all the difference Kim. I wanted something a little more polished and this is perfect!
Mary, your curtains are gorgeous. Thanks for the detailed how-to. I will be making these! Pinning.
Jean thank you I am so glad everyone really likes these and wants to make them! I think it’s the pleats that make them special.
I love drop cloth curtains and aren’t the clip on rings the best? Thanks for sharing your pretty pleated curtains at Vintage Charm! Pinned!
Cecilia those clip ons make things so much easier.
Your curtains turned out wonderfully!! I just love drop cloth fabric!!
Thanks Susanne, I am really happy with the pleated look.
I’ve wanted to add drop cloth curtains to our family room for awhile, but I wanted a cleaner look than the tutorials I was finding. These are exactly what I was looking for! Thanks for the great tutorial! I can’t wait to make these and get them hung. 🙂
I am so glad you can use my idea Tiffany. After taking care of the edges, it only took me a minute to put those clips on! It cannot be any simpler.
Those are lovely Mary! You did an awesome job on them. My daughter made some a while back but she didn’t make them pleated (I was just amazed she did something crafty at the time). I really love how they look with the pleats, and it looks pretty simple to do. Now you have beautiful curtains for a lot less, and yes I can see your smile from ear to ear all the way here in Texas. LOL
I need to get a drop cloth for a project that I have in mind, but I just keep putting it off.
Linda the pleating is the easy part. I just wanted to have nice bindings on the sides and bottom, that’s where all the work went. I hope you see your project on the blog soon.
These are so pretty! I love the clip on rings; what a great idea! Thank you so much for sharing on Party in Your PJ’s.
Thank you Teresa. Those clips are really great and so easy to use.
I love the drop cloth but I have never use it as a curtain. Your curtains look so gorgeous Mary and I am very anxious to see the rest of the room. I am sure you have done miracles!
I had never used it either Christina. It was my first time and I decided to try it after going to the stores and seeing the $30 per meter prices of nice fabric that is durable. I am so glad I did this.
Absolutely perfect, Mary! Pinned. Shared and Featuring you tomorrow morning! Thanks for joining us at the TFT Party!
Theresa @ Shoestring Elegance
Thank you so much Theresa. I hope everyone makes some they were so easy!
Mary, your drop cloth curtains are awesome! I love the pleats. The window dressing looks so great.
It was such an affordable and simple solution Keri.
I just dropped in on the site and was greatly surprised as to what I see. Never thaught to use drop cloth. The curtains I bought need a back cloth. The material is too shear. I thaught to use plain white cloth so the painted cloth would stand out more. The drop cloth would work perfectly, providing the necessary off-white background and would even provide the necessary closed curtain for the winter. Thanks for the info.
I love this simple method! Especially since I have absolutely no sewing skills LOL! I appreciate how well you described this process on you blog. I will link to this method on my drop cloth post coming soon! Thanks again!!