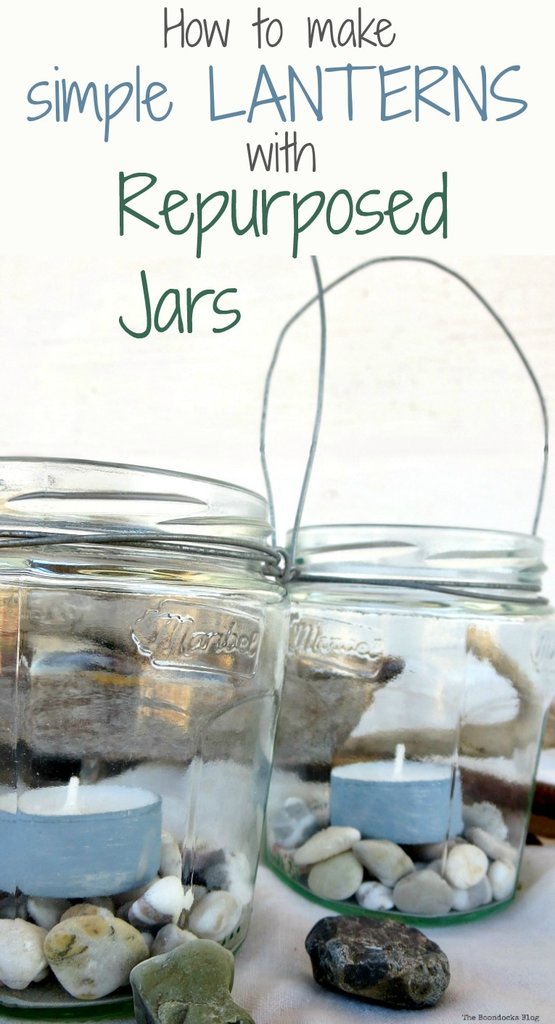
It is my favorite time of the month. Yes it is the International Bloggers Club Challenge where I join with some of my fellow bloggin friends for crafting goodness! This month we’re making projects with household items. In my case I have chosen jars and will show you how easy it is to make beach-themed mason jar lanters!
For those of you who are here for the first time, the International Bloggers Club Challenge is a monthly one that I join with my blogger friends who live all over the world. We meet up each month to compare notes and see how we do things in our corner of the world. Last month we did projects with tin cans and the month before we created outdoor projects.
DIY Mason Jar Lanterns
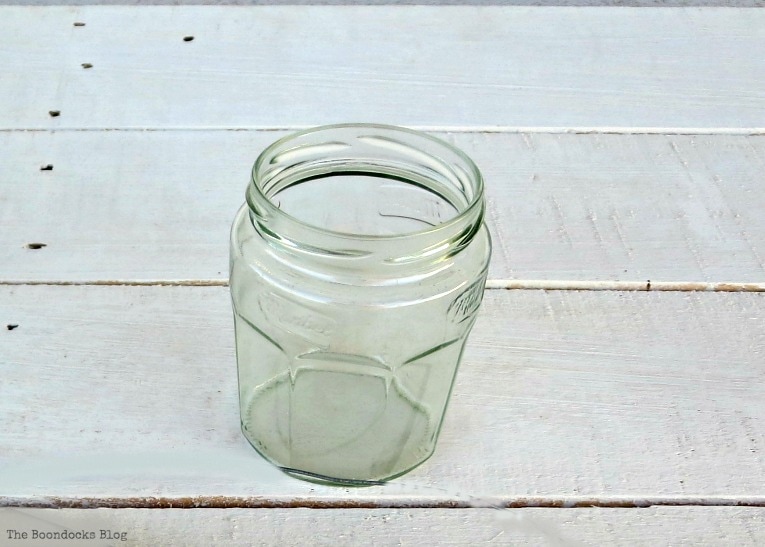
Here in Greece almost everything comes in jars. I have lots left over from the tons of honey I buy and from marmalade and jams. I mostly use them for storage but I wanted to do something a little different for this month’s challenge. Since we spend so much time outdoors, these beach-inspired mason jar lanters seemed to be the perfect accent for our patio.
Materials Needed for this Glass Jar Lantern Idea:
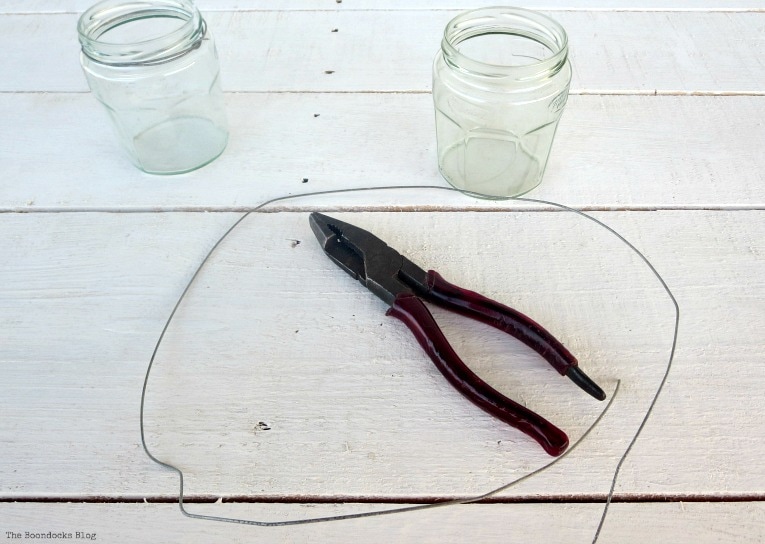
- 2 jars
- 2 pieces of wire about a yard/meter each
- pliers
- pebbles
- tea lights
- craft paint (optional)
How to Make Mason Jar Lanterns
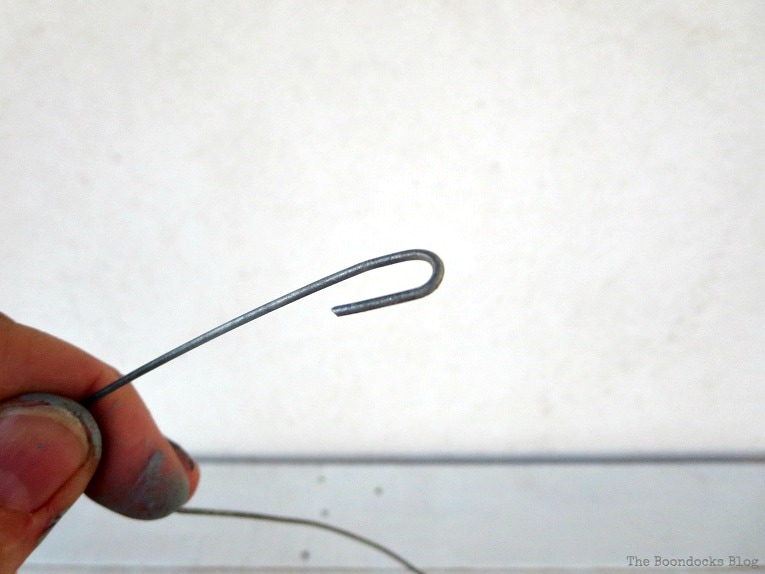
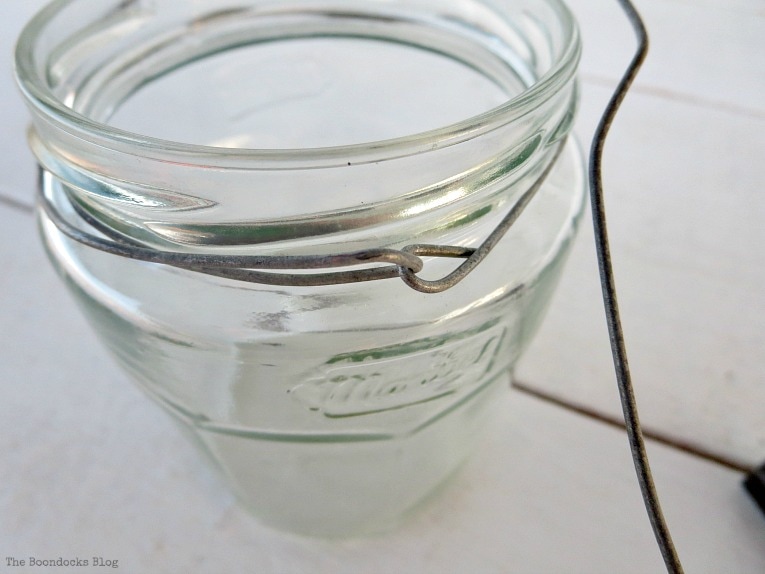
With the pliers, take one end of the wire and make a loop. This should be about half an inch.
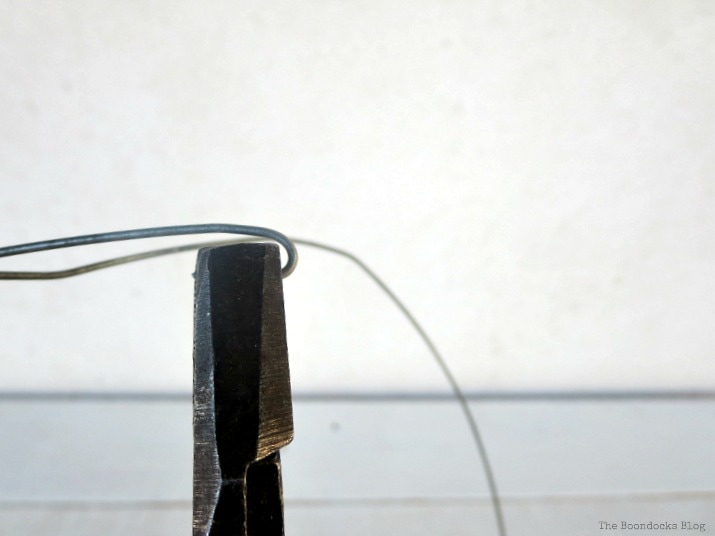
It should look like a small hook. Kindly ignore my paint splattered hands. I had been doing a little painting beforehand and in my excitement to finish this project… well, a little paint wasn’t gonna stop me.
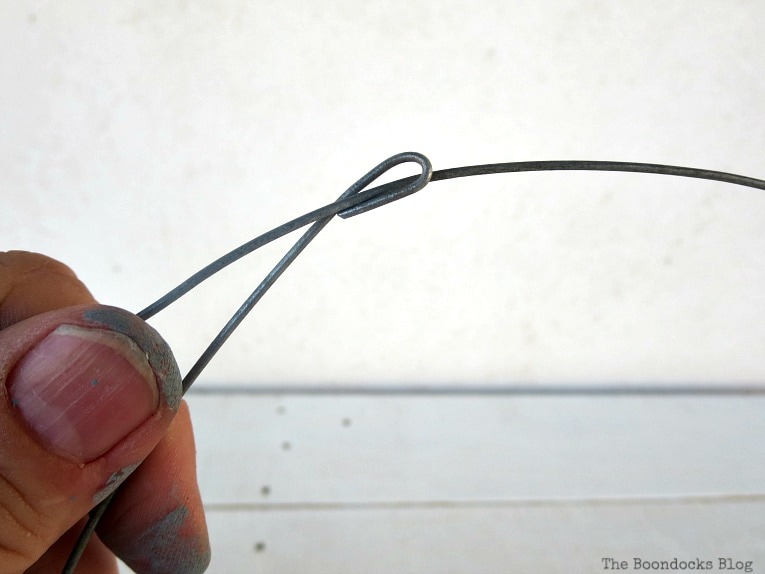
Form a circle with the wire and passed it through the hook. The hook should then be closed up with the pliers.
The wire circle will then be snuggly placed on the outer rim of the jar like this.
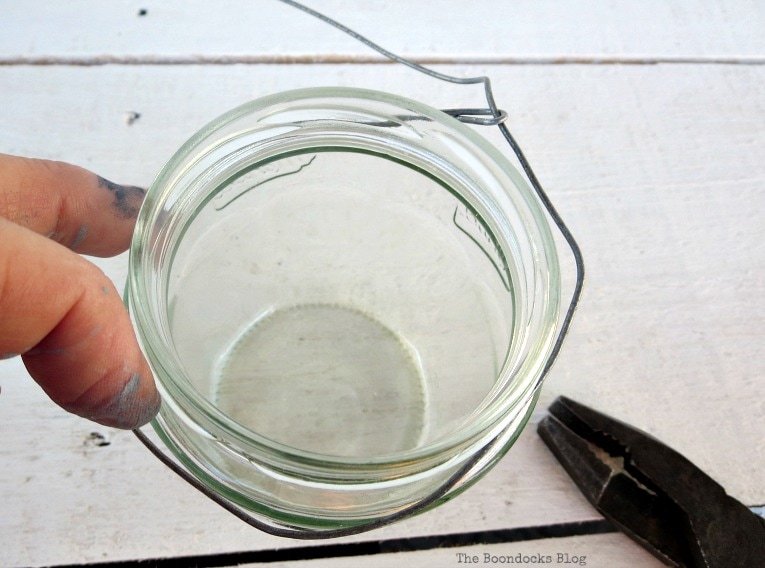
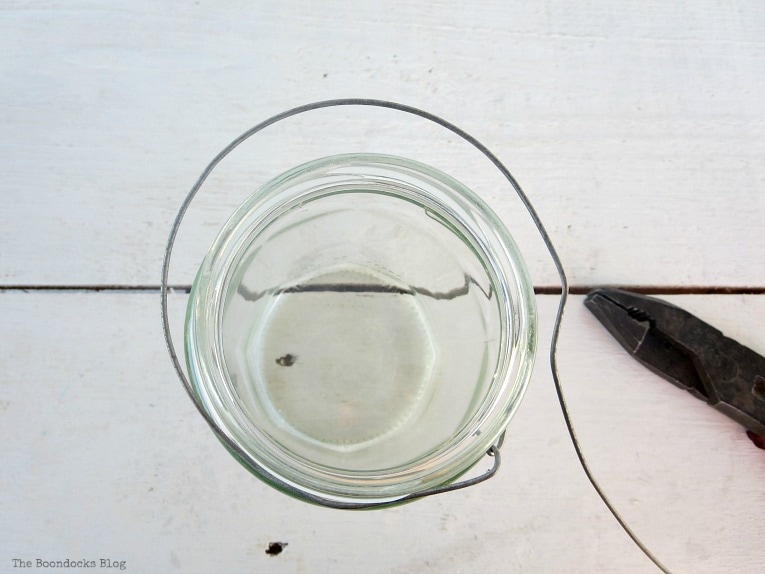
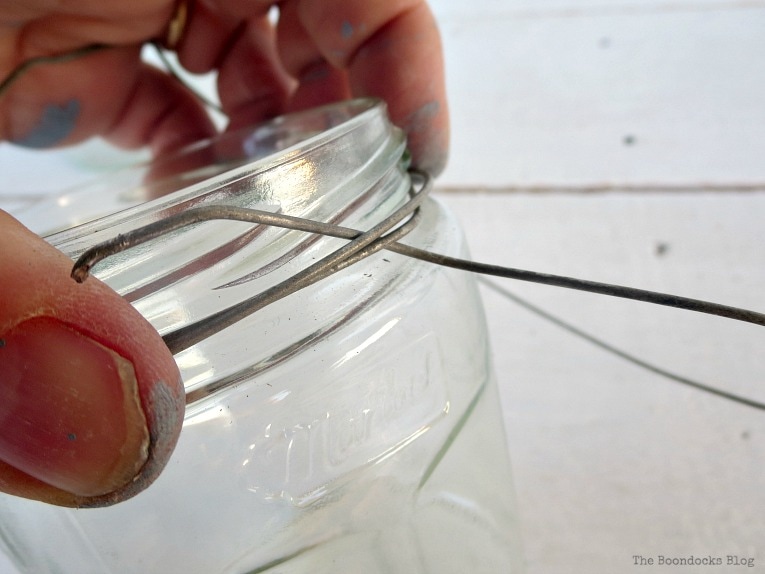
Once you have pulled the wire so that the wire circle is tightly fitted on the outer rim, take your pliers and pull the free end of the wire in the opposite direction. You can then form another circle around the outer rim.
From above we can see the second circle of the wire going in the opposite direction from the first.
Once you have completed the second circle, pass the free end of the wire through the loop. Pull it upwards to create a handle that will come back down on the other side of the jar rim.
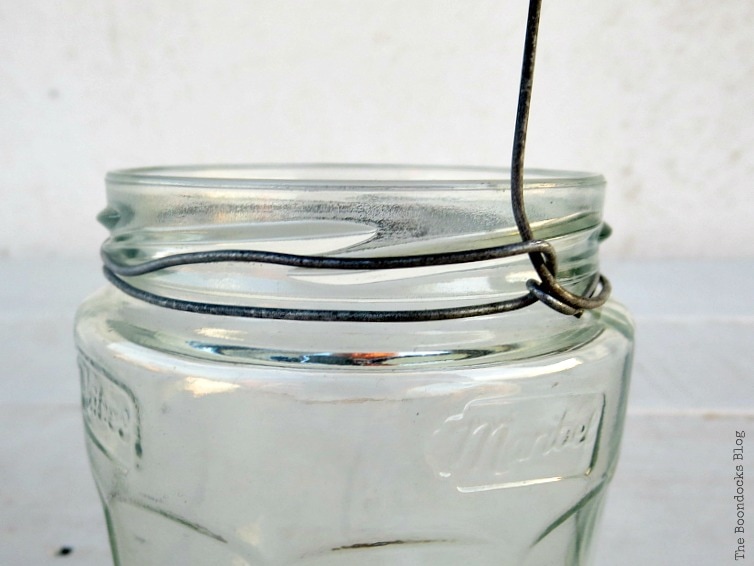
The free wire end will be looped downwards and secured on the opposite end of the jar rim. Make a final hook to secure it onto the wires and you are done.
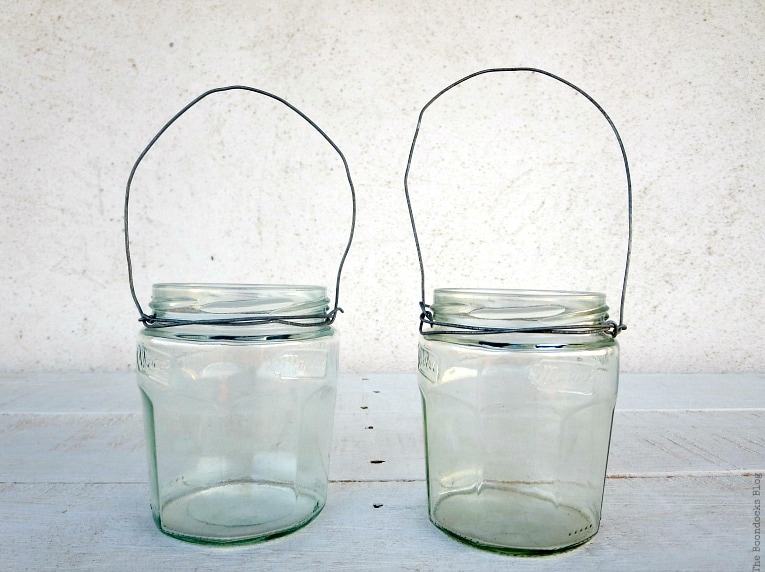
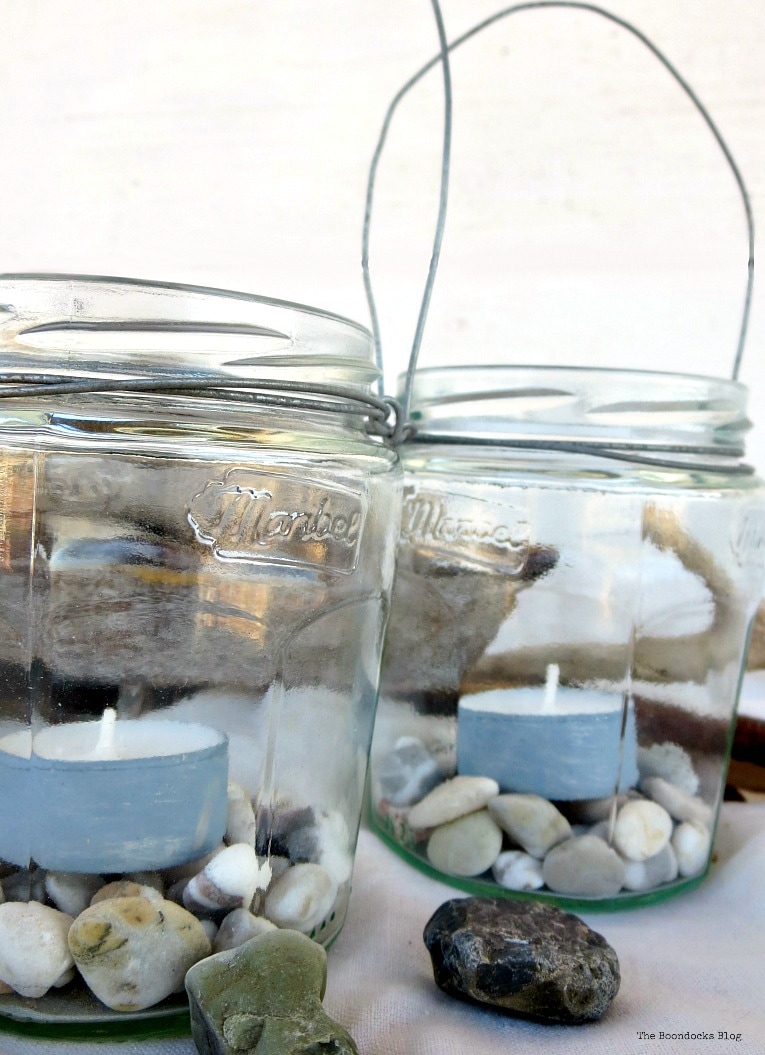
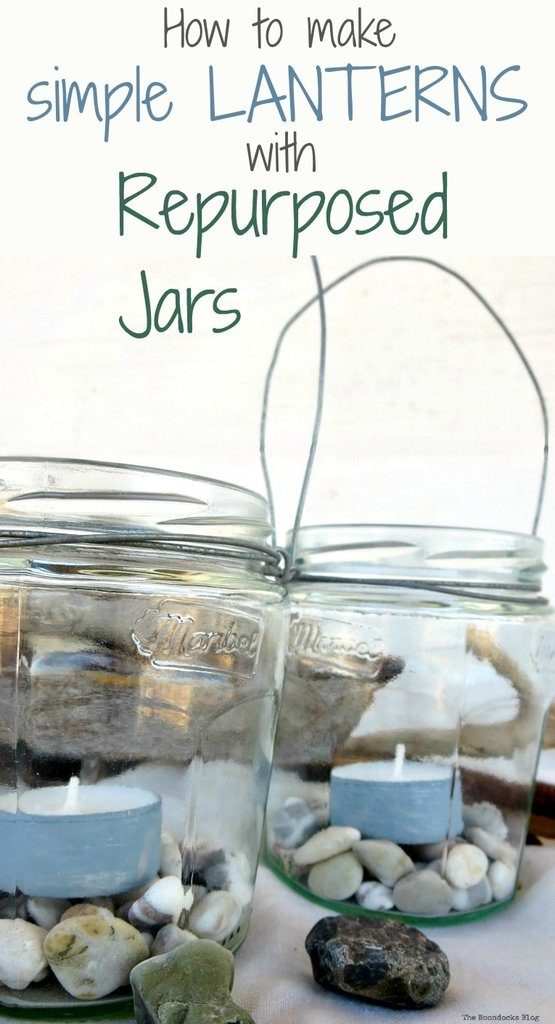
And these are my two lanterns. I did not worry so much about the wire looking perfect. Because as you all know by now “Perfection is Overrated!”
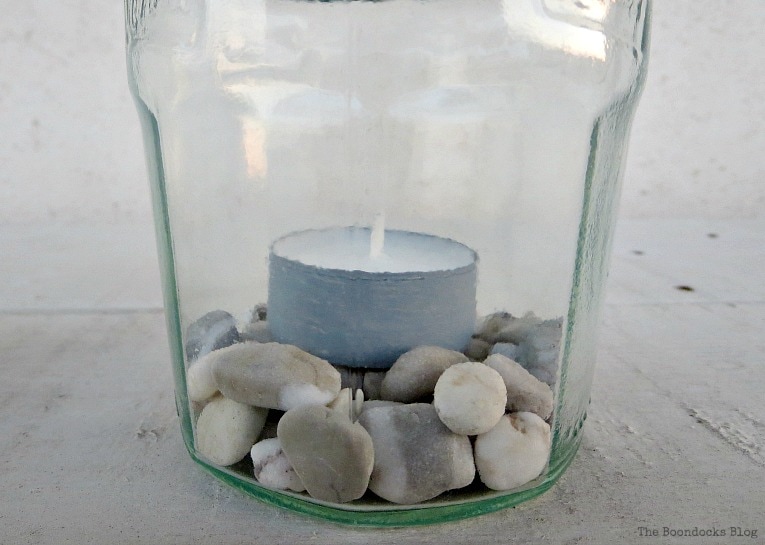
The final step was to add a layer of pebbles and then top off my new mason jar lantern with a tea light candle.
These easy mason jar candles can be hung…
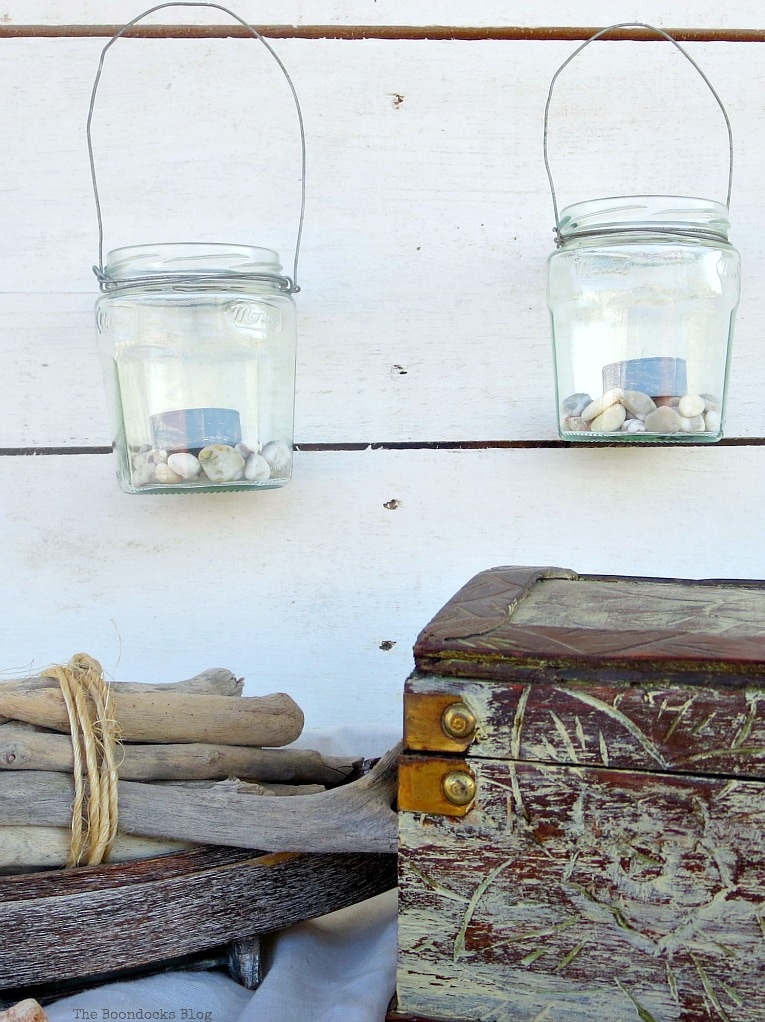
… or they can be placed on a surface. The choice is yours!
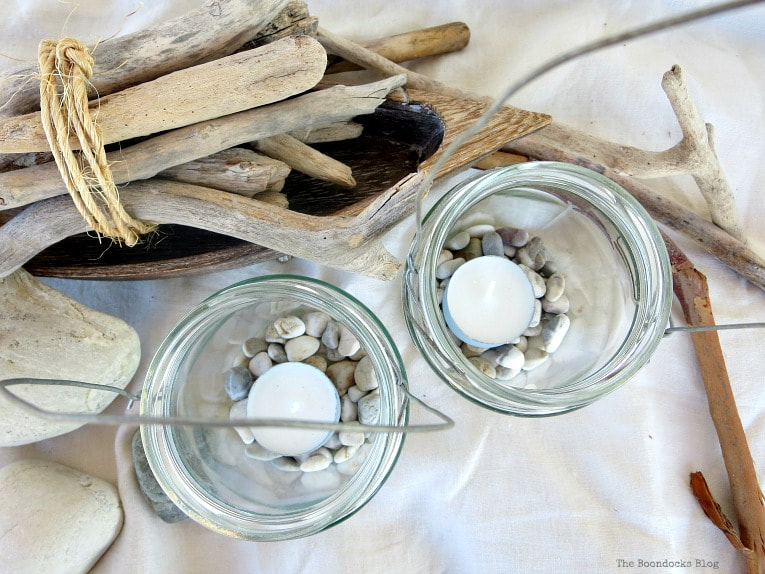
I had also made another lantern with tea lights which had quite a different look.
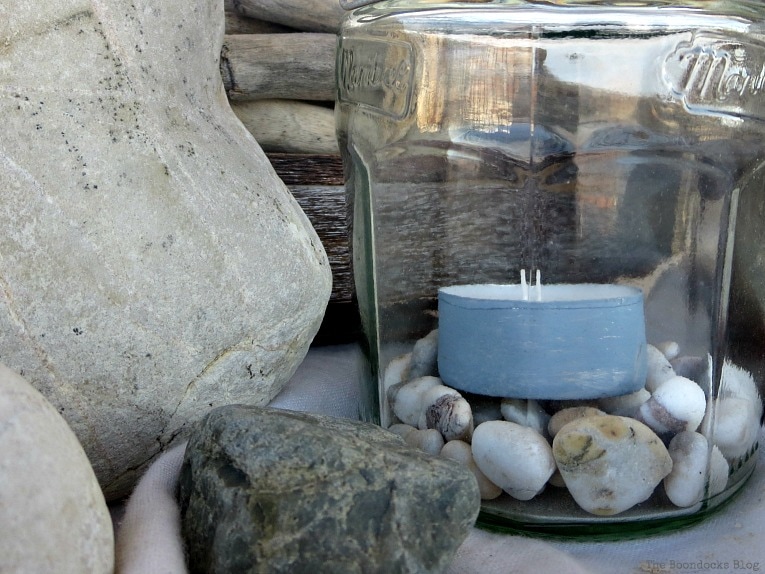
I think these soft pebbles look great next to the driftwood. Another option for the beachy mason jar lanterns would be to use sand for the bottom layer.
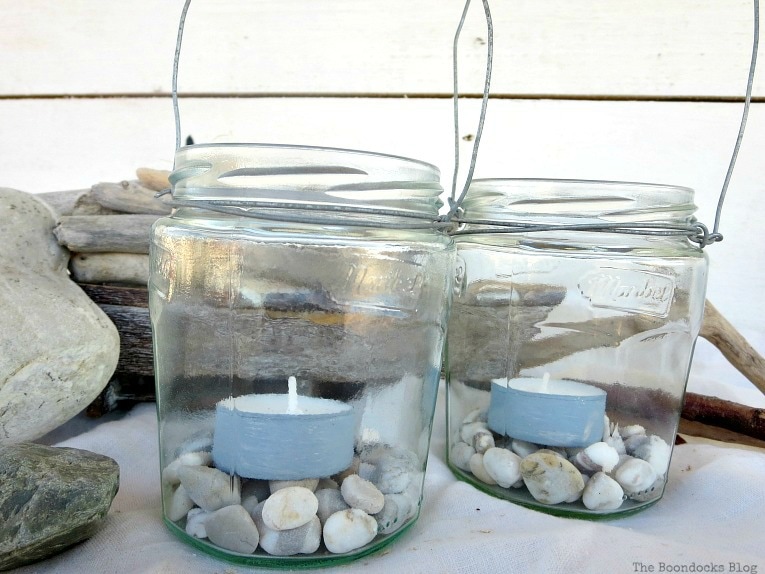
I painted my tea lights in a color to coordinate with the stones. It is a simple and pretty detail that literally takes 5 seconds to do but it gives a nice overall look.
Head over here to see where I have placed these mason jar lanterns on my balcony. And why my fingers were colored blue.
I hope you have enjoyed this simple how-to of repurposing mason jars into tea light lanterns. They make a great addition to any outdoor space. Do you repurpose old jars?
If you really like what you see subscribe to my blog and get my adventures in your mailbox. The form is on the sidebar and on top. To see my privacy policy click here.
Mary these are so rustic and sweet, I love them! I think they would look great in my backyard and we could bring them down the to beach with us at night to light the way! Fabulous repurpose, as always!
Sounds like a good plan to me Kim. I’ll be right over.
I recently did a Blue Glass jar with stars for a lantern, I actually like yours better! Really nice job.
I like simple the simpler the better. Thanks for dropping by Janet.
I would love to line our walkway in the backyard with these, plus have a few more for the deck table. Thank you for sharing with us at Celebrate Your Story, and I hope you’re having a great weekend.
Thank you Sandra. I too think the more the better in this case. Enjoy your holiday!
Cute! I have seen these used a lot at weddings here in UT. They are so pretty all lit up! Thanks for sharing with SYC.
hugs,
Jann
Thank you Jann I use them every day!!
Thanks for sharing at Inspire Me Monday. I wanted to let you know that you are one of my Featured Picks this week. Come check it out at http://www.farmhouse40.com/inspire-me-monday-138
Thank you for the feature Bonbon. It is always a pleasure to be featured on your blog.
hat a cute and superfast project Mary! I am a jar collector too (we too, buy lots of things packed in jars) but I keep my crochet goodies inside 🙂
Might make these for the summer garden! Thank you for sharing!
Maya that is a great idea for reusing jars. I’m all for reusing things in any way possible!
I’m gonna make that!!!!! Thank you so much for the inspiration and tutorial!!
It is super easy Gigi. And if you make a few even better!
Such clear and simple instructions Mary, thanks. I can see me trying this out this summer.
I hope everyone makes them. We can start a repurposing revolution! 😉
These would be perfect for around the pool and I love the idea – thanks for sharing. #ThursdayFavoritethingslinkup
Around the pool or in my case out on the balcony.
Mary, I always wondered how this works with the wires. You have great photos and directions and hopefully I can get around to making something similar. Thank you, my friend!
It is easier than it looks Carol and only takes a few minutes. I hope to see them on the blog soon.
I love simple tea lights like this Mary with pebbles or shells from the beach
The easier the better Amber!
Your lanterns look so easy to make, Thank you for sharing last week on Oh My Heartsie Girls Friday Features, this week your post is being featured!!
Hope you will stop by and share again. Have a great weekend!
Karren
Thank you so much Karren. I went over and linked up today.
I love this idea so much. I just wrote a post that includes up-cycled jar lights. I would love to link this post to mine so folks would see how to do it.
Happy summer,
Kippi
Thank you Kippi, I would be honored!
I am loving this DIY idea so much. The pebbles really make it stand out.
Very pretty Mary! This will be one of my features this Saturday at the Snickerdoodle Link Party!
Absolutely lovely! I may give this a try. These would work beautifully on my balcony.
Also, I’d like to invite you to link up to Creative Compulsions – a link party held every Thursday on my blog – https://bijoubeadboutique.com/blog
I’m over from InspireMe Linky and I love how easy this beautiful lantern is to make! Thank you for clear instruction!
It was so easy to make and you can make as many as you need!
I love reusing jars, I love how you’ve used these.
Simple and effective! 😉
Absolutely love this Mary! Pinned! Thanks for sharing on To Grandma’s House We Go! I’ll be featuring you next week 🙂
Thank you so much Chas. It was such an easy project.
I love this look. It is very beachy! Right in my style! #saturdaysharefest
It most definitely is beachy, one of my favorite looks too.
Oh, I love these! Very pretty and you can put them anywhere in the house or garden.
Exactly Teodora, and the best part is that it took minutes to make them.
I have lots of jars sitting around! Love how easy these are! Thanks for sharing at The Blogger’s Pit Stop! Roseann from This Autoimmune Life
Super easy and it was a fun project for me.
Great project, well done Pinned
These lovelies are perfect for those long summer nights on the patio or balcony Mary! I can’t have enough little lanterns around the garden, so I will definitely have to go find some pebbles to make my own, since I have tons of jars stored as well!
Katrin I really want to add some light to that great big balcony and make it feel cozy and warm and I think this is one of the easiest ways to do it. You can also use sand if you prefer.
Mary, Those turned out super cute. And I love that you painted the tea lights. I’ve been using the plastic ones because I didn’t like the look of the metal. I never thought of painting them!
It only took a few seconds Pam and it dries in a flash.
Love that this idea for incorporating outdoor lighting costs nothing!
My kinda project! Cheap and I get to use up some of the endless supply of jars that I have.
Love these simple DIY lanterns. Thanks for the detailed tutorial about attaching the wire hangers.
The wire is very sturdy and strong Carol. I want to be able to hang them and not worry that the metal will get soft. Thanks for visiting.
How cute! I love those jars. Love the shape of them. Look at you go to work with that wire! Love it! Hugs and blessings, Cindy
I wanted to use those jars for a long time Cindy. I love the shape and that old fashioned feel they have.
I just love this idea. Lately I have gotten insterested in collecting jars with character so this is a great way to showcase them.
I also have used them and filled them up with pebbles to just stand on their own as decor. I know you must live near a beach Debra, so you have access to pretty sand and whatever else. Driftwood also looks great in them.
I my humble opinion you can never have enough lanterns, EVER 😉 They always looks so lovely, especially in the garden. It always makes me think that the fairies are having a big party when I see them. I love how simple yours were to put together and how lovely they look with the addition of the pebbles at the bottom.
I absolutely agree Michelle. I am probably going to make more and add them all to the balcony to create a nice warm atmosphere.
What a cute way to make lanterns and repurpose those glass jars, too! You come up with the best repurposing ideas, Mary!
Thank you Gail. I love taking ordinary things and instead of having to recycle them I get to use them again. Less for the landfill too!
You know how I love jar crafts Mary! These are super cute and easy. These would be super cute to hang around the patio for some lighting. Love the way you added a pop of color by painting the tea lights.
Sometimes things can be so simple, we don’t even think of them. Like that little bit of paint on the tea lights. Thanks so much Linda.
As you said you can never have too many lanterns, especially now in summer when we spend a lot of time outdoors. I tried it once and it ended up a bit wobbly so I will try again using your picture tutorial, it can’t fail this time. I like how the painted tea lights look with the pebbles
The reason I used the pebbles on the bottom was to be able to steady the tea lights. Because if you put them in all by themselves they will slide around. Ha!
These lanterns look really great. Well done!
Thank you Mary, the simpler the better!
What a lovely sweet simple idea for a summer table. Thank you!
The simpler the better Claire, Summer is for relaxing not overdoing it on projects.
Oh Mary, these would be great fun to make for the cottage and hang them from the tree outside our porch — lots of them, on a branch! They don’t look terribly difficult but they sure do look terrific!
Thanks for coming by the Marmelade Gypsy and leaving such lovely comments! Your visits always make me smile — big!
Jeanie I like them so much I want to make more. Just need to finish the marmalade so I can take the jars. They are very easy to make, just a few minutes tops.
I love the rustic look, Mary! Perfection sometimes looks too sterile! This is a great idea!
I agree and those pebbles are far from perfect.
Mary, these jar lanterns are so Lovely!! I like how you painted the tealights, it adds that special touch. They look wonderful!!
They were really simple to make Keri and you know how much I love simple.
Hey Mary, what a brilliant idea…I think I could even do that…and probably will. And I love that your fingers have paint all over them…story of my life. And my camera has paint all over it too…does yours?
Lynn, my poor camera was on vacation so it is being pampered. My girl had it. I most definitely want to see your version of these easy lanterns.
You already know me and my wire thing so you can be sure I ‘m trying this! Thanks for the tutorial!
I am so happy to hear that Katerina. It really is very simple, five minutes tops.
Hi Mary: Every week you continue to amaze me. The wire hanger portion is a simple brilliant idea. It makes all the difference. Love this. Pinning to remind myself that crafts don’t have to be elaborate or expensive to be beautiful and well worth it. Great job girl.
Thank you so much Leanna! Sometimes the simpler the better, especially in the summertime when I have no energy whatsoever!
I like this idea and I really need to do some of these, but realistically, I am too busy right now. 🙂 Someday. Thank you for the idea.
The nice thing about these is they only took about five minutes. I hope you find the time. 🙂
Mary, the lanterns look so nice paired with your previous driftwood project. I love the weathered beachy look, and you’ve achieved that. Looking forward to the other thing on your deck that you’ve been up to.
It’s coming next week Florence. I have really been working on that balcony.
They are so easy to make! I have a bunch of Mason Jars and I think I will make some too! The wire part is important so Ill have to study your directions.
Maria
It turned out to be much easier than I thought. I just went with it and all it took was about five minutes Maria.