
How to Make Mason Jar Lanterns
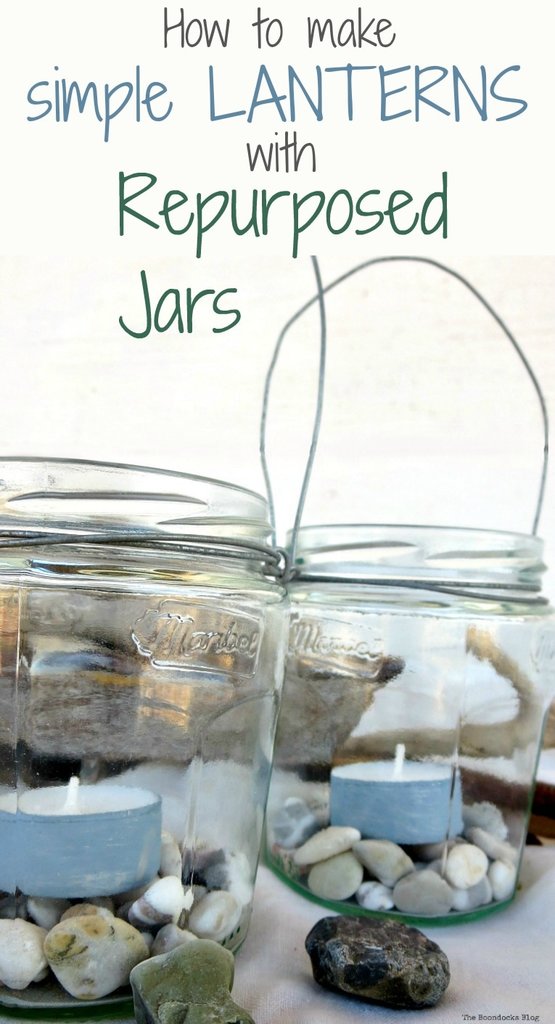
Learn how to make these easy DIY mason jar lanterns with pebbles. They’re perfect for outdoor patios or even a beach-themed wedding.
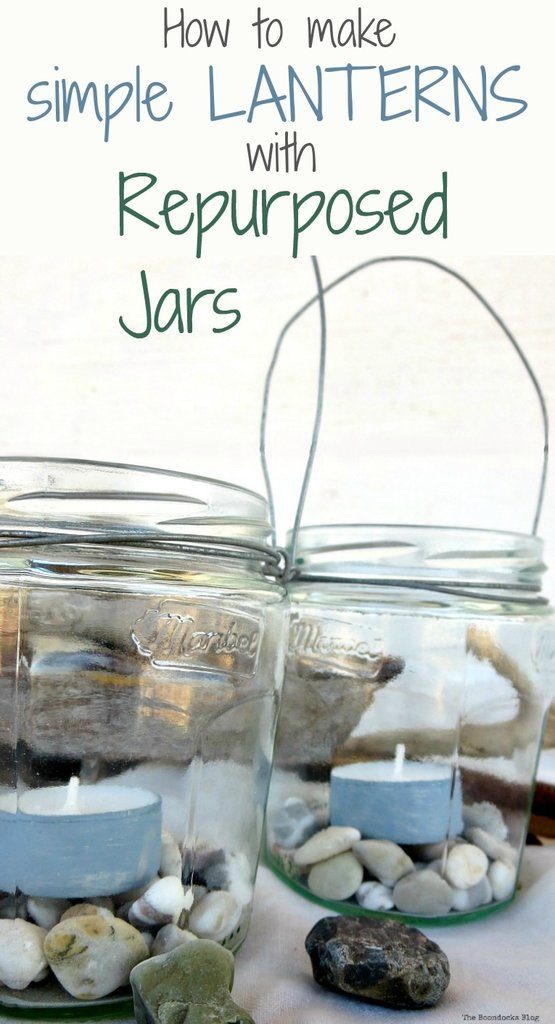
It is my favorite time of the month. Yes it is the International Bloggers Club Challenge where I join with some of my fellow bloggin friends for crafting goodness! This month we’re making projects with household items. In my case I have chosen jars and will show you how easy it is to make beach-themed mason jar lanters!
For those of you who are here for the first time, the International Bloggers Club Challenge is a monthly one that I join with my blogger friends who live all over the world. We meet up each month to compare notes and see how we do things in our corner of the world. Last month we did projects with tin cans and the month before we created outdoor projects.
What you’ll learn
How to turn household recyclables (glass jars) into pretty indoor or outdoor decor (lanterns).
DIY Mason Jar Lanterns
Here in Greece almost everything comes in jars. I have lots left over from the tons of honey I buy and from marmalade and jams. I mostly use them for storage but I wanted to do something a little different for this month’s challenge. Since we spend so much time outdoors, these beach-inspired mason jar lanters seemed to be the perfect accent for our patio.
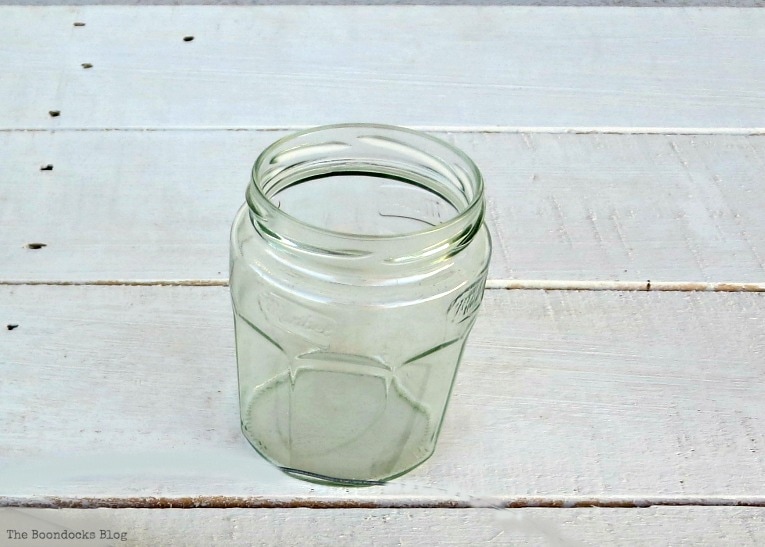
Materials Needed for this Glass Jar Lantern Idea:
- 2 jars
- 2 pieces of wire about a yard/meter each
- pliers
- pebbles
- tea lights
- craft paint (optional)
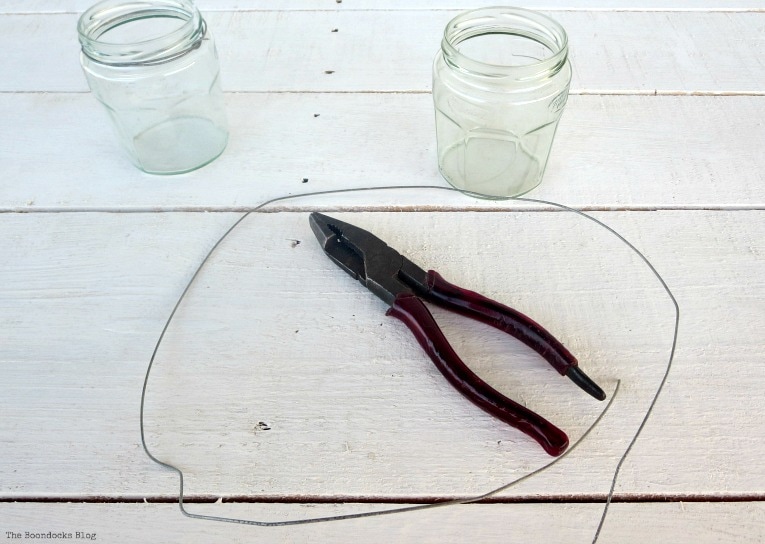
How to Make Mason Jar Lanterns
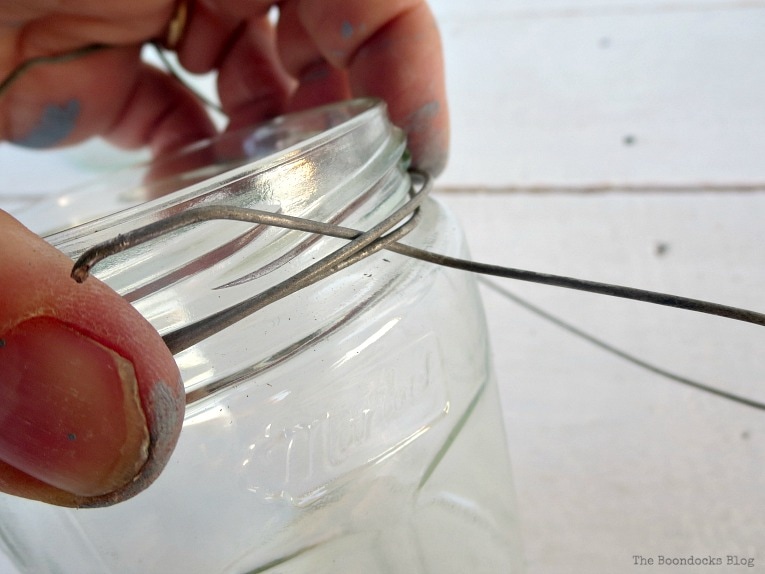
With the pliers, take one end of the wire and make a loop. This should be about half an inch.
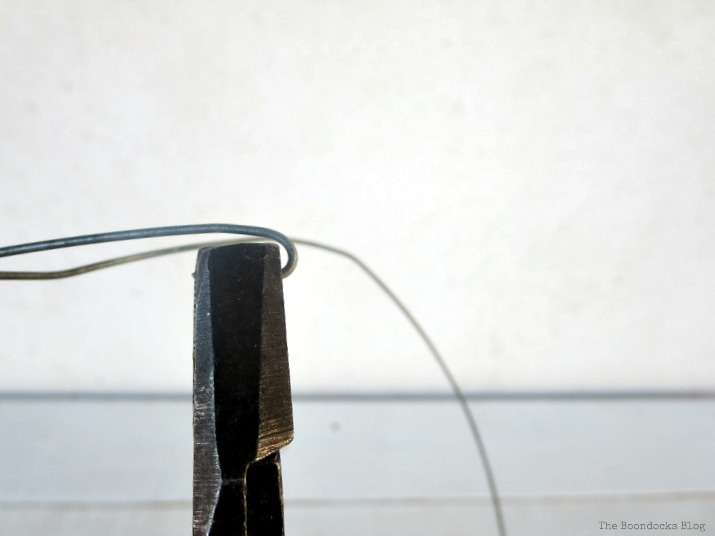
It should look like a small hook. Kindly ignore my paint splattered hands. I had been doing a little painting beforehand and in my excitement to finish this project… well, a little paint wasn’t gonna stop me.
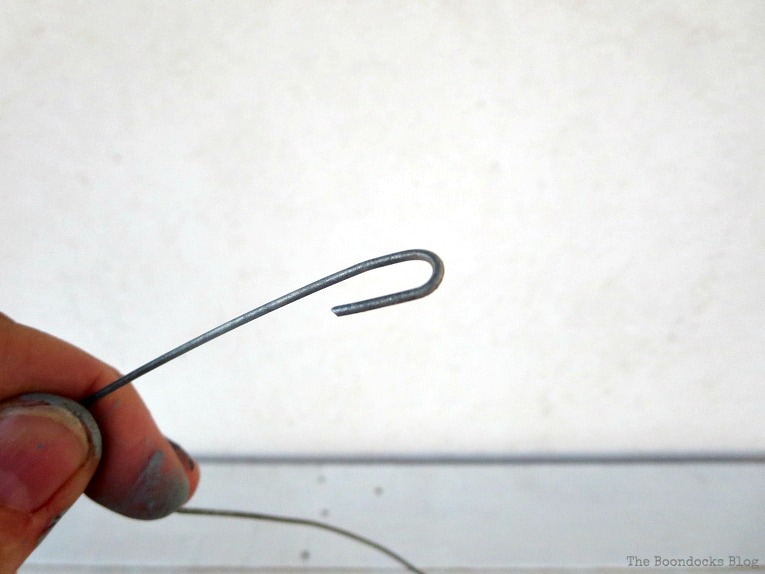
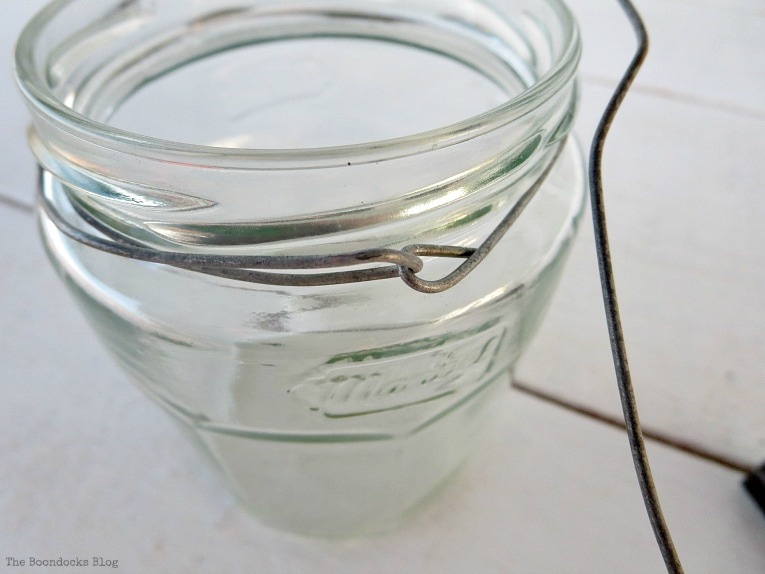
Form a circle with the wire and passed it through the hook. The hook should then be closed up with the pliers.
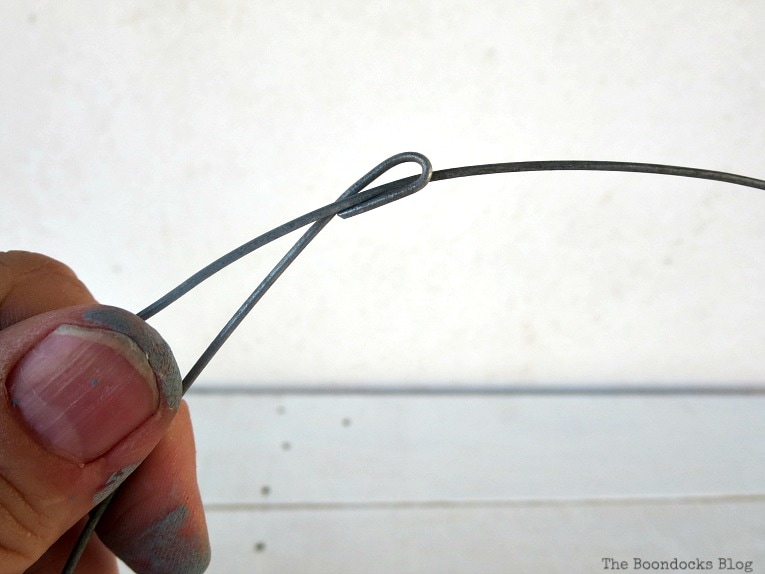
The wire circle will then be snuggly placed on the outer rim of the jar like this.
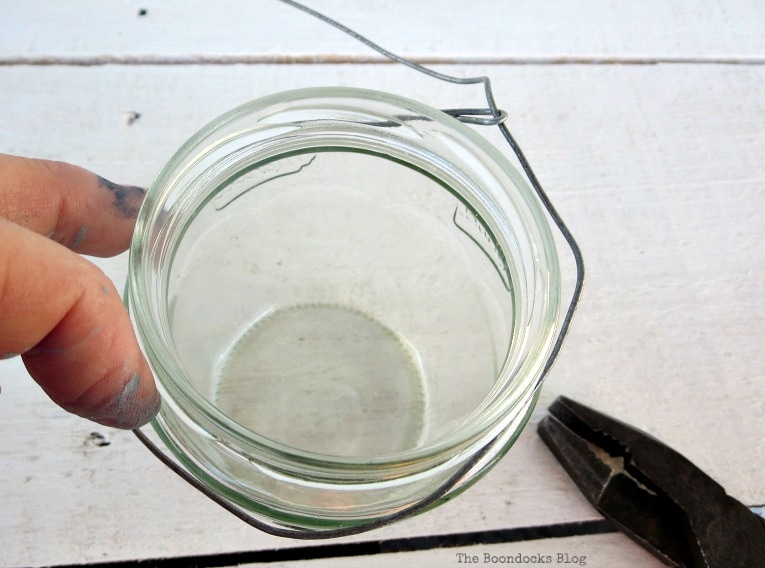
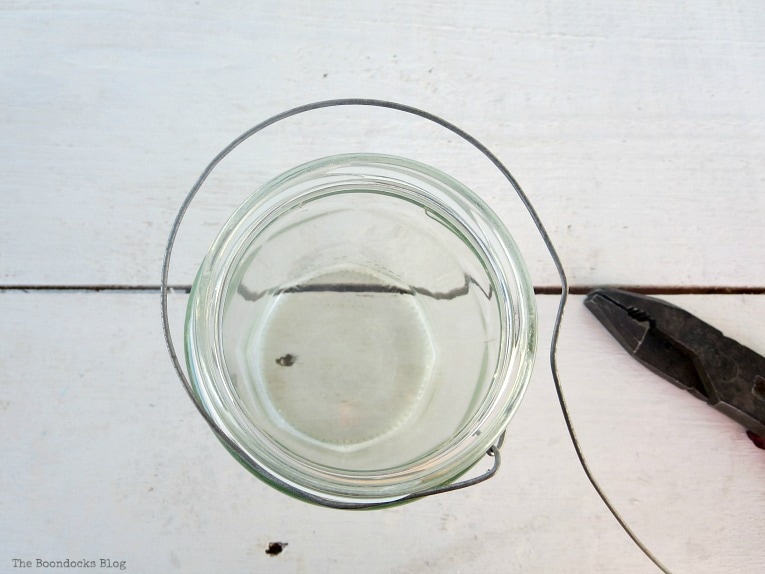
Once you have pulled the wire so that the wire circle is tightly fitted on the outer rim, take your pliers and pull the free end of the wire in the opposite direction. You can then form another circle around the outer rim.
From above we can see the second circle of the wire going in the opposite direction from the first.
Once you have completed the second circle, pass the free end of the wire through the loop. Pull it upwards to create a handle that will come back down on the other side of the jar rim.
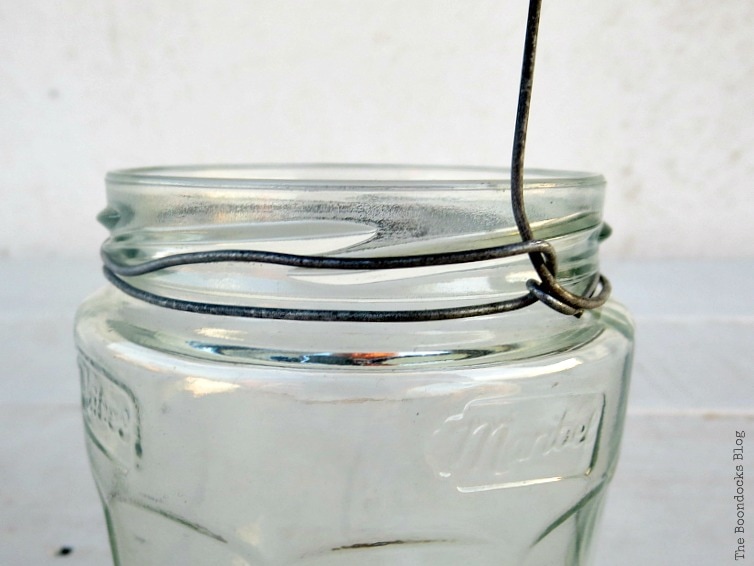
The free wire end will be looped downwards and secured on the opposite end of the jar rim. Make a final hook to secure it onto the wires and you are done.
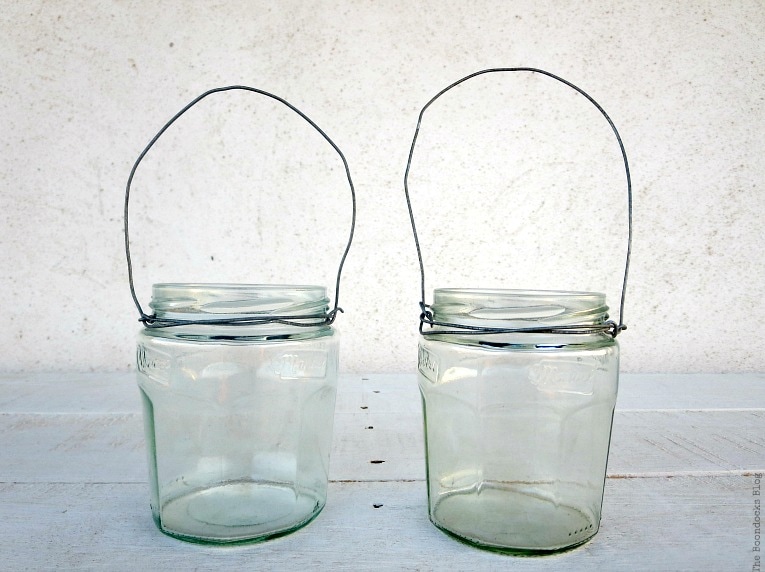
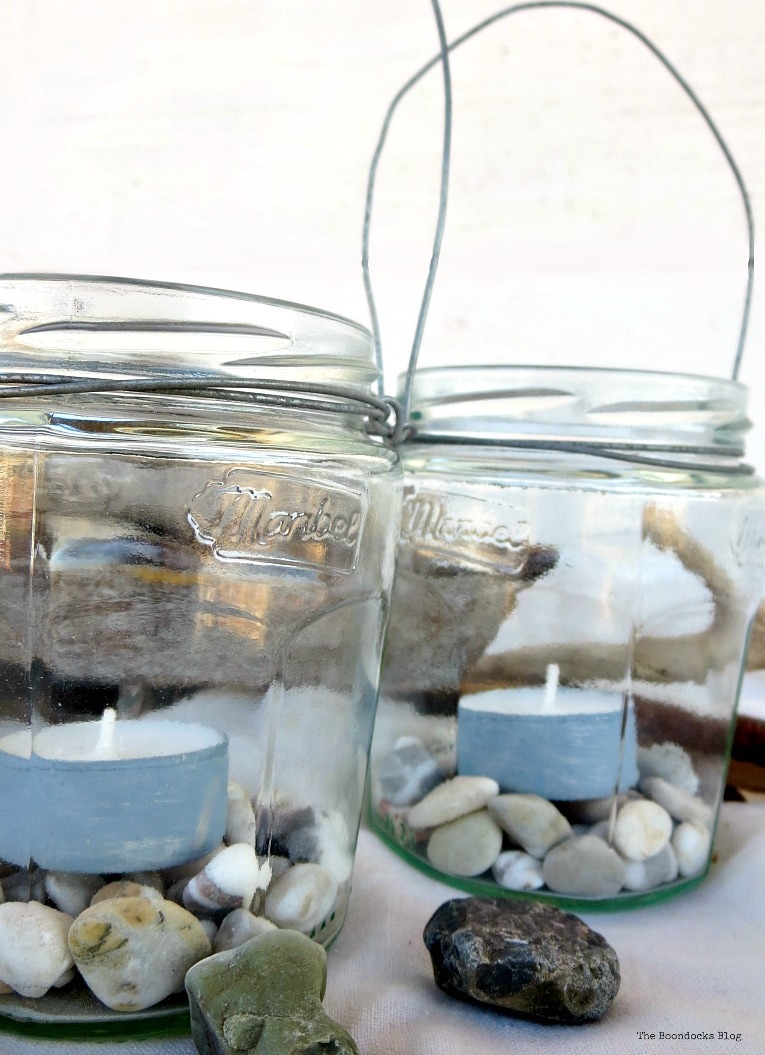
And these are my two lanterns. I did not worry so much about the wire looking perfect. Because as you all know by now “Perfection is Overrated!”
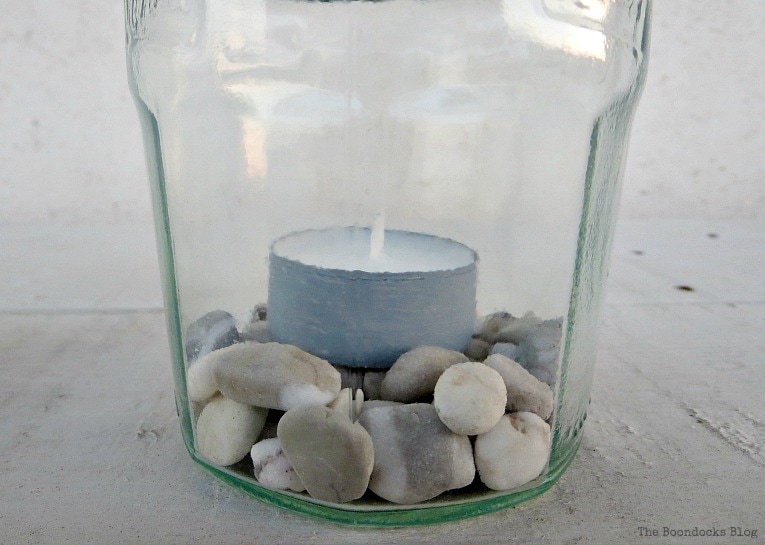
The final step was to add a layer of pebbles and then top off my new mason jar lantern with a tea light candle.
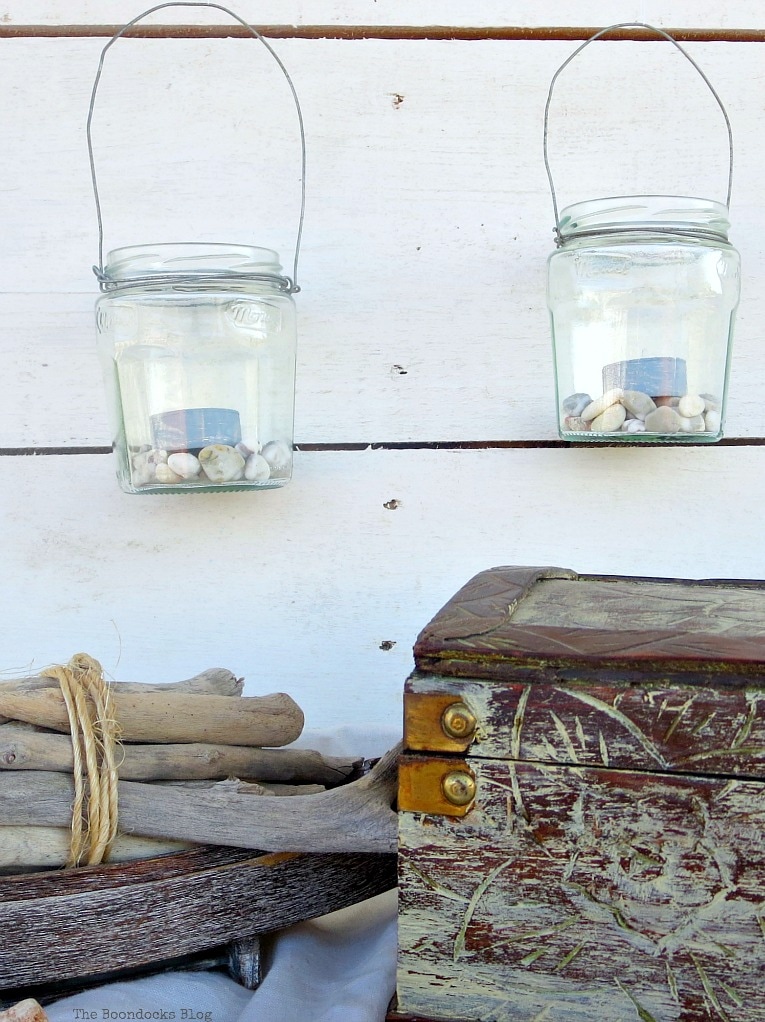
These easy mason jar candles can be hung…
… or they can be placed on a surface. The choice is yours!
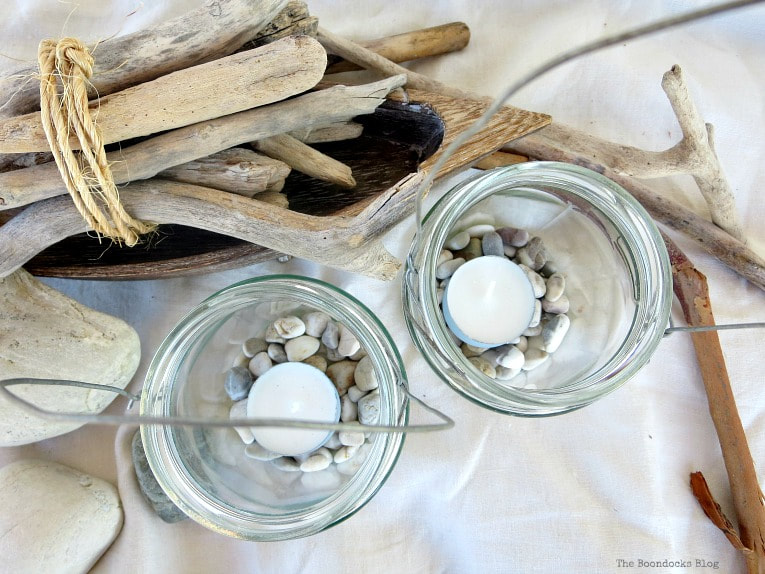
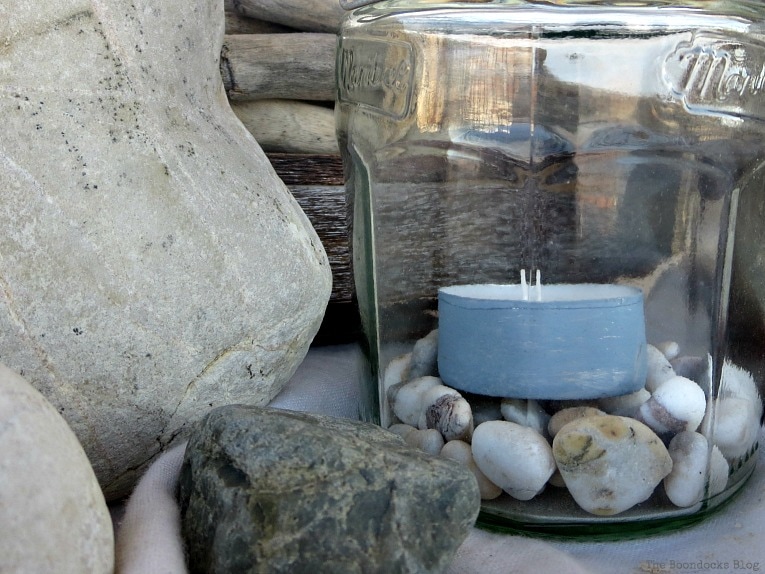
I had also made another lantern with tea lights which had quite a different look.
I think these soft pebbles look great next to the driftwood. Another option for the beachy mason jar lanterns would be to use sand for the bottom layer.
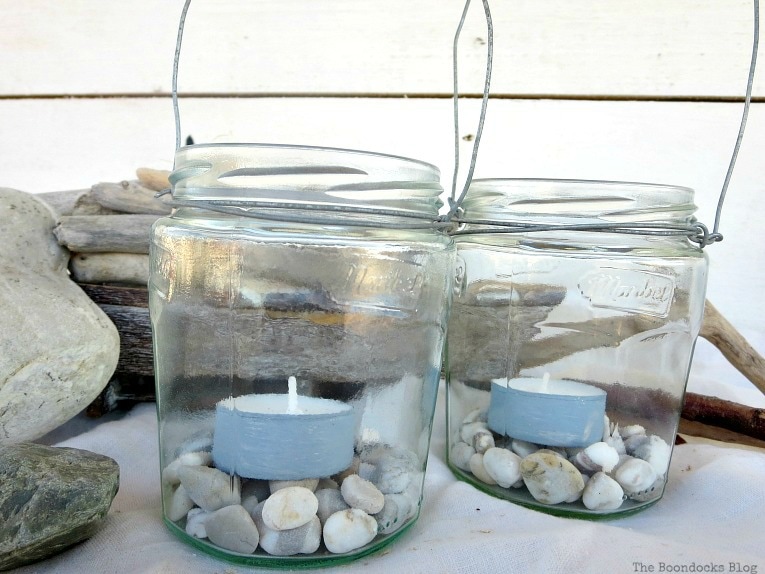
I painted my tea lights in a color to coordinate with the stones. It is a simple and pretty detail that literally takes 5 seconds to do but it gives a nice overall look.
Head over here to see where I have placed these mason jar lanterns on my balcony. And why my fingers were colored blue.
I hope you have enjoyed this simple how-to of repurposing mason jars into tea light lanterns. They make a great addition to any outdoor space. Do you repurpose old jars?

If you really like what you see subscribe to my blog and get my adventures in your mailbox. The form is on the sidebar and on top. To see my privacy policy click here.




I am loving this DIY idea so much. The pebbles really make it stand out.
Very pretty Mary! This will be one of my features this Saturday at the Snickerdoodle Link Party!
Absolutely lovely! I may give this a try. These would work beautifully on my balcony.
Also, I’d like to invite you to link up to Creative Compulsions – a link party held every Thursday on my blog – https://bijoubeadboutique.com/blog
Great project, well done Pinned