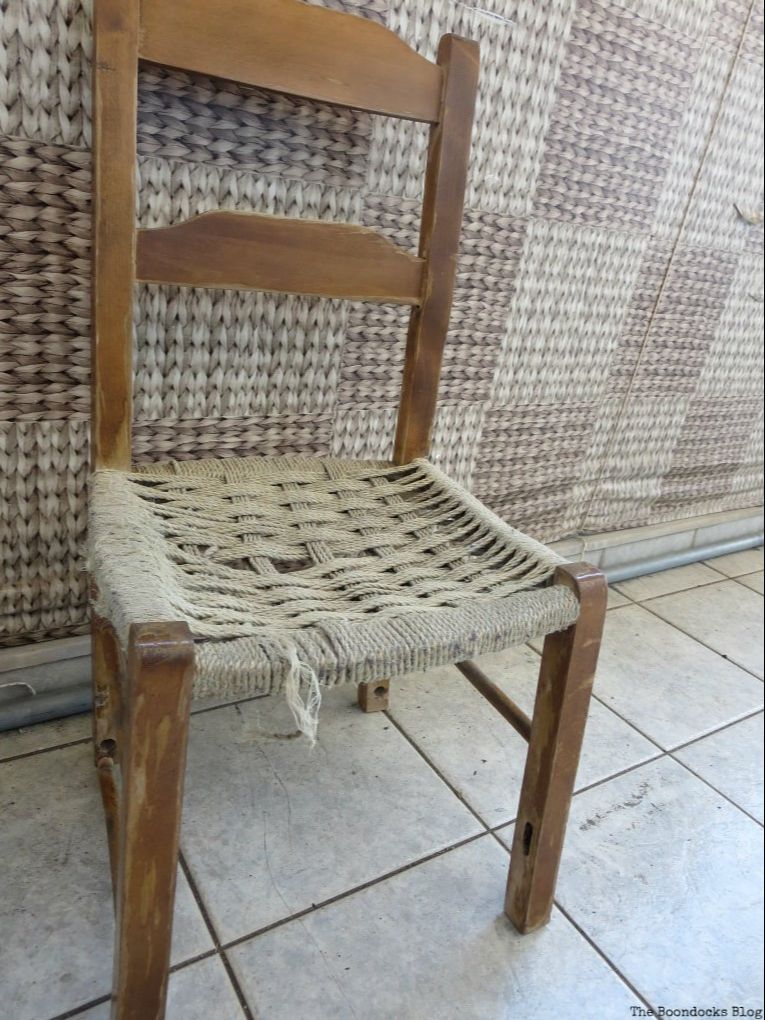
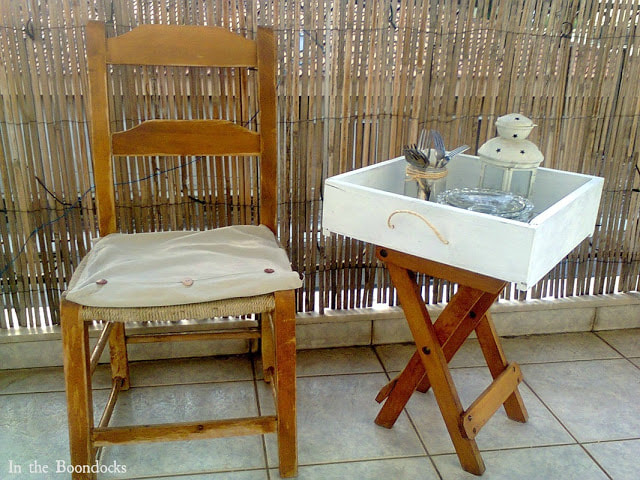
I had an old chair -actually there were two of them – and a few years ago I took them and shortened the legs so I could place them in front of the fireplace. They were great there, all nestled up next to the fireplace, but as with any good thing they started to fall apart after so many years.
Now being the good up-cycler that I am, I put the chairs in a corner and pondered what to do with them. At first I had a vague idea of making a sign and hanging it on the back of the chair. Because that was the part I was going to re-use. It would be all fall-like and pretty.
But as things have a way of going by the wayside and doing what they want on this blog, I ended up with something totally different. And so I am going to show you how to make a cool kitchen organizer from a chair.
Disclosure: I was compensated for doing this post with product. However, all the opinions stated here are my own. I only use products I love and would recommend to my viewers.
Disclosure: The items below are affiliate links and link to Amazon.com. If you purchase any of these products through the links, I receive a small commission, that way I can continue to provide you with lovely content. There is no extra charge to you for purchasing through my affiliate links.
What I used:
The How To:
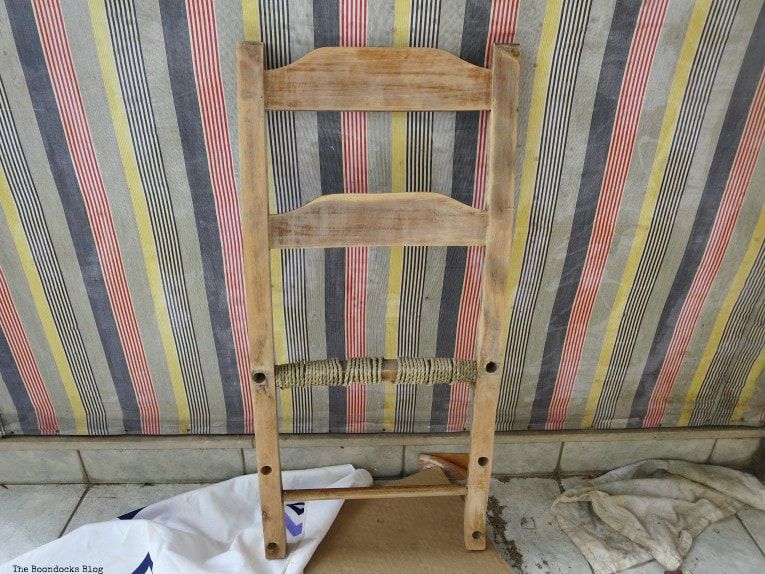
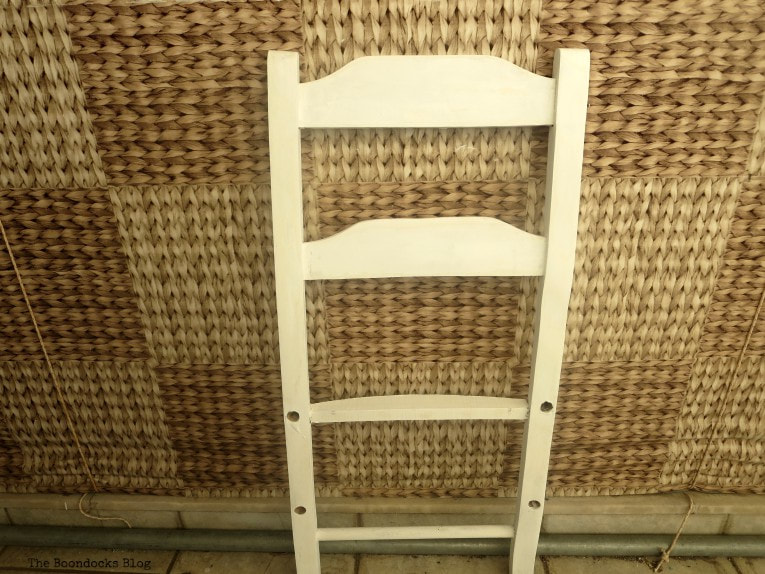
The first step was to take off all the extra pieces so that I was left with the back of the chair only. It was actually quite easy since all I had to do was move the wood back and forth and then just pull the pieces out. I think all those years next to the fireplace have taken their toll on the chairs.
I sanded it down as much as I could. There was a lot of that glossy varnish we frequently find on these pieces of furniture here in Greece.
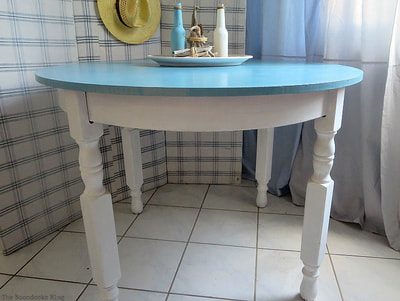
I then painted it two coats of DecoArt’s Americana Chalky Finish paint in Everlasting. This is a nice solid white. It would serve as my base color. Sorry for the picture quality here, it was taken as the sun was going down.
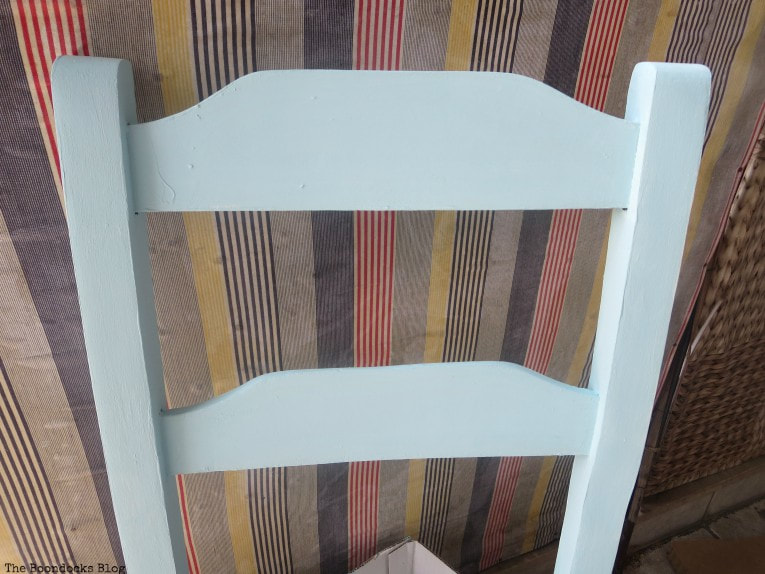
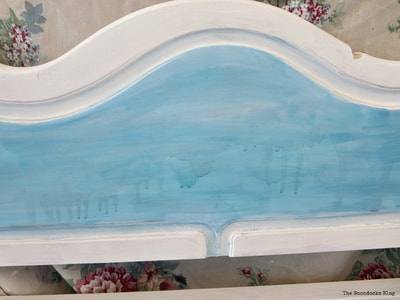
The next step was to paint the top color. In this case it was some left over paint I had. I had used DecoArt’s Americana Decor chalky finish paint in Escape but had mixed in a bit of white to make it a soft blue.
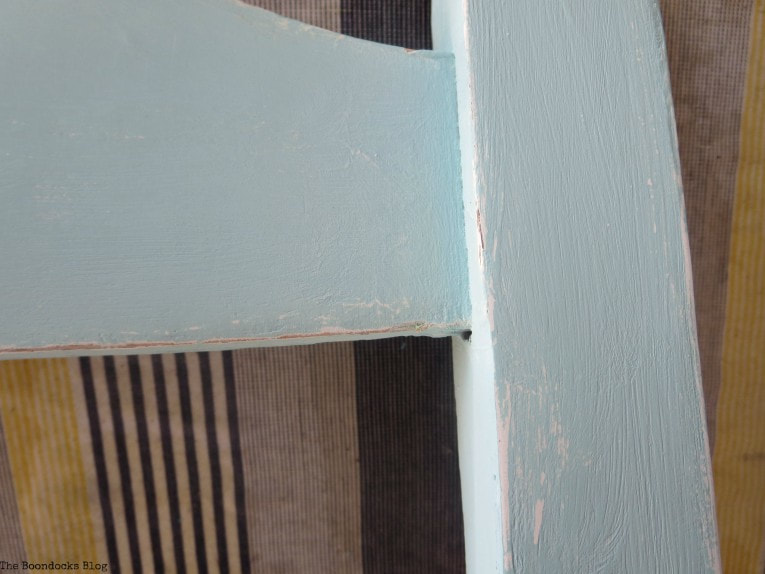
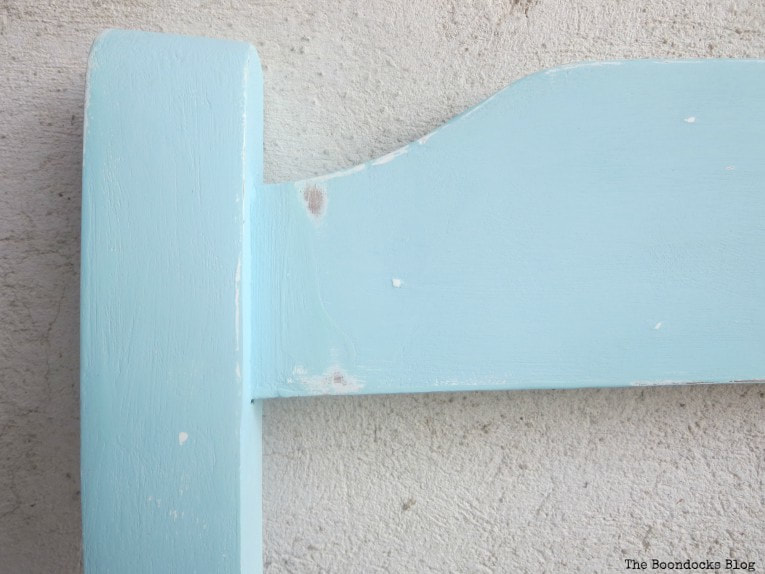
After it had dried for a day I sanded it down in areas that had normal wear and then used my homemade beeswax to seal it in.
You can see the white peeking through in areas where I did not sand it all the way down to the wood.
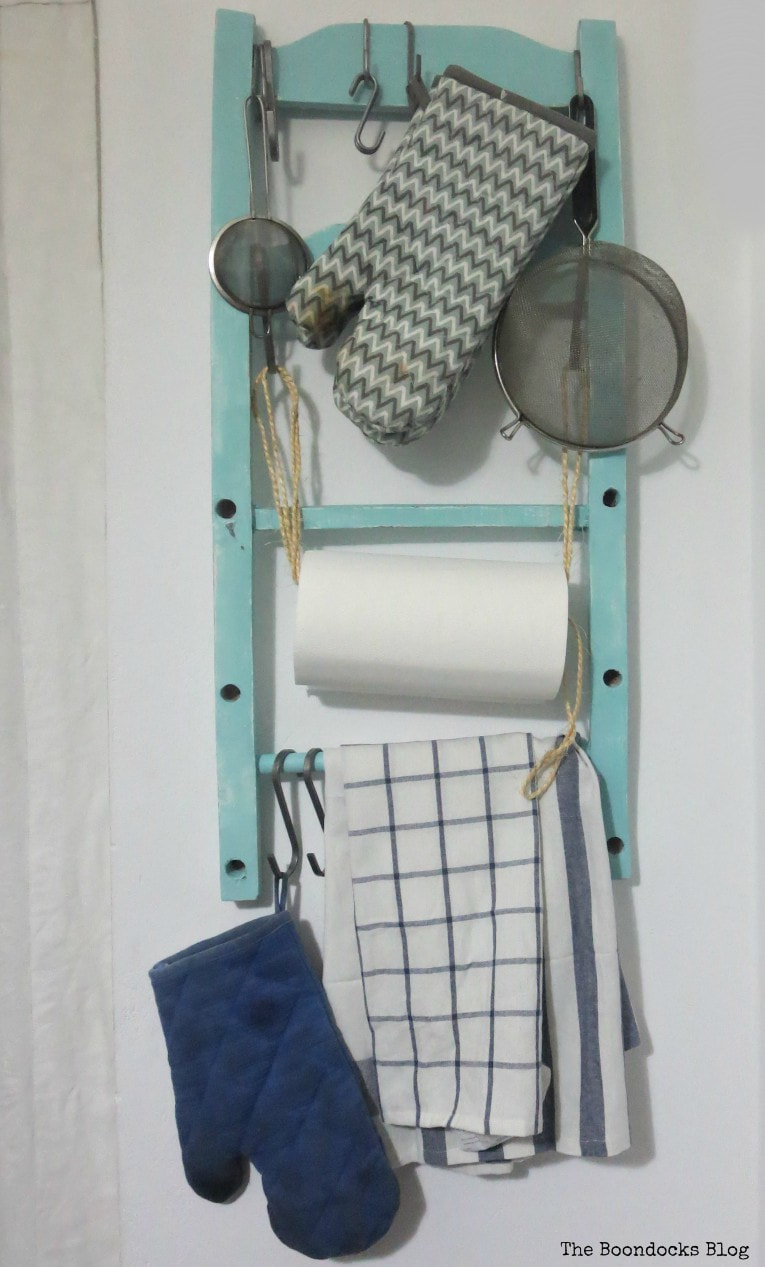
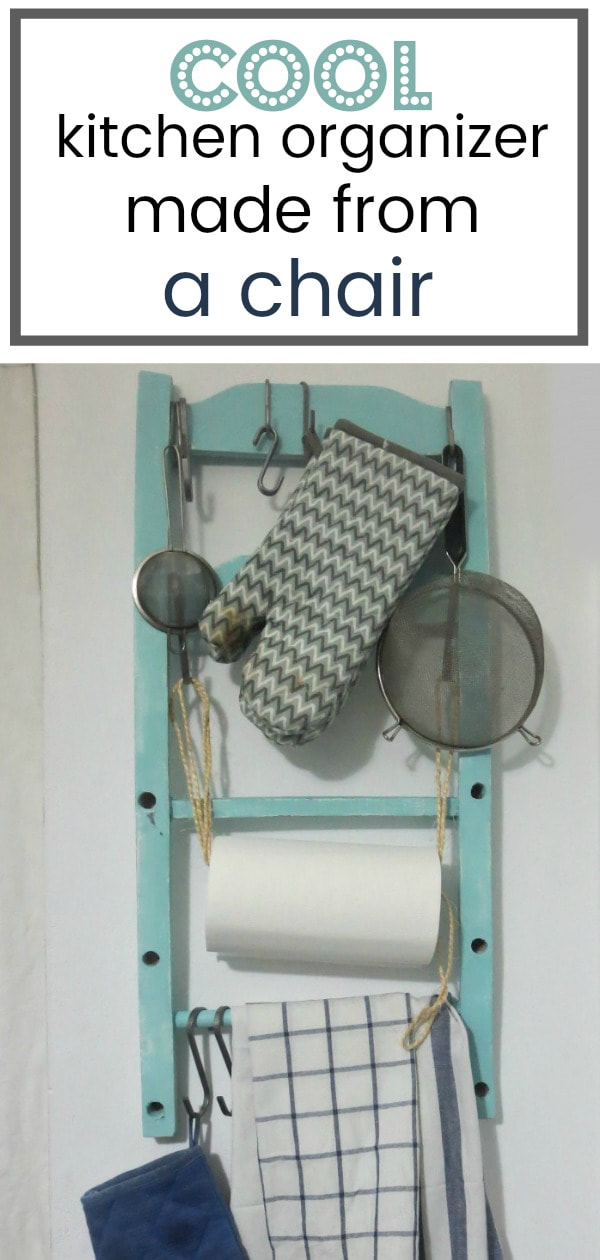
I put two nails on the wall and just hung it up like this! Obviously it’s in the kitchen.
It is cool or what? Certainly better than a purely decorative piece.
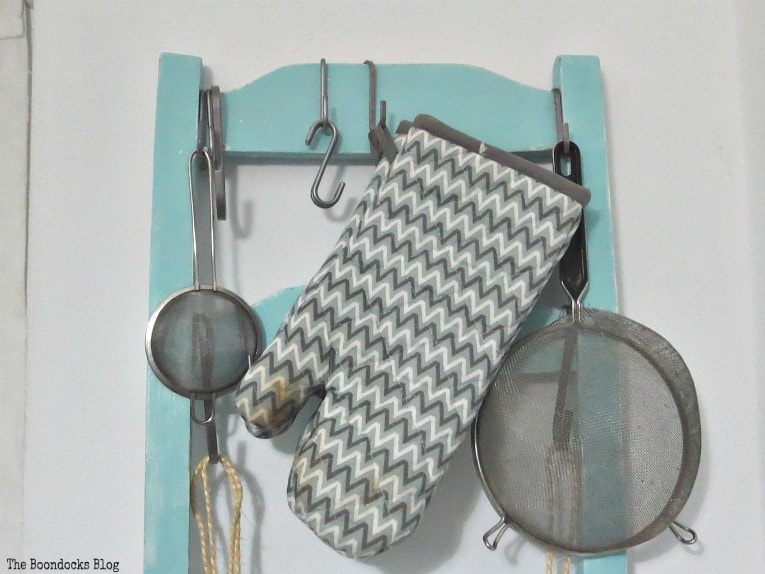
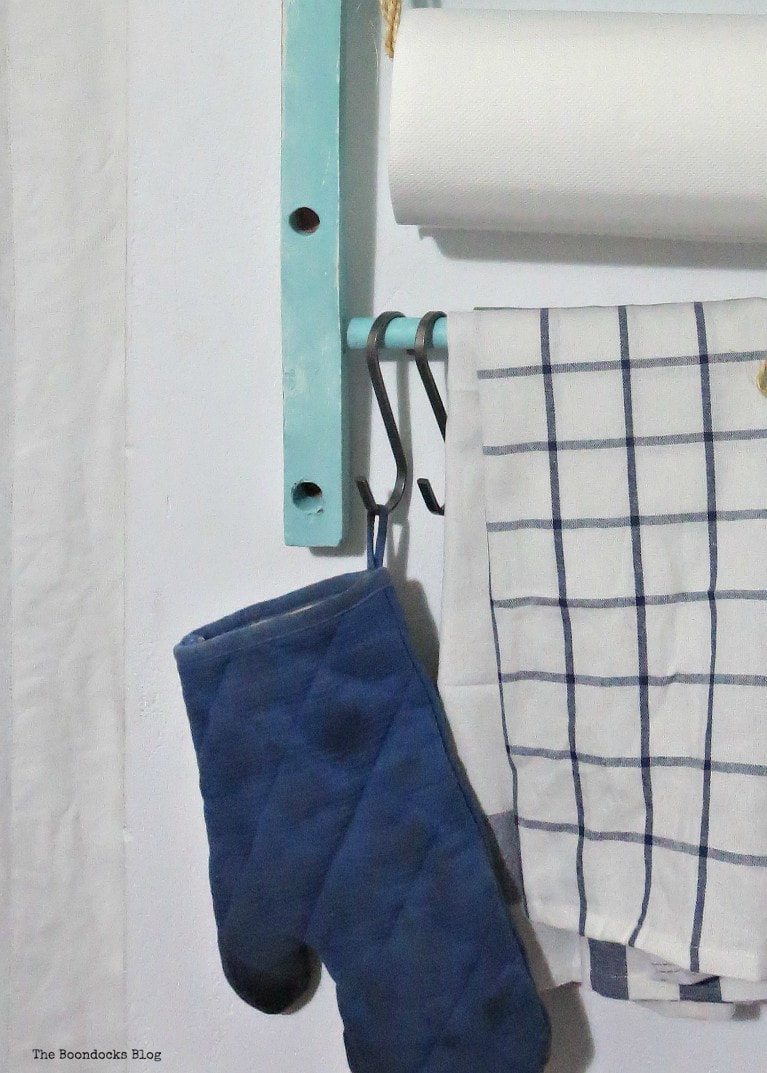
I just added a bunch of hooks that I had gotten from Ikea. And hung my various kitcheny things. Excuse the dirty glove, you can tell that we really use our stuff around here.
I took these last photos as I was getting ready to leave for the airport so I didn’t notice that a part of the twine had slipped off. That’s also why the color looks a bit greenish. Gotta catch that plane!!
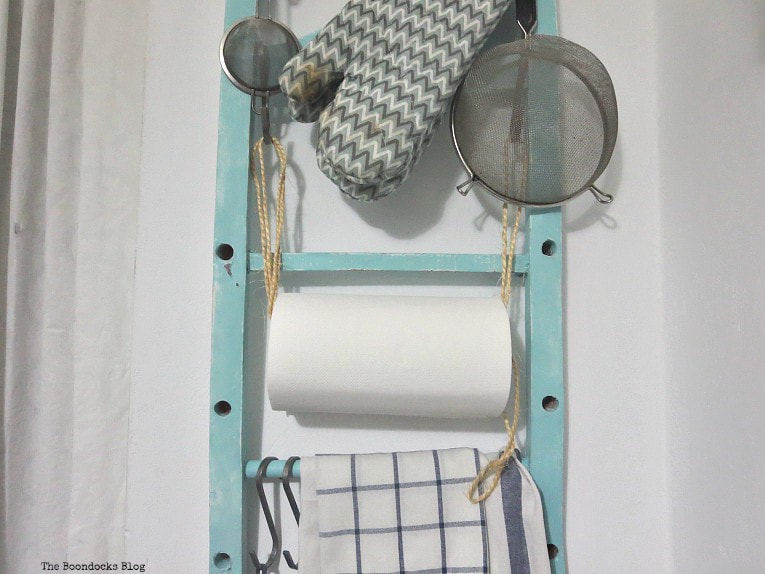
Basically what I did was take a large piece of twine and knot the ends together. Then I folded it in two, then folded it again. I passed the paper towel roll though it so that the knot is hidden inside the paper roll. So that one piece that fell over, well it’s supposed to be hanging.
For now we’ve left it with the holes on the sides. We still have the wood pieces that were originally there and may do something with them. Even left empty they do add a certain character to the kitchen organizer.
So the fall thingy went out the window, but I think this was a far better idea. It is striking because you have this pop of blue in the kitchen. But most of all it is practical. You see we’d just finished the kitchen and we are a bit apprehensive about opening holes onto the tiles. This was the perfect way to organize all these things that normally go on the wall. Or at least hang somewhere.
I hope you enjoyed my easy tutorial on how to make a cool kitchen organizer from a chair. Do you have any leftover chairs that need a re-purpose?
If you like what you see, share it with your friends, or save it on Pinterest. Above is a Pinterest worthy image!
If you really like what you see subscribe to my blog and get my adventures once a week in your mailbox. The form is on the sidebar and on top. Your e-mail will never be shared with a third party.
The small apartment series:
How to organize a Bookcase






I love how you reused this chair Mary such a clever idea and I love that shade of blue
Amber thank you it is a life saver for that small kitchen.
What a great job, I love what you’ve done here and the colour is perfect.
Thank you Fiona I am so glad with the way it turned out and how practical it is!
From the first moment I saw this I said wow!!! It is the most clever thing I have ever seen with a part of an old chair! You are my favorite repurposing blogger you know that???? Hugs & kisses 🙂
Thank you dear Christina, I try the best I can, and this one is so practical!
What a great upcycle, and in my favorite hue as well. Nice project Mary, thanks for sharing it at #FridaysFurnitureFix this week, and also your project entry was selected for the giveaway! Can’t wait to see what you do with the products!
Thank you Brenda! I have loads of projects that need to be done so this comes at the perfect time. I’m so excited!
Mary, I love love this repurpose of an old chair!! Very clever and useful and it looks great as an organizer in the kitchen! I think the holes add character to it as well. Great job my friend!!
Keri I did this one as an afterthought but it turns out to have been hugely popular. Thanks so much.
I loved your kitchen rack. I could see those holes being filled with some kind of peg to hold more stuff. I know I shouldn’t complained because my kitchen cupboards cover most of my kitchen walls, but I’d love to have an empty wall to hang something like this rack on!
Right now I have no walls at all in my kitchen and I really miss this pretty organizer that held so much.
I love how country chic your project is.
Thank you Elise, and practical too.