
Easy DIY Jewelry Organizer for Earrings
This easy DIY earring organizer can be made with materials you already have in your home. Display your favorite jewelry pieces in one pretty place.
This easy DIY earring holder can be made with materials you already have in your home. Display your favorite jewelry pieces and keep your earrings organized in one pretty place.

It’s September and that means it’s my turn to contribute a gift to the Handmade Christmas Gift blog hop. For those of you who are new here, I have gotten together with some blogger friends and we are making one gift per month (or at least we are trying). In this way, we will have 12 handmade gifts by the time December rolls around. In previous months I have made a pillow and a wooden heart.
As I mentioned, this month I get to make a gift and my blogger friends, and of course you all, are invited to copy it or make a variation.
What am I making? Well, because I’ve been working so hard all year I am going to make a gift for myself. After all a happy blogger is a productive blogger! I’m making an earring organizer. I originally got this idea from my friend Lauren at Bless’er House. I liked the idea of having all the jewelry hanging so that I could find the pieces, instead of having to search in a box.
Supplies Needed for this Earring Holder Idea
- wood photo frame (you can find tons of these at the thrift store)
- cardboard cut to fit in the frame
- white paint (chalk or acrylic)
- paint brush
- fabric (upcycle a piece of clothing or use scrap fabric from your sewing projects)
- large doily or lace fabric
- scissors
- hot glue gun with clear craft glue
How to Make a DIY Earring Organizer
We start out with a simple frame. I wiped it down with soap and water and let it dry.
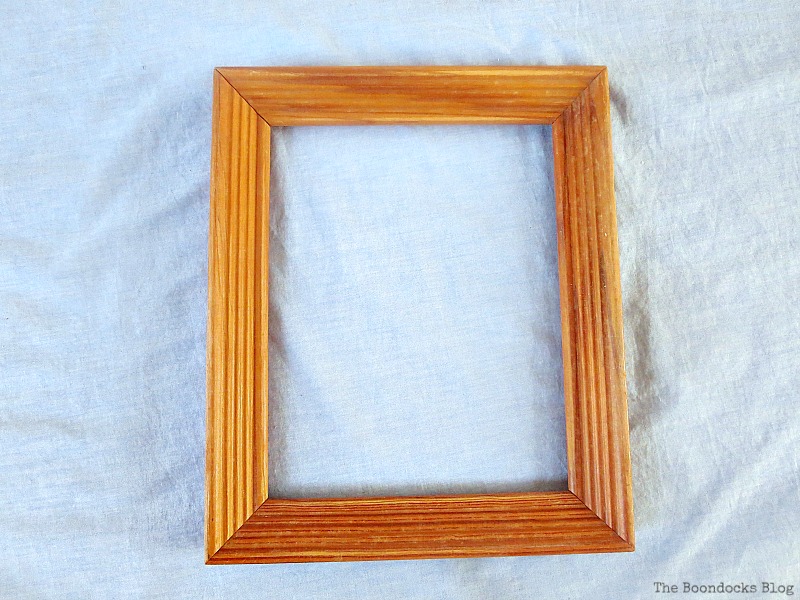
Then I took a thick piece of cardboard and cut it down so that it fit into the frame.

I painted the frame using an acrylic craft paint. When I poured the paint into a pallet, it was very thick, probably because I neglected to close the bottle properly. I could have added a bit of water to thin it out but I opted to just put it on as it was. It went on nice and thick and gave the frame instant texture. One coat was all I needed.

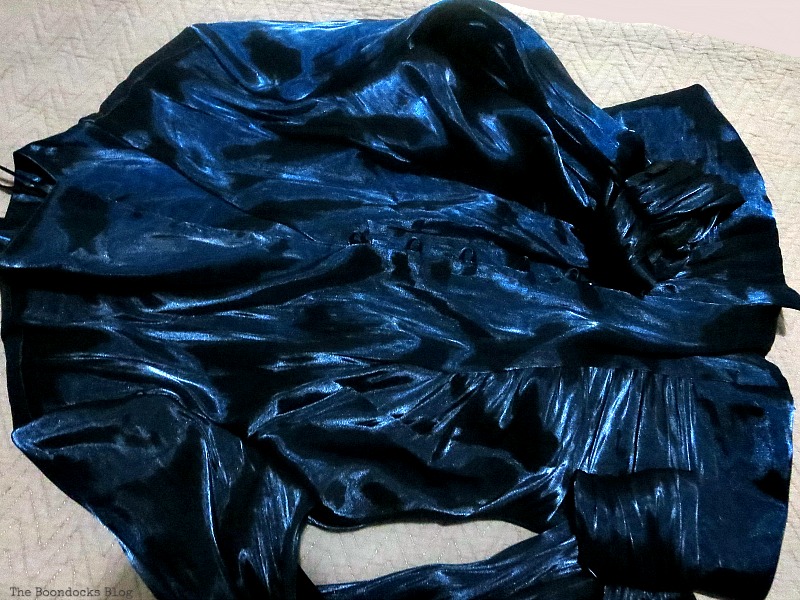
The next step was to repurpose this lovely satiny blouse. It was a beauty but I was lucky if I could fit one arm into it. I cut it up and glued it onto the cardboard.
Here is where I took Lauren’s idea of the chicken wire and turned it upside down. I wanted the same idea of holes to place my earrings thru but I was not going to run to the farm anytime soon. Anyway, the chicken wire at the farm is very rusty and full of well…chicken.
Instead, I placed an old doily on top of the cardboard which was covered with the satin fabric. As you can see, this doily was not exactly symmetrical, but I liked this off center look.

Here is what the back of the cardboard looks like. I have glued the doily onto the satin but you can also sew it on.

This doily and fabric covered cardboard fits snuggly into the frame. And that is pretty much it for my DIY earring holder. I could have added some paper to cover the back, but I might decide to change out the fabric later on so I left it like that.

I hung earrings on the doily and I was done.

And here is my earring organizer in action. I can always add a staple in the back and hang it later on but for now it will sit on my dresser.


Doesn’t the frame look rustic and worn out? So much better than that orange!

I don’t have that many earrings, so I’m displaying my girls’… but now that I have a place to hang and organize my earrings I’ll have the perfect excuse to buy more.


And that is my handmade Christmas gift to myself! A DIY earring organizer. I spent no money on this storage idea and it was such an easy project to make. I think that most of us have a frame sitting around at home. And of course, if you want a more rustic look you can check out Lauren’s Rustic Industrial Jewelry Organizer with chicken wire.

As I mentioned before this is a great way to take care of many of your Christmas gifts early on. No last minute rushing, no fighting with the crowds in the store. Does that sound like a great idea or what?
What do you all thing? Is this not the best gift for anyone who is organization challenged? at least in the earring department? I think I deserve this gift, and now I can even start to look into buying some more earrings. A win-win!!
Like it? Pin it for later!
Other Jewelry Organization Projects you May Enjoy



Great project! It’s not only functional but also artistic. I love the ivory doily against the dark blue satin, and the shabby-chic look of the frame blends perfectly with the vintage look of the doily. Altogether, it’s a beautiful display.
Thanks so much Carol. I really had fun with this one and went for a different look than just plain chicken wire.
This is so pretty, I love the idea of having jewellery on display, it makes it so much easier to see what you have.
I was a little bit panicked at first though, I thought you were planning Christmas already, but then I saw you had just shared an older post with us at #HandmadeMonday which is great – phew!
I think the doily on satin looks great Mary I love the placement of it too
What a great idea!