
How to Not Decoupage Plastic Bottles with Napkins
If you’ve ever wondered how to decoupage napkins on plastic, check out these great tips and suggestions for what NOT to do.
Decoupage is a great way to add decor and interest to all sorts of items in your home. If you’ve ever wondered how to decoupage napkins on plastic, check out these great tips and suggestions.
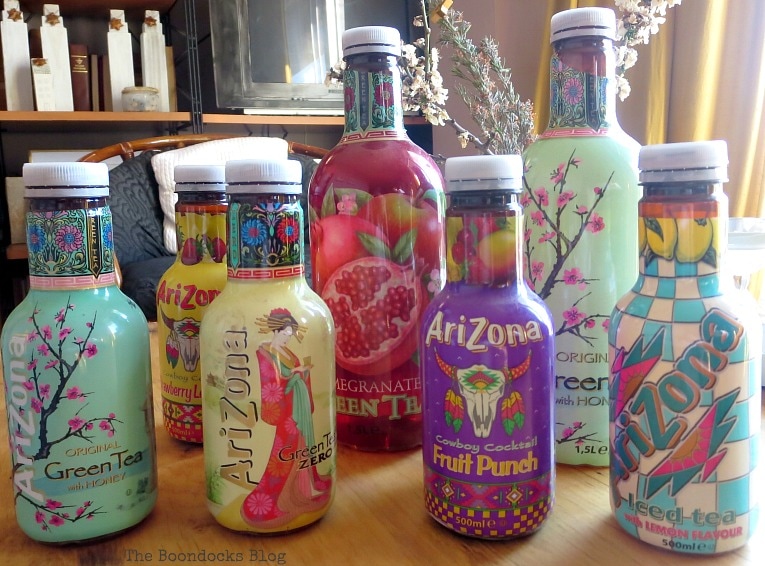
A few weeks ago my daughter’s friend gave me a gift. It was a bag full of plastic bottles that were for tea. She knows what a recycler and repurposer I am and she was sweet enough to collect a bunch of them and bring them over. A girl after my own repurposing heart!
I had them hidden away with a vague idea that I’d do some sort of spring project with them. Little did I know what a mess that would turn out to be.
Today I am advising you on how to NOT decoupage plastic bottles with napkins.
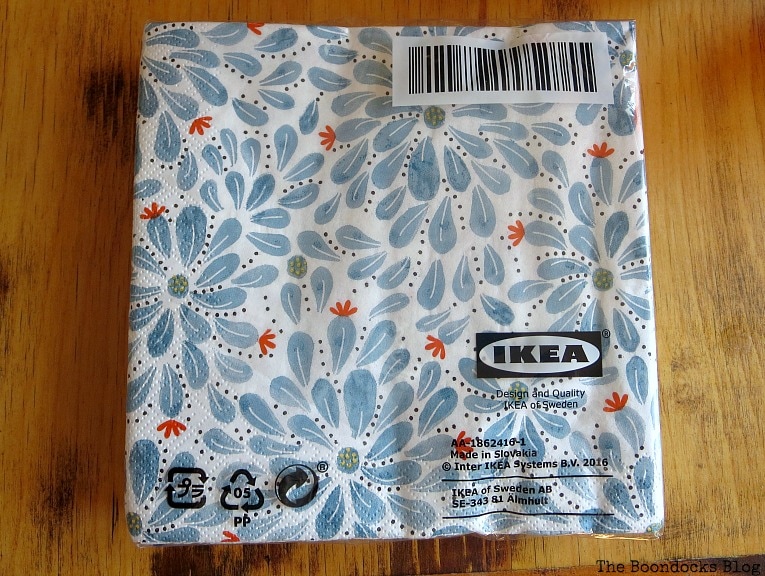
I had no idea what I would do with those bottles till one day I went to Ikea and spotted these cute napkins. Aha! I thought to myself, why not decoupage that lovely spring pattern onto the bottles?
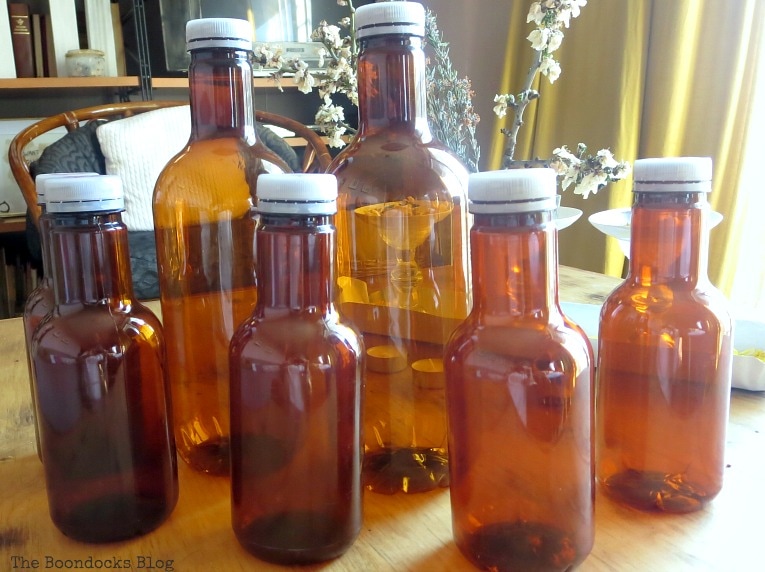
I removed the plastic covers and washed out the bottles. They looked cute like this too but I wanted to use the napkins.
I figured this project would take me half an hour tops. After all I had decoupaged so many other items in the past such as a dresser, a suitcase, and a side table. In fact I had even decoupaged a trunk with book pages. Now if that wasn’t a tough project I don’t know what is.
Materials Needed to Decoupage Napkins on Plastic
Disclosure: This post contains affiliate links for your shopping convenience. If you purchase any of these products through the links, we receive a small commission at no extra charge to you. You can find our full disclosure here.
- Mod Podge
- Chalk paint
- Decorative napkins
- Plastic bottles
- Sponge Brush
- Paint brush
- Twine, ribbon or yarn.
How to Decoupage Napkins onto Plastic
First I added the napkin to the bottle but realized after I applied it that it was a three ply napkin. Did it say that on the label? Silly me, I should have known better! This did not look good!
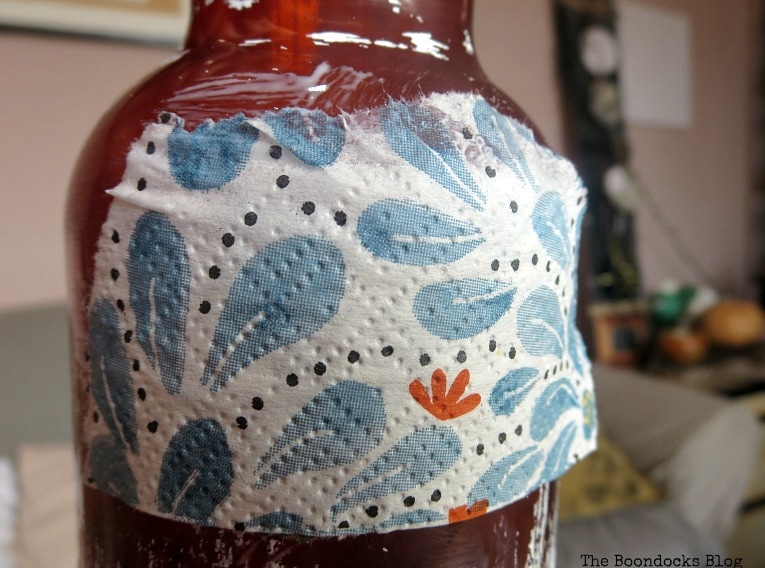
I tried again, this time with only the patterned napkin, but it looked awful. The brown color of the bottle showed through and made the pattern look muddy. Not to mention it was very wrinkled.
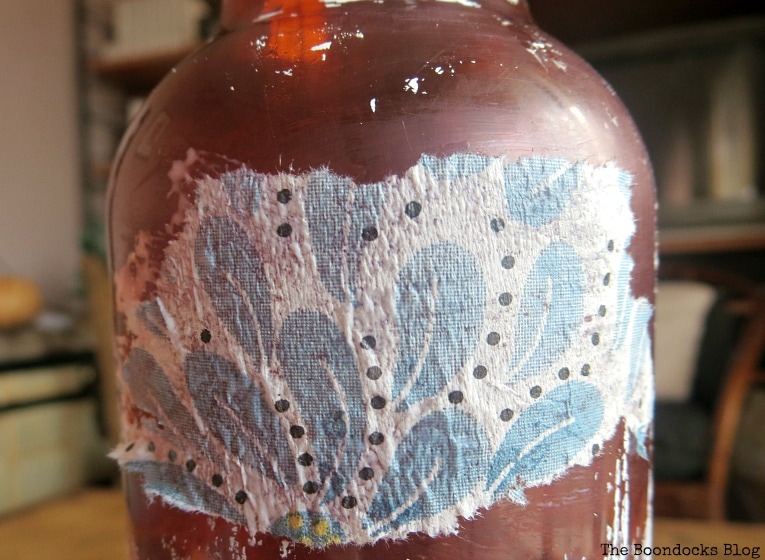
Finally I did what I should have done from the beginning. I went to You Tube and looked at how-to videos but I was so overwhelmed I almost gave up. I knew I had to finish those bottles and make my daughter’s friend proud since she had gone to the trouble of saving them for me. And I wanted to be good to the environment!
So following the tips on the videos, I painted the bottles using chalk paint. Two coats was more than enough to give me this look. I let them sit overnight to cure.
Half an hour project, huh?
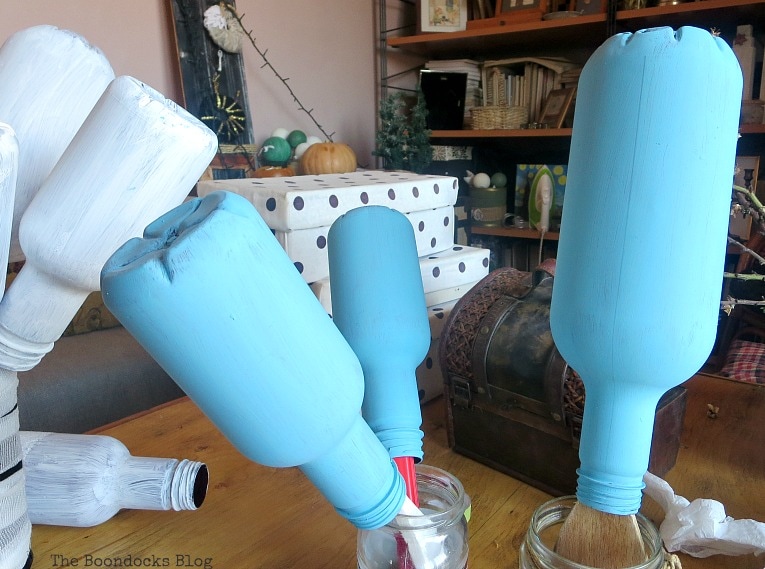
The next day I cut a strip of napkin and started from the top, adding a little bit of mod podge and carefully applying the one ply napkin. I even had to make cuts where the neck of the bottle swelled out.
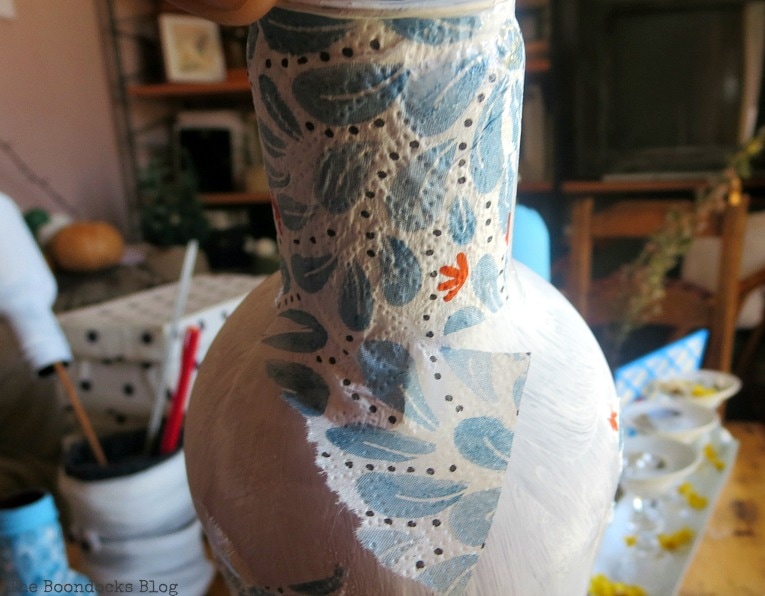
But more often than not this was the result!
Did I say this was going to be a half an hour job?
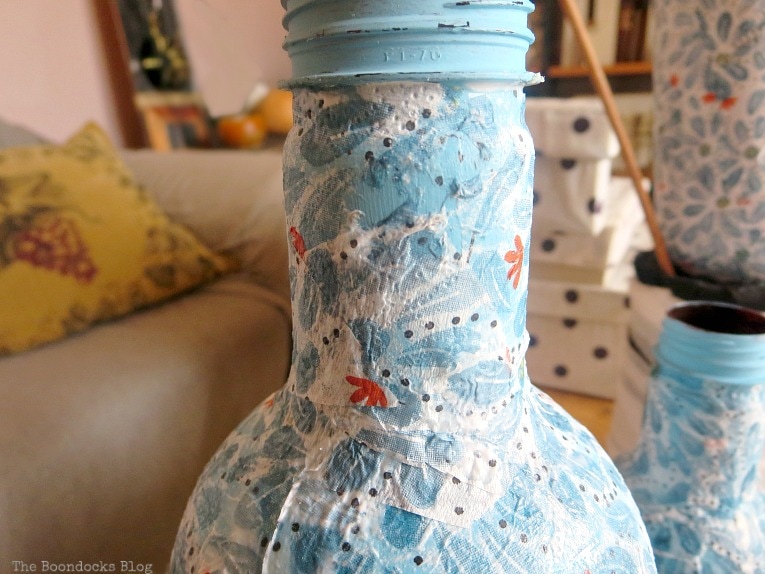
I even attempted to do individual flowers cutting them out and applying them one at a time.
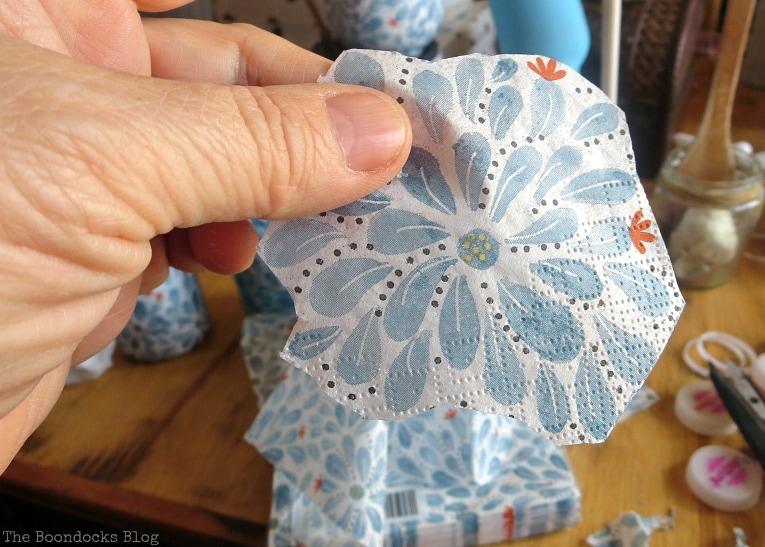
But the final result was less then desirable. Instead I ended up applying individual flowers to the whole surface of the bottle. I would have been better off with the first method, just cutting large pieces and adding them on.
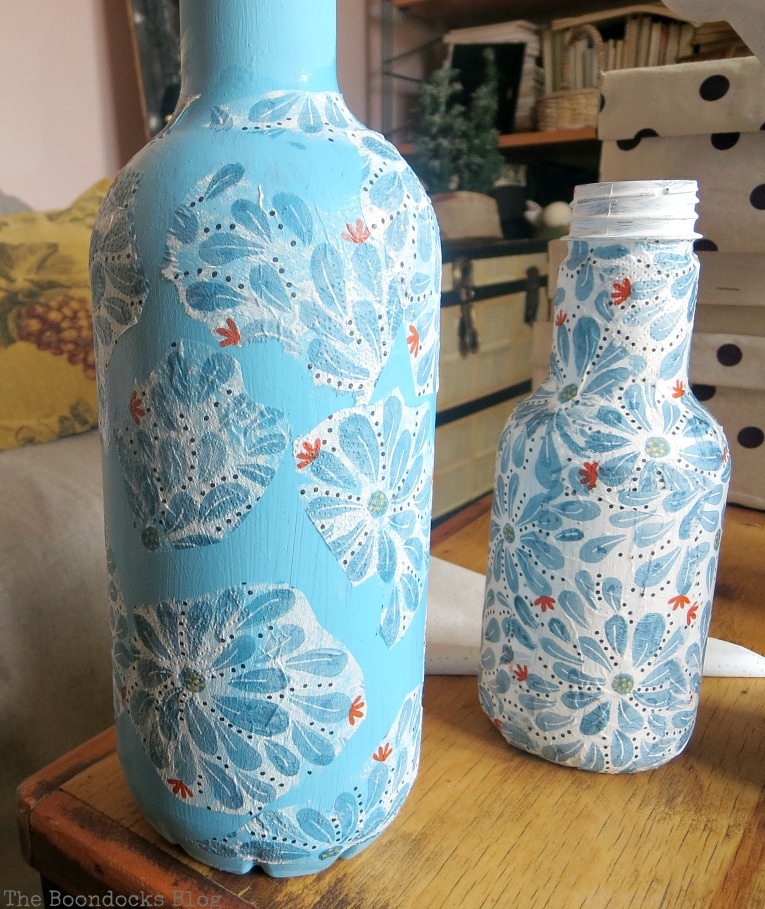
Finally after much anguish I finished with all the bottles.
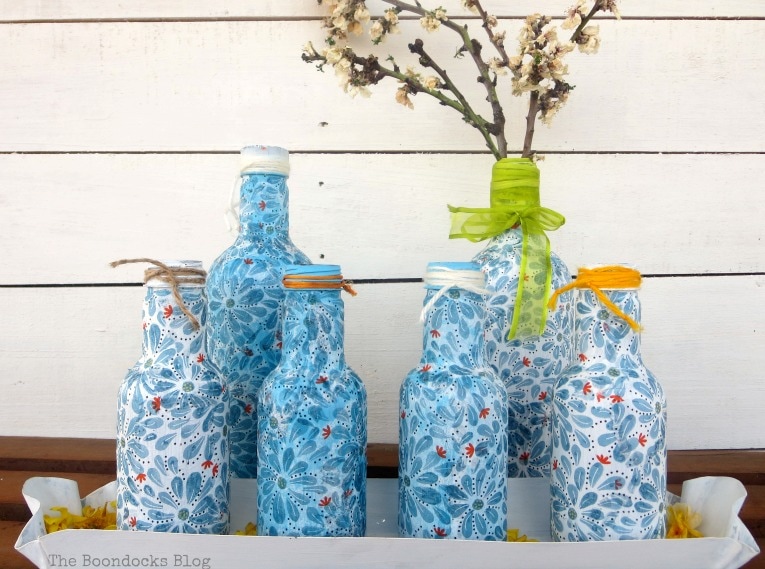
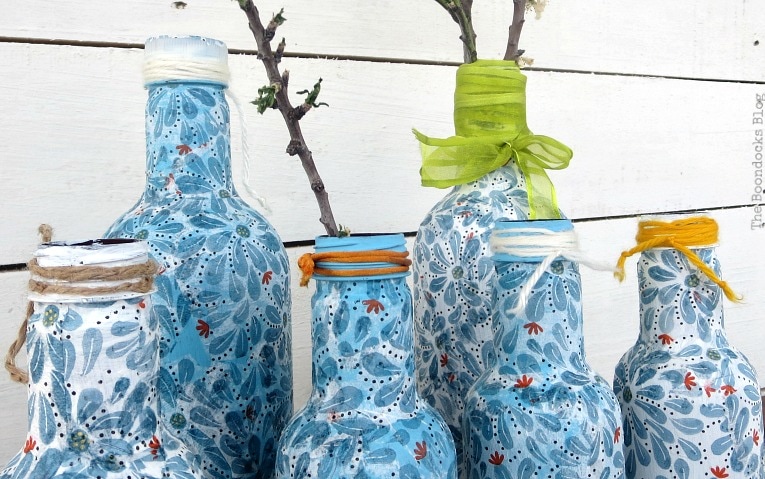
I added various cords, ribbons and yarn on top as embellishments and called it a day! Although it was more like two days – with the painting and all that gluing.
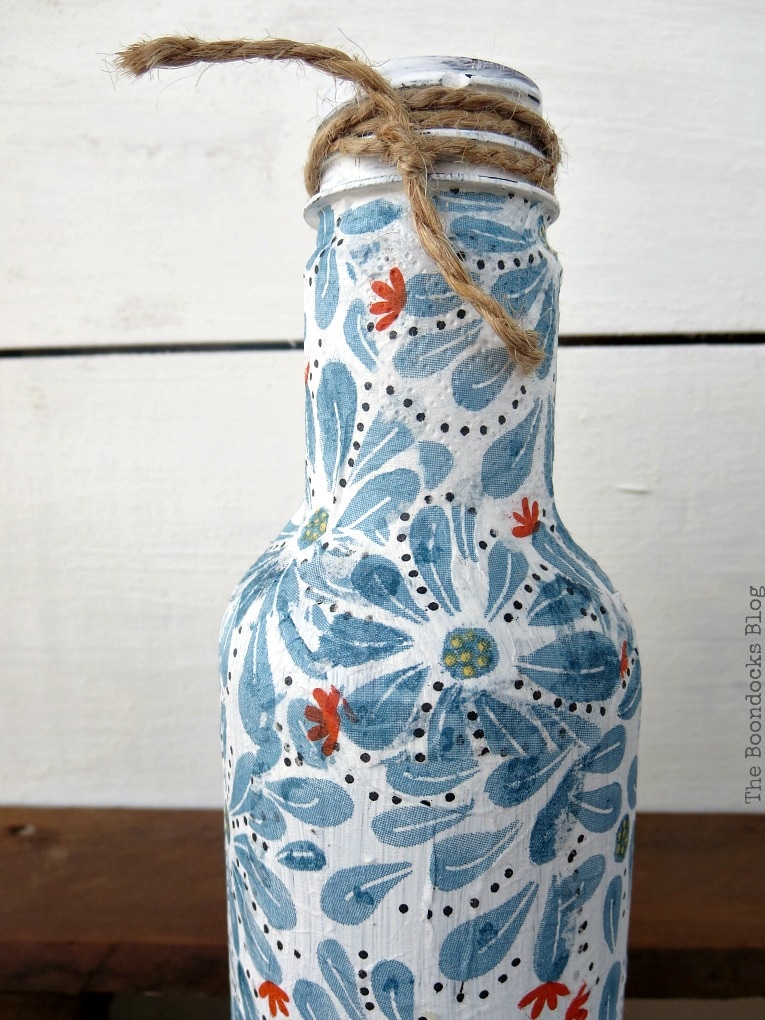
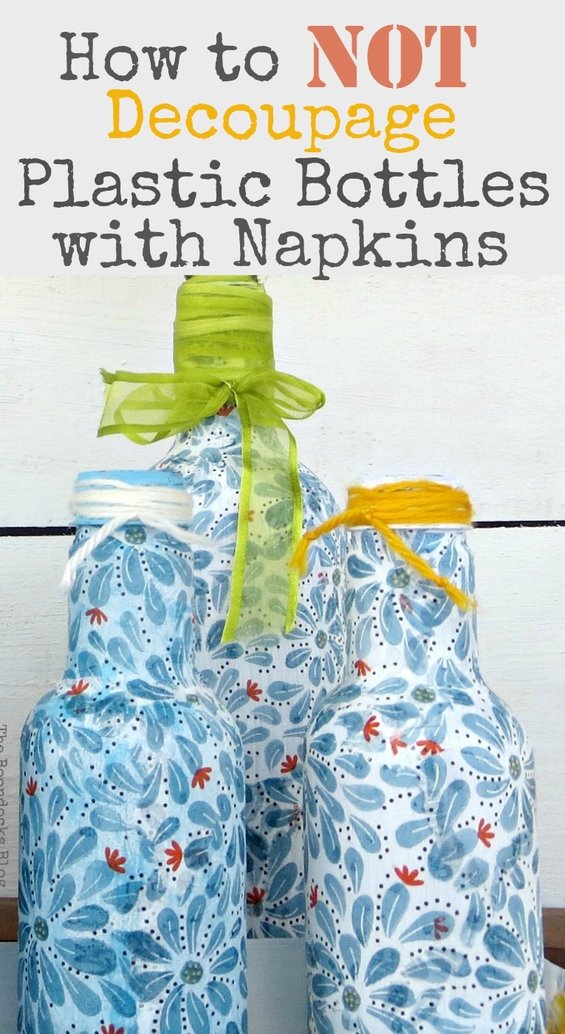
I have to admit the white turned out so much better than the blue. It looks bright and crisp!
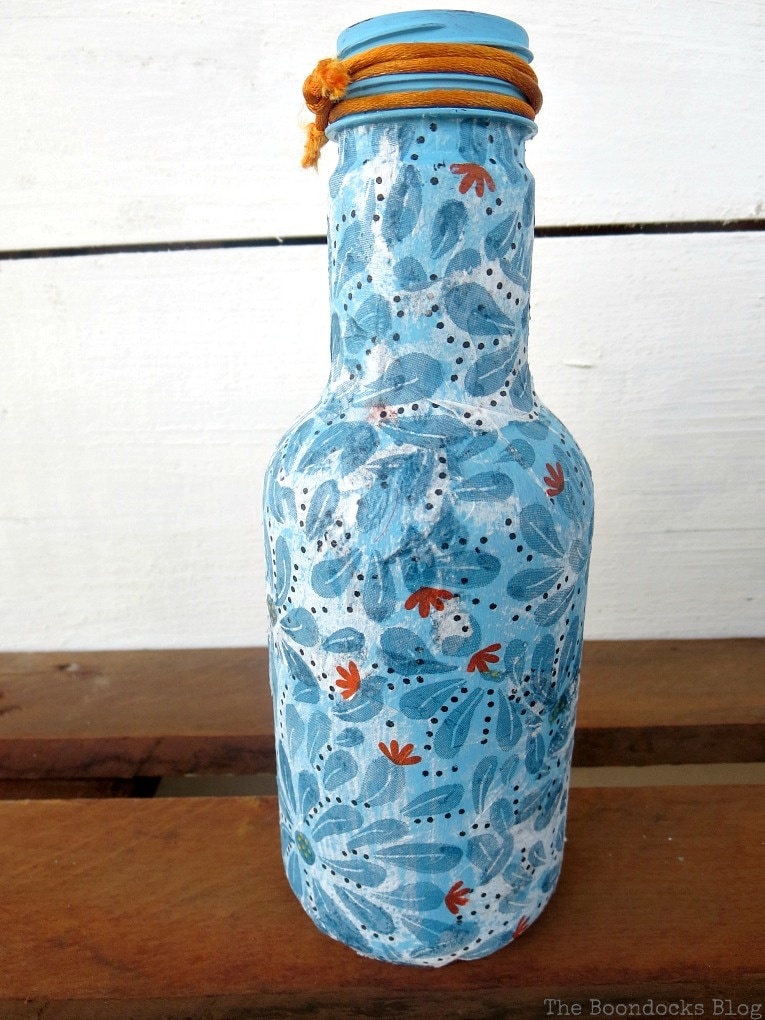
Whereas the blue has spots of white napkin, maybe where I had to overlap the paper.
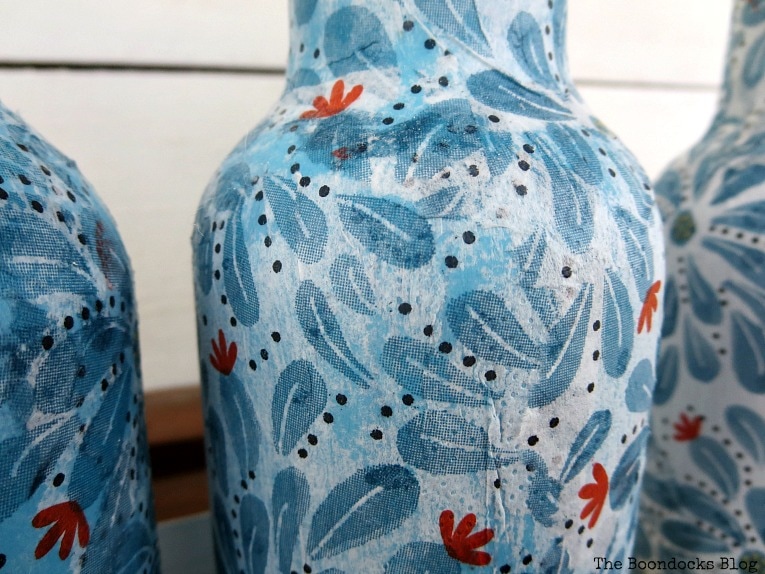
And it also has these epic fails! Now you may be wondering why I’m showing you all these mistakes.
Because I have a confession to make.
If you scroll up a bit you can see that I was bragging about my decoupaging abilities. But it turns out that they are practically non-existent.
I was humbled by a few lowly plastic bottles. It’s not about the size of the item you are working on, but the finesse that is involved!
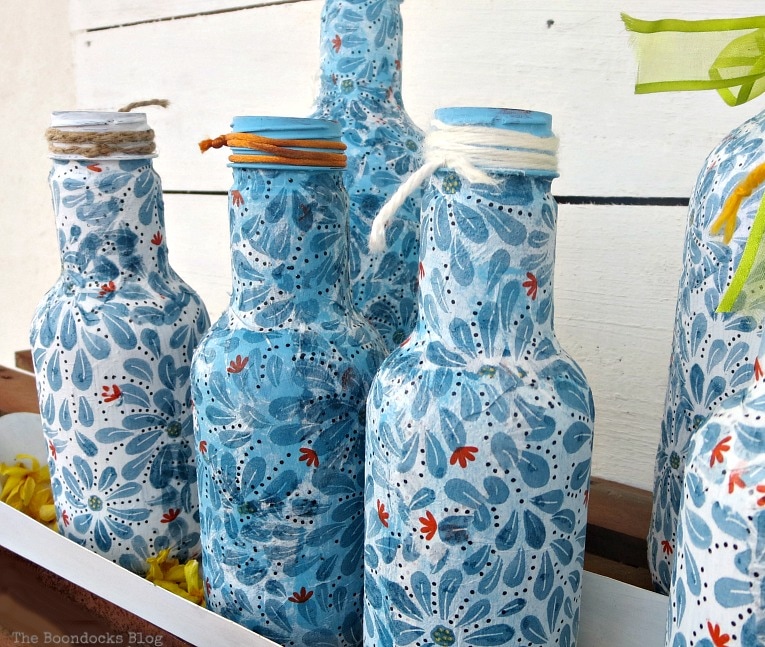
And so I am eating my words! I still have much to learn about decoupaging. After I finished this project I even found a site that had lots of helpful hints! And here is a seven step guide. Now why hadn’t I seen these before?
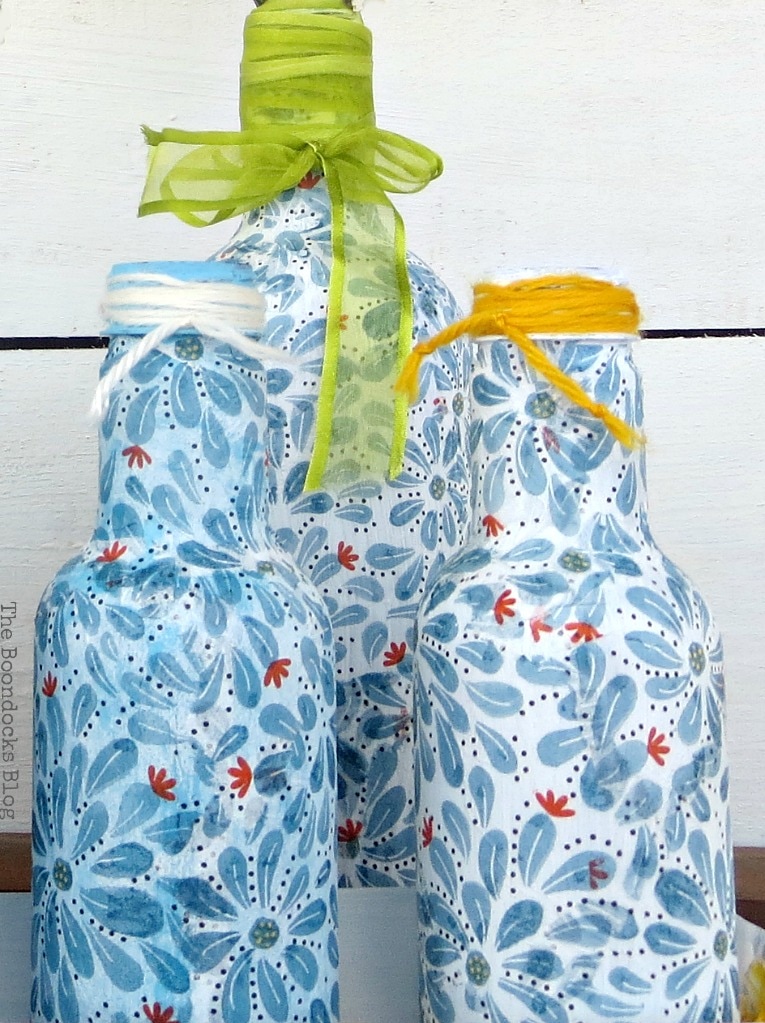
It serves me right for being so arrogant! I should have known better after my battle with the Fabulous Ikea Desk Makeover!
Consequently, I bow my head in shame and I’ve added a few muffins in the photo to take your attention away from all the decoupage mistakes! How am I doing?
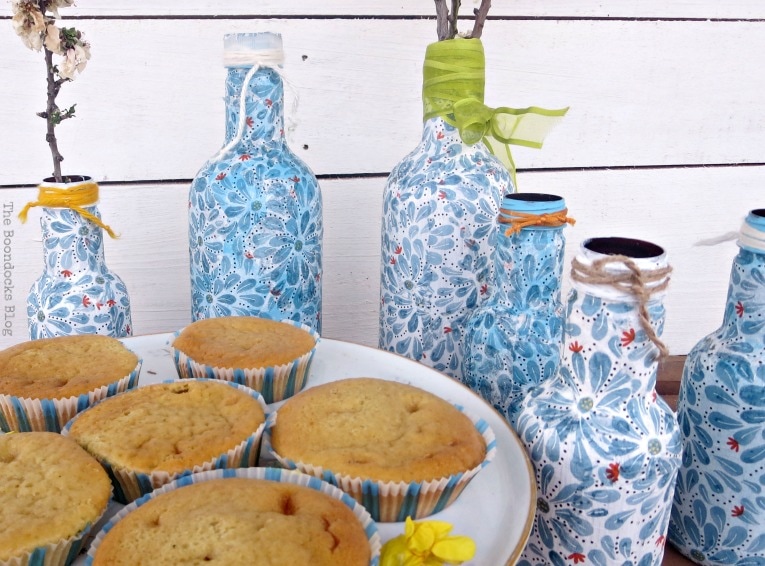
You can see here that I am far from perfect. I made more than my share of mistakes with this project. The biggest one being that too much bragging will get me nowhere.
Thank goodness my older daughter had made those muffins to save the day, er, the photo shoot!
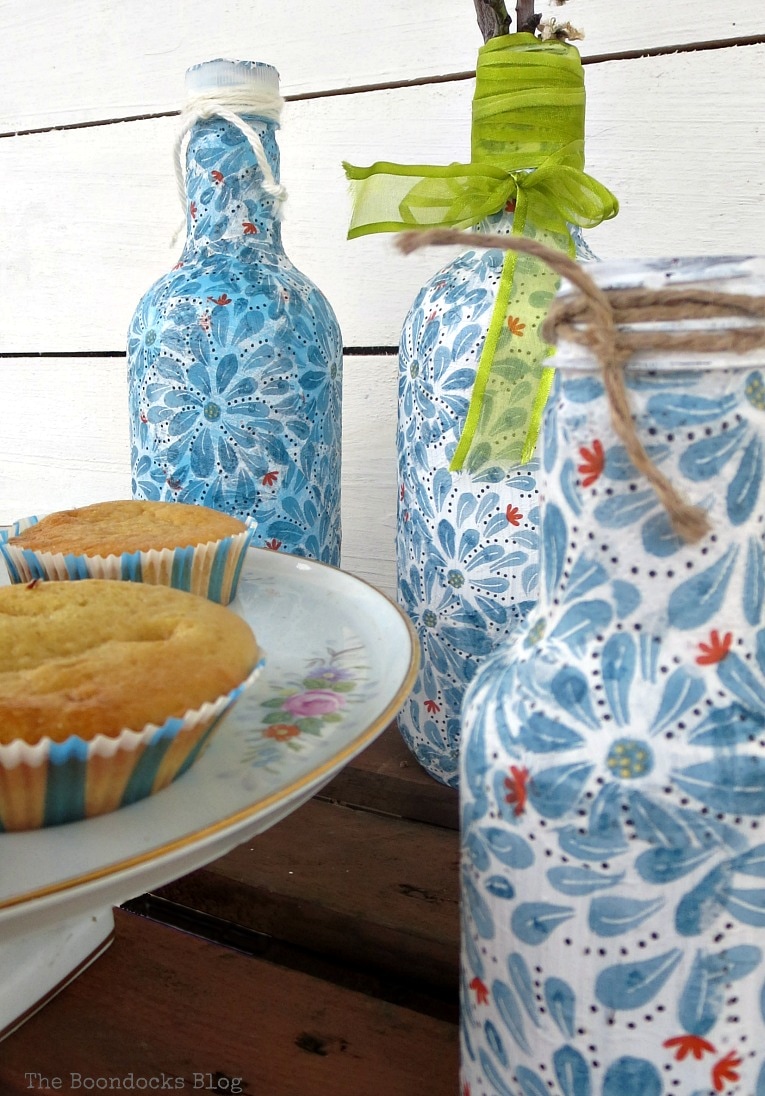
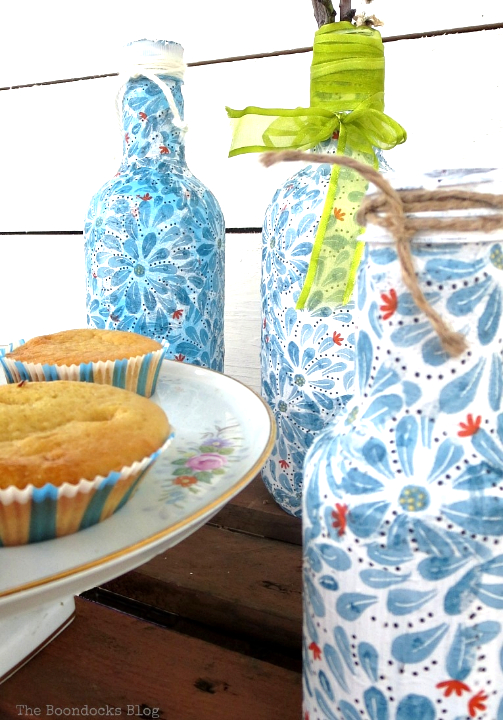
And so I present to you a set of decoupaged bottles for spring! But really this is about how not to decoupage plastic bottles with napkins. And having some food around really saves the day!
Have you ever had any epic fails with mod podge or am I the only one?
More Decoupage projects:
This blog is for entertainment purposes only; my DIY tutorials are not professional advice. Read my full disclaimer here.


Never mind the trial-and-error, dear Mary, nor the not-how-to: The bottles are absolutely lovely! Even if blue weren’t my favourite colour (with green and lilac) I’d put the bottles on the mantel right away (and help you eat the muffins)!
Have a great day,
Marjan
Thank you Marjan for the encouragement. I don’t know if I’m being hard on myself or not. This really was much harder than I expected it would be.
Let’s enjoy the muffins together!
What a hoot! We’ve all had those projects but you managed to save the day. I agree that the white paint is the way to go with the napkins and the finished product really does look great and spring-y.
We always have something to learn, right?
Thanks for the ‘how-not-to’ my friend.
Hugs, Lynn
Lynn, I cannot believe I got taken in by some pretty soft napkins. Haha!
No worries, Mary, your bottles look wonderful! Everyone loves decoupage and will offer their method of mastering the technique. I think it’s the one area that will get crafters frustrated one time or another. I always have trouble with it and love using cling wrap to help with smoothing out wrinkles. I found a wonderful lady, Patioelf, and I call her the Queen of Decoupage. She’s done every type of decoupage there is and has easy to follow tutorials on each one! !https://www.youtube.com/user/patioelf/about
Gail I saw her videos on You Tube. What a talented and patient lady.
Live and learn! At least you’re brave enough to share your mistakes 🙂 They turned out nice, especially the white ones, so the effort was worth it.
Jas I love a good laugh but this time the laugh was on me. Two days for a half hour project!
This is a spectacular post with all the honesty and humor that makes you the triumphant winner! I admire your determination to see the project through the ups and downs to an enlightened conclusion. Life is certainly full of “how-not-to’s!! Thank-you for this delightfully entertaining post. P.S. The muffins are the perfect addition!
Thank you so much Ellen for your words of encouragment. It turned into quite a daunting project. And here I thought I’d be done in half an hour. I almost didn’t finish in time to post about it.
I think that the bottles turned out lovely Mary! The chalk paint made a big difference. A while back I decided to mod podge some napkins on something and me not one to read first I jumped right in not realizing they were 2 ply. Through me for a loop, ended up cutting in pieces and gluing in.
Linda I had no idea I was supposed to use chalk paint first. I guess it acts as a primer. Oh the horrors of those napkins.
Mary, I have not decoupaged, although I didn’t think that it was this hard, now I know before I begin a project. The colors are lovely, as well as the pattern. What would you do differently, I looked at the tutorial and it seems as if thin items are hard to get smooth.
The end result, with the ribbons and string, look so pretty, I bet that adding flowers and greenery will make for a lovely accent. Wrinkle and all!
Nikki it normally is not hard at all. It was the napkin that threw me for a loop. The napkins are very hard to smooth out. And also the chalk paint made a lot of difference in that it acted as a primer for the bottle.
Lol! They actually look lovely, but I know what you mean Mary. I had an EPIC fail when I painted an upholstered chair a couple of years ago. Talk about a time suck! Unlike your pretty project, the chair ended up in the dumpster :/.
XXX
Doreen with a chair you expect that there will be difficulties especially if you are painting the upholstery. But this was a tiny project. I have no excuse for taking two days. 😉
Mary, Been there, many times! The napkins are so pretty and the end result after much trial and error is not so bad. To me, part of the fun is trying new things, so the next time you try your hand at decoupage, who knows what marvelous things you will create! Have a great week!
~Laurie
Laurie you are so right about that. Each time we attempt something we get better at it.
I admire your determination Mary. I’m convinced there are certain things that just cannot be modged and I would have given up after the first bit of brown showed through and never even thought about using paint to block it out. All things considered you did an amazing job by trying and trying again until you got it right. That’s so admirable and I’m really glad you got some muffins as a reward for sticking it out. You’ve earned them over and over again.
I have a good daughter who takes care of me when she sees me in dispair. Haha! Two days is unacceptable for this project Michelle. 😉
Hi Mary,
First, thanks for coming to Marmelade Gypsy and revisiting the Hanna-Barbera cartoons with me! Your visit led me to you and I am simply delighted!
Epic mod podge fails? You bet! More than a few. But I really loved seeing your step by steps and hearing your pitfalls (and the links) to avoid future failures! I’ve used a lot of napkins before in my mixed media art and they are tricky to separate and one goof up and you have a mess. The chalk paint was a great idea but anything with contours is not my friend!
But the end result is really pretty and very springy. I love the blue (and now I have to get to our IKEA to see if they have that pattern!). All worth it in the end, I think! (Oh, and I’m now following you! Delightful blog!)
Thank you so much Jeanie! I totally understand about all those horrid contours. Thank goodness for You Tube and experts. It seems that for me chalk paint can do no wrong! I hope you find the napkins. I bought them here in Greece. And I think you for following me.
Mary, I am so impressed that you stuck with it and finished. I love the way they turned out! I tried it with eggs and gave up halfway through and just painted. You are a dedicated girl! Happy spring!
I’ve actually decoupaged christmas globes but the paper was thicker than the napkin I used here, so it was much easier.
Well they look good now, so I think you saved the day. I’ve only decoupaged with napkins once, but they weren’t a rounded surface. I imagine rounded is much harder. I think the only way you can do it is to piece it. In fact, I saw a project on Pinterest last night where someone did a paper mache bunny rabbit & that’s how they did it. I’m dying to get started on my next decoupage project. So what are you going to use the bottles for?
Florence I was so full of myself I thought I could just put a whole napkin on there and be done with it. haha! Silly me! The Bottles have thier place of honor in the living room to give us a bit of cheer!
It was a great success!………In the end, so what if at first you did not succeed? You persevered and they came out quite lovely I think. They are pretty ! Thanks for sharing the ride!
Jeannee
Jeanne I think you know that the process is so much more fun than the end sometimes. It may have taken me forever but I got a good lesson on the way. And a fun post!
Mary the bottles look lovely and I also love those napkins! Whenever I try to decoupage it turns into such a mess that I have almost given up! I might give it another go some time!
Or we can do it with scrap paper that is heavier than napkins. I like using gift wrapping paper, it’s so much easier Katrin. Don’t give up.
I enjoyed this post so much Mary! Not because you were humbled of course. I don’t even see a reason to be “humbled”. (I strongly believe that – unless it involves parachuting – “if at first you don’t succeed, keep trying”.)
But because I like the reality behind projects and it’s so relatable to mess up and try saving a project!
And I am not sure we need cookies (though I won’t say no to them) because the bottles turned out really pretty. Love the colors!
Thank you Dione! I am now at a point where I am enjoying the journey as much as the end result. And of course the cookies really help.
Oh I so enjoyed this post, Mary. You cracked me up with the muffins. I’m laughing “with you” because we’ve all been there – although I don’t see a fail in these bottles. The napkins are so pretty and really dressed up the bottles and I love how you wrapped assorted ribbon and twine around the tops. I could see these on a white tray with a stem of Spring blossoms in each sitting on a window sill or dining table.
Thanks Marie for the vote of confidence. From now on I’m going to stick to decoupaging thicker paper. Those napkins are nasty!
You are my hero Mary, I promise I would have smashed them with my feet on the floor or throwing them to the burning pile. It reminds me the first time I tried to use napkins to decoupage, everything went wrong lol. But yours turned out really beautiful, seriously. And yes, white is the base always, that was the first lesson I learned. I can imagine your future projects, now the sky is the limit!
Pili I too would have thrown them on the floor but unfortunately they wouldn’t give me the satisfaction of smashing! Haha.
The bottles turned out so pretty in the end. Decoupage is tricky but you have helped us and now we know how to decoupage bottles to make pretty vases.
That would make me very happy Debra, to know that I have helped through my mistakes. Now you can all just go to You Tube and avoid those mistakes.
Mary, while I think they turned out great, I love the whole premise of the post! It made me smile!
Have a wonderful weekend!
Mary we have to laugh at ourselves once in a while. After all this is not rocket science!