DIY Dresser Makeover with Paint and Paper
A DIY dresser makover need not be complicated or time-consuming! See how simple it was to turn this wood dresser from blah to wow with paint!

A little bit of paint and some pretty wrapping paper gave this DIY dresser makeover and extra-special touch. The dated wood dresser went from meh to beautiful in no-time flat!
The Story of a DIY Dresser Makeover
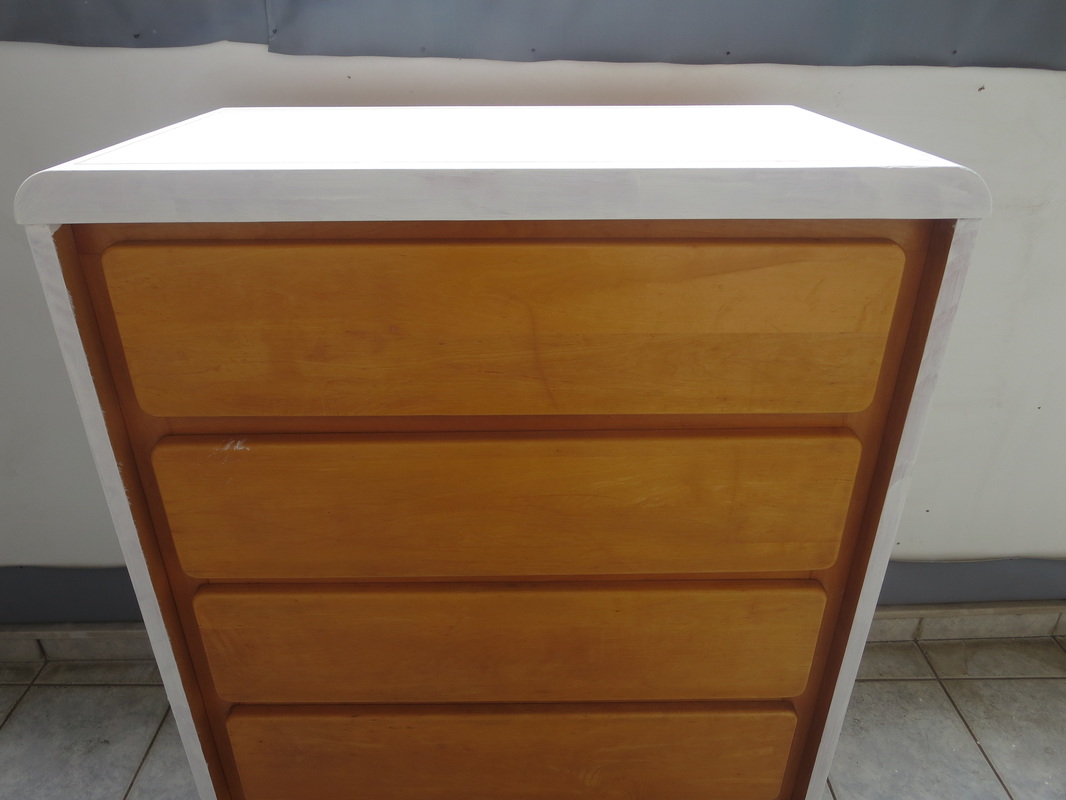
Once upon a time there was a dresser that came to a house with a newborn. The dresser was very happy to hold all the lovely baby clothes, first of one little boy and then of a second little boy. It housed overalls and little jeans.

A few years later, the dresser (along with the boys) went on a very big trip across the pond, to a new place, an unfamiliar place. And the dresser was happy again, because now it was housing pretty little pink dresses…. first for one little girl and then for another. The dresser was very happy to have been a part of the lives of four children.

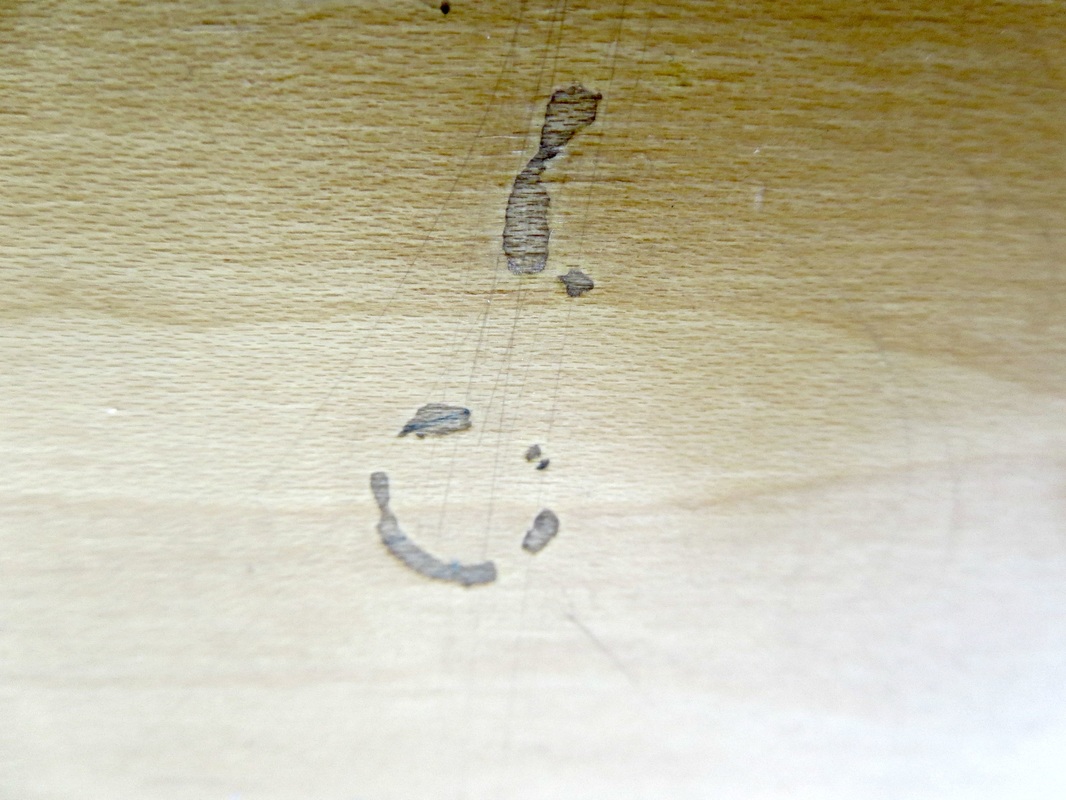
After a while, the two boys were not little anymore, and left to go across the pond again. And so the dresser was left alone with the girls now, who were not so little either. But that dresser worked hard to keep the clothes in line. Of course the clothes were much bigger now and very unruly. The dresser was getting old, it was full of scratches. And yet it was still a strong, solid dresser fighting to keep all those frilly clothes in.
Something had to be done to save this poor hard working dresser! It was going to be placed in a freshly painted room, and it needed a new look! The room was to be blue with black and white accents.
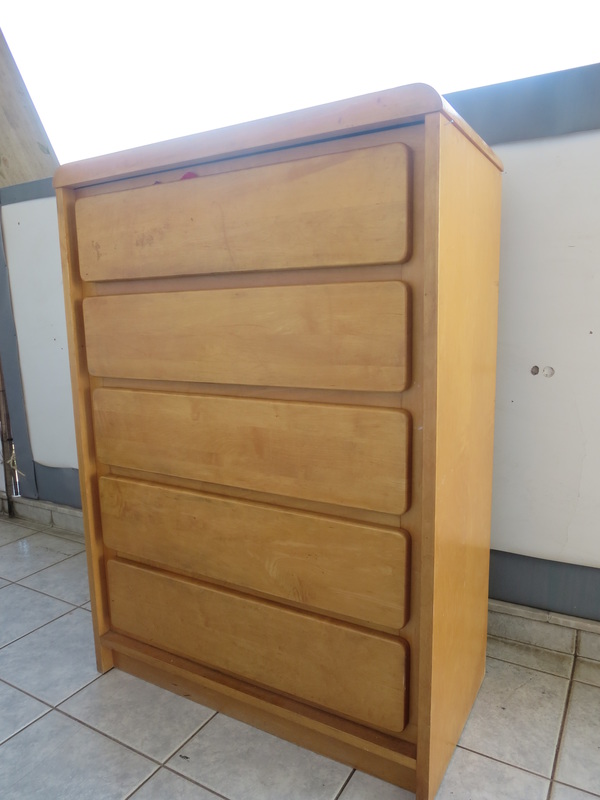
After 25 years of hard work it was time for a DIY dresser makeover!!! The poor dresser had been neglected for too long.
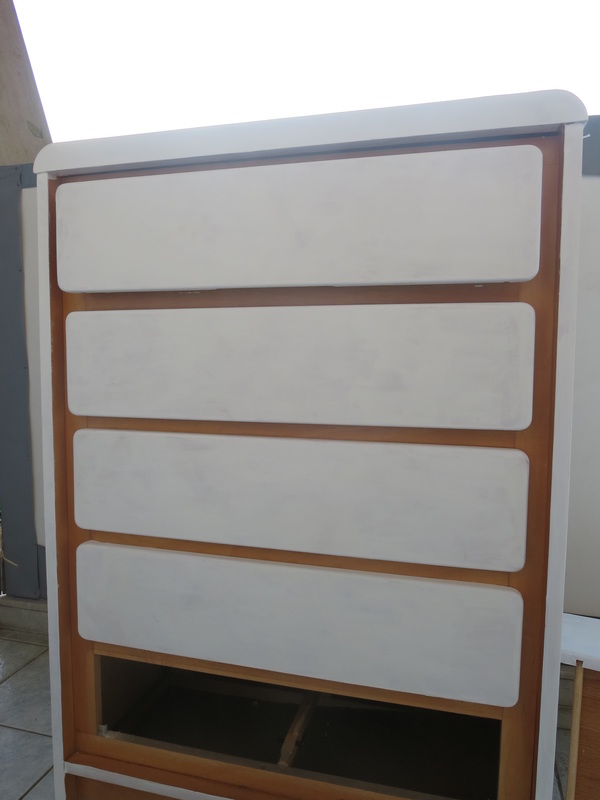
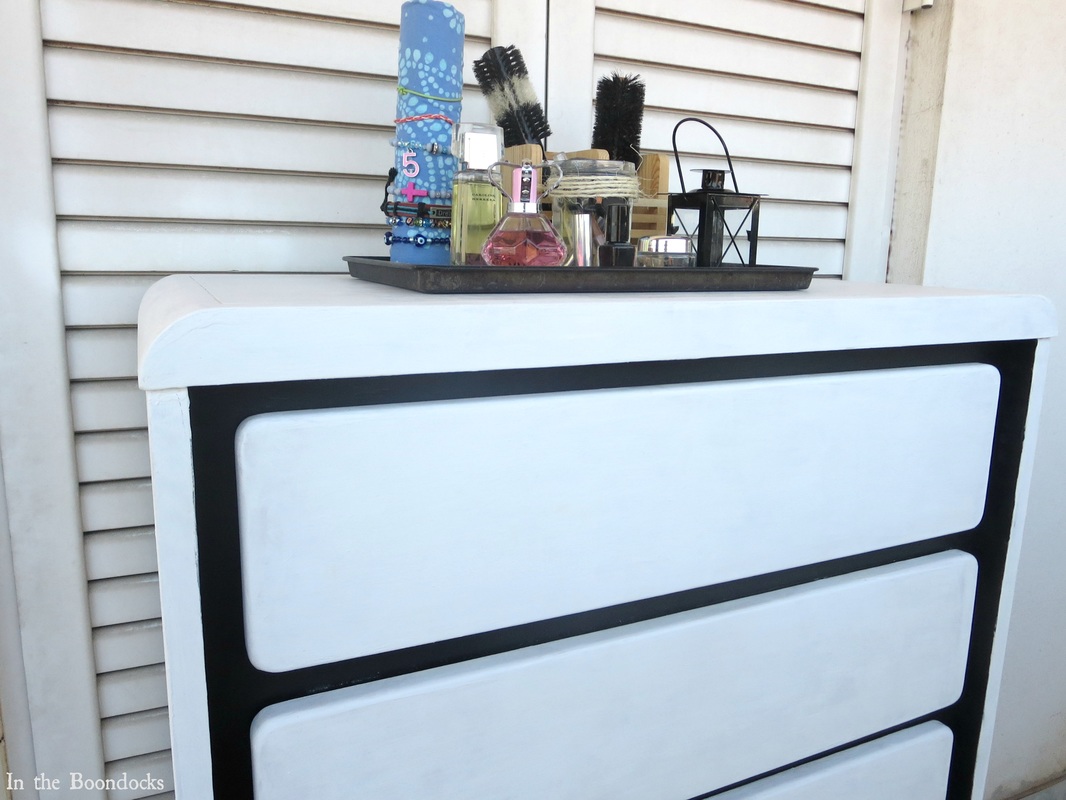
Painting the Dresser
What’s this?? Chalk paint?? Easy to use, and no need to prime?? My kinda stuff!
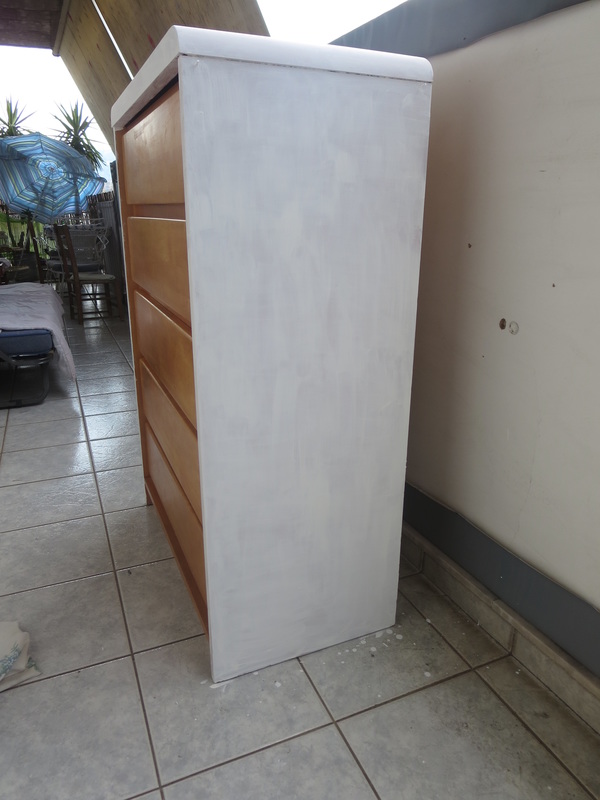
The dresser was happy with the new coat…. Until the paint ran out! Now normally that would not be a big deal… Just go to the store and buy some more. But, but… I live in the boondocks … there is no such thing here!
Quick.. to the internet… blog friends will save the day! Ahhh… homemade chalk paint (2 tbs. plaster of paris, 2 tbs. water, then add 1 cup of latex paint) – let’s get this show on the road!
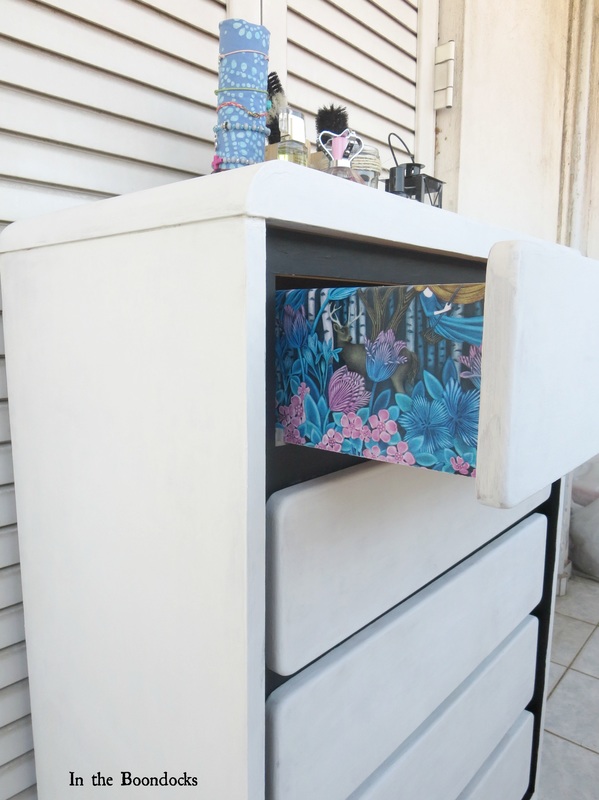
Adding a Contrasting Black Accent
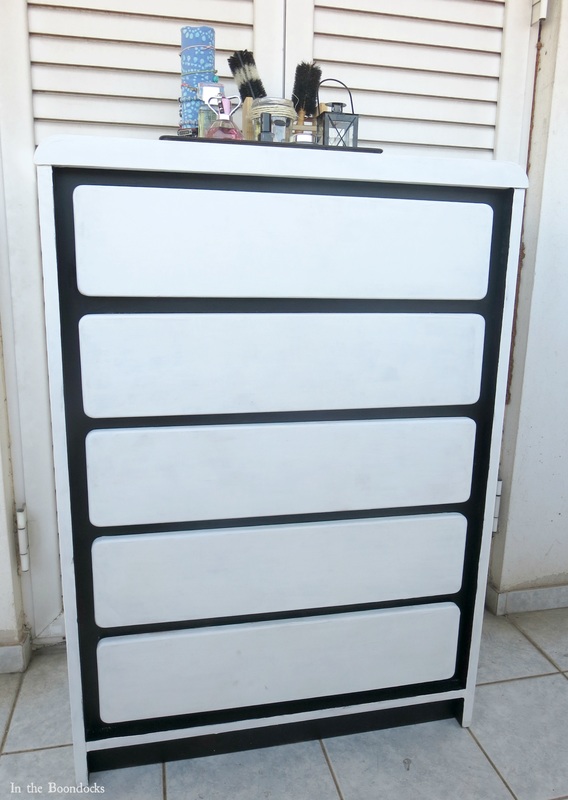
Just a bit more… a little black to go with the black and white vibe in the room.
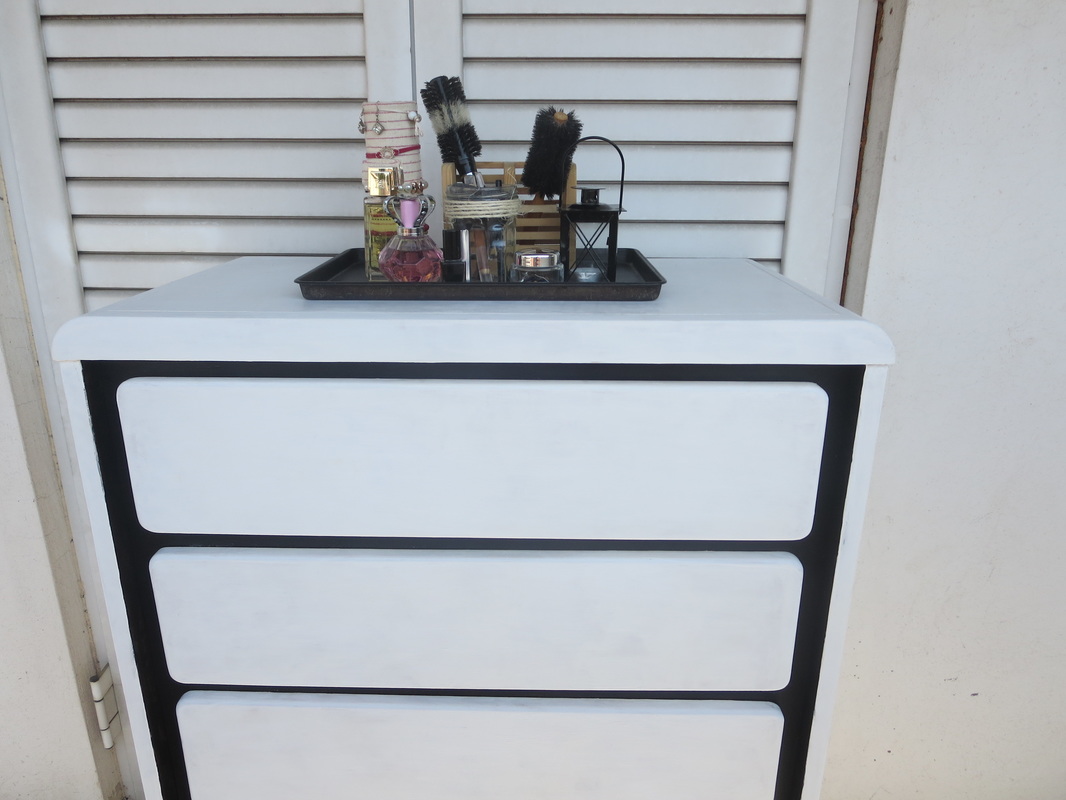
And we seal it with some clear varnish. The dresser is happy now, it feels as if it has been cared for ….
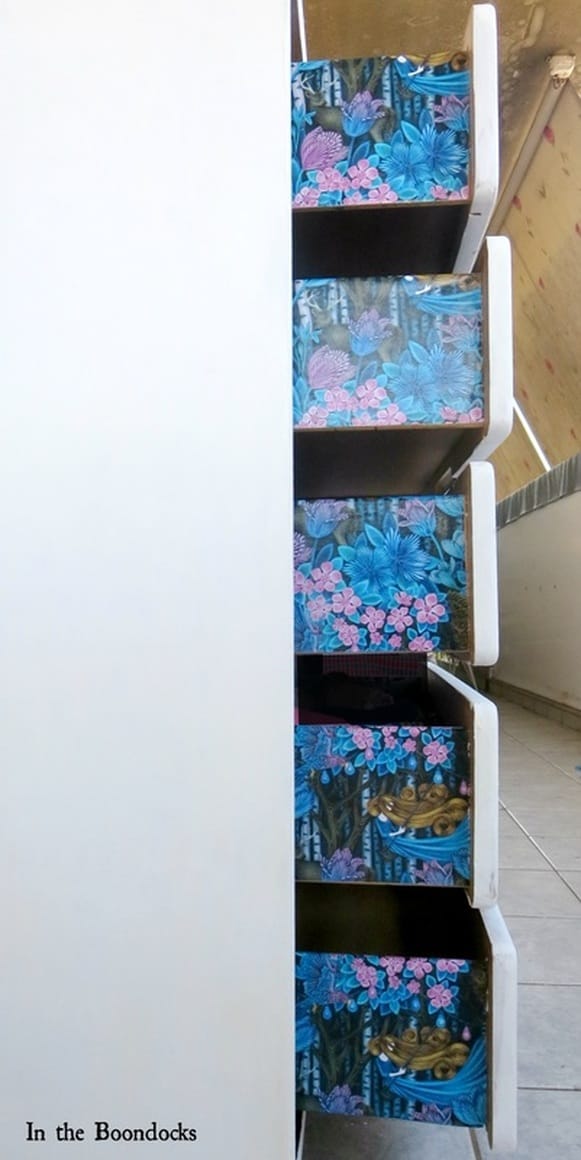
Finishing with Decoupaged Gift Wrap
But wait, there is more… Let’s give a little more TLC to this refinished dresser!
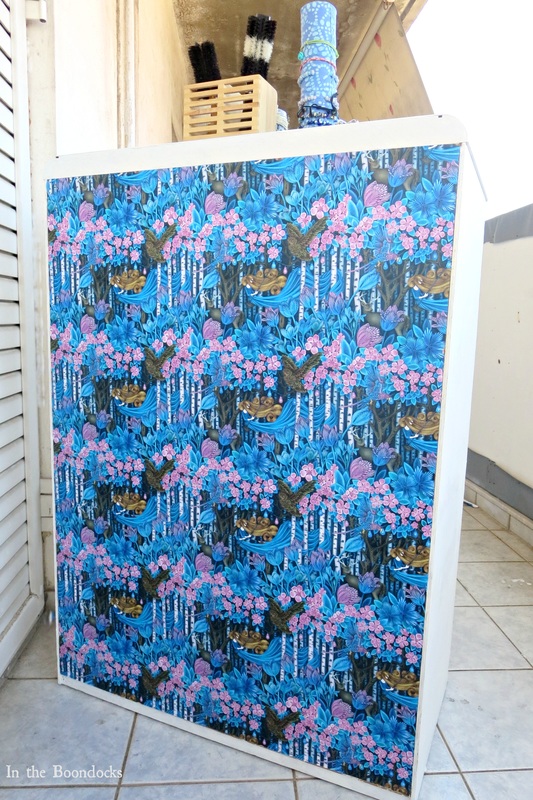
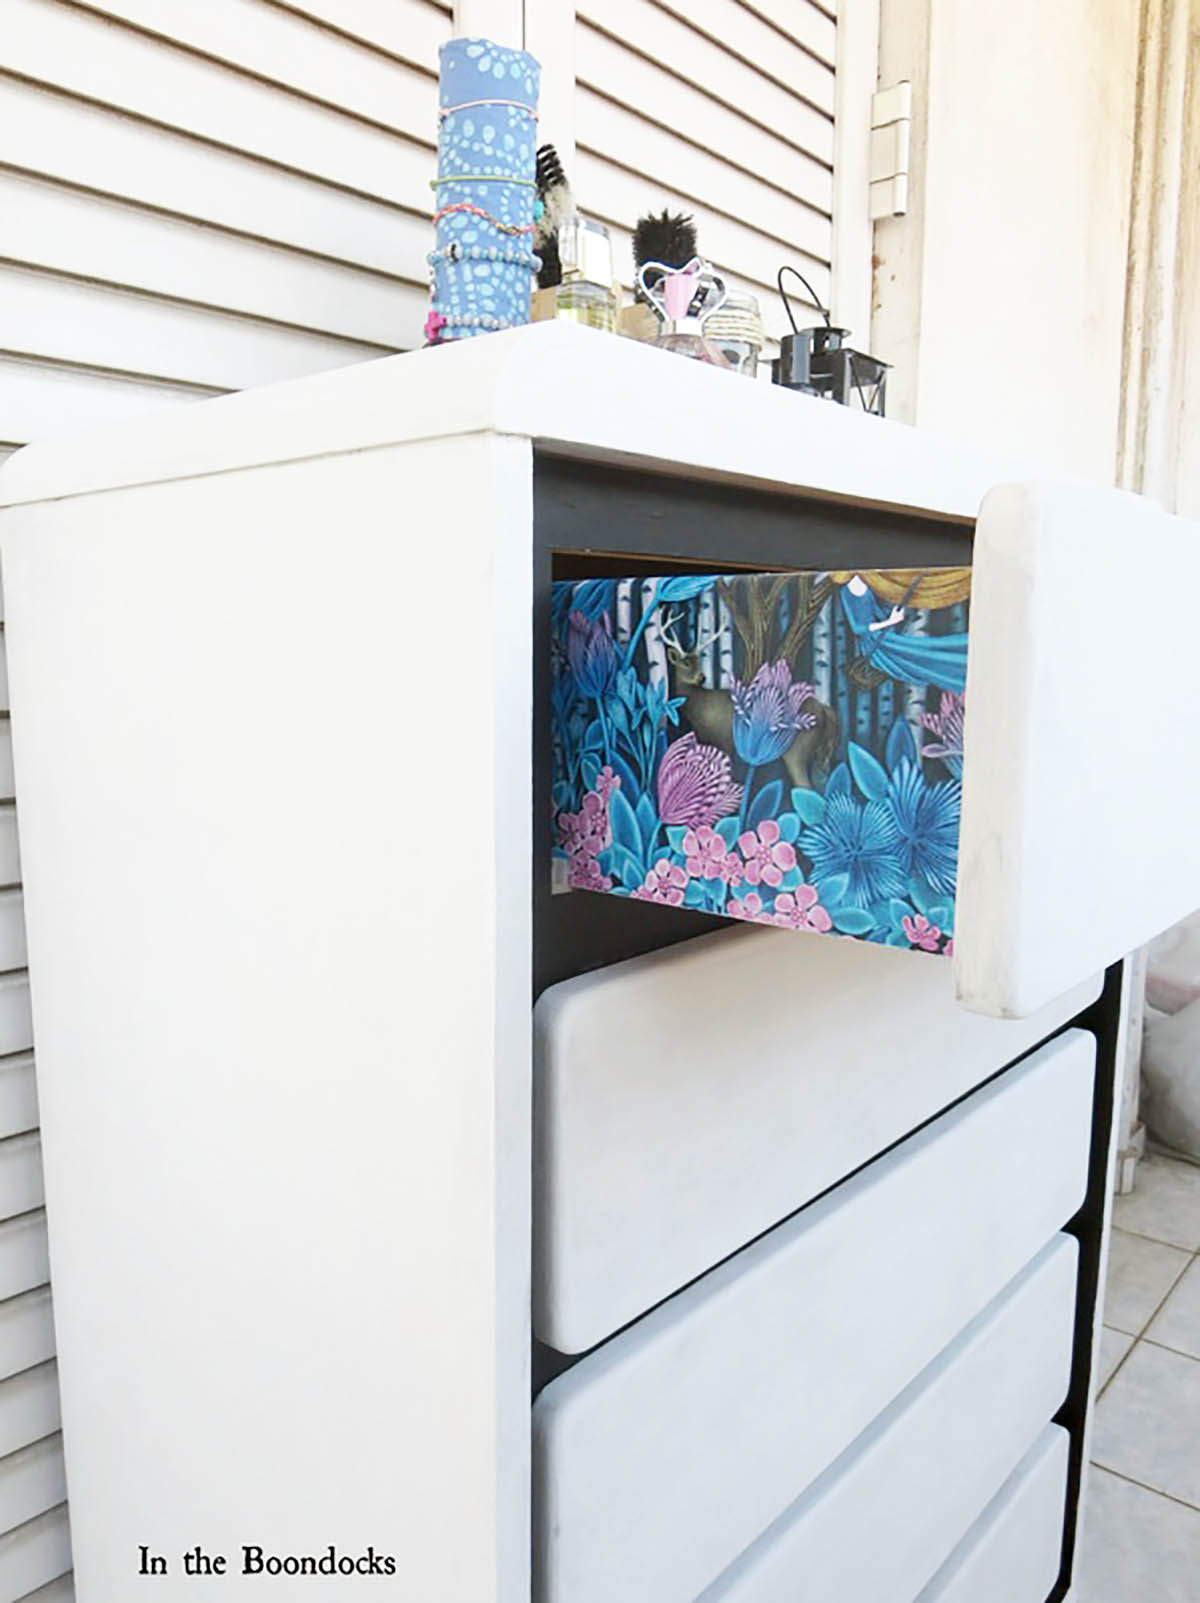
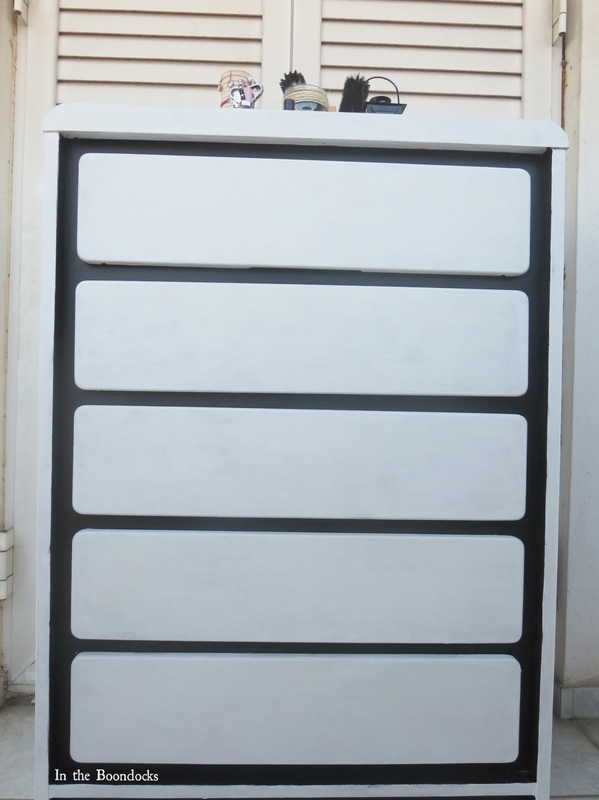
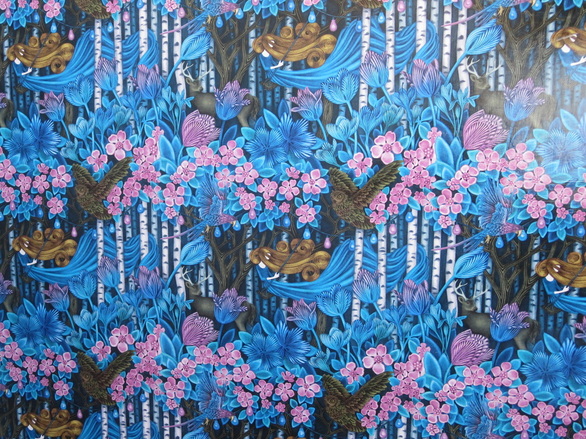
A little mod podge and some pretty gift wrapping paper and our DIY dresser makeover is done!
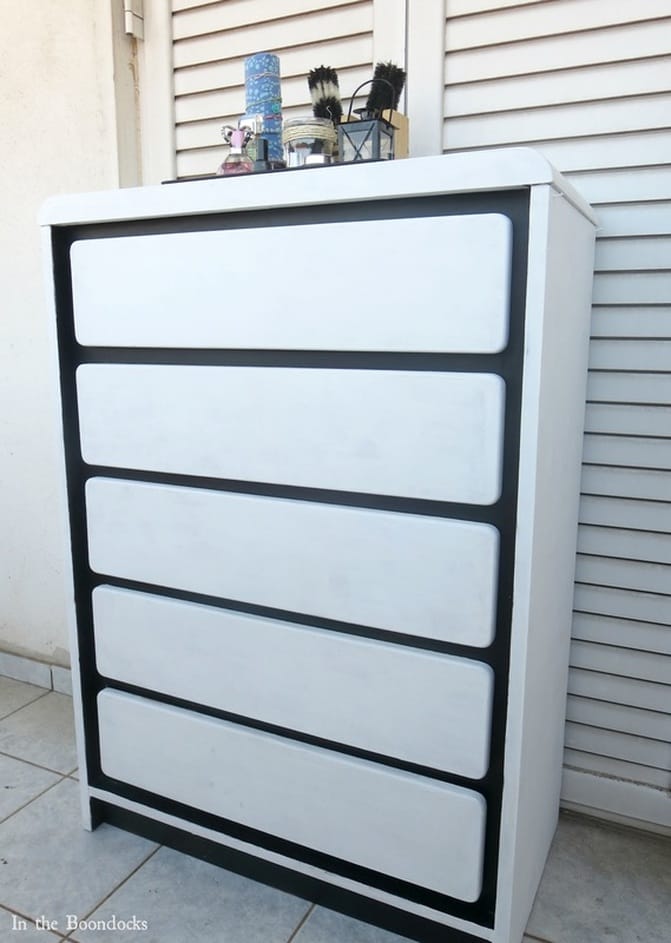
And now for the little wow!
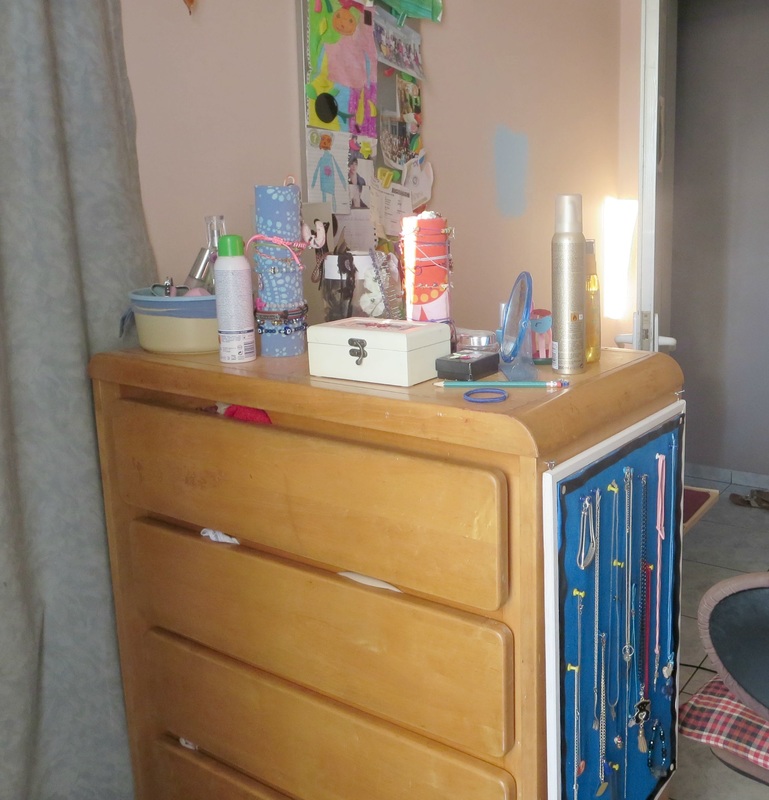
From this:
To this:
And that is the story of the hard working dresser. It has lived a very full 25 years and with a little love is ready to go another 25! But please enough with the frilly clothes!
Additional DIY Dresser Makeover Ideas
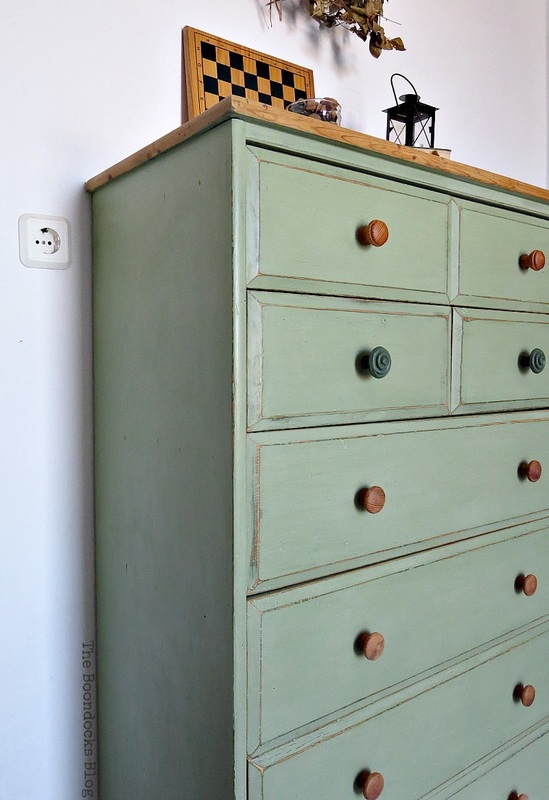
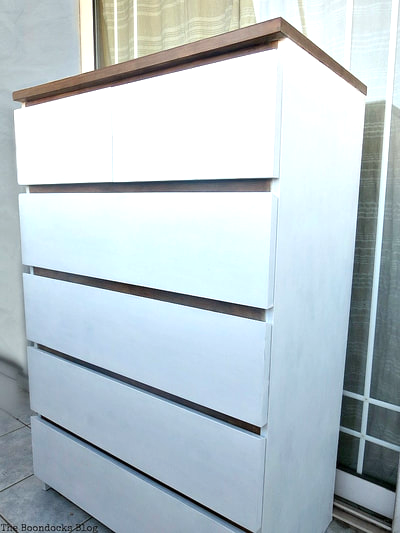
For additional creative DIY dresser makeovers, check out this IKEA Malm dresser makeover , this refinished pine dresser and this fresh French country painted dresser.
If you really liked this DIY dresser makeover, subscribe to our blog and get our adventures twice a week in your mailbox. The form is on the sidebar and your e-mail will never be shared with a third party.
We love it when we get your comments and will try to reply to them or visit you on your blog. Please do not add a hyperlink to your comment, otherwise we cannot publish it.


Mary,
I like the clever way you told the dresser’s story!! The makeover you gave this dresser is awesome…so beautiful!!!!
Thanks Keri, I decided to try something different, I’m so glad you liked it!
Thanks for linking this up to the Welcome Home Wednesdays link party! This is such a sweet post! I loved reading about the story of this furniture! Thanks for sharing…we hope to see you again next week!
It was my pleasure to visit your new link party. Best of luck and thanks for visiting my post!
What a lovely story with a fantastic ending, Mary! Love the paper addition and the spunk it adds. Great job!
Thanks, Larissa, that means a lot coming from you!
What a great makeover! Using the wrapping paper was so clever and I love that you have had the piece for so long!
Thanks for sharing at Something to Talk About!
Karen
Thanks Karen for stopping over.I plan to have it forever after this makeover!
Such a good, loyal dresser deserved a pretty new outfit.
Here from 2UsesTuesday.
Thank you Melinda for agreeing! It seems pretty happy now! 😉
The dresser is pretty darn cute… but my favorite part is the story! Such a beautiful story of how a piece touches many lives. Thanks for linking up with us at Welcome Home Wednesdays… can’t wait to see you next week!
Betsy your sweet comment meant so much to me! See you next week!
Wow,wow, wow what a transformation. I love the whole process and the end result is so modern, and inspiring. I am now looking closely at all of my old furniture. Found you through simple and sweet fridays.
Lisa, I have the same dilemma. I look at all the furniture in the house and am totally not satisfied now… ah the conundrum of a blogger!
This is so cute! Love the transformation. I’m trying to think how to ‘do up’ my house cheaply at the moment so upscaling furniture could be the way forward! Thanks for the inspiration!
If your looking for another link up party to join, I’d love to have you over at #frifree4all 🙂
Hayley, I’m glad I could inspire. I will definitely link up to your party! Thanks for visiting.
Mary, you did a fantastic job transforming this dresser! I love the gift wrap you used for the drawers and the back. Very fun. Thanks so much for sharing your dresser at Dream. Create. Inspire. Link, I hope you will join us again tomorrow night! Take care, Tara
Tara, thanks for visiting and I’m glad you liked the dresser. I will be seeing you tomorrow night as well at your link party!
I love this story, if only our furniture could really talk, the stories we would hear! The paint job looks great, what an improvement! And I love the surprise floral print on the back and the sides of the drawers. So cool. What a great idea! Thanks so much for sharing with #WAYWOW!
Nikki, thanks for your sweet words. Half of my life is in that dresser. I will see you again next week!
I’m so glad the dresser is finally happy! It looks beautiful, by the way! Thanks so much for sharing with us at Talented Tuesdays!
Amy I’m so happy you like that old dresser. It is very happy!! I’ll see you today at the link party, thanks for visiting!
I love the wrapping paper detail you added! Very clever, and it gives it so much personality. Also, great story-telling, in this post and all your others.
Thanks Rebecca, my daughter chose the paper and I surprised her with it. Thank you for your sweet comment!
Love this! Looks great! Thanks for coming & joining in with #frifree4all – was great to have you 🙂
Hayley thanks for visiting, I’ll see you soon in 2 weeks.
Mary, congratulations on the feature at Friday Five! Well deserved my friend ♥
Marie, I just saw this almost a year later. Thanks for the comment even if belated.
I loved reading the tale of the little dresser, you have made it look beautiful, great makeover. Xx
Thank you so much Chris. This one is going to last forever.
You did a fantastic job with the dresser. I love the black and white!
I enjoyed this post.
Certainly, dressers are not made to last anymore, so if you’ve got solid ones, give them a second or third life.