
How to Not Decoupage Plastic Bottles with Napkins
If you’ve ever wondered how to decoupage napkins on plastic, check out these great tips and suggestions for what NOT to do.
Decoupage is a great way to add decor and interest to all sorts of items in your home. If you’ve ever wondered how to decoupage napkins on plastic, check out these great tips and suggestions.
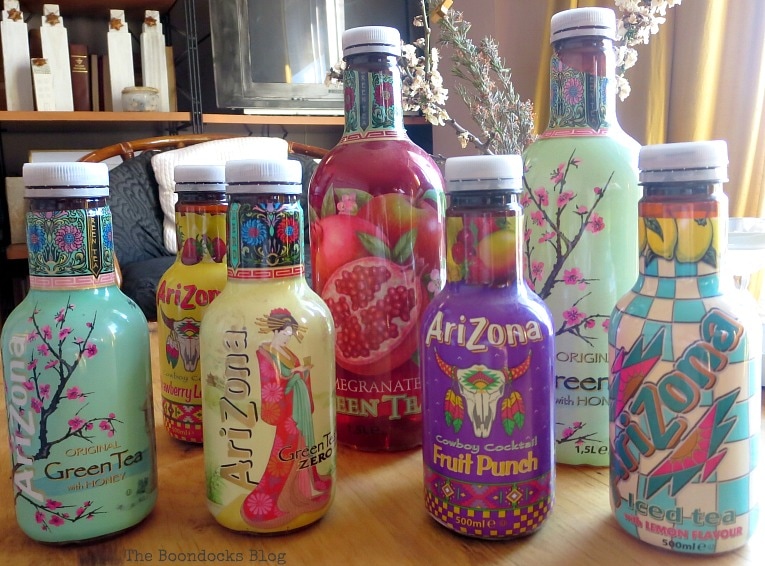
A few weeks ago my daughter’s friend gave me a gift. It was a bag full of plastic bottles that were for tea. She knows what a recycler and repurposer I am and she was sweet enough to collect a bunch of them and bring them over. A girl after my own repurposing heart!
I had them hidden away with a vague idea that I’d do some sort of spring project with them. Little did I know what a mess that would turn out to be.
Today I am advising you on how to NOT decoupage plastic bottles with napkins.
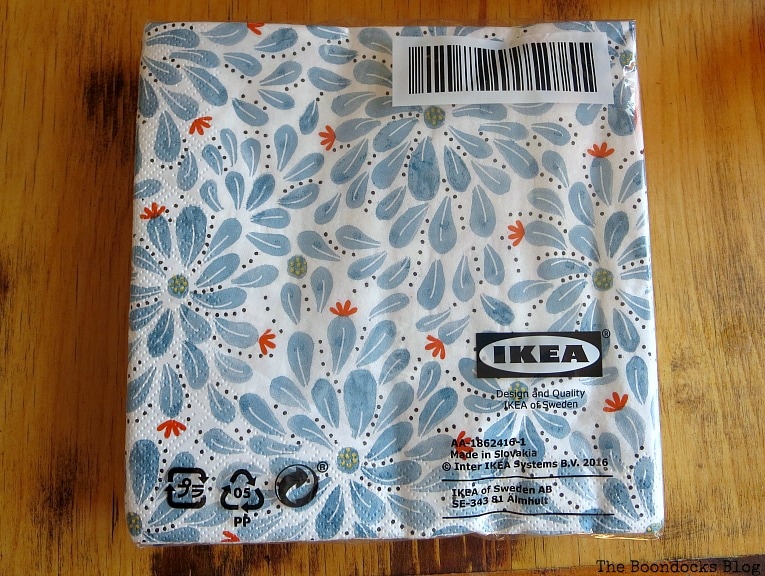
I had no idea what I would do with those bottles till one day I went to Ikea and spotted these cute napkins. Aha! I thought to myself, why not decoupage that lovely spring pattern onto the bottles?
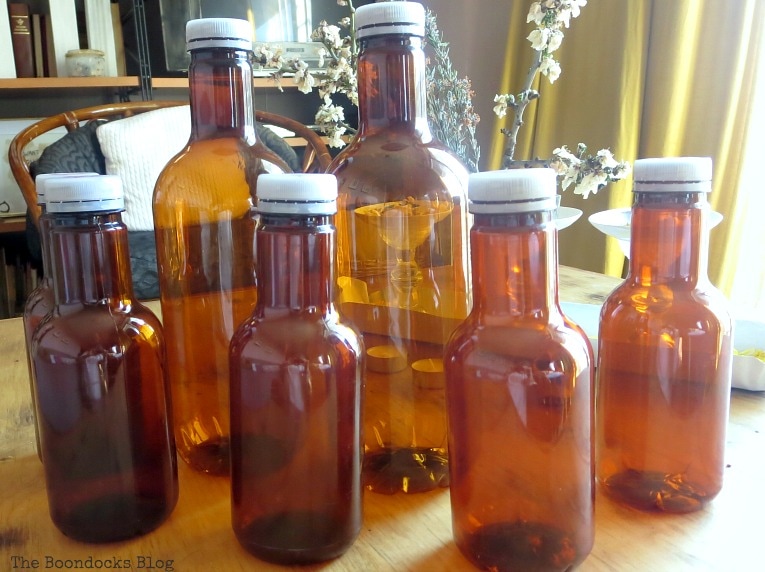
I removed the plastic covers and washed out the bottles. They looked cute like this too but I wanted to use the napkins.
I figured this project would take me half an hour tops. After all I had decoupaged so many other items in the past such as a dresser, a suitcase, and a side table. In fact I had even decoupaged a trunk with book pages. Now if that wasn’t a tough project I don’t know what is.
Materials Needed to Decoupage Napkins on Plastic
Disclosure: This post contains affiliate links for your shopping convenience. If you purchase any of these products through the links, we receive a small commission at no extra charge to you. You can find our full disclosure here.
- Mod Podge
- Chalk paint
- Decorative napkins
- Plastic bottles
- Sponge Brush
- Paint brush
- Twine, ribbon or yarn.
How to Decoupage Napkins onto Plastic
First I added the napkin to the bottle but realized after I applied it that it was a three ply napkin. Did it say that on the label? Silly me, I should have known better! This did not look good!
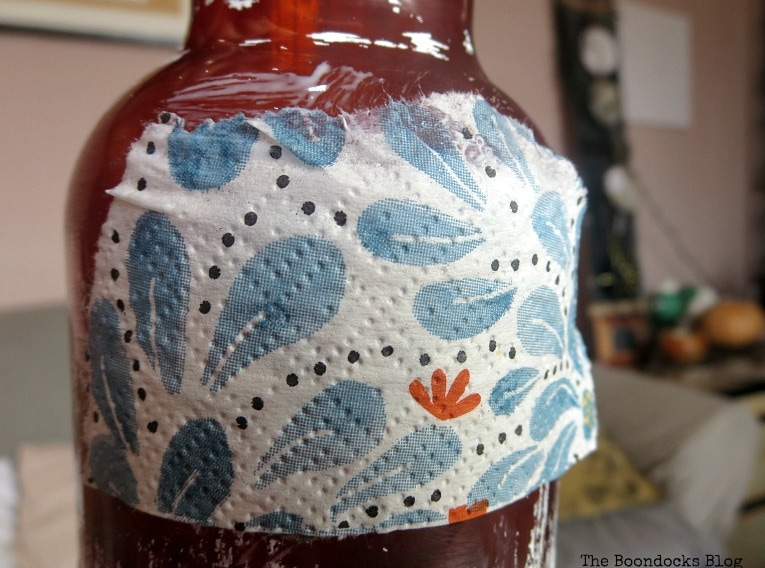
I tried again, this time with only the patterned napkin, but it looked awful. The brown color of the bottle showed through and made the pattern look muddy. Not to mention it was very wrinkled.
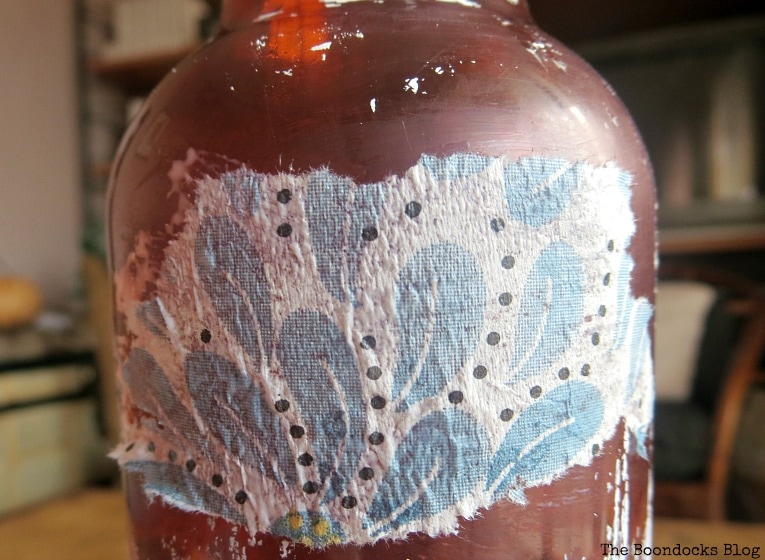
Finally I did what I should have done from the beginning. I went to You Tube and looked at how-to videos but I was so overwhelmed I almost gave up. I knew I had to finish those bottles and make my daughter’s friend proud since she had gone to the trouble of saving them for me. And I wanted to be good to the environment!
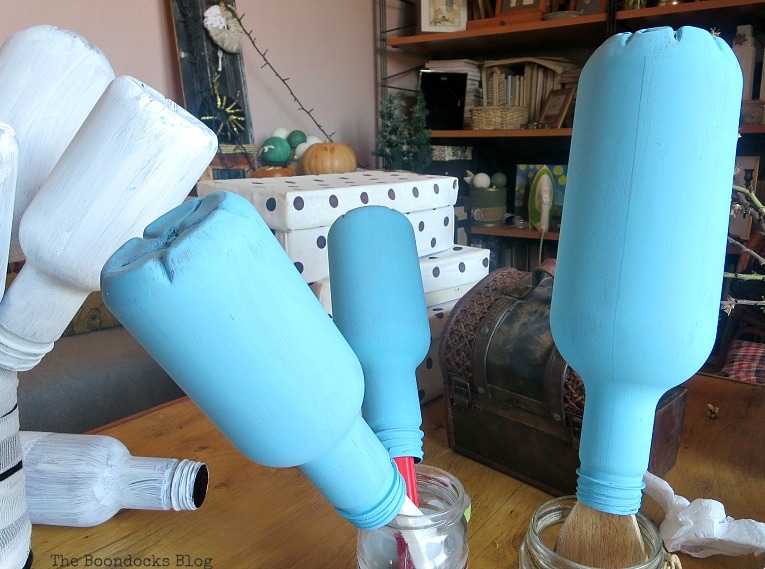
So following the tips on the videos, I painted the bottles using chalk paint. Two coats was more than enough to give me this look. I let them sit overnight to cure.
Half an hour project, huh?
The next day I cut a strip of napkin and started from the top, adding a little bit of mod podge and carefully applying the one ply napkin. I even had to make cuts where the neck of the bottle swelled out.
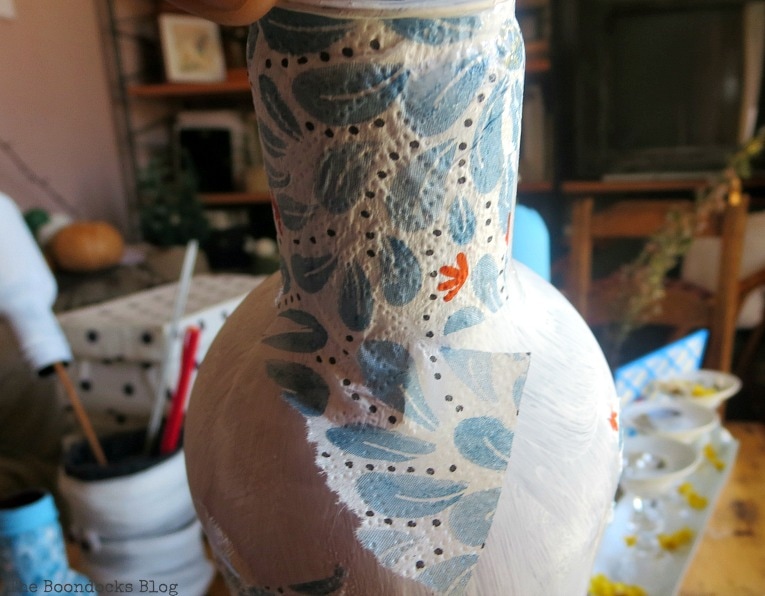
But more often than not this was the result!
Did I say this was going to be a half an hour job?
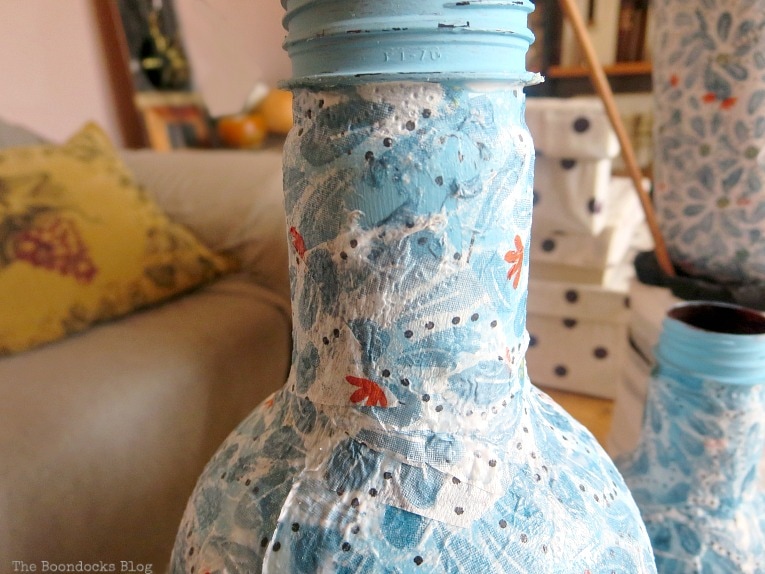
I even attempted to do individual flowers cutting them out and applying them one at a time.
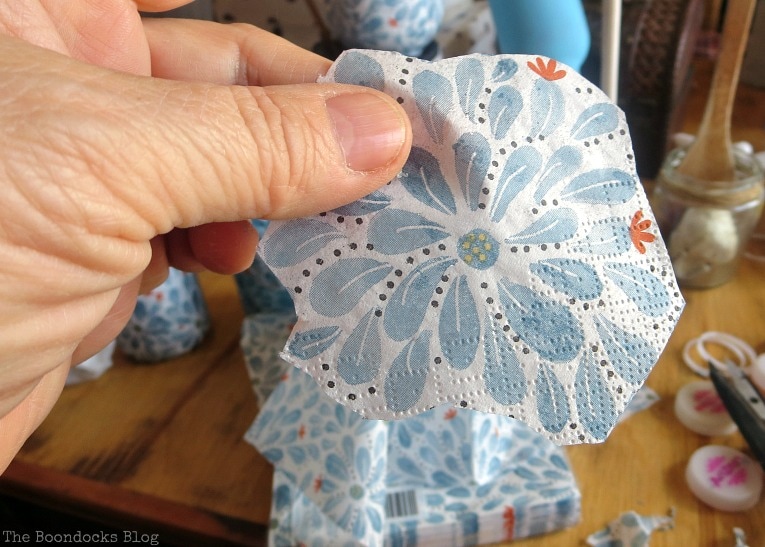
But the final result was less then desirable. Instead I ended up applying individual flowers to the whole surface of the bottle. I would have been better off with the first method, just cutting large pieces and adding them on.
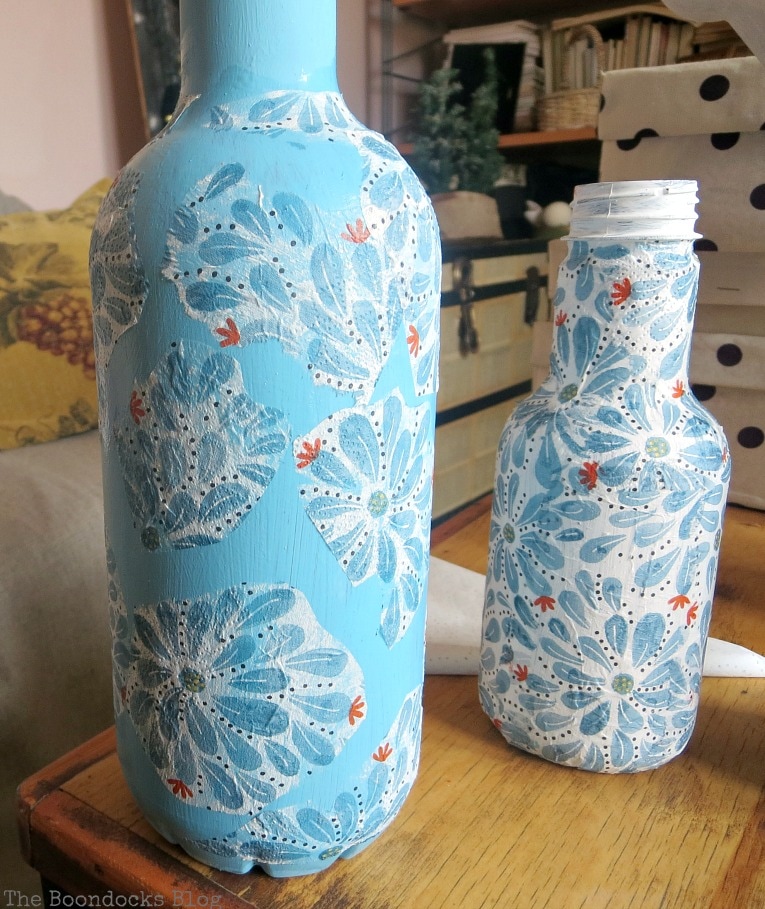
Finally after much anguish I finished with all the bottles.
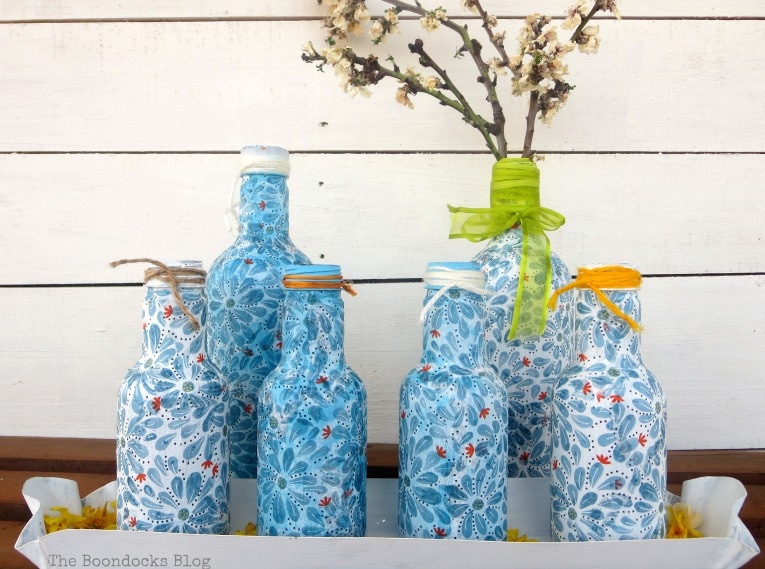
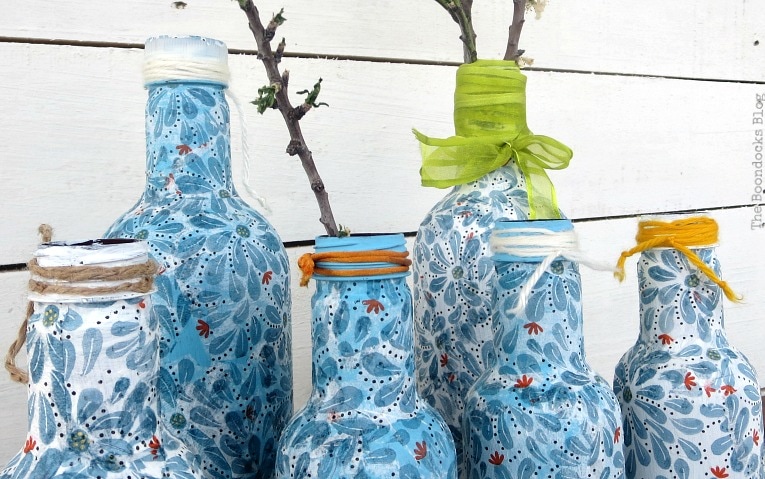
I added various cords, ribbons and yarn on top as embellishments and called it a day! Although it was more like two days – with the painting and all that gluing.
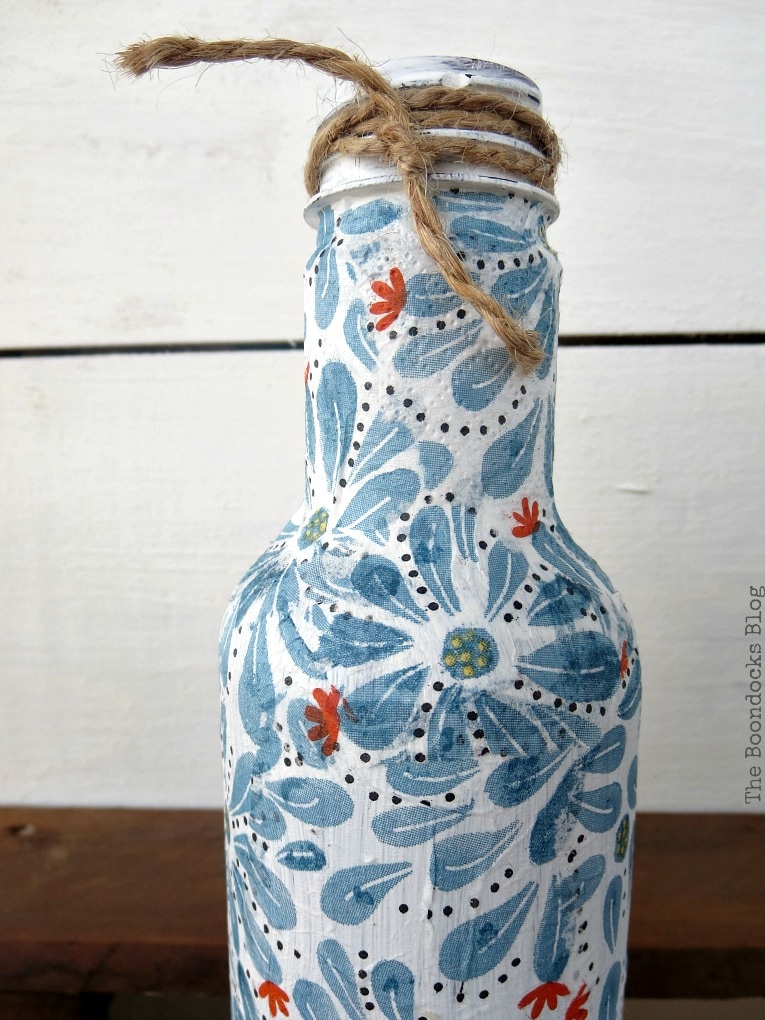
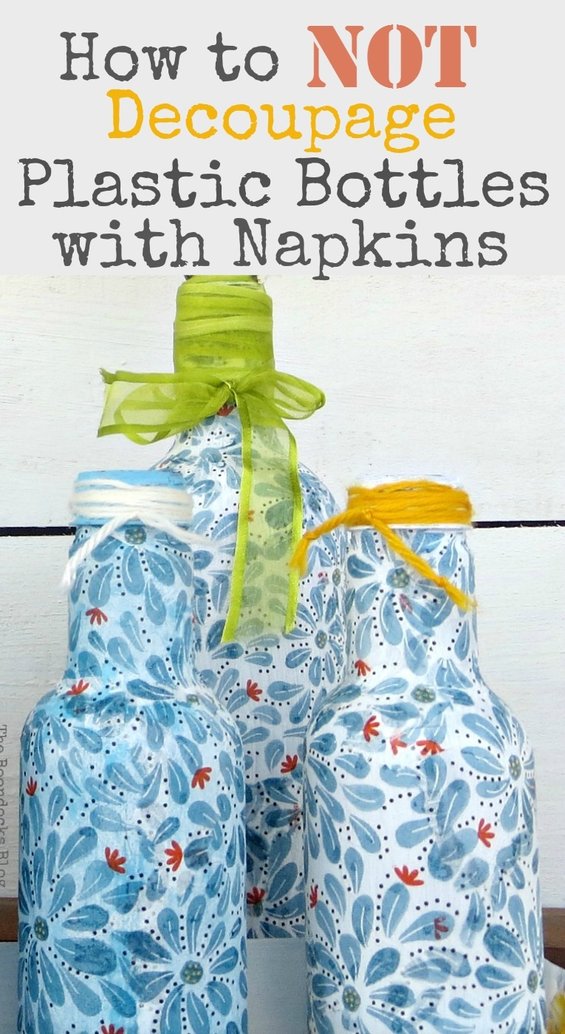
I have to admit the white turned out so much better than the blue. It looks bright and crisp!
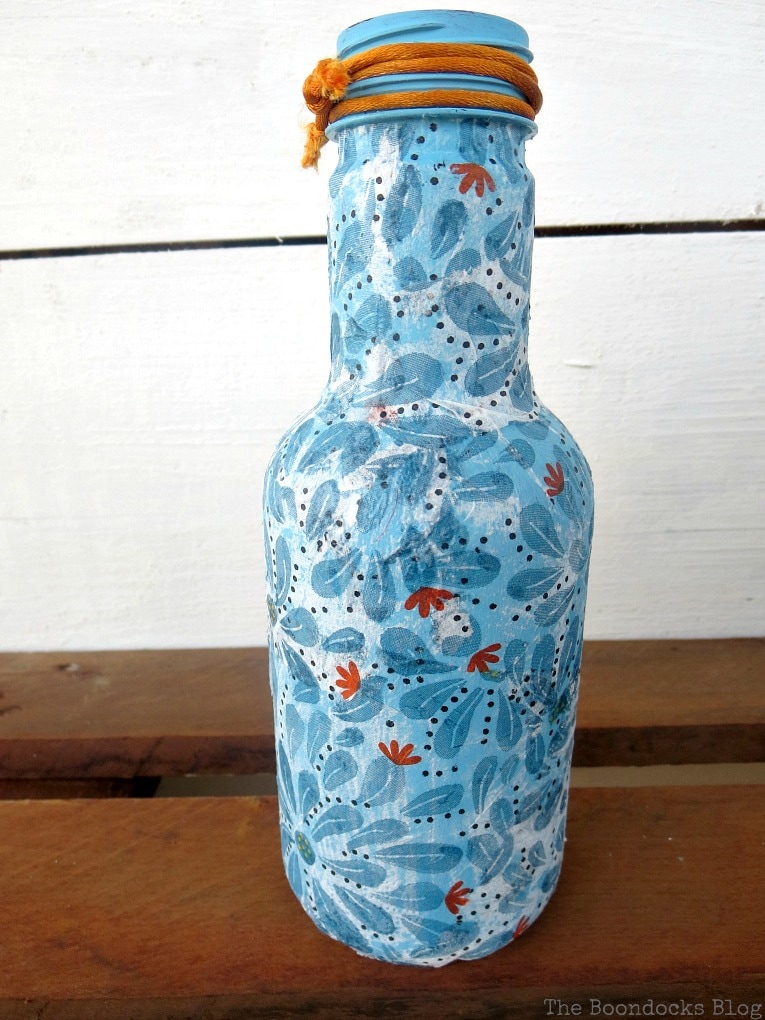
Whereas the blue has spots of white napkin, maybe where I had to overlap the paper.
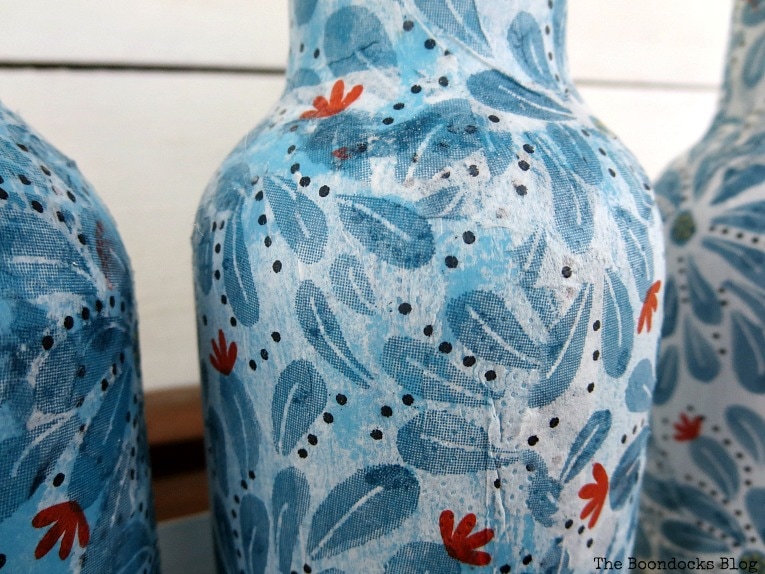
And it also has these epic fails! Now you may be wondering why I’m showing you all these mistakes.
Because I have a confession to make.
If you scroll up a bit you can see that I was bragging about my decoupaging abilities. But it turns out that they are practically non-existent.
I was humbled by a few lowly plastic bottles. It’s not about the size of the item you are working on, but the finesse that is involved!
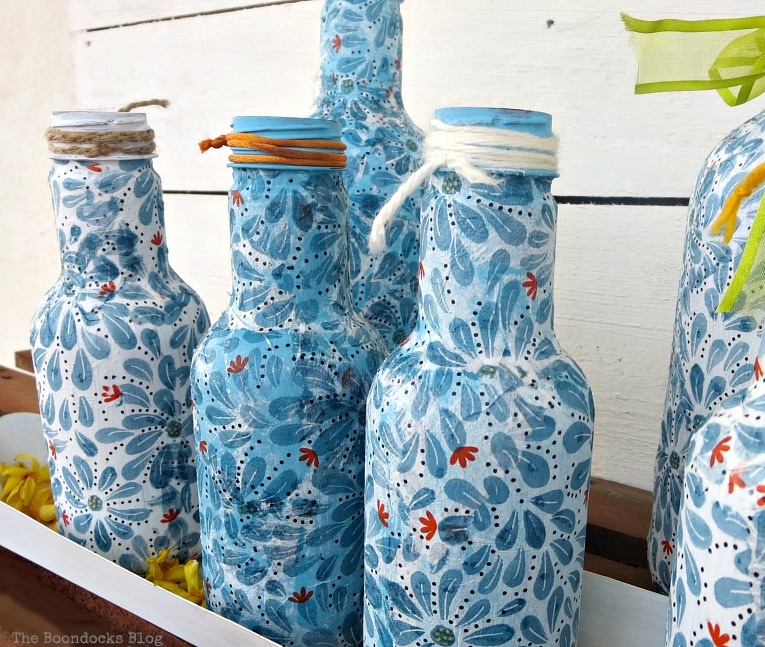
And so I am eating my words! I still have much to learn about decoupaging. After I finished this project I even found a site that had lots of helpful hints! And here is a seven step guide. Now why hadn’t I seen these before?
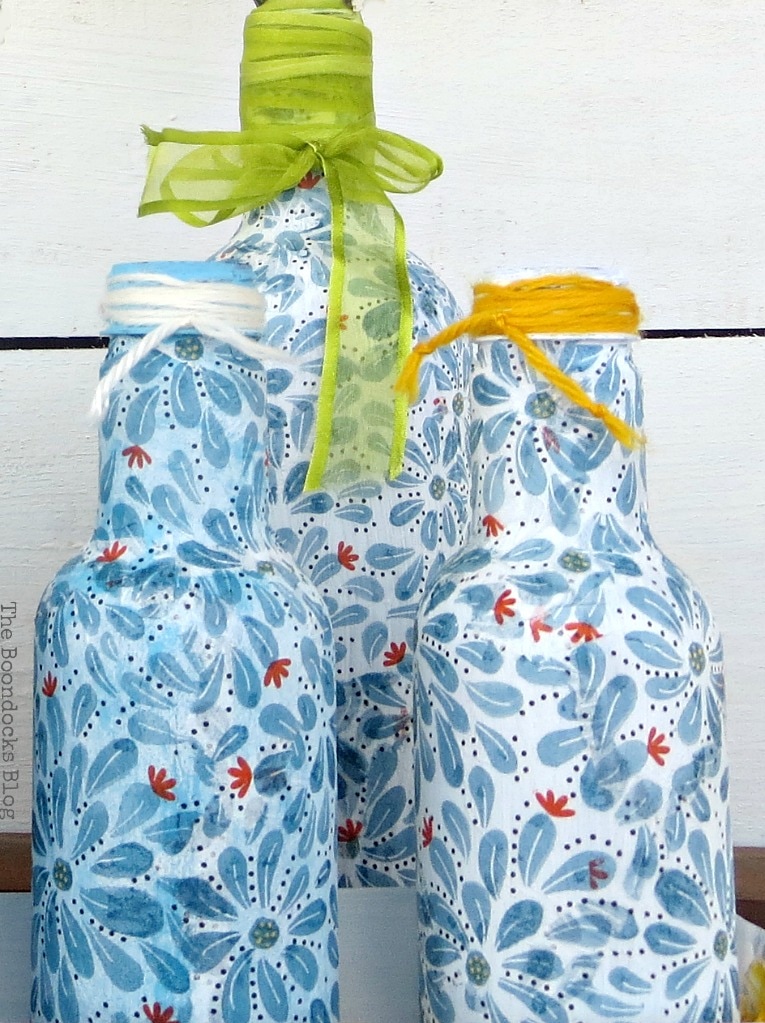
It serves me right for being so arrogant! I should have known better after my battle with the Fabulous Ikea Desk Makeover!
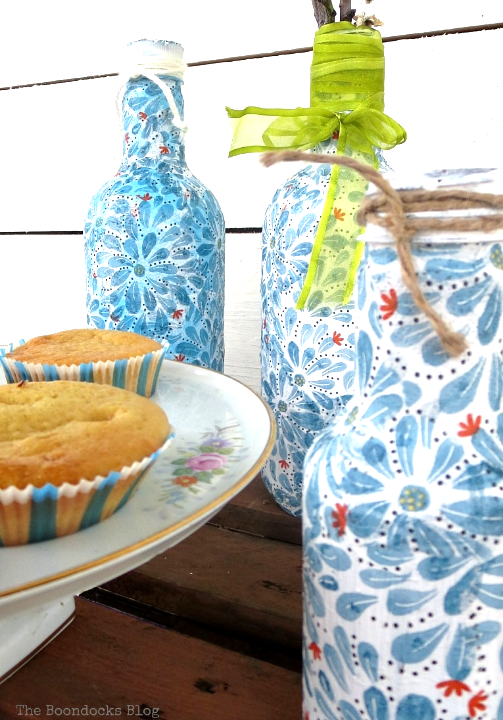
Consequently, I bow my head in shame and I’ve added a few muffins in the photo to take your attention away from all the decoupage mistakes! How am I doing?
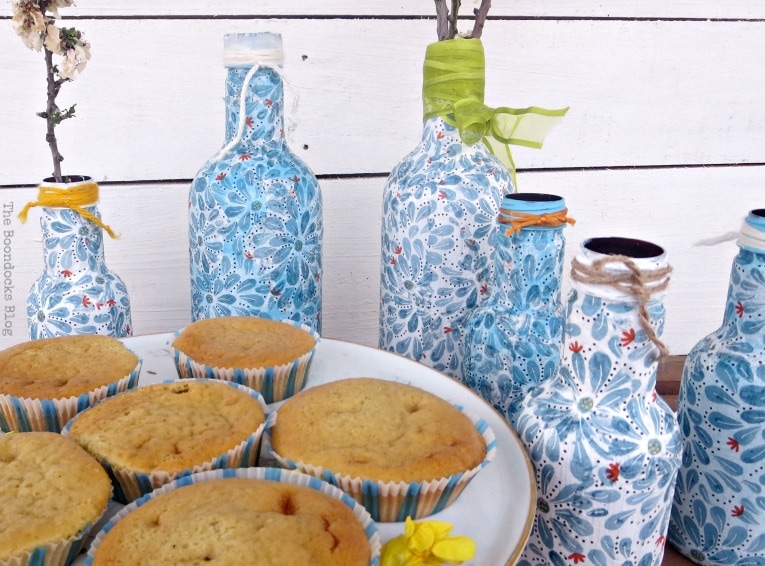
You can see here that I am far from perfect. I made more than my share of mistakes with this project. The biggest one being that too much bragging will get me nowhere.
Thank goodness my older daughter had made those muffins to save the day, er, the photo shoot!
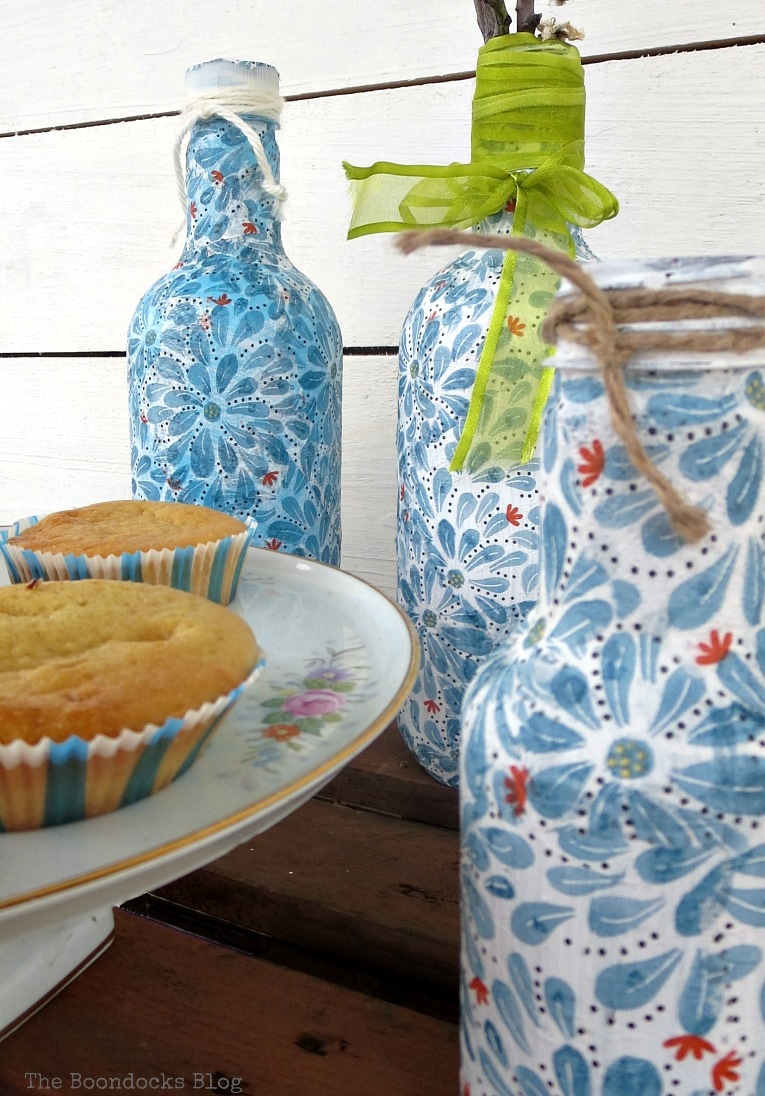
And so I present to you a set of decoupaged bottles for spring! But really this is about how not to decoupage plastic bottles with napkins. And having some food around really saves the day!
Have you ever had any epic fails with mod podge or am I the only one?
More Decoupage projects:
This blog is for entertainment purposes only; my DIY tutorials are not professional advice. Read my full disclaimer here.



I love that you shared the fails, the end result does look great. Thanks for sharing at #HomeMattersParty
What a creative idea to use the plastic bottles. I love to decoupage with napkins! Thanks for sharing with SYC.
hugs,
Jann
Well, for all your despair, I have to say that they turned out quite lovely! I have covered eggs with napkins before but not bottles.
🙂 gwingal
Thanks for sharing this. Gives me some things to think about before starting my first paper napkin decoupage project.
Erlene, I hope you see my mistakes and don’t make the same. The bottom line is you can really not go wrong with it, I think it is just a preference. Good luck!
Well after looking and looking I finally found you.Your the first I have a better understanding of what to do.So,THANK-YOU.😁
Thank you Melanie for taking the time to reach out to me to let me know. I had a hard time with it myself but I’m very glad that my tutorial makes sense! Happy Holidays to you!!
Mary, I am so glad you are still learning! We have all tried something and messed it up. That is how we learn. I haven’t started trying to springify my home yet, but I am getting spring fever. As I write this we are getting eight more inches of snow, as if we needed any more!
We are always learning Michele. I am just painting a rubber bucket right now and the paint is peeling off. So it never ends. We too got a few inches of snow and are also expecting it to turn into freezing rain. The worst kind of weather.
Napkins are really pretty for things like that but a big pain. I may be doing the same with wooden eggs this month, depending on time with Rick’s surgery and I know what I’m in for! You learn the little cheats by messing up (and I learned some from you!)
I have those napkins! I love them — and the bottles ARE pretty, even if they weren’t a quick little project!
Thanks Jeanie. I’ve learned that what seems simple is usually not. Good luck with your Easter eggs.
Thanks for sharing your tips! It will save us from making the same mistakes. I have been wanting to do more decoupage with napkins. I have only used this kind of technique for greeting cards. Yours turned out great! Thanks so much for sharing at Thursday Favorite Things!
Thanks Pam. I think I need to work on this a bit more.
I’m really glad you shared this on Homestyle Gathering, Mary. Even though it’s an older post, it was helpful to see your transparency, as well as wonderful to see the links you listed for helps! Thanks for sharing… I think the bottles look great!
Thank you Julie, I think we always learn something when we make mistakes. Now if only we can keep from repeating them.
I’m Queen of “This project will only take fifteen minutes,” and four days later….I’m finally wrapping things up. I totally get it!
I like your bottles! Especially when grouped together. The blue and white undertones complement each other. Despite the rocky beginning I’d say this project ended in success!
I’m actually working on another one that was supposed to take 15 minutes. We’ll see when I finally finish with it.
I feel your frustration. I am surprised at how the blue and white paint make the bottles look different.
It was a revelation to me too Janet.
There does exist a few projects which end up taking too much of our time with lesser than expected outcome. However we do learn something from them. Seems like this is one of them. I did like the outcome though – Thanks for joining us on Bloggers Pit Stop – Pit Stop Crew
Thank you so much Menaka and thank you for the feature.
Mary, our Menaka has chosen your interesting post to be featured on the next Blogger’s Pit Stop. Well done.
Thanks so much Kathleen, it is always an honor to be featured at your party.
Oh, Mary, you crack me up! I have, admittedly, had my fair share of “quick” projects that ended up being way more complicated than anticipated. In fact, I recently did a fairly quick craft project (truly) that ended up in the trash once they were finished. You win some, you learn some. 😉
At least we can say we learned from our mistakes. Or in my case I try but even then I need more mistakes to learn Haha!!
This is hilarious! If I hadn’t already featured you just last week at Best of the Weekend, I would feature you tomorrow. The internet NEEDS more posts like this, where people are honest about the struggles. You could have just posted this like normal and acted like you had no problems.
I find it sooo funny because I thought decoupaging a plastic ornament would be easy and it was a terrible fail. How people get those beautiful eggs around Easter time is beyond me. But I have some really pretty napkins and I guess I’ll keep trying, a little at a time….
It’s all because of the curviness— surely a flat surface is easier, right? Maybe I should try a square egg? hahaha….oh wait, that gives me some ideas….
Liberty a flat or square egg certainly would do the trick! And what about those flimsy napkins? They certainly don’t help the situation. Thanks for all your support. And I will always keep it real on this blog because perfection is overrated!
Bless you for being so honest, Mary, but they really did turn out beautifully in the end. I think we all take on projects that take longer than we anticipate sometimes. Thank you so much for sharing this creative and inspiring post with the Hearth and Soul Link Party.
Thank yo April for that vote of confidence. Now if only I could finish them in less time then it took originally!
I love that you posted how NOT to do something. The mistakes we make as DIYers get glossed over so often <3
I always hope that by me showing all the mistakes I make it will help someone else to avoid them. Thanks Leslie for stopping by!
Hi Mary, your honesty did make me laugh and whilst the end result may not be as perfect as you would have liked they are still attractive looking bottles. As for those muffins? The perfect distraction!
xx