
How to Use A Mood board to Get Results for DIY Projects
This may be the hardest post I’ve ever written. Let’s plunge ahead and see where…
I have never done a mood board before so you will have to bear with me. Now you may say “what business do you have doing mood boards when you are a DIY blogger”. And you would be correct in that statement. But a few posts back when I showed you the shelf makeover I asked if you wanted to see a mood board for the bedroom and I got positive feedback.
So here it is, warts and all. Because in the end it will help us see results for the DIY projects that need to be done in this room.

We have two bedrooms in this home and we opted to let the girls have the larger one since they have more stuff. Did I really think I had less things than the girls, when I came up with this foolish decision?
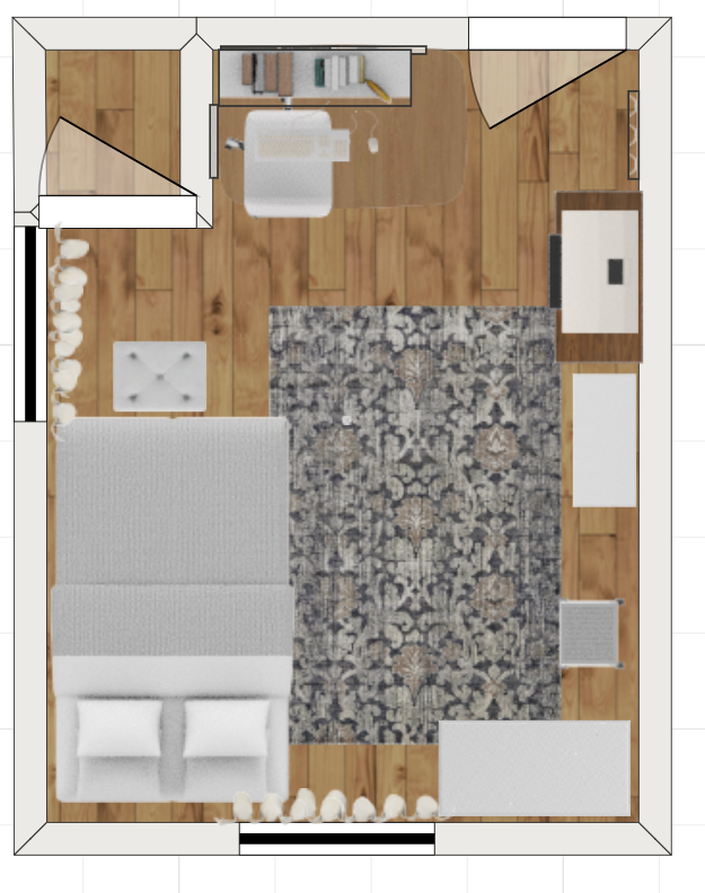
Anyway it is a small room and it has to function as bedroom, office and craft storage since all that has to go somewhere.
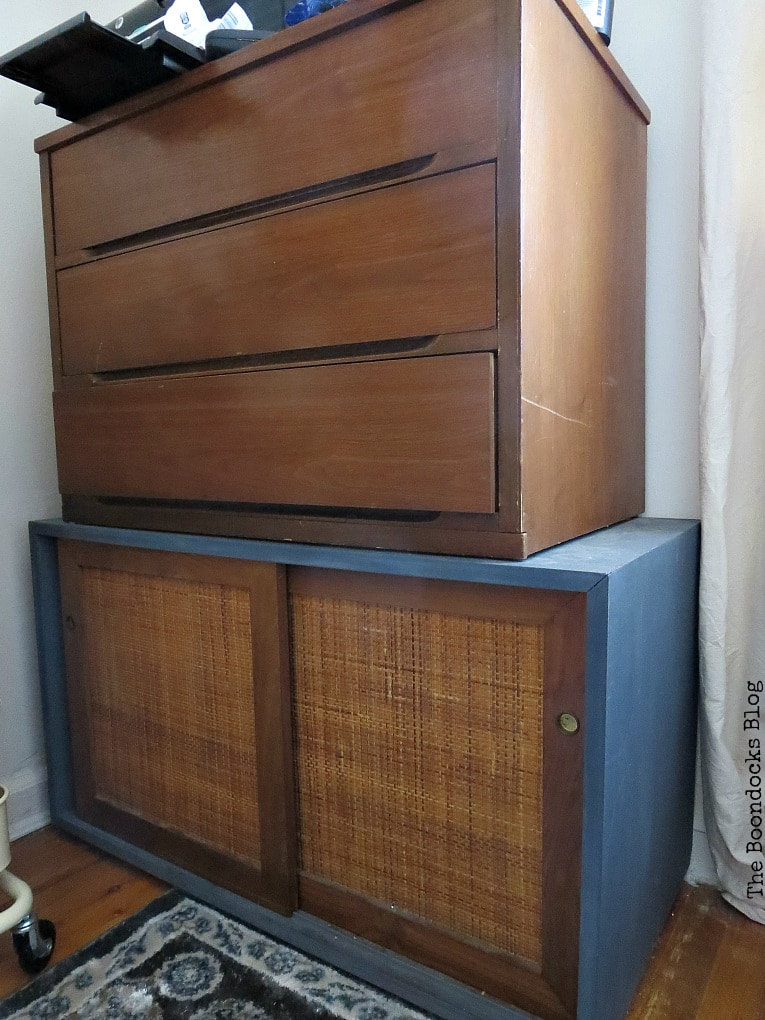
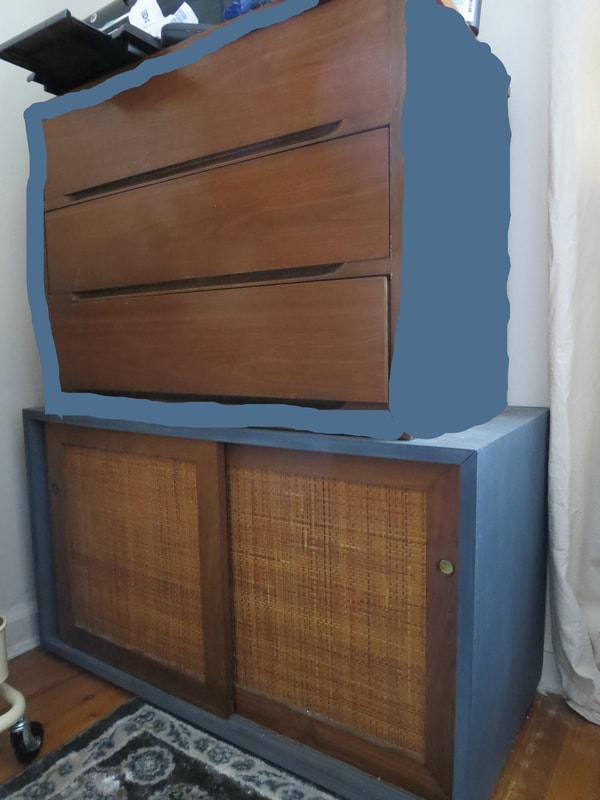
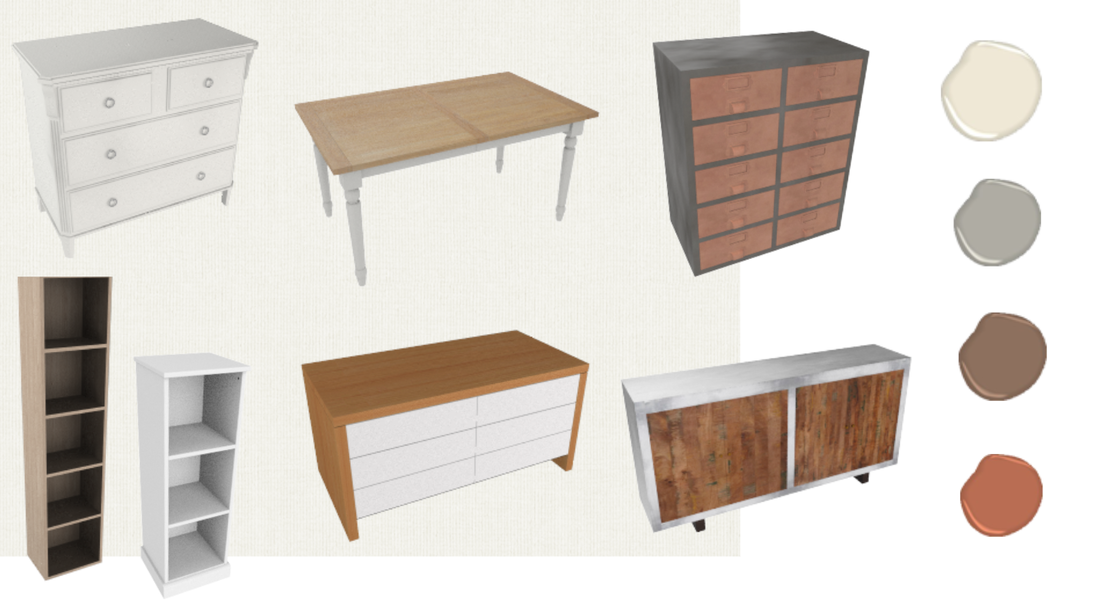
The thinking here is that I don’t have the space to place each piece on the floor so this way by placing them one on top of the other I conserve floor space and also get a piece which is more practical than before. You can see I have my printer on top of this unit.
Disclosure: The items below are affiliate links. If you purchase any of these products through the links, I receive a small commission, that way I can continue to provide you with lovely content. There is no extra charge to you for purchasing through my affiliate links.
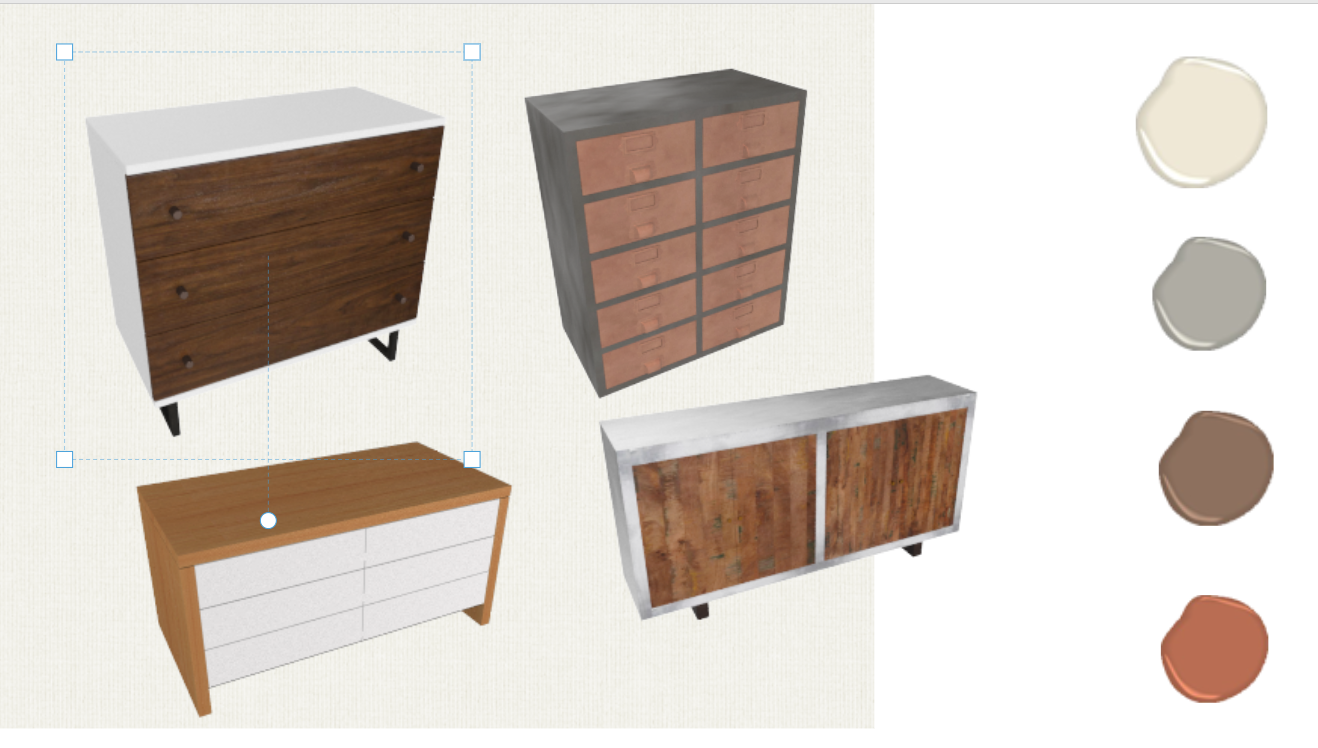

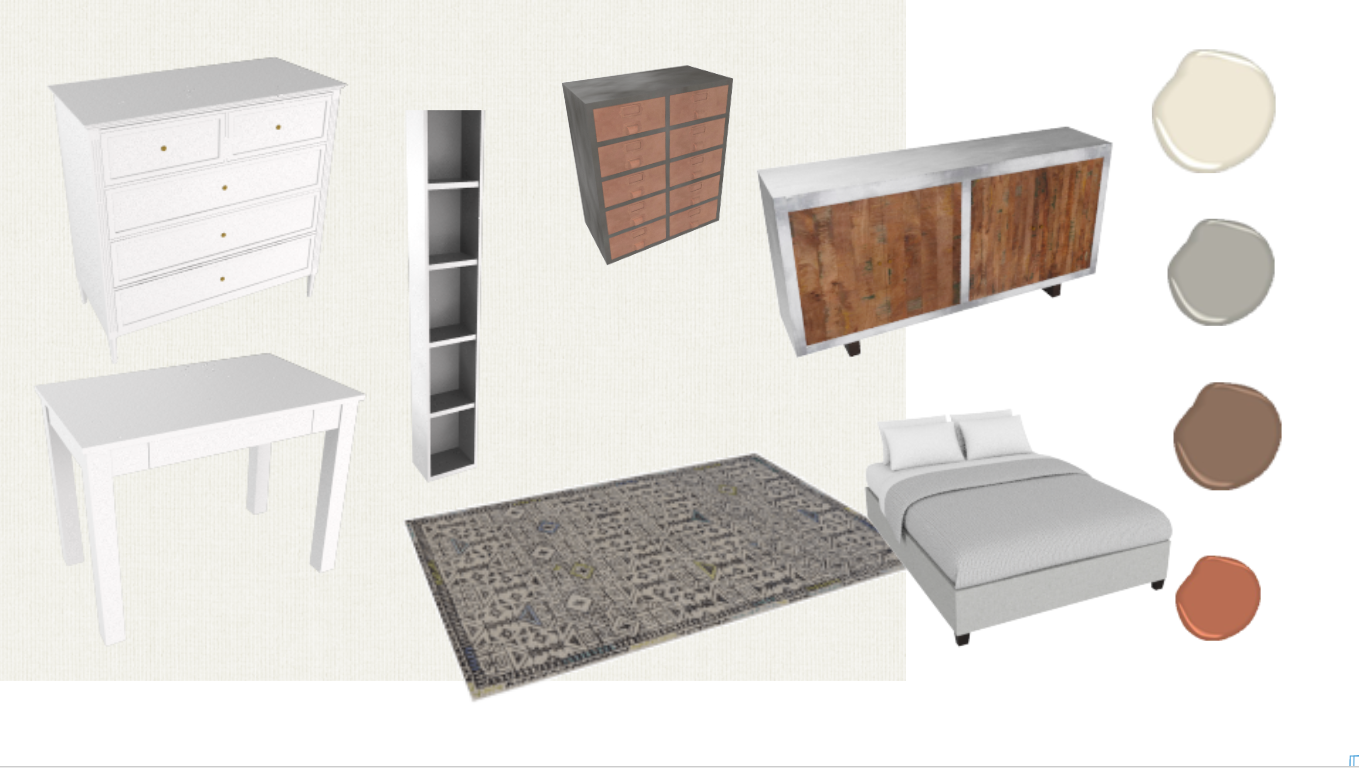
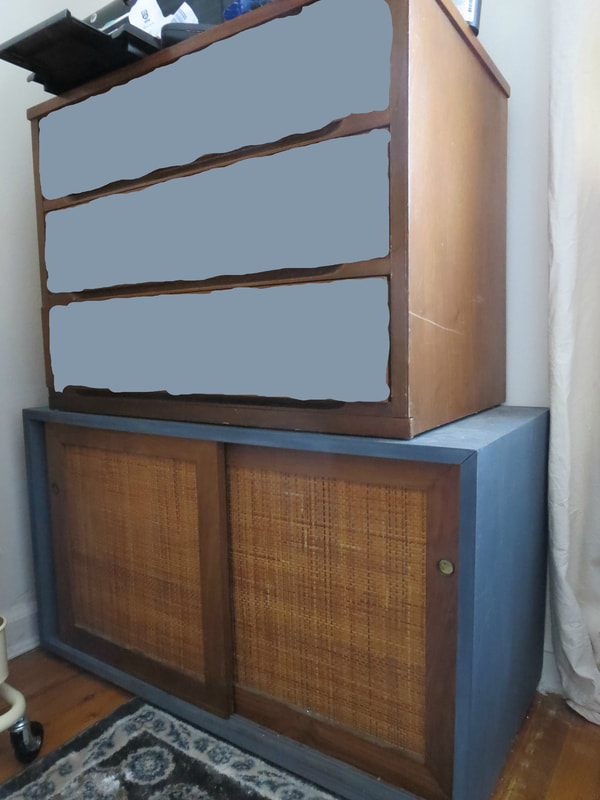
Below are crude mock ups (some days no amounts of coffee will improve your editing skills) of what the pieces would look like.
I could even paint in the openings for the handles in the first one.
|
|
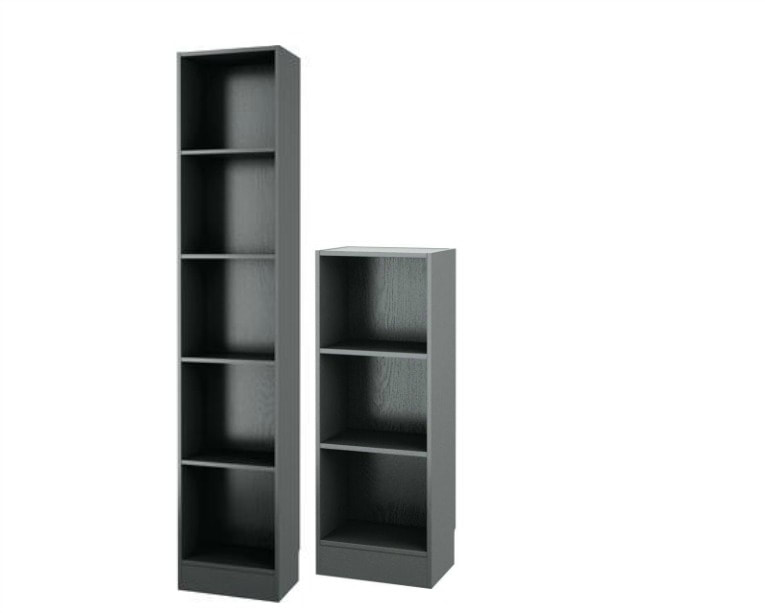
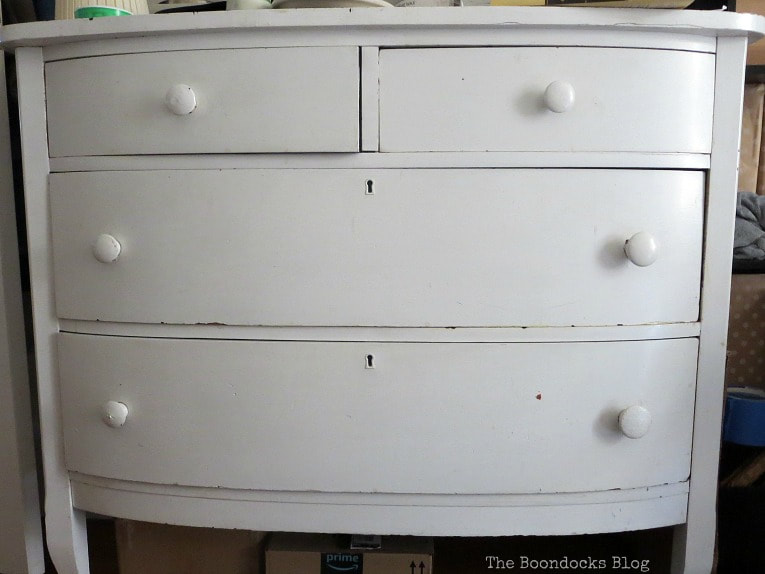
Below is a photo of one of them. As I was adding the watermark to it I found myself thinking “what am I doing, there is no way anyone would want to steal this photo from me. In fact I don’t even want to see it again!”
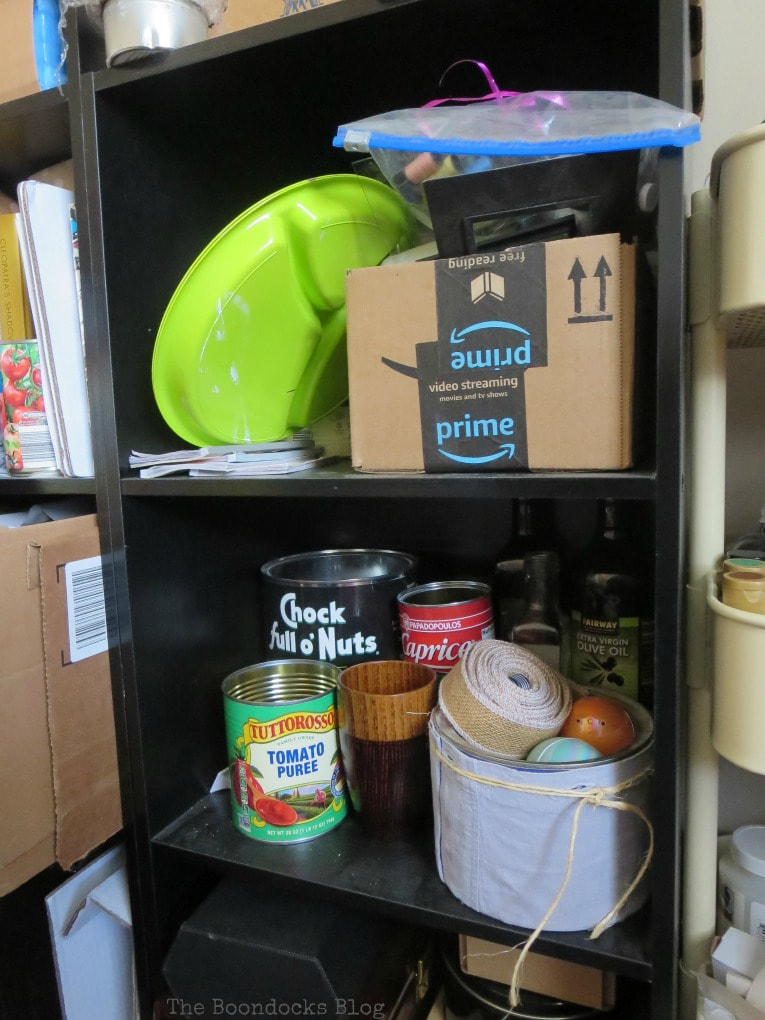
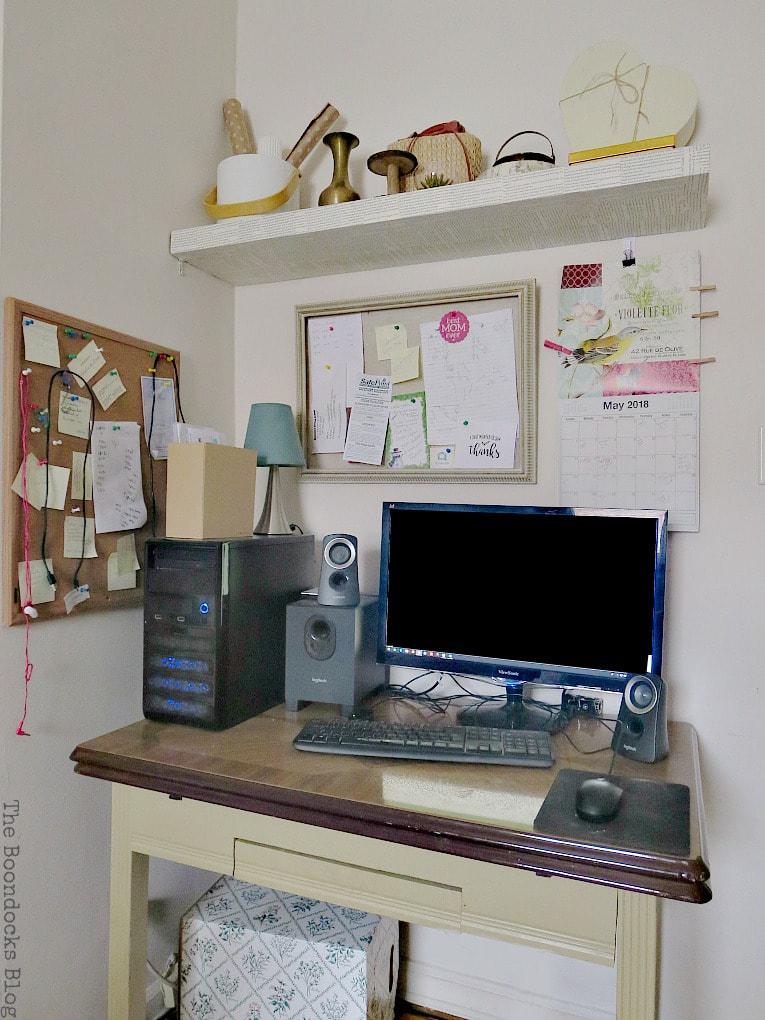
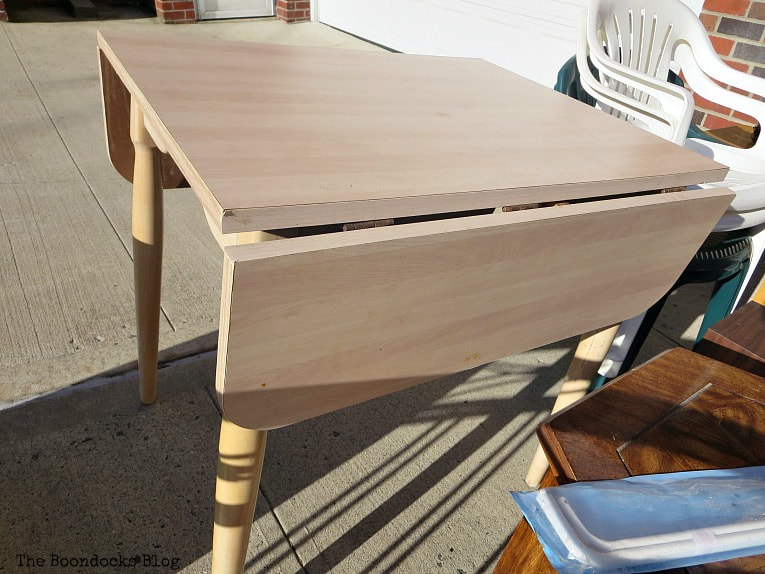
And of course there is a bed in the room. It is just a mattress on a frame at this point and it will be placed in the corner of the room. I am thinking of adding a short headboard that will not collide with the window sill. Yes the room is that small.
The room will also have the bench and the natural wood chair that I’ve already finished.
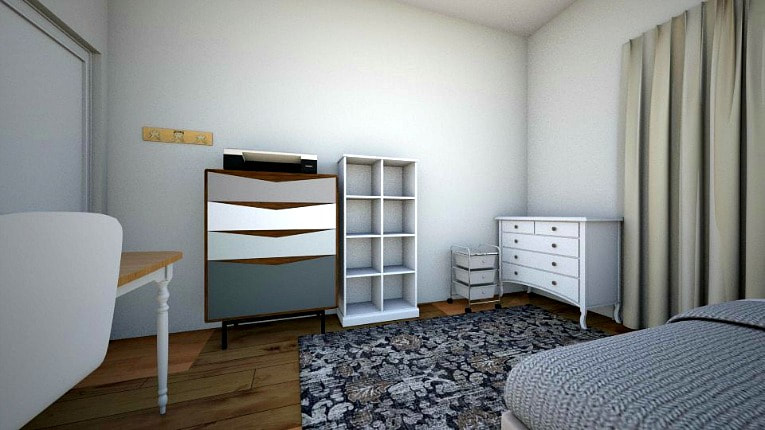
I made this room planner from the RoomStyler site. Love it, it let’s you manipulate your furniture all over the room and get 3 D images of it. So much fun, I can spend all day doing this! And I was not paid to say that!
If you’d like to see some more pretty mood boards for bedrooms head on over to Fox Den Road. Doreen has come up with some stunning looks here.
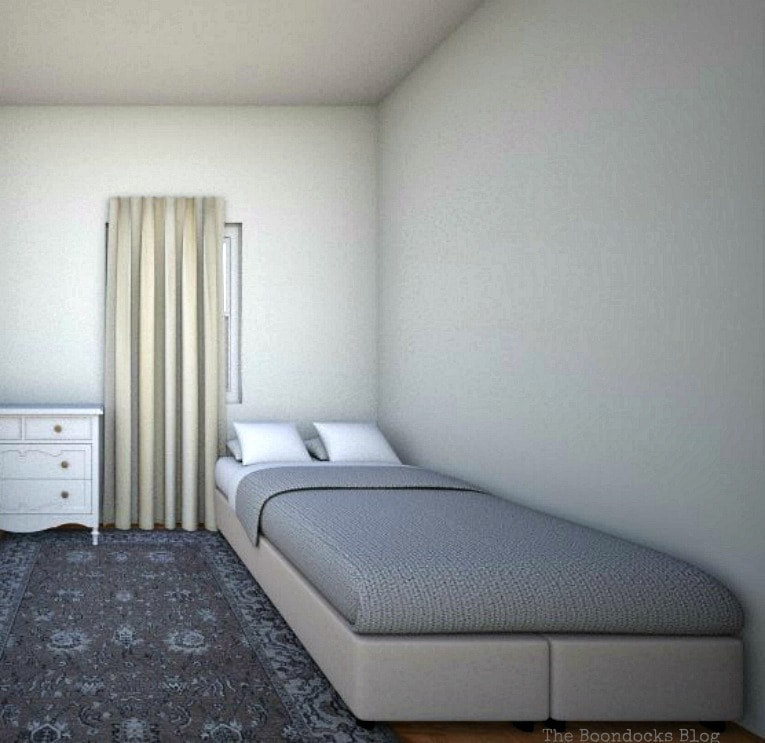
Now I want your opinions on all the above!
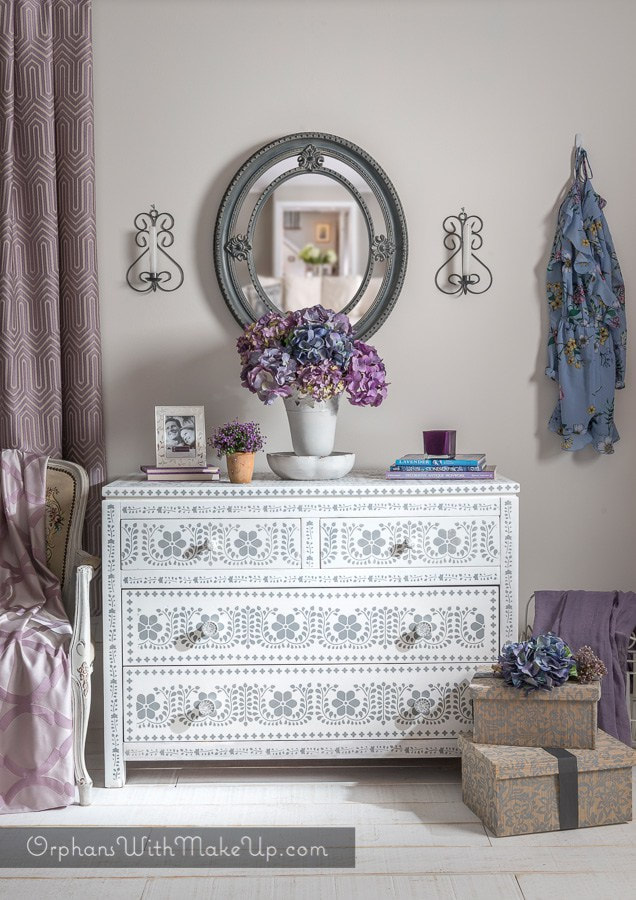
The dresser stencils: yes or no?
The bookcases: decoupage and white or something else?
And that MCM thing I put together: grey with wood on the interior or the other way around for the top portion?


This blog is for entertainment purposes only; my DIY tutorials are not professional advice. Read my full disclaimer here.
I love it when I get your comments and I will try to reply to every one of them. Please do not add a hyperlink to your comment, otherwise it cannot be published.



Best of luck with all that you want to tackle. I’m one that just goes for it. 🙂 Thanks for sharing with SYC.
hugs,
Jann
I’m usually like that too Jann but this time I needed to be organized otherwise it is threatening to drown me.
Hi Mary! Wow! You’re mood board is so useful in planning! I used one a while back in my living room and it kept me on track with my decor. Your colors are soothing, love them all! Pinned!
Thanks Wendi, this project is just too complicated to not use one to help me organize my thoughts.
Making a mood board before starting a project is a great idea#ourminilinkyparty@_karendennis
It is really helping for this particular room. Normally I don’t bother but this one is too overwhelming for me.
There is no right or wrong to a mood board! It’s yours to inspire, motivate, clarify! (And yes, I’d go white on the top.)
Thank you Jeanie, it is helping me too see that I have too much clutter.
I really like that stencil pattern. That would definitely add something to the dresser.
That stenciled dresser that Mary made had me swooning. I may not use it here but I know I will have to definitely find a spot for it somewhere in the house.
Unfortunately, I never got the decorator gene. Ha! But if it were me, I would paint the 2 pieces sitting on top of each other one color to unify them. The table with the dropped leaves, I would say leave as is or paint the legs…whichever look pleases you the most. I like the small narrow shelves as they are constructed, but you could paint them a lighter, complimentary color to unify the room. Maybe even put contact paper on them somewhere. I don’t know about the stencils.
Fantastic idea to use a mood board though!
I agree with you about everything Florence. I think you do have the decorator gene after all!
I’m not one for too many colors all over the furniture, so I would paint them in one unified color and maybe add pattern with paper backings in the cubbies and maybe through a runner across the top of the dresser.
I am really liking this idea of paper backing in the cubbies Erlene. Thanks so much!
Oh my God Mary! I laugh so much with your description about the photo … you have a serious problem here. I think you have to go as much lighter colors as you can. Because of the size of the room and because you have to put so many pieces of furniture in there you have to choose light colors so your space does not look overwhelmed. I am sure you will find what is right for you 🙂
Christina it is a hot mess but I will paint everything white or close to it so it doesn’t stand out that much. I really got myself into hot water with this one. And right now it is too hot to do any painting.
Thanks Mary; the floor plan helps a lot! I hope I’m not too late to give my two cents worth 🙂 I’m going to give you advice on space planning.
Despite the small size of the room and the multitude of purposes, your bedroom should still be a sanctuary. But to achieve that, you will have to compromise on some of the pieces your already own. Between the mid century sideboard, the side table and dresser, would you be willing to sell any of those pieces to reinvest the money elsewhere? If so, you can sell them as-is or make them over to sell to get the best price.
Here’s what I suggest. Remove the closet; you said it was too small to function so take down the walls and open up the room. Move your desk into the corner. I would get rid of the shelf above your desk and replace it with closed storage cabinets – or you could even cut down the bookcases (to make them fit better if necessary) and mount them horizontally above the desk as cubby storage ON THE WALL.
The door swings into the room so takes up valuable floor space. Can you reverse it so it swings out into the hall? If not, remove it and replace it either with a sliding door or pocket door so it doesn’t encroach on the space. Beside the desk, you can put the side table with the printer on it. Hopefully it fits between the desk and end of the door entrance. If it doesn’t, and you’re willing to sell it, replace it with another piece that will fit and hold your printer. Alternatively, you could start from scratch and custom-build a new longer desk from the wall where the closet used to be to the edge of the door and hide the printer in a drawer underneath the new desk.
Move the bed to the middle of the long wall opposite the window (where the closet used to be). Now the bed is centred on the longest wall and there’s plenty of space around it. You could wall mount two small shelves to act as side tables so you both have somewhere to place a glass of water and reading lamp etc.
On the window wall where the bed used to be, purchase two narrow wardrobe cabinets to place either side of the window. This will replace your lost closet space and be way more functional. Ikea has some great ones; maximize the storage by purchasing ones that reach the ceiling. Below the window, in between the two wardrobes, place either the mid century sideboard or the dresser. Hopefully one of those will span the gap and fit under the window.
I’m going to e-mail you pictures of a new layout so you can see what I’m talking about.
If you really want to hold onto all your furniture, feel free to send me the dimensions of each piece of furniture, including the bed. I have a 3D program that I can plug it all into to see if we can make it work better for you.
Sara thank you so much for all the advice. I am not planning on selling any of the furniture as they are pieces that are dear to my heart.
The closet cannot be taken down since it is the only closet in the room and right now it is doing a stellar job of holding lots of stuff including winter comforters.
Mostly I want to work with what I have and not replace the things. I think the best way to go is to paint everything white.
The dresser unfortunately is too tall to fit under the window.
There are so many things that limit me Sara. And that long wall has a heat vent which I did not mention but it gets really hot in the winter that’s why the bed has been placed on the opposite wall.
I would love to see what you come up on the 3D program. Thanks for all your advice.