
How to makeover an Old Wooden Bed Frame
Learn how to paint a wooden bed frame in a few simple steps to give your bedroom a budget-friendly refresh!
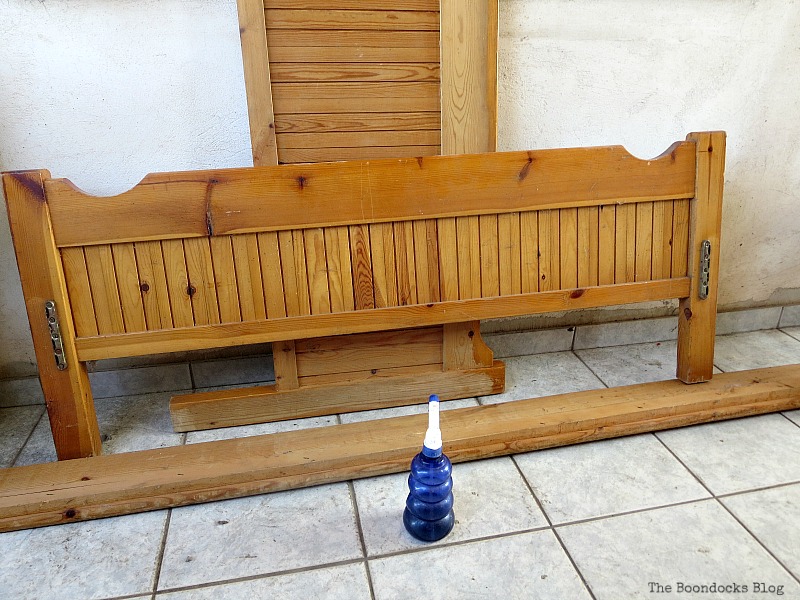
This is an old bed frame that I had sitting … you guessed it… in my basement. It is a nice size, a little less than full but bigger than a twin. Here you can see that nasty too-much-orange-varnish look that we all love so much. It may be fall but we don’t need to see this year round. A few months ago I shared a dresser makeover with you. It was an old Ikea dresser that was about 25 years old and I painted it a soft green. Well, it turned out so nice that I decided to redo the bed to go with the dresser. Today, I am going to show you how to makeover an old wooden bed frame.
I started out painting it with Enchanted by Americana Decor Chalky Finish Paint from DecoArt. I make sure to shake the can really well so that the mixture comes out nice and smooth. With two coats it covered that lovely-not orange. (If you’d like to purchase this paint, I have added links to the product through Amazon at the end of the post.)
Disclosure: I was compensated for doing this post with product. However, all the opinions stated here are my own. I only use products I love and would recommend to my viewers. This post contains affiliate links for your shopping convenience.
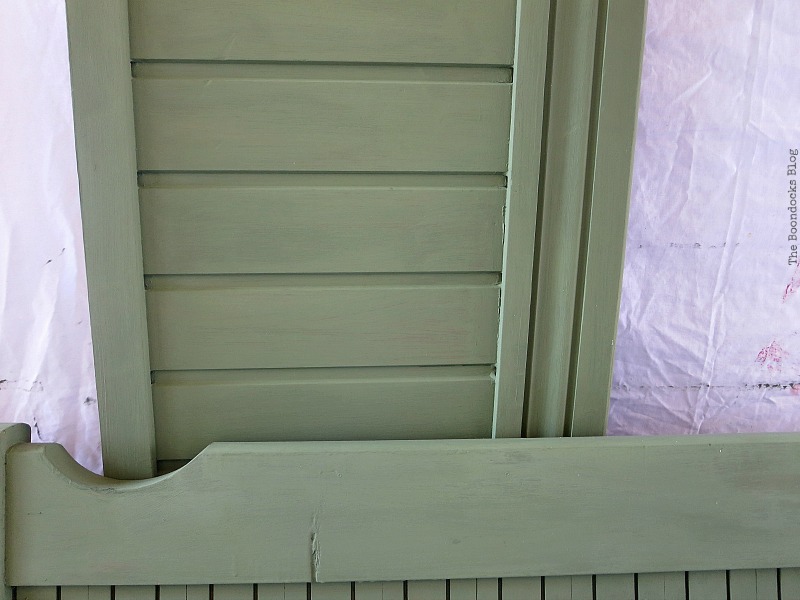
At this point I started to worry because I was running out of my beloved paint. I added some white acrylic paint to the mix, in the hope that it would last me longer.
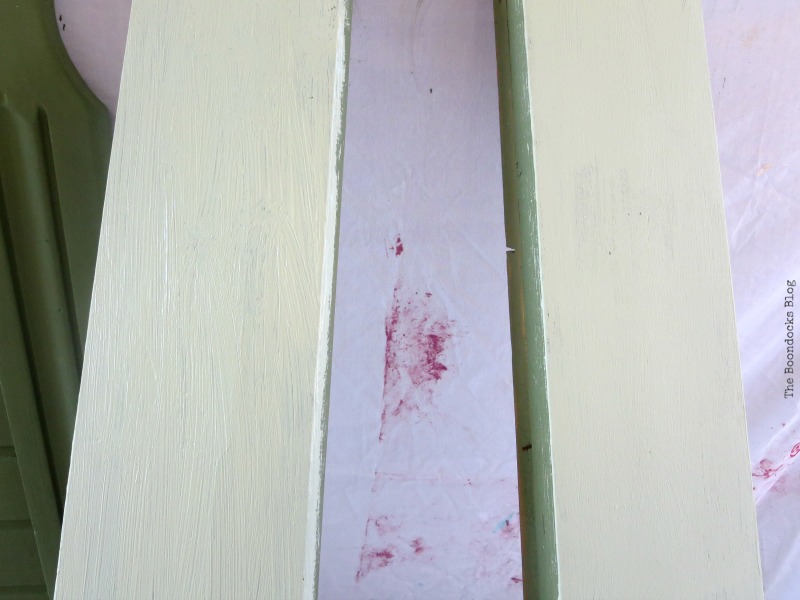
This is the third coat of paint…and no sanding at all beforehand. That is the beauty of this paint.
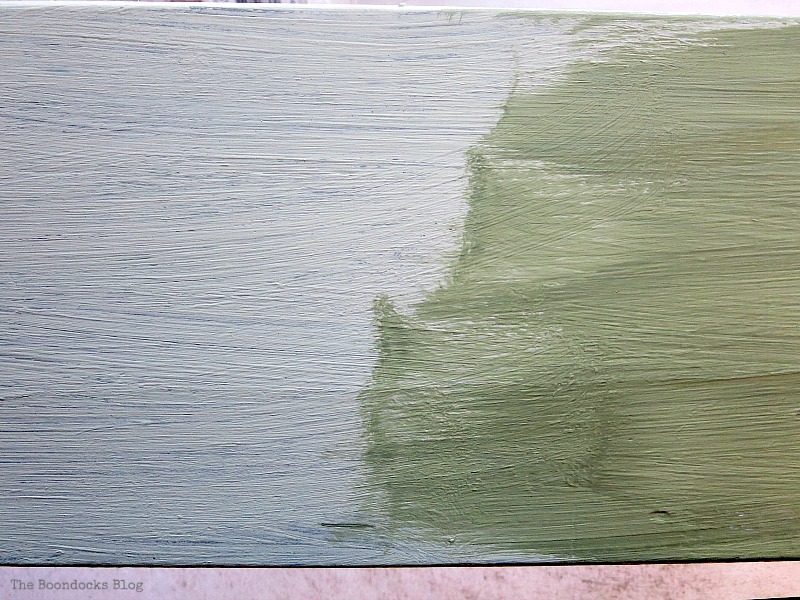
Finally I had to try and match the paint to the one from the dresser. So I played around with it a bit and here is the last coat.
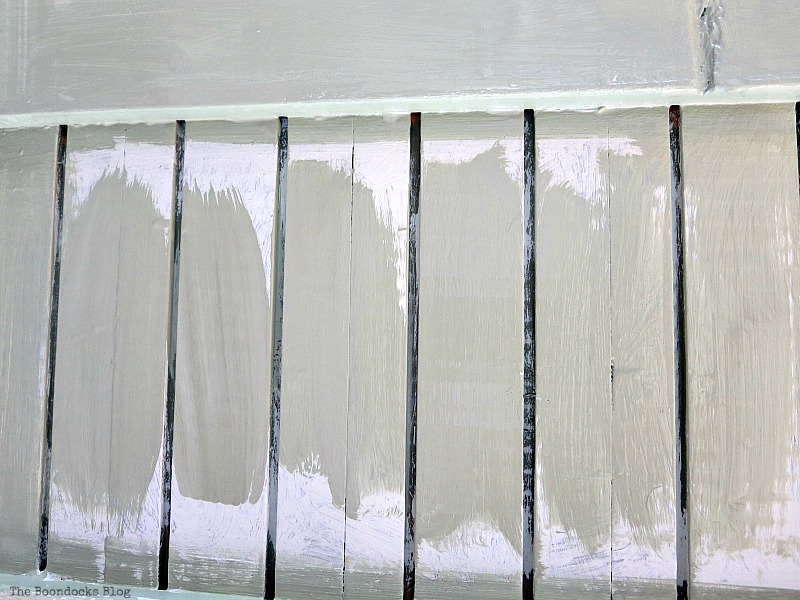
And thank goodness for that because I ran out of paint.
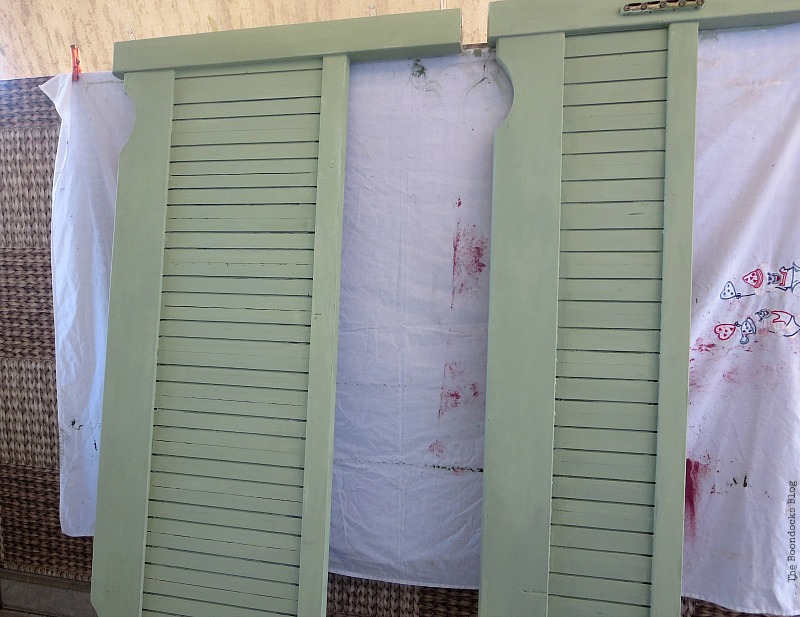
Of course I wanted to mimic the results I had gotten on the dresser and that meant sanding it to get the distressed look. So whatever sanding I had avoided at the start … well, I was paying for it now. In fact, my right hand is still feeling it!
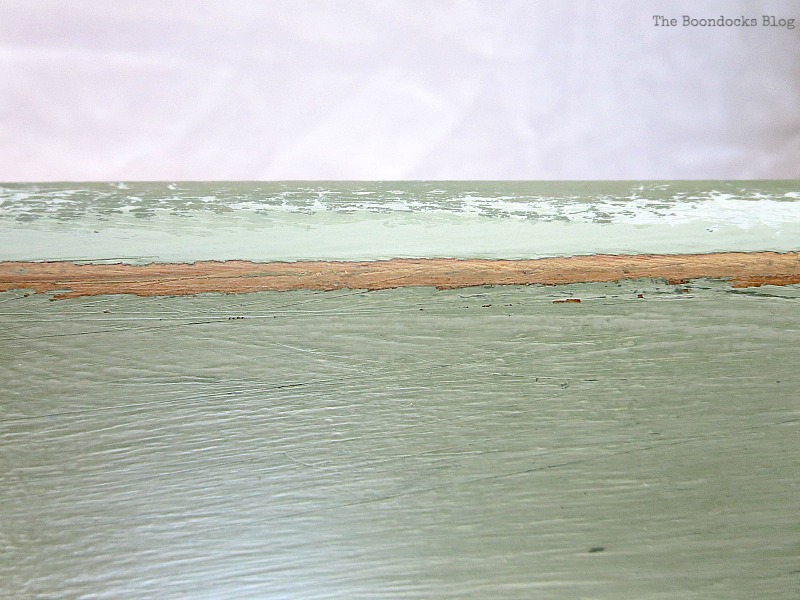
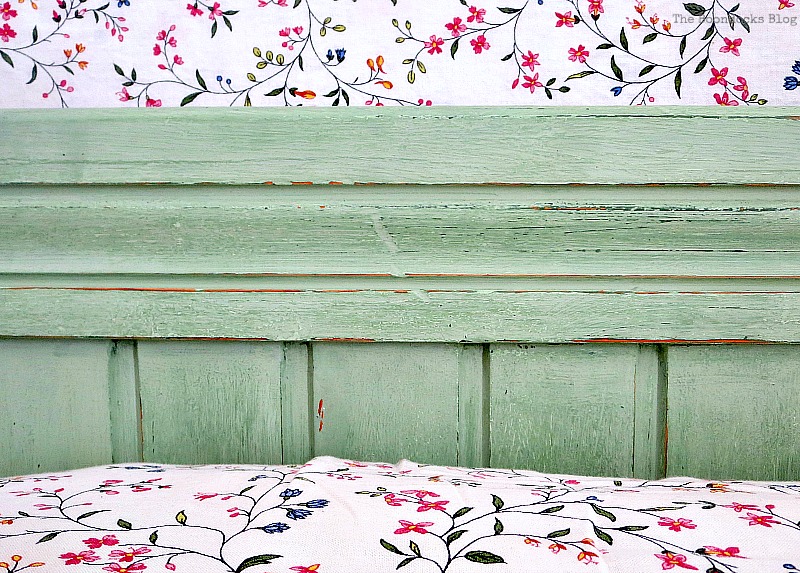
The beauty of this bed is that I was revealing a lighter green under the final coat.
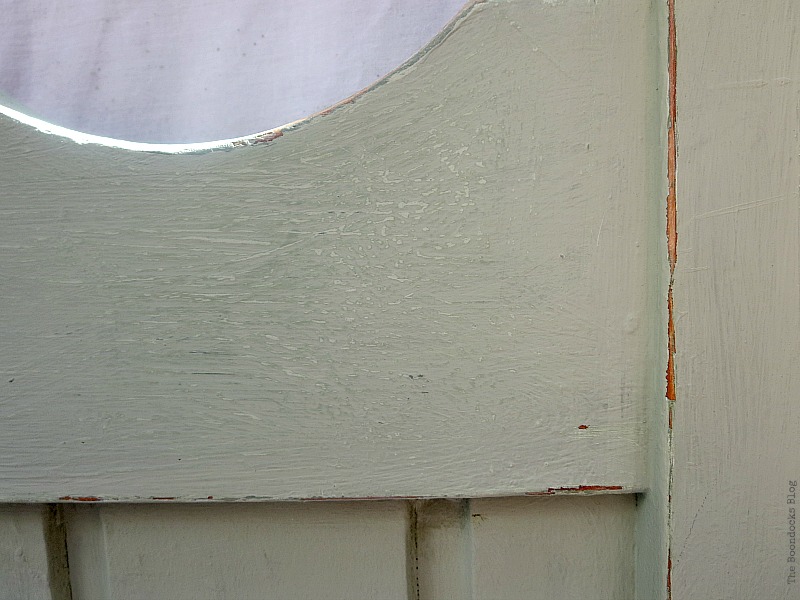
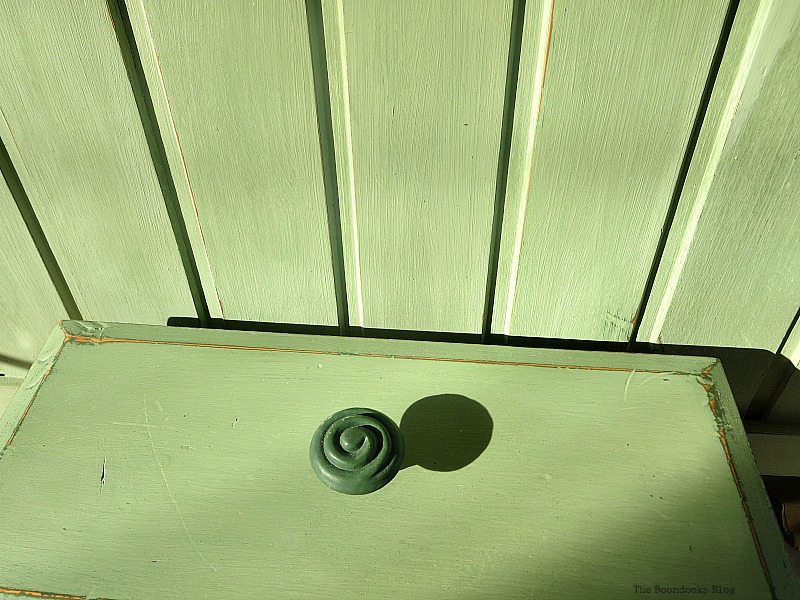
A bit of wax with Americana Decor Cream Wax and I was done. When the wax is added it makes the color just a bit darker. You can see in the photo below that I have managed to match the color pretty well. It looks intense here because the sun is hitting it. (If youwould like to purchase this product I have added Amazon links at the end of the post).
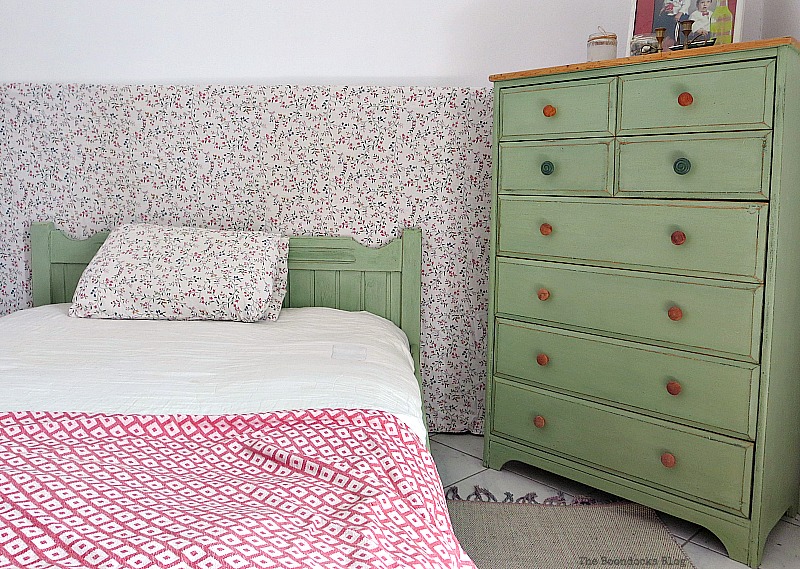
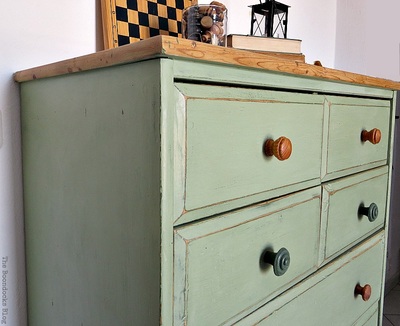
And here it is next to the aforementioned dresser.

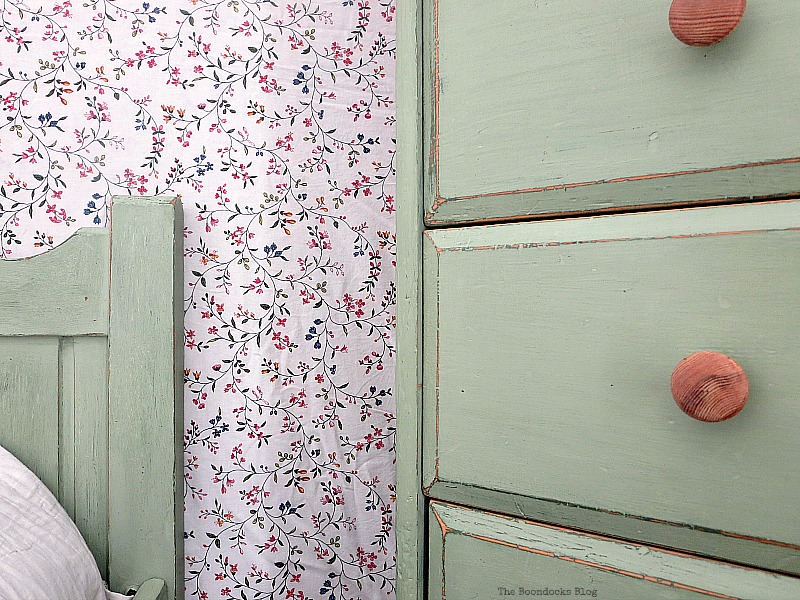
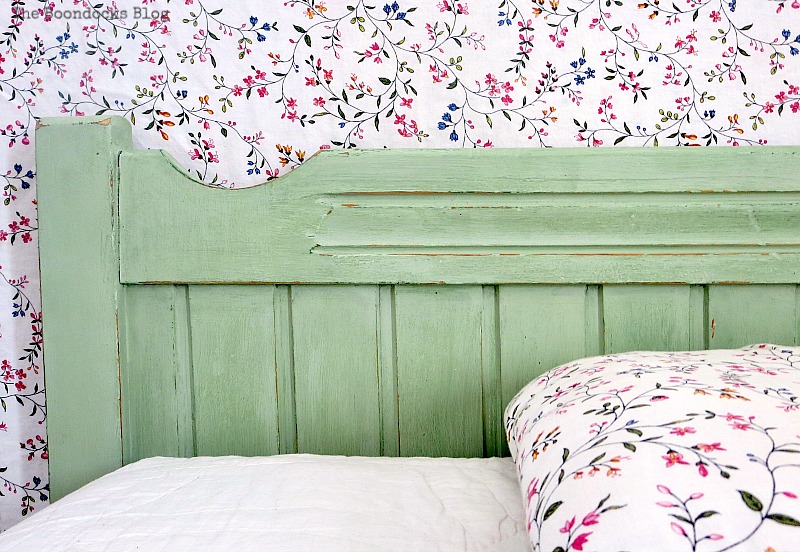
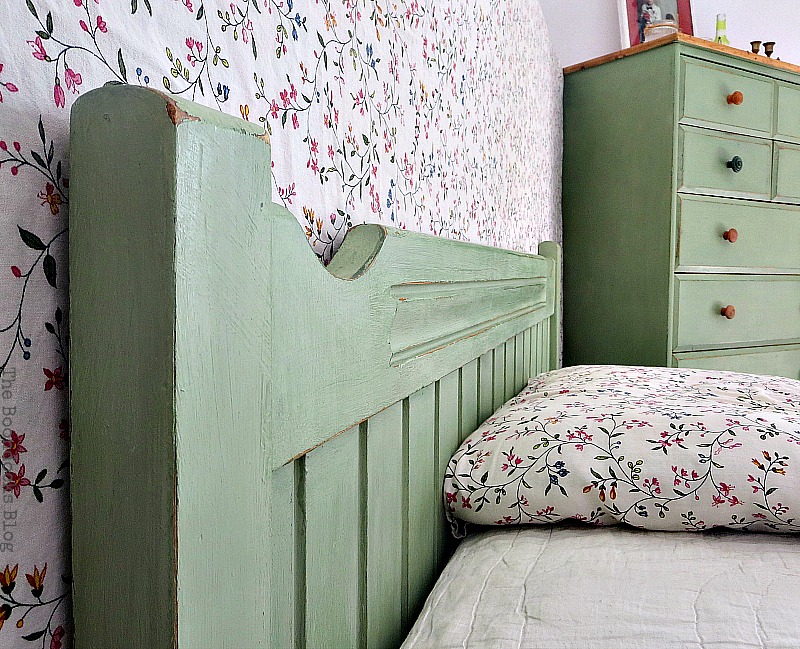
Here you can really see the aging and the scratches. There are four colors on the bed and that is what gives it so much depth. Otherwise it would just be a boring green bed.
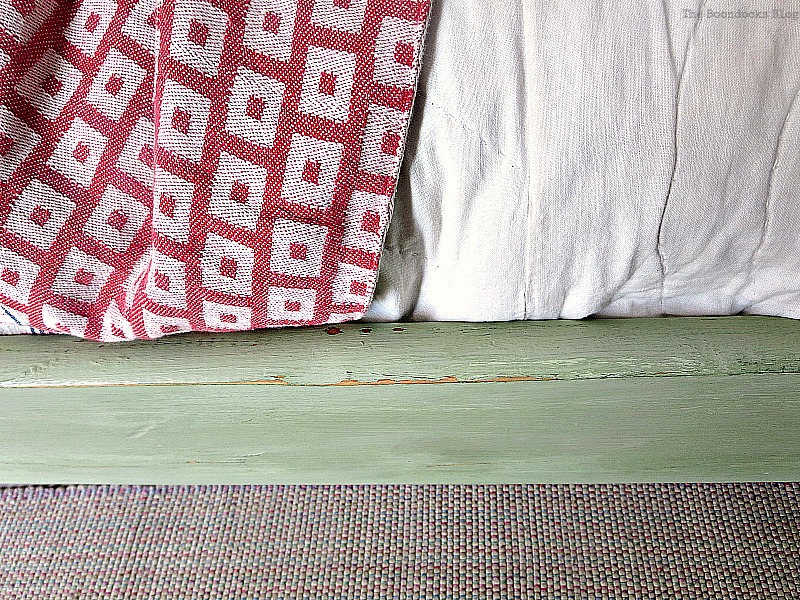
A shot of the whole bed. The color looks a little different here from the dresser because the light is hitting the bed.
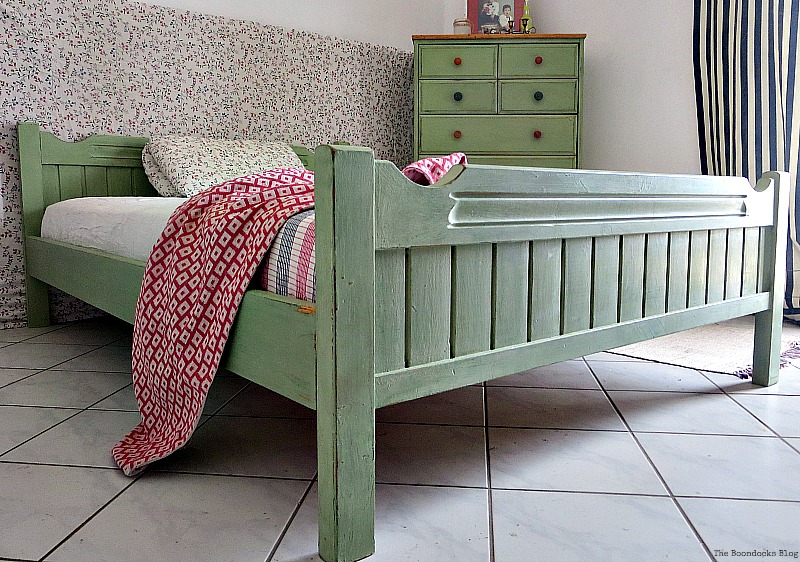
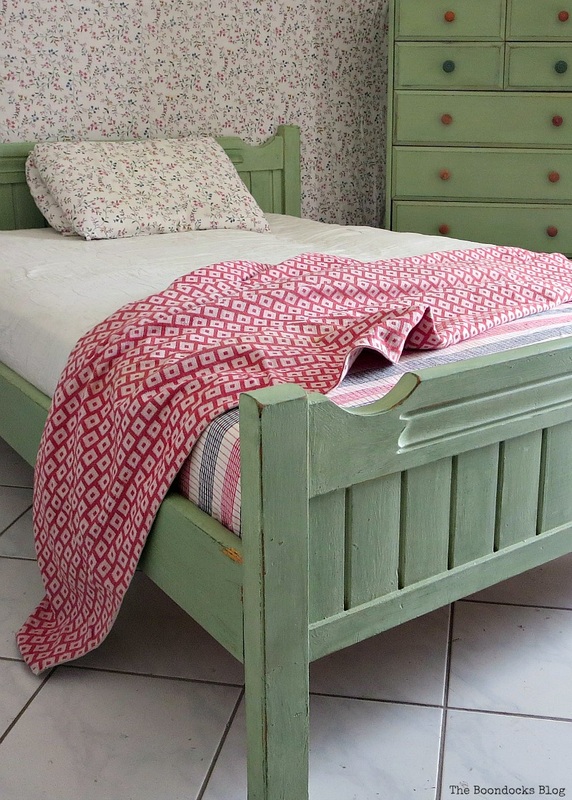
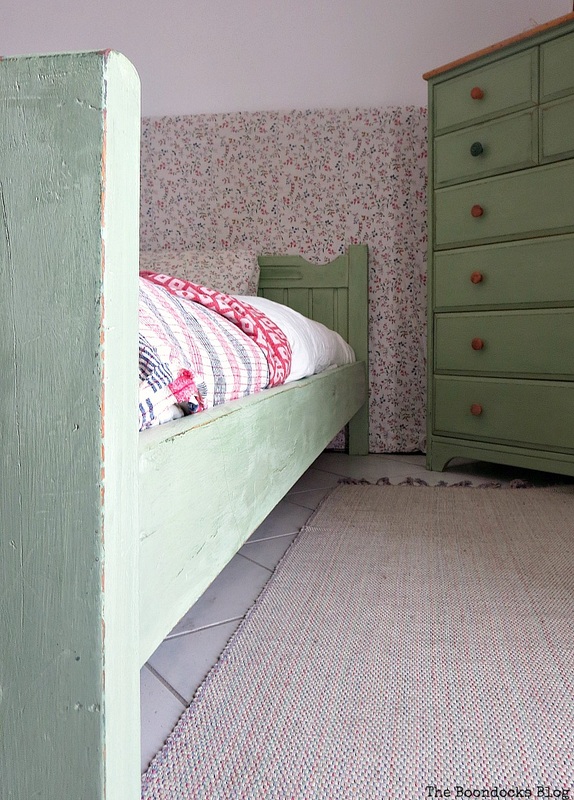
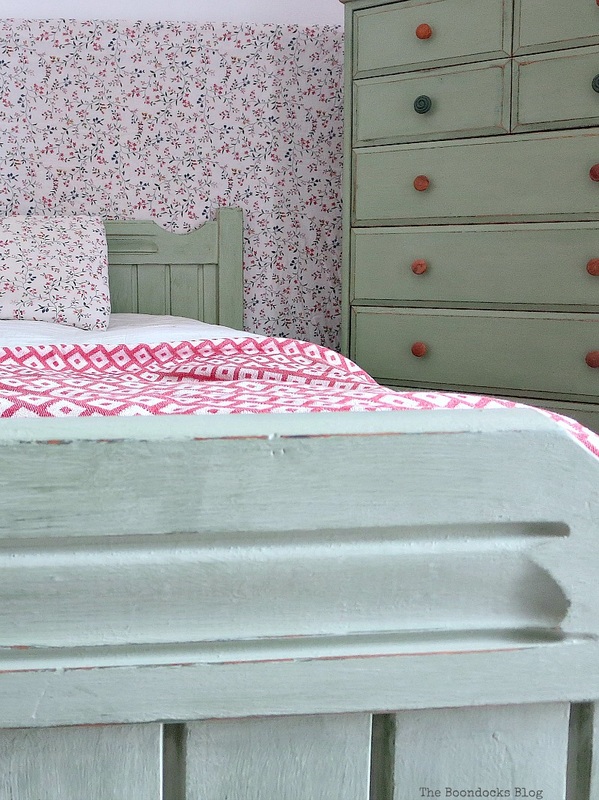
It was a close call there for a while, between the paint running out and getting a good match. My hand hurts but I think it was well worth the temporary discomfort. I’ve just shown you how to Makeover an Old Wooden Bed Frame. And now I have a “brand new” bedroom set! All courtesy of my basement! What do you think I’ll find in my basement next? Maybe a new mattress?
Related:



Mary I love the new look not only for the bed but also the dresser. Has a designer look!
Thanks Carol. I was really tired of looking at that garish wood color before. This is so much softer for the bedroom.
Great color, love the bed style
Thanks JoAnne, althought it was an old style the wood color was hiding all the pretty details. I think now with the green you can actually see some of those.
This bedroom set is now really cute- very cottage inspired and updated for the next 25 years or so! I love the green- it goes with so much!
So much better than that eyesore orange. And now it has interest whereas before it was just a piece of wood. Now we can see the details much more easily because of a little bit of paint.
What a great project. I just love the color scheme, both the green on the bed and all the pretty fabrics.
Amalia
xo
Thanks Amalia. The fabric is actually an old duvet cover from Ikea.
Mary, I love the color and you did a great job of matching the dresser! I painted my old wooden bead white with chalk paint a couple years ago and I still love it! Thanks for sharing with SYC.
hugs,
Jann
Jann a little bit of paint can make a huge difference to the furniture and especially to our mood.
You rocked it, Mary!! The color is gorgeous and your work is fantastic. Bravo!
Larissa, I’ve been taking lessons from the best! 😉
I love green. It seems I always gravitate to it. Having a set is so nice. Love it
It is such a peaceful and calming color. And a natural for the bedroom.
Hi Mary, your distressed green bed looks so much than the not-so-quite orange it was originally. It looks a perfect match for your chest of drawers too. The bedroom now has a cottage like feel, don’t you think?
xx
Yes Debbie that orange had to go. It was just awful. I love the calm feel of the green now.
Wow, Mary…that really turned out great.
Can you tell me about how long it ended up taking you to do this project?
jodie
http://www.jtouchofstyle.com
Jodie, because I had previously done the dresser I knew what to expect. It took me about 2 days. I painted the wood with chalk paint the first day. The paint dries very quickly. So although there were five coats involved it was not a problem. And on the second day I sanded it and distressed it and applied the wax.
Mary, what a sweet bedroom set. You did such a lovely job on these. You never cease to amaze me with your talent! xo
Thank you Carla. In this case I was lucky to be able to juggle the paint and mix and match it so that I finished the job just as I ran out of the paint.
Mary, I absolutely love this bedroom! You did a fantastic job on the paint and waxing of these pieces! Thanks so much for sharing at Shoestring Elegance and the What to do Weekends party! Pinned and shared!
Happy Weekend!
Theresa.
Thank you Theresa. I am really happy with the results here. It was time to take that old bed out of storage and get some use out of it.
I love the paint job, and the fact that it is upcycling at its finest. The bed and the dresser look beautiful. Nice job. I wish I had a basement full of such surprises.
Thank you Kelley. A little bit of paint can go a long way to transform what was once tired into something new and fresh. Anyway who wants a bedroom that looks like the inside of a pumpkin?
Kudos to you for creating not only a new bed frame, but a cheery and charming atmosphere, a warm and welcoming place for anyone who desires a soothing slumber!
Happy weekend, Mary!
Poppy
Thank you Poppy. Paint really does make a huge difference and it is such an each way to change out our things without having to spend a fortune.
Mary, Even though this project was a big one, you did a fantastic job! I love the different hues of green showing through on the bed-frame, it really gives it depth and character! The orange was a bit overwhelming, now it’s pretty and it fits so well into your bedroom.
I love the covers and sheets you have chosen, in the Greece heat this room looks cool and comfortable. And so pretty. What a great room to retire to at the end of a long day. Green is a restorative color and it’s perfect for your bedroom.
Great job, I need to get some of this paint!!!
Nikki what you say is so true. It is very relaxing to come into this room now. Before the orange was just plain irritating. And all those layers help to give interest and depth to the bed.
The color is very interesting. Lovely set.
Thank you Holly, the green is so much more soothing than that garrish orange.
Wonderful makeover. I’m looking forward to seeing what else is your basement!
I think the more I work on this blog the more I discover. If I had gone to the basement a year ago and had seen this bed, I wouldn’t have been able to do the project because I had no idea what I was doing back then. But a year later and I have acquired some skills from reading so many great blogs and so it was doable.
So I may not see anything in the basment now, but a few months from now, well, you never know…
I looovvve this! You’re so talented and have such great visions for these unloved pieces. Thank you for sharing!
Thank you so much Kayla. I could not let an old piece just sit there, I have to try and do something to it.
Love this makeover, Mary and will be featuring it tomorrow on Vintage Charm 🙂
Thank you so much Diana! It i always an honor.
What a fabulous make-over Mary. I love the variations in the layers that show through from the distressing. I’ve pinned and look forward to featuring this project on Shabbilicious Friday tomorrow.
Thank you Kerryanne, it is an honor to be featured on your great blog.
Hi Mary,
Wow! Love the bed and the drawers.
Makes me want to lie down and take a snooze.
Would also make a great place to read bedtime stories to children/grandchildren.
Simply stunning!