
How to makeover an Old Wooden Bed Frame
Learn how to paint a wooden bed frame in a few simple steps to give your bedroom a budget-friendly refresh!
This is an old bed frame that I had sitting … you guessed it… in my basement. It is a nice size, a little less than full but bigger than a twin. Here you can see that nasty too-much-orange-varnish look that we all love so much. It may be fall but we don’t need to see this year round. A few months ago I shared a dresser makeover with you. It was an old Ikea dresser that was about 25 years old and I painted it a soft green. Well, it turned out so nice that I decided to redo the bed to go with the dresser. Today, I am going to show you how to makeover an old wooden bed frame.
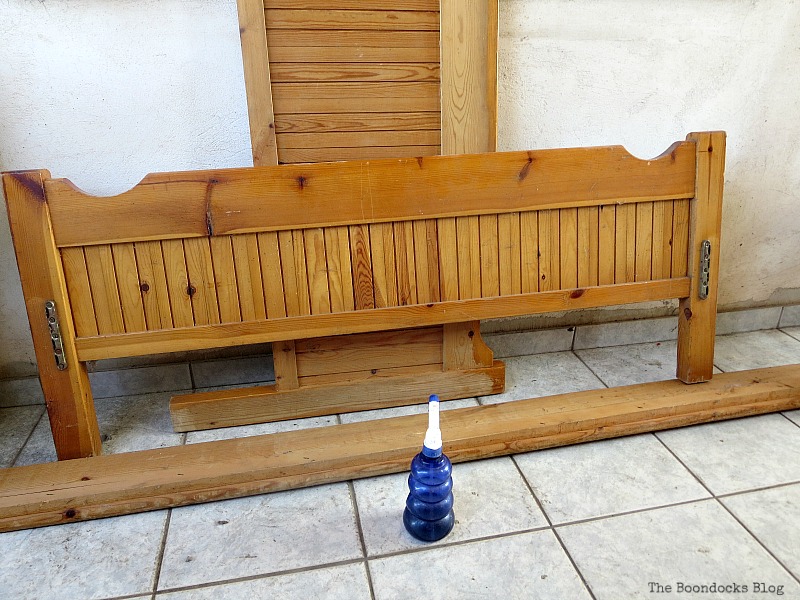
I started out painting it with Enchanted by Americana Decor Chalky Finish Paint from DecoArt. I make sure to shake the can really well so that the mixture comes out nice and smooth. With two coats it covered that lovely-not orange. (If you’d like to purchase this paint, I have added links to the product through Amazon at the end of the post.)
Disclosure: I was compensated for doing this post with product. However, all the opinions stated here are my own. I only use products I love and would recommend to my viewers. This post contains affiliate links for your shopping convenience.
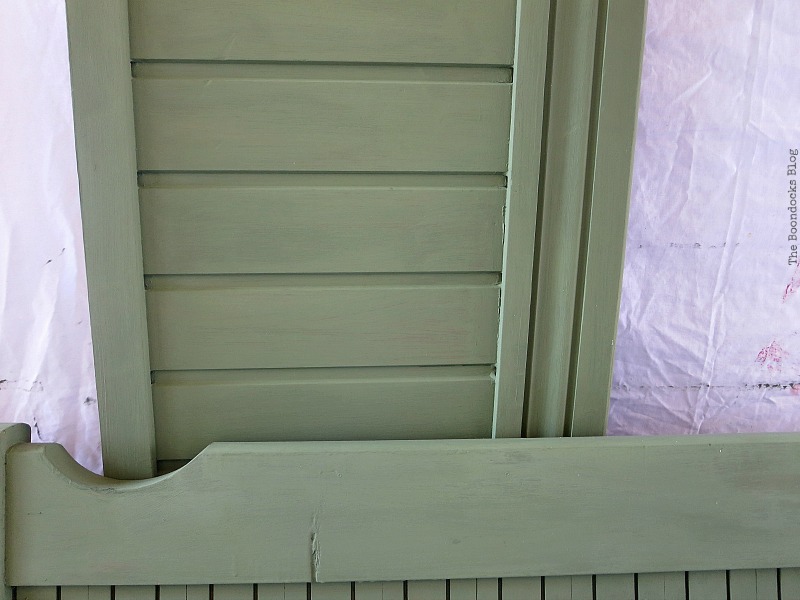
At this point I started to worry because I was running out of my beloved paint. I added some white acrylic paint to the mix, in the hope that it would last me longer.
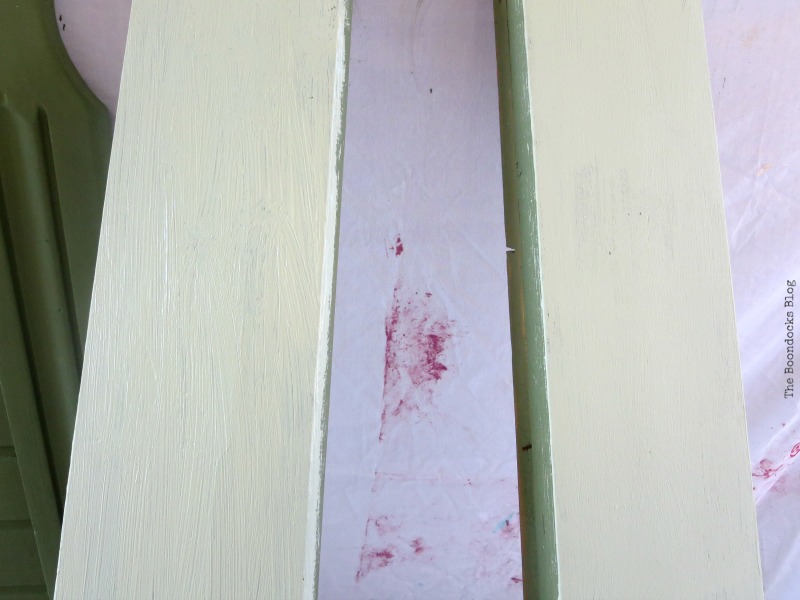
This is the third coat of paint…and no sanding at all beforehand. That is the beauty of this paint.
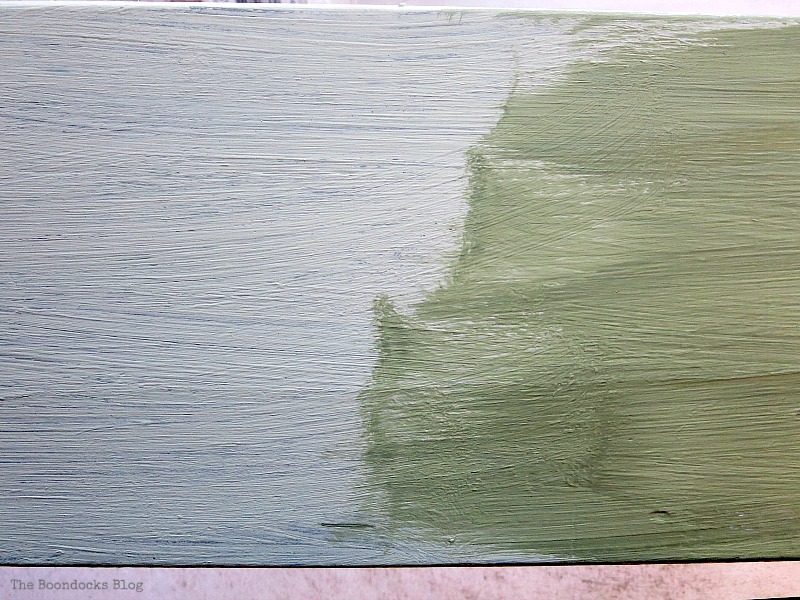
Finally I had to try and match the paint to the one from the dresser. So I played around with it a bit and here is the last coat.
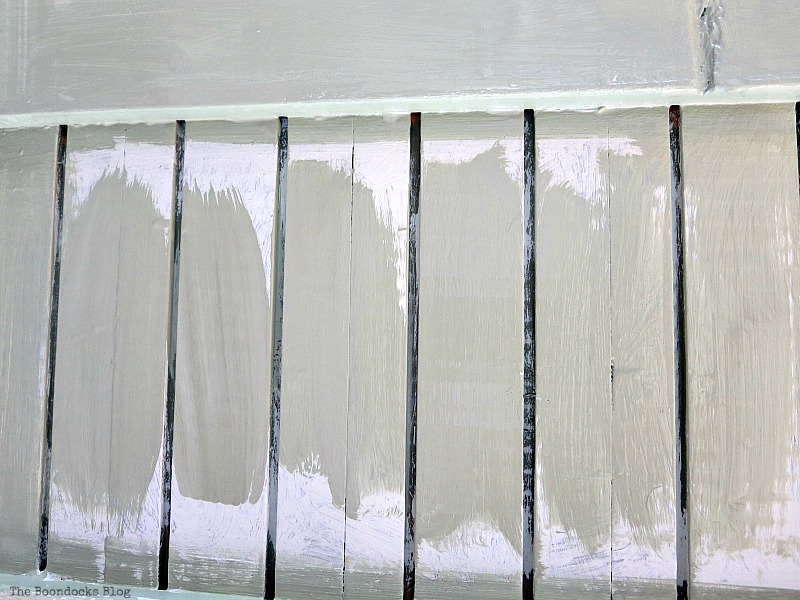
And thank goodness for that because I ran out of paint.
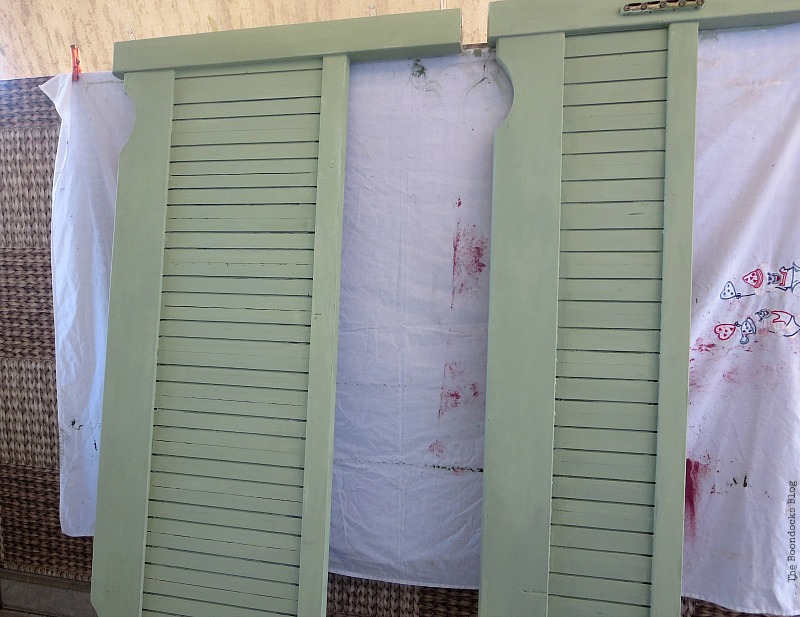
Of course I wanted to mimic the results I had gotten on the dresser and that meant sanding it to get the distressed look. So whatever sanding I had avoided at the start … well, I was paying for it now. In fact, my right hand is still feeling it!
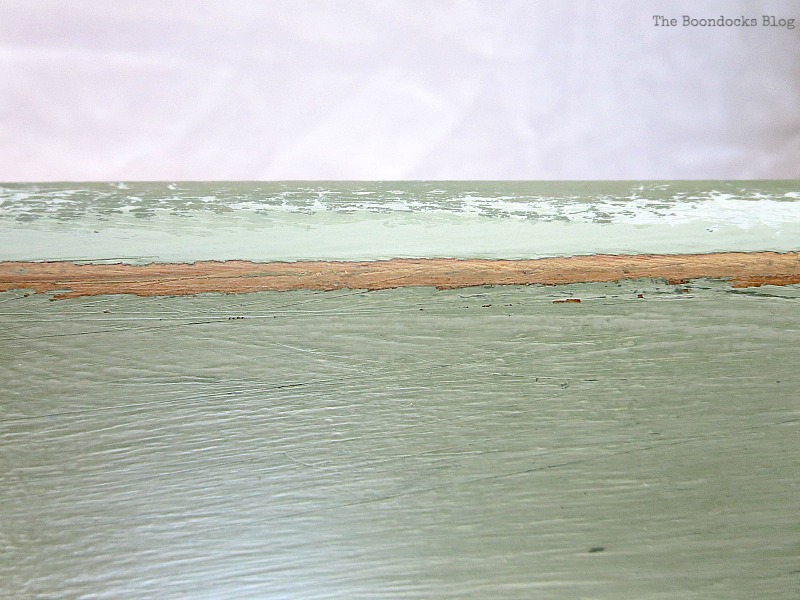
The beauty of this bed is that I was revealing a lighter green under the final coat.
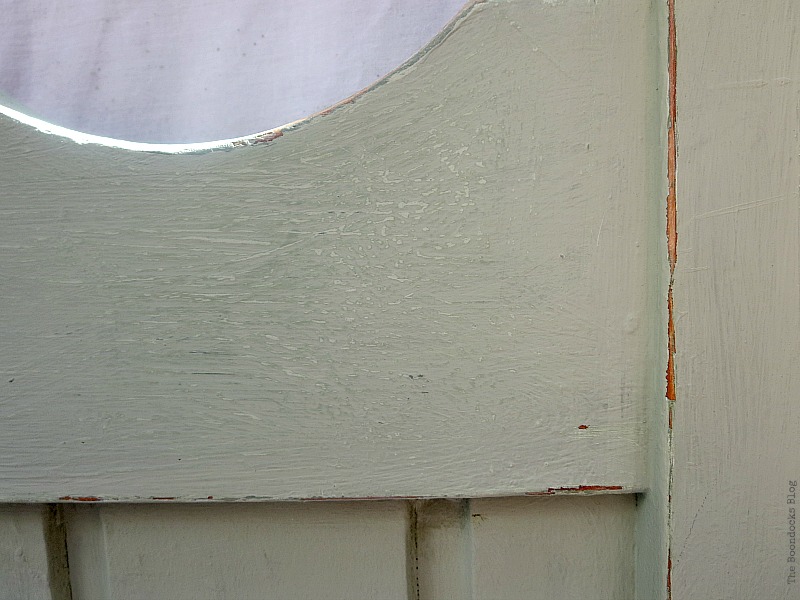
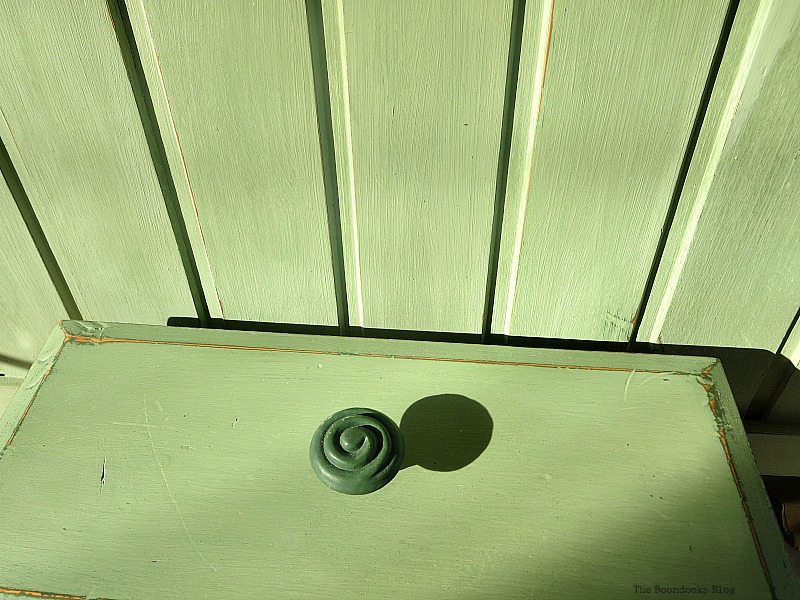
A bit of wax with Americana Decor Cream Wax and I was done. When the wax is added it makes the color just a bit darker. You can see in the photo below that I have managed to match the color pretty well. It looks intense here because the sun is hitting it. (If youwould like to purchase this product I have added Amazon links at the end of the post).
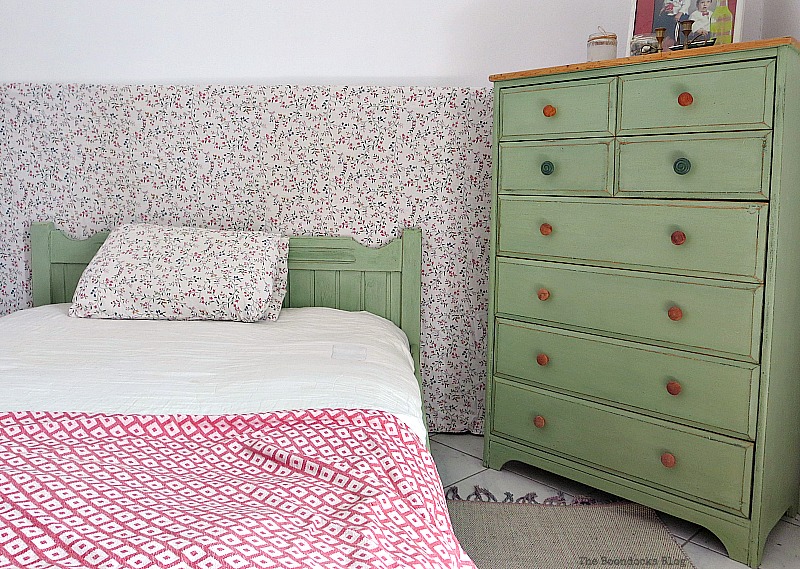
And here it is next to the aforementioned dresser.

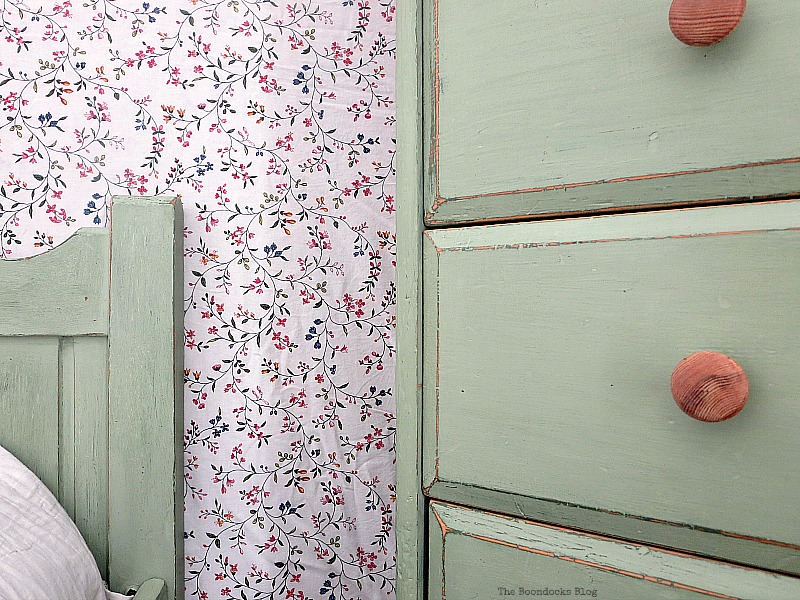
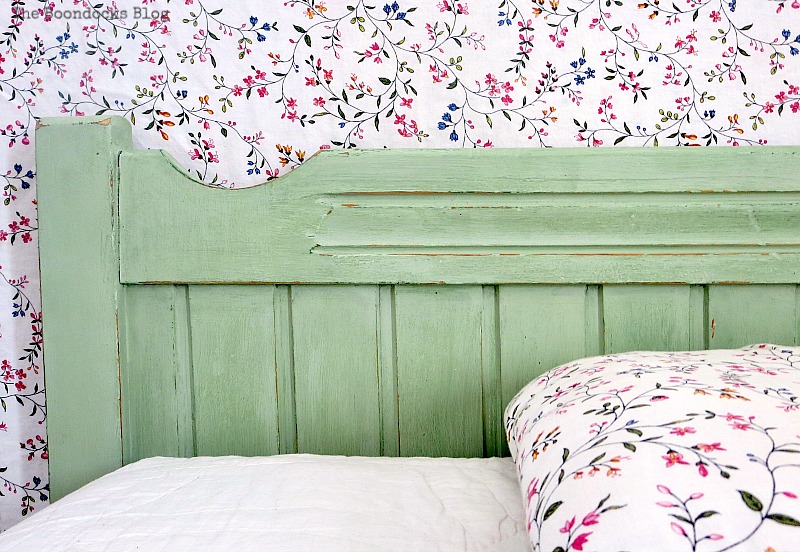
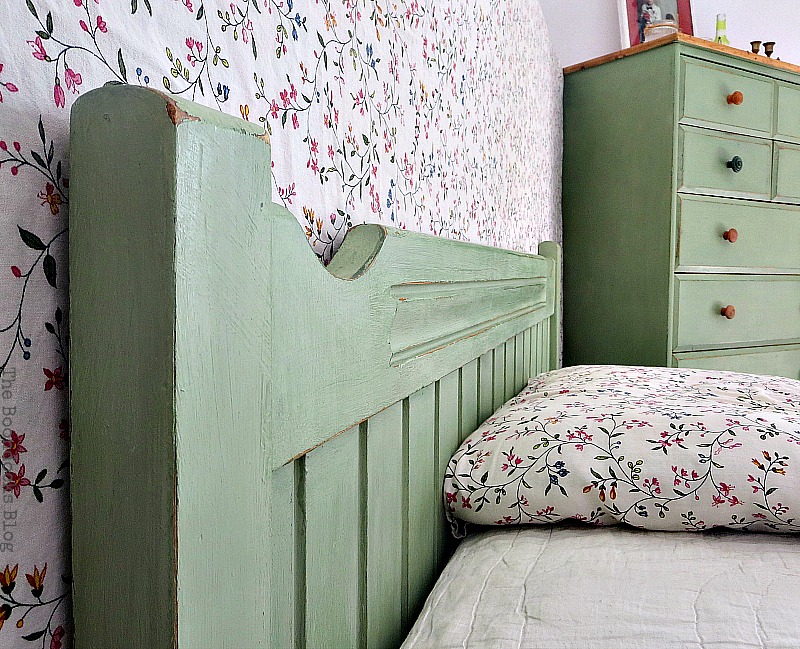
Here you can really see the aging and the scratches. There are four colors on the bed and that is what gives it so much depth. Otherwise it would just be a boring green bed.
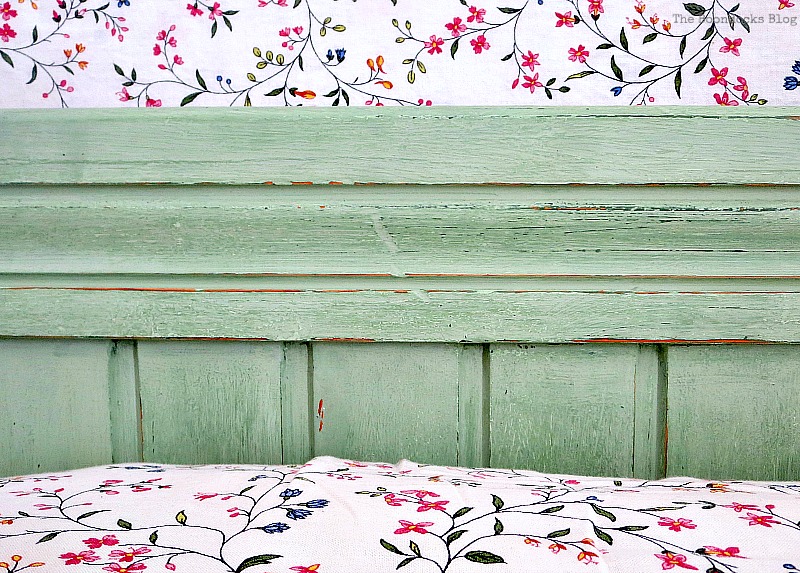
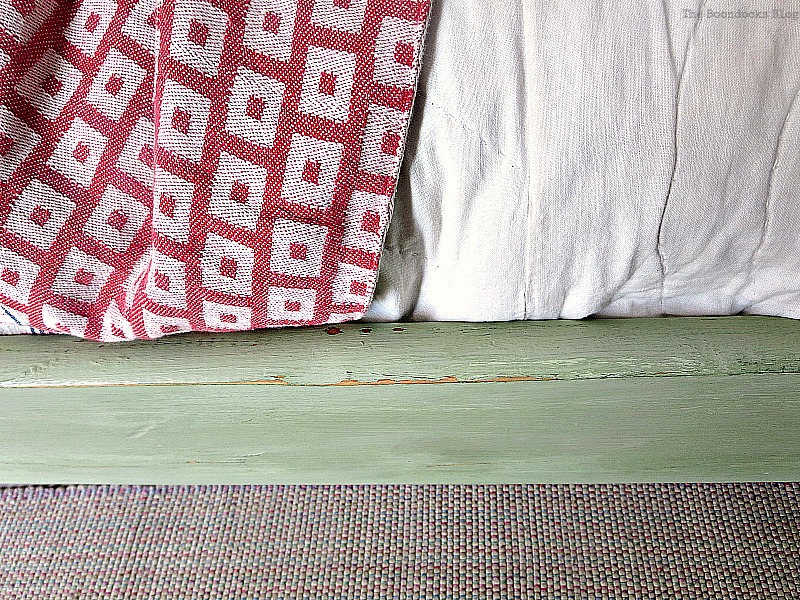
A shot of the whole bed. The color looks a little different here from the dresser because the light is hitting the bed.
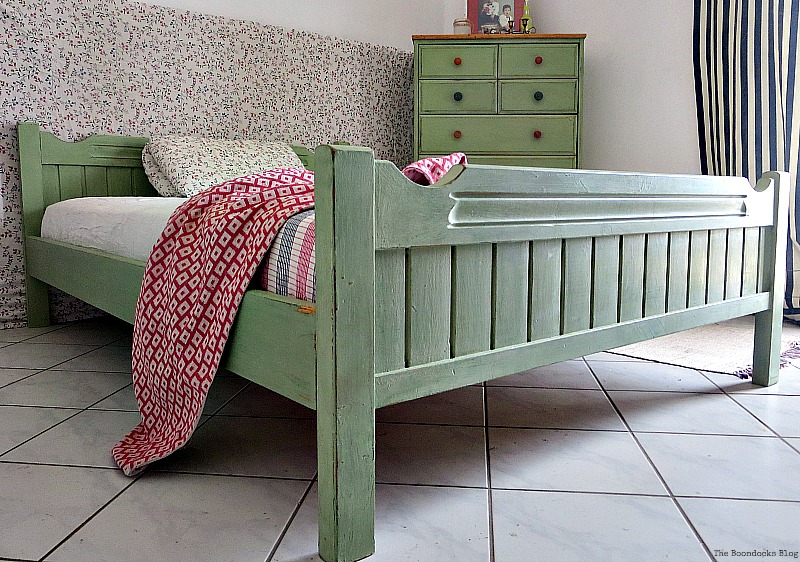
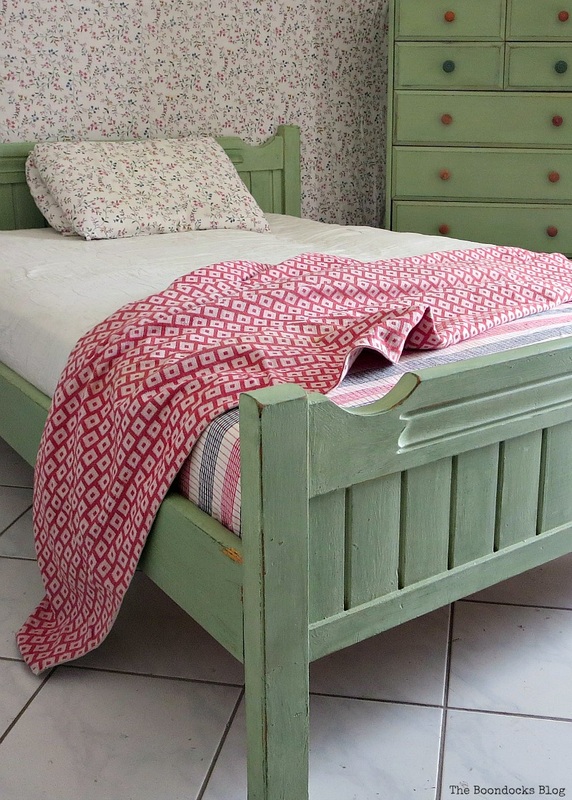
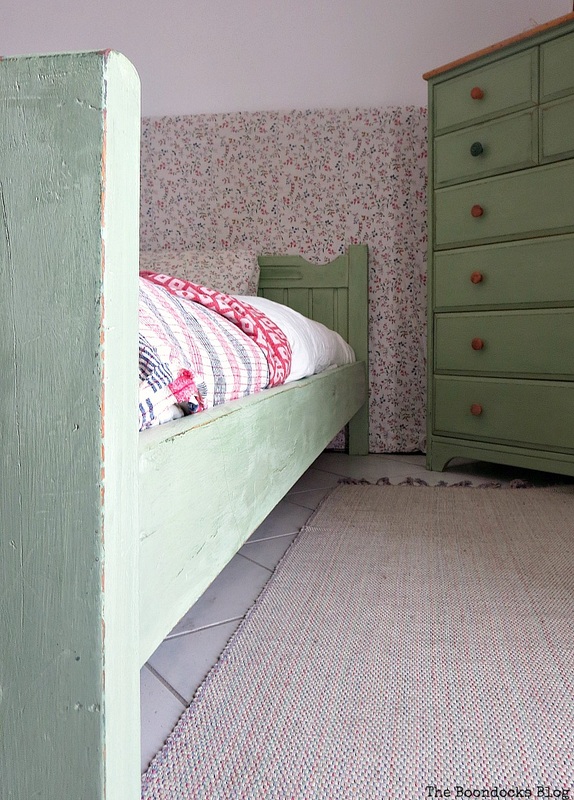
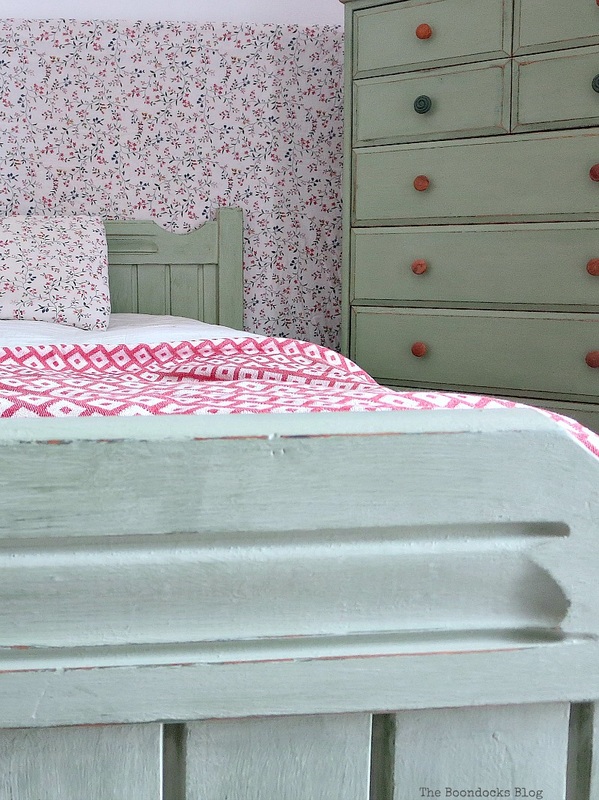
It was a close call there for a while, between the paint running out and getting a good match. My hand hurts but I think it was well worth the temporary discomfort. I’ve just shown you how to Makeover an Old Wooden Bed Frame. And now I have a “brand new” bedroom set! All courtesy of my basement! What do you think I’ll find in my basement next? Maybe a new mattress?
Related:





Oh Mary!!! This is a gorgeous transformation! Both dresser and bed look fantastic. Have a wonderful creative week and month 🙂
Now that the weather is cooling down I feel invigorated and ready to do more projects. Have a great month Christina.
That turned out so pretty, Mary…a real transformation! I haven’t tried that color yet…lovely!
It is a tricky color and one that you will love if you apply it to the right piece.
Mary…this is such a lovely bedroom set! So soothing, crisp and clean. And I love it with that sheet/pillow pattern. Next time in your neighborhood, can I stay there? I know I could just really settle in to that space!
Thanks for sharing your painting and paint matching tips.
As always!
Hugs, Lynn
You are always welcome to stay over Lynn. And now I’m getting the bedroom ready. I was so done with all of that orange. ugh!
Yay, now I know where to stay when I come visit you, lol!!! This bedframe turned out so so beautiful, the whole bedroom looks really great with the matching dresser! Such a great tone and it really looks so inviting, so don’t mind me if I end up in there 😉 You did a fantastic job Mary! Love the flower sheets and wallpaper too!
Thank you Katrin. I was really worried about being able to match it, but a little tri al and error and it came out great. I am so happy to have been able to pull it all together like that. And you don’t even need an invitation, just come on over! 🙂
Your basement scares me Mary. I would get lost in there with all the beautiful pieces you keep on finding, lol. Great thinking adding a bit of white to make the paint go further and the color is lovely. The whole bedroom looks so relaxing and peaceful.
Thank goodness the white and green worked together to create the right color otherwise I would have been in trouble.
My basement is not scary at all Michelle, it just needs someone to go down there… haha.
This is a complete bedroom set now! Really beautiful and unique! Great job Mary!
Much better than having all those random orange pieces before. And now even the imperfections and scratches look charming. Lol!
WOW! What a fantastic job you did. Isn’t it fun seeing the transformation of a piece of furniture. I just love painting furniture. I’ll bet you can get a lot of beautiful pieces in Greece. How would you go about in finding them there? I’d love to go garage sailing there.
Baba
Baba, maybe you can find pieces here in Greece. But in my town you will have to look really hard. All of the things you see here are old pieces that I had from a long time ago that had fallen into disuse hence the basement storage solution.
There are no garage sales here nor yard sales, none of that. The only thing that we have, and again not in my town, is some stores selling old things, but they are way overpriced. I would not set my foot in them.
I’d like a tour of your basement if these are the kind of treasures you’re unearthing. Very nice makeover, Mary! They look perfect together.
I was really happy with how I matched the color just right… before running out of paint. haha! And all that paint hides the imperfections and makes them look, dare I say, charming.
The entire bedroom looks great! Lovely job Mary! I was wondering about the wall that matches the pillow case…is it a sheet? If do, how did you hang it with a crisp line on the edge? Thanks!
About that wall. A few years ago I placed a big piece of particleboard against the wall and covered it with an old quilt. It served as a makeshift headboard and added much needed warmth to the room. For the staging, I just added a duvet cover that matched the pillowcase to make it look presentable. It was a set I had bought from Ikea years ago.
I hope that answers your question. So if I whip the duvet cover off you will see the quilt underneath that is covering the particleboard. Actually I stapled it on there.
Your basement must be huge Mary! I love how this turned out, and thank goodness you had enough paint. I know that feeling all too well. ;).
xxx
I cannot overstate the fear that crept in when I realized I was running out of paint and I don’t have chalky paint in my town.. In fact I have no idea where to get it unless the angels from DecoArt send me more. haha.
Mary, this bed frame is so beautiful!! Love the green color you mixed and the distressed look is perfect. The bedroom is beautiful!!! I love green and pink together! Thanks for sharing my side table! 😉
I am really happy with that green too Keri. It is nice and soft and I am finally embracing my green side. I think the blog color must br rubbing off on me. 😉
Hello Mary,
I definitely MUST show this post to my husband – I must make him READ it and have a close look at the pictures so that maybe – MAYBE – I’ll finally be allowed to do something about our (good old) bedroom… I’m absolutely charmed by your “new” bedroom. It’s soooo lovely (and I’m soooooo envious).
WOW!
Marjan
That would be a great idea Marjan. There is nothing like seeing real people do this to help make up your mind. It was not hard at all, It took me a total of 2 days to finish it. I waited about an hour between coats of paint and like I said there was no sanding beforehand. The sanding was when I wanted to distress the piece. That was the hardest because it builds muscles lol!
Adding the wax is a must. It will seal in the paint and keep it from running. Let me know what happens.
Your bed frame is gorgeous, Mary. It was a solid piece of wood and now that green color makes it pop and show all the details it has. It matches the dresser perfectly, no one would ever guess you added white to make it last longer.
I’m sure your husband is proud of you, you did a wonderful job with both of them.
Pili, it was so tired looking before. Now with the green and the distressing I was able to bring out so much depth to it and really make it an interesting piece. Even the hubs likes it!
That looks great Mary!! I love the soft green and the distressing. Hmm, I need to come visit your basement! Such treasures to be found in it!
Florence I am working hard on emptying that thing out. But it seems to be a bottomless pit! Come on over!!
Wow, that looks so beautiful, love the color! It reminds me of my patio door I just posted about! :o)
Tania
Tania if only mine had been as easy as yours. Very nice color on your door. I had to mix and remix to get the right color. And in the process I was able to get lots of cool layers to it. I guess all that word had an upside to it.
Mary, What a pretty bedroom set you created. With the lovely wall behind the bed and bedding it looks like a springtime garden.
Aww, Debra that is such a great description of it. I used an old piece of wood and covered it with a quilt. This was my makeshift headboard for years but now it has really made an impact with the bed and the new fabric.
Your bed turned out fantastic, Mary! I love that shade of green and the distressed look. Great job!
xo Julia
I too think this was the right decision. The distressing makes it so much more interesting than just a plain paint job. I really like how it turned out. Thank you Julia.
Wish I had a magic basement! 😀 Seriously, great job on making over the bed frame, Mary. Love the color you chose. Thanks for sharing, Cynthia
Cynthia till I finished I was so anxious that I would run out of paint. Thank goodness it all turned out well.
Oh my! I love this bed! I need you to ship the bed and the dresser to my house! What a wonderful makeover, and I love that shade of green! So pretty!
Monroe, as soon as I find a box big enough, it’ll be on its way!
Mary your bed frame turned out beautiful! I love the color and you did a great job matching it up with the dresser. Love the distressing so that some of the previous color shows through.
I too really love the distressing Linda. It makes it so much more interesting than just the green.