
How to makeover an Old Wooden Bed Frame
Learn how to paint a wooden bed frame in a few simple steps to give your bedroom a budget-friendly refresh!
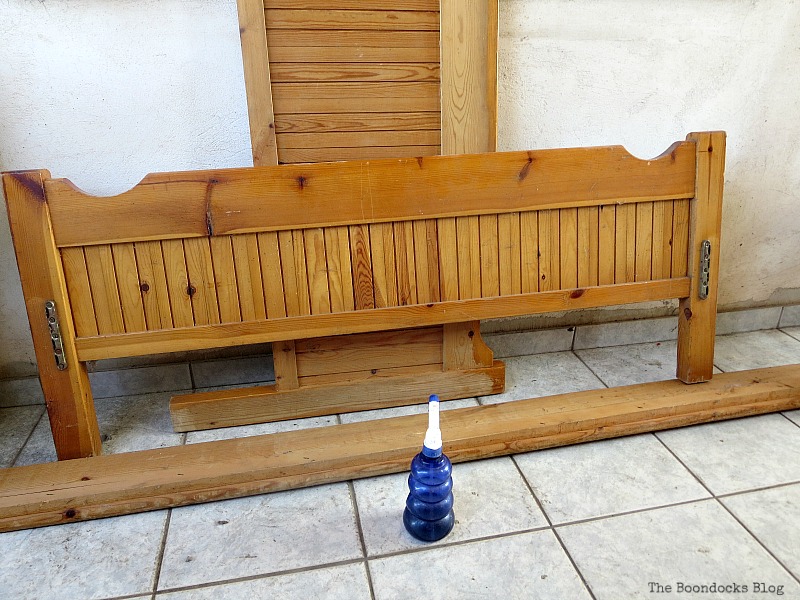
This is an old bed frame that I had sitting … you guessed it… in my basement. It is a nice size, a little less than full but bigger than a twin. Here you can see that nasty too-much-orange-varnish look that we all love so much. It may be fall but we don’t need to see this year round. A few months ago I shared a dresser makeover with you. It was an old Ikea dresser that was about 25 years old and I painted it a soft green. Well, it turned out so nice that I decided to redo the bed to go with the dresser. Today, I am going to show you how to makeover an old wooden bed frame.
I started out painting it with Enchanted by Americana Decor Chalky Finish Paint from DecoArt. I make sure to shake the can really well so that the mixture comes out nice and smooth. With two coats it covered that lovely-not orange. (If you’d like to purchase this paint, I have added links to the product through Amazon at the end of the post.)
Disclosure: I was compensated for doing this post with product. However, all the opinions stated here are my own. I only use products I love and would recommend to my viewers. This post contains affiliate links for your shopping convenience.
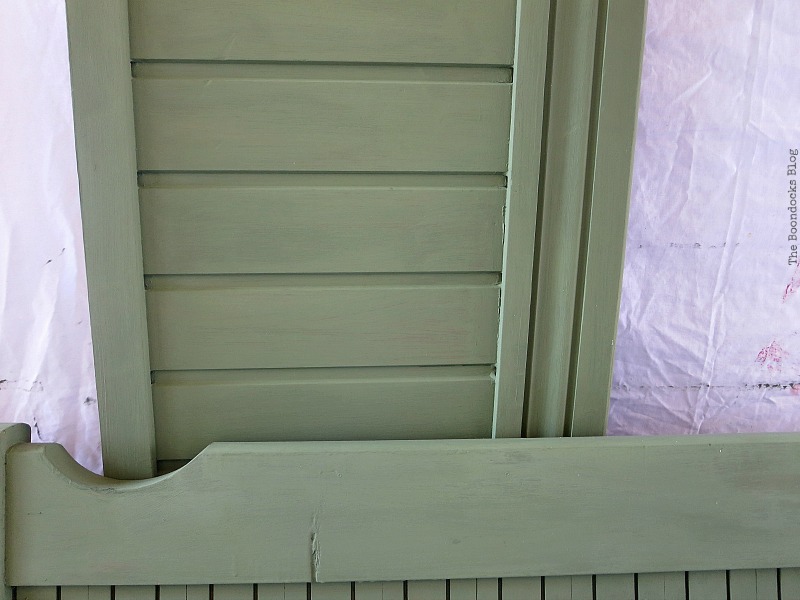
At this point I started to worry because I was running out of my beloved paint. I added some white acrylic paint to the mix, in the hope that it would last me longer.
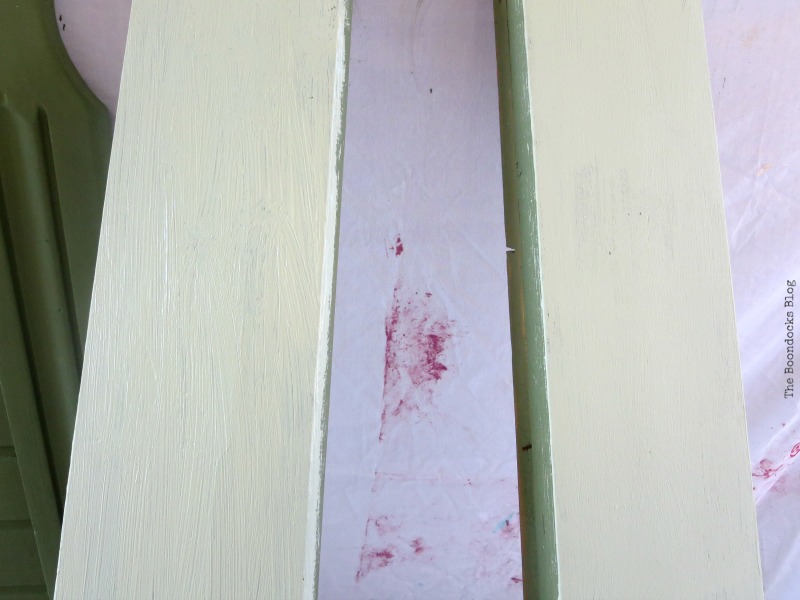
This is the third coat of paint…and no sanding at all beforehand. That is the beauty of this paint.
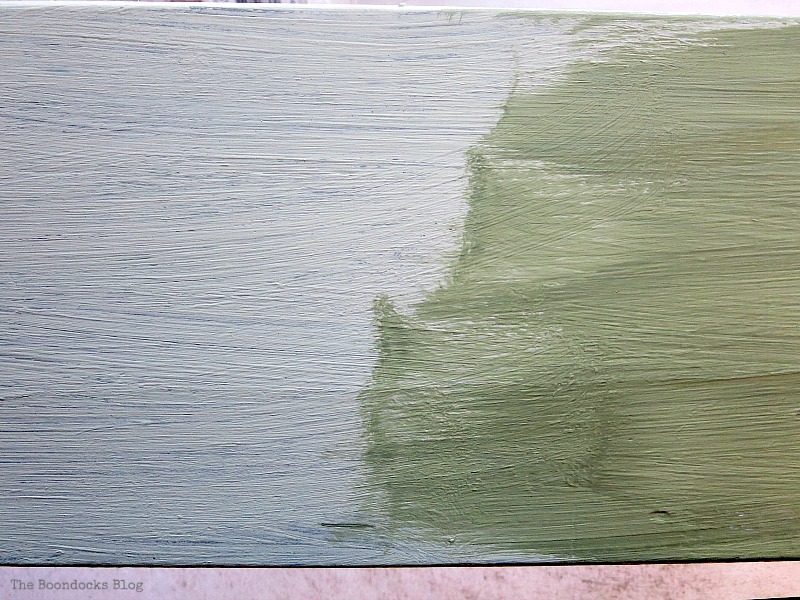
Finally I had to try and match the paint to the one from the dresser. So I played around with it a bit and here is the last coat.
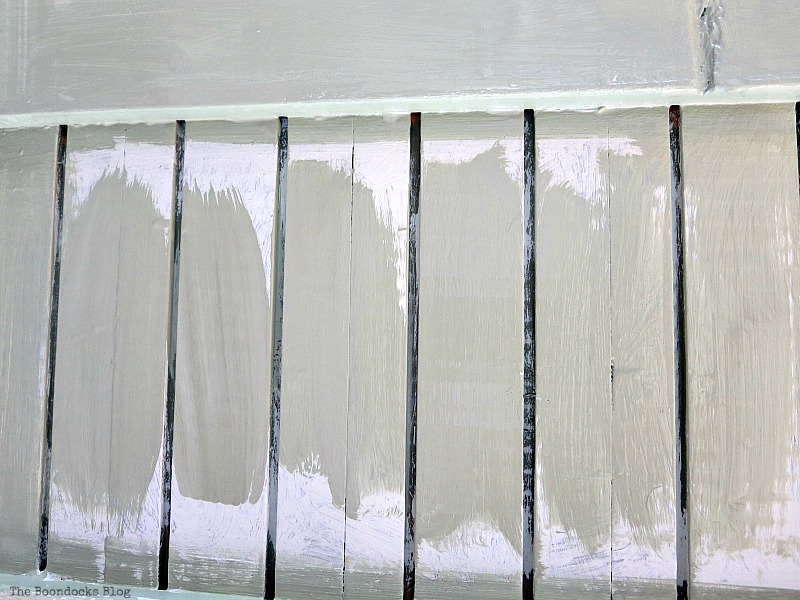
And thank goodness for that because I ran out of paint.
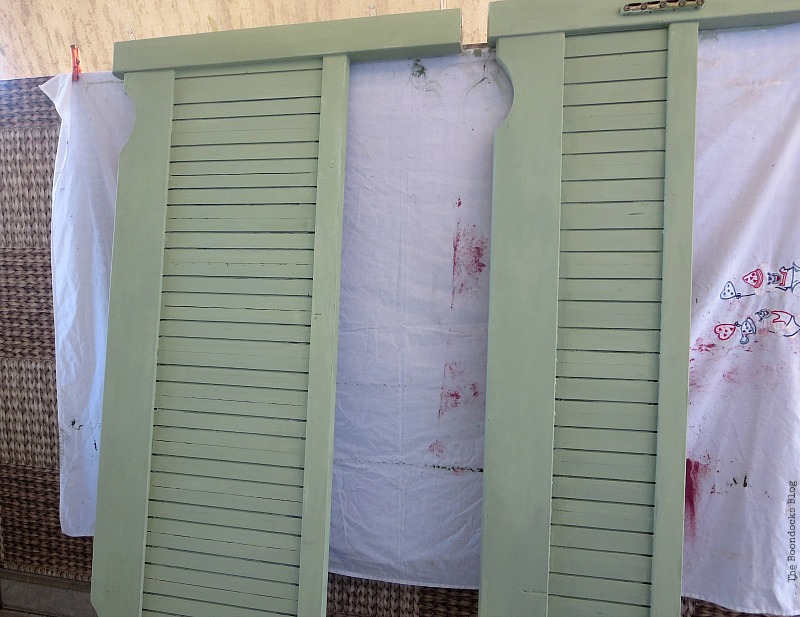
Of course I wanted to mimic the results I had gotten on the dresser and that meant sanding it to get the distressed look. So whatever sanding I had avoided at the start … well, I was paying for it now. In fact, my right hand is still feeling it!
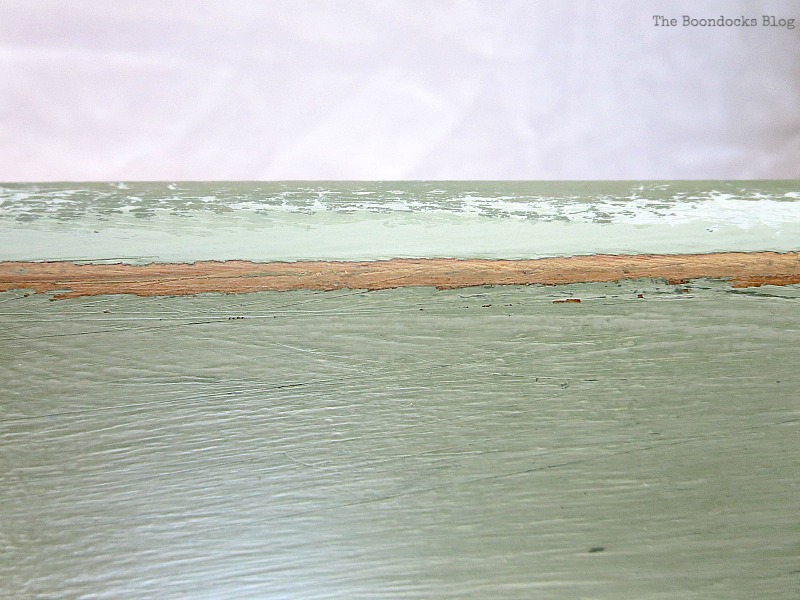
The beauty of this bed is that I was revealing a lighter green under the final coat.
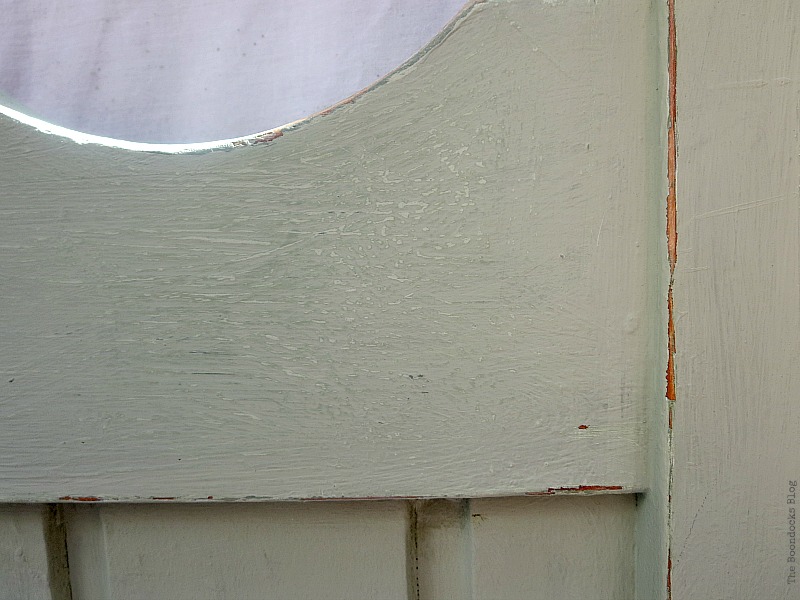
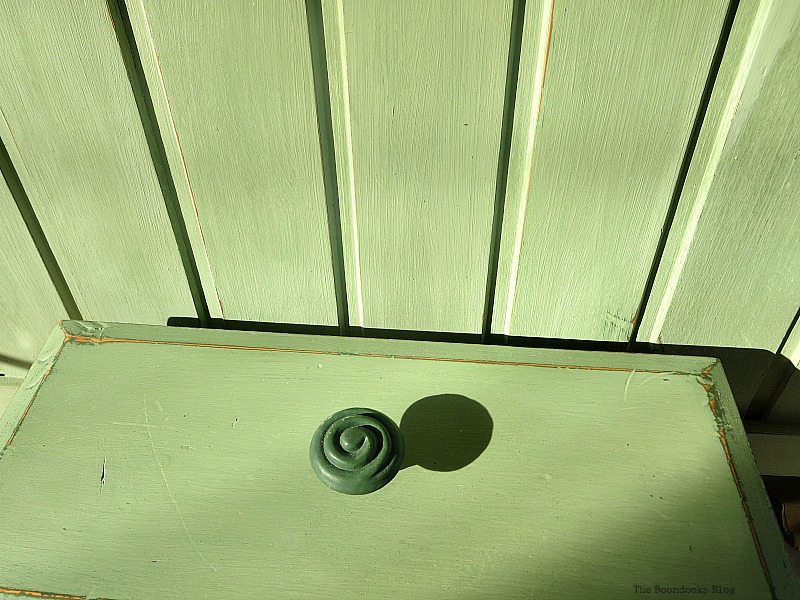
A bit of wax with Americana Decor Cream Wax and I was done. When the wax is added it makes the color just a bit darker. You can see in the photo below that I have managed to match the color pretty well. It looks intense here because the sun is hitting it. (If youwould like to purchase this product I have added Amazon links at the end of the post).
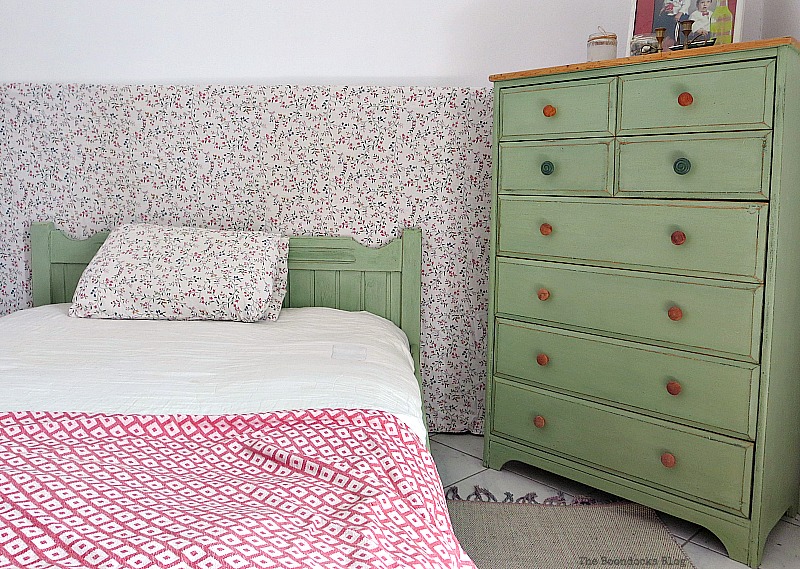
And here it is next to the aforementioned dresser.

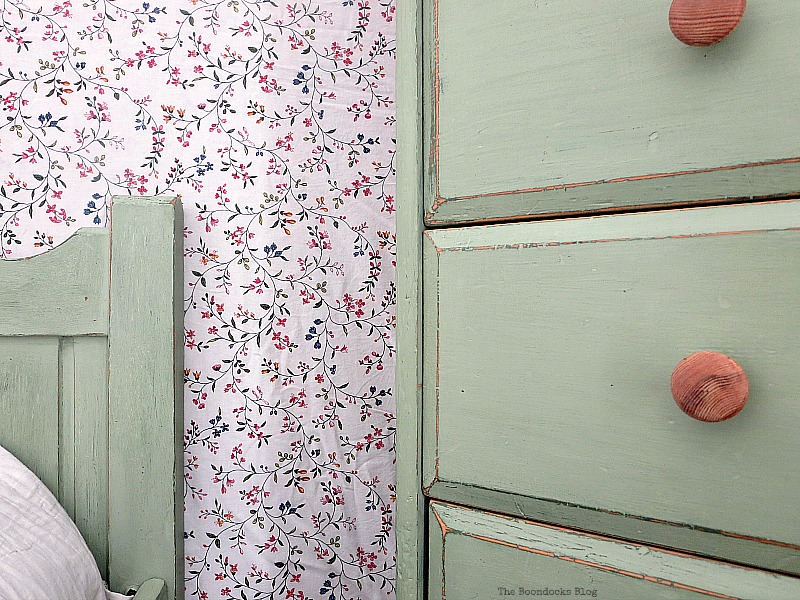
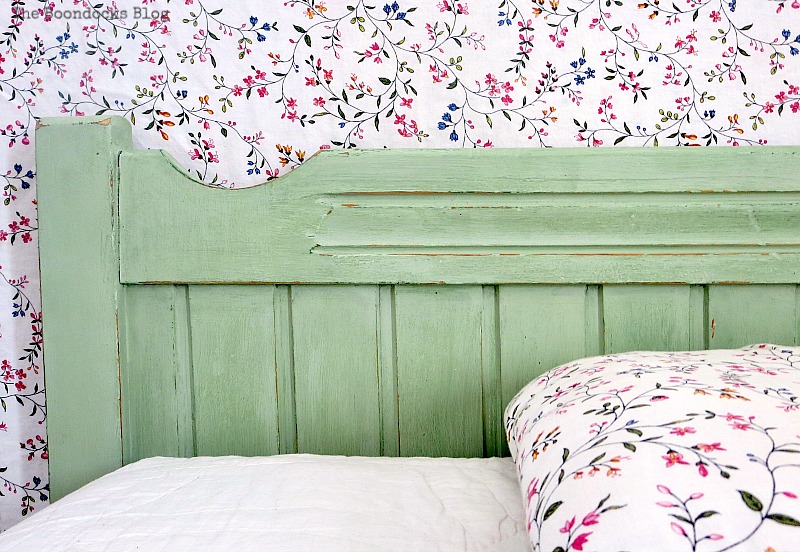
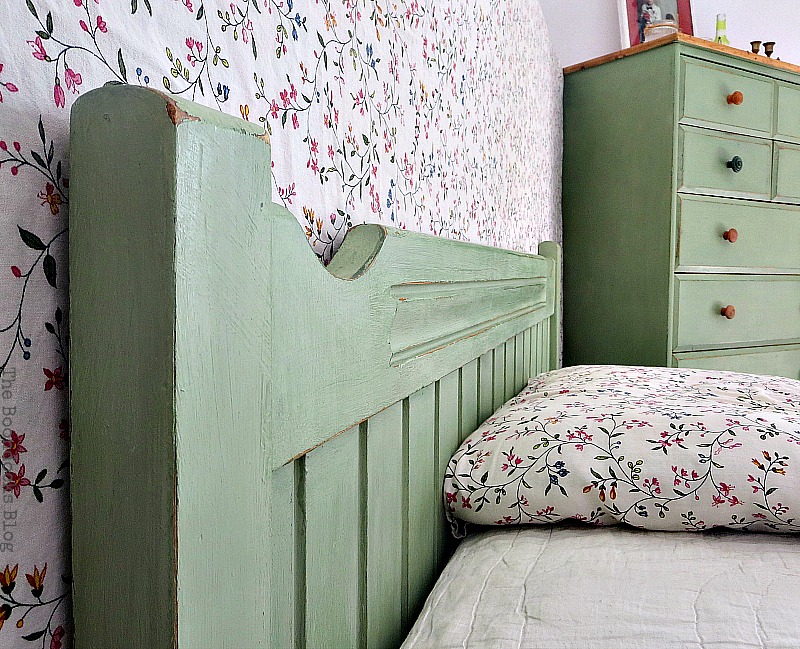
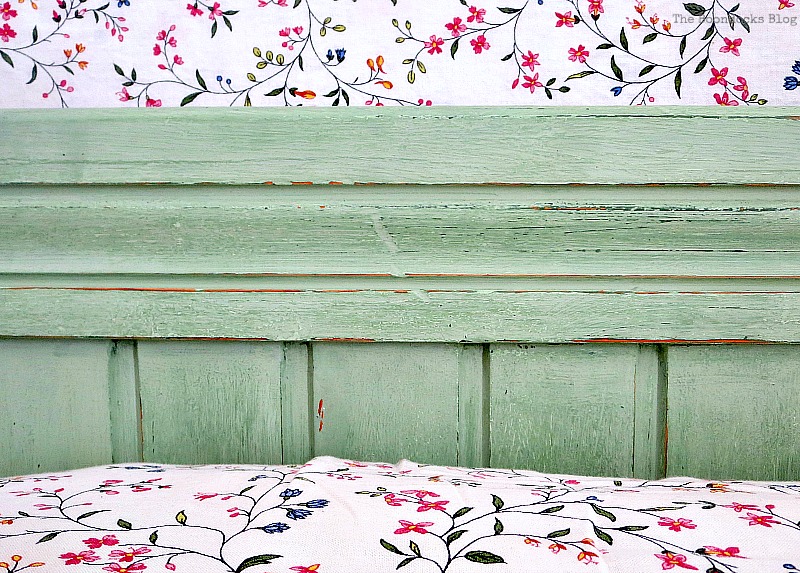
Here you can really see the aging and the scratches. There are four colors on the bed and that is what gives it so much depth. Otherwise it would just be a boring green bed.
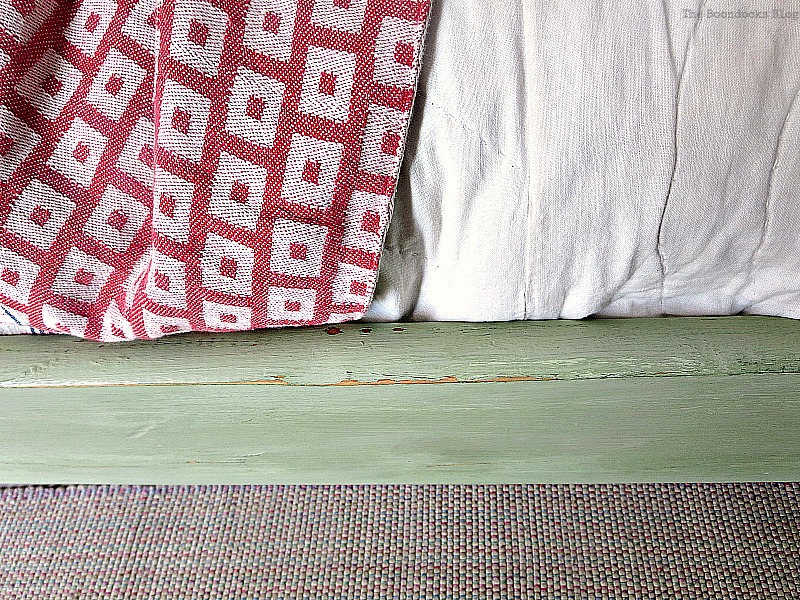
A shot of the whole bed. The color looks a little different here from the dresser because the light is hitting the bed.
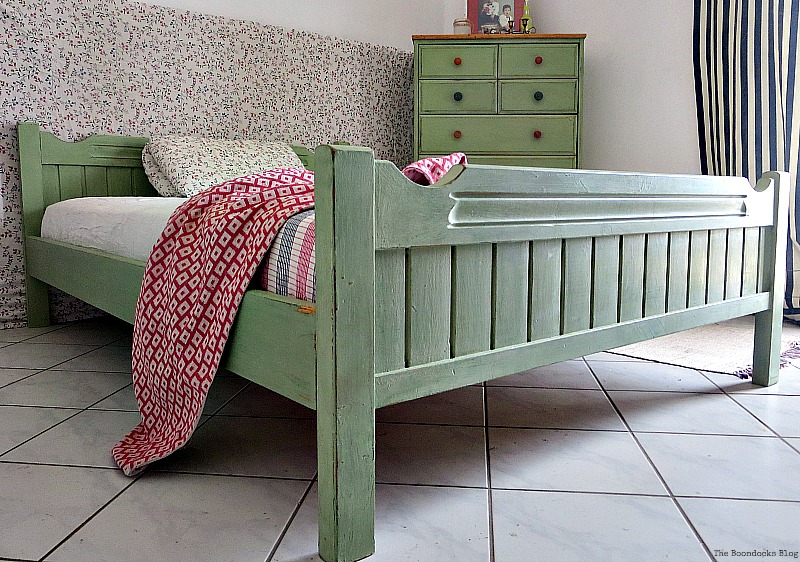
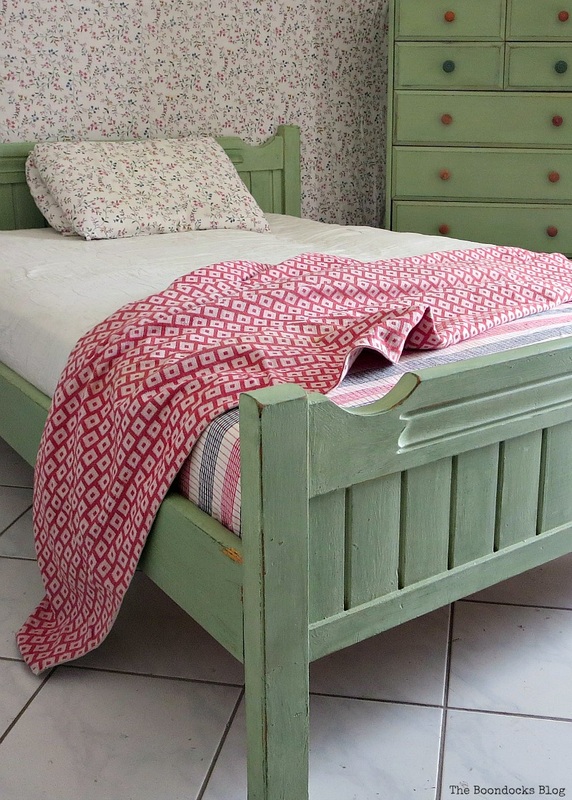
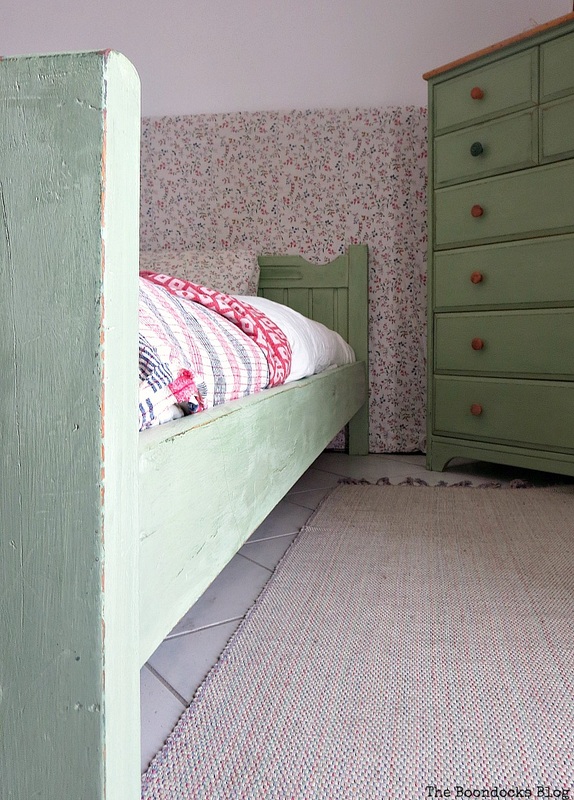
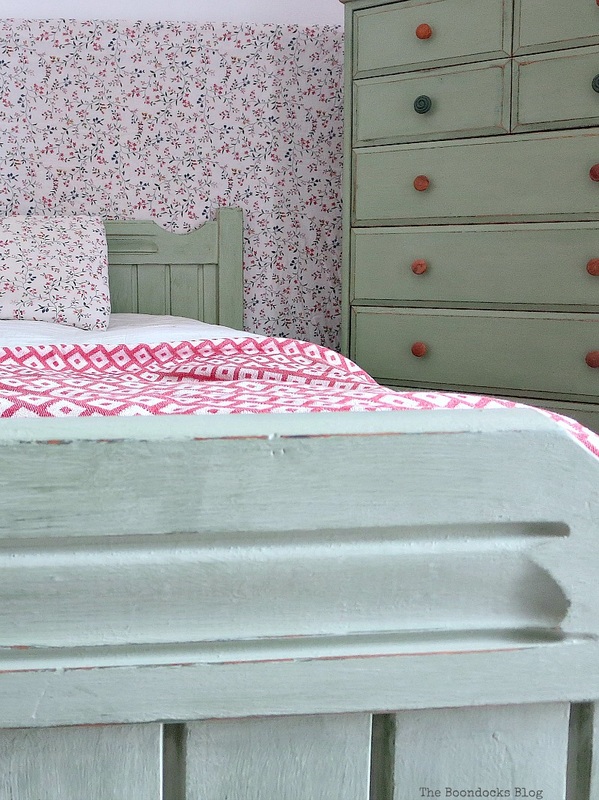
It was a close call there for a while, between the paint running out and getting a good match. My hand hurts but I think it was well worth the temporary discomfort. I’ve just shown you how to Makeover an Old Wooden Bed Frame. And now I have a “brand new” bedroom set! All courtesy of my basement! What do you think I’ll find in my basement next? Maybe a new mattress?
Related:




Hi Mary, I LOVE this room! I’m just popping by to let you know I’ll be Featuring your beautiful makeover tonight on Shoestring Elegance’s What to do Weekends Party! Congrats! Thanks for sharing with us!
I hope you have a wonderful weekend!
Theresa
Thank you so much Theresa. I am so happy to be featured on your great blog.
Gorgeous!! Green is one of my favorite colors, especially for a bedroom. Crafty and furniture refinisher? Is there anything you can’t do?
Love it, and pinned it to furniture!
Mary, You need to gather up beds and dressers, refinish by painting, and go into business selling. What a beautiful bedroom set you now have!
Thank you so much Carol, that means a lot coming from you.
Mary, you have a great eye, as evidenced by your beautiful photographs and decor ideas. The slightly different hues of the bed and dresser – possibly due to the light hitting them differently – add to the deliciousness.
Thank you so much Nette. I tried to match them as much as possible, but the lighting can trick the eye. And of course each piece has it’s own story to tell with the distressing.
These are really lovely and look so fresh,it is a lovely green,they match so well together.Great job Mary
Mary, I just love the way you give new life to old pieces! When I get ready to take on a project, I’ll look here for inspiration.
Thank you Jean. I am new to all of this but have lots of blogger friends who are experts and I take my cue from them.
Kαμία σχέση το πριν και το μετά!!!Τέλειο!!!
Ευχαριστω Ιωαννα μου! Και δεν πηρε και τοσο χρονο.
I stumbled upon your post, pulled in by the beautiful photo on pintrest! Lovely work. I’m so inspired to follow your instructions and paint our own yucky orangey colored bed. I’m pregnant and probably nesting to the extreme, so looking forward to painting!
**In your post you wrote the color you used was Enchanted by Americana Decor Chalky Finish Paint, but the link to the green paint you have on amazon is a “vintage” color, it’s a lighter green. I’m confused on which one to use, the “enchanted” or “vintage”? Thank you!
Hi McKenna, I’m so glad you reached out to me. I used Enchanted which is an Olive Green but I also added a bit of white or Everlasting in there to lighten it up a bit.
I originally used the Olive Enchanted as a base coat. Then I added White Everlasting into the Olive Enchanted to get a lighter color. Because the Olive is really too dark. I added two coats of the lighter green. By layering you get a more nuanced look.
Play around with the colors and don’t be afraid. And I wish you all the best on your pregnancy and a safe delivery!
(I’ll be sure to correct the link.)
Got it, great thank you! Beautiful! I’ll purchase through your links, thank YOU! All the best.
Hi Mary. I love your redo want to do this, in blue, with my bedroom furniture. I think you said you used 4 colors on yours? Do you know approximately how many ounces of paint you used?
Hi Alice.
I think that for the bed and the dresser I must have used 3 containers. Each container was 16 fl. oz. I used 2 of the base color, in my case it was the green, and as I applied each additional coat I would lighten it a bit using the white.
This was for the bed frame and the dresser. And I had plenty left over. Also I was thinning it down with water as I went along because it thickens up so you want to be able to apply it smoothly.
So you see it was actually 2 colors, I just lightened them up as I went. If you are interested, I have an Amazon link near the top of this post with the white color. If you need any more help feel free to ask.
What a gorgeous transformation! I love the choice of green, so unexpected, but beautiful.
xx
Neelam
Mary both turned out fabulous it would chase away any blues your room is so restful now green is my favourite colour
I agree Mary, both of the rooms have a very calm and restful feeling.
Beautiful! Great job! Your room looks cozy and inviting. I love the colors you painted your furniture. I hope you can buy more of your favorite paint!
Thanks Linda. Luckily I was able to get more and all turned out well in the end.
This bed looks so much better. It was just begging for a cottage style makeover. I hope the new mattress magically appears!
Thank you Michele. The room is done and I will have it on the blog in a few weeks.
That is a GREAT shade of green, love it!
Thanks so much Roxanne. I had meant to order white but ended up with this color instead. I am so glad I messed up.
Beautiful job! Such a great color.
Thank you Lori! I was glad I was able to match it to the dresser.
Saw your post on Sundays at home link party you did a fantastic job, well done!
Thanks so much Anita. The power of paint is undeniable.
The bed looks fantastic with the dresser! The room is very inviting.
Thank you so much Michelle, it was a haven for us!
Hi Mary!
Your bed frame turned out beautiful! I’m letting you know that you are one of my features this week at Homestyle Gathering. Thank you so much for sharing at HG. It’s great having you at the party. I hope you have a wonderful day!
>>> Kim
Thank you so much. I am truly honored Kim!